Happy Easter Sign {tutorial}
Happy Tuesday!
I hope y’all are having a fabulous week.
It’s Spring Break for us….and all rain so far. But hey, at least it’s not snow, right?
Glass half full. :)
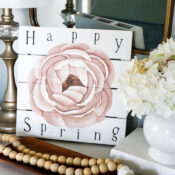
Today I’m sharing how I made this simple, but sweet, Happy Easter sign.
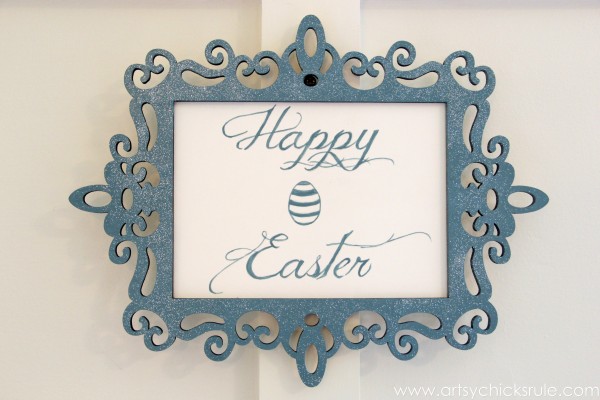
I shared it last week on this Easter inspiration post –> here.
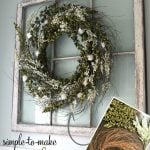
Inspiration struck half way through that project and I knew exactly what the wreath was missing.
And luckily I already had what I needed. I purchased it from Michael’s last year but had not used it for anything yet.
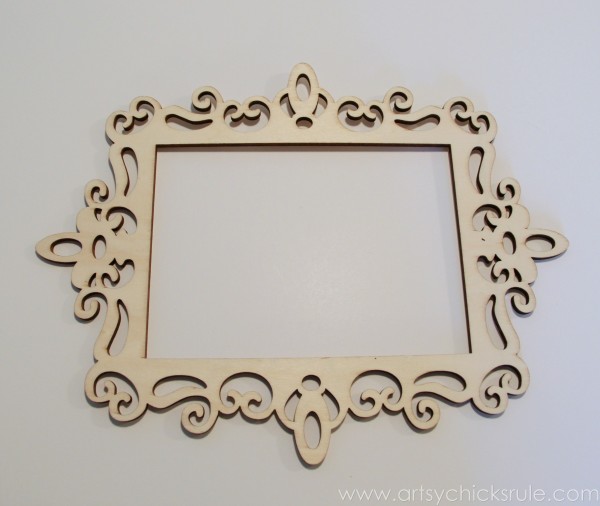
I just love these. They have so many different styles and the possibilities are endless.
I created this Valentine’s sign/hanging with one too.
I decided to paint this one with the same turquoise chalk paint I mixed up for this table makeover–> here.
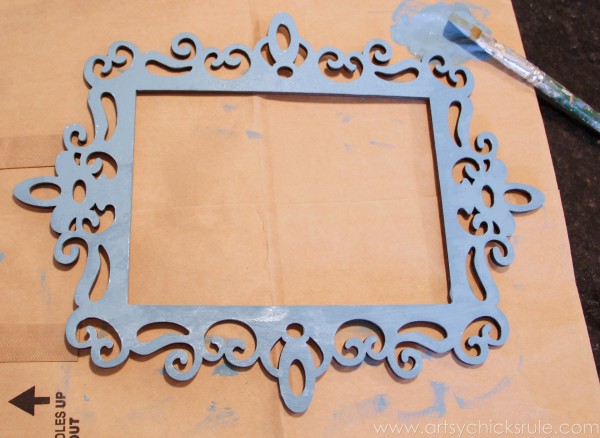
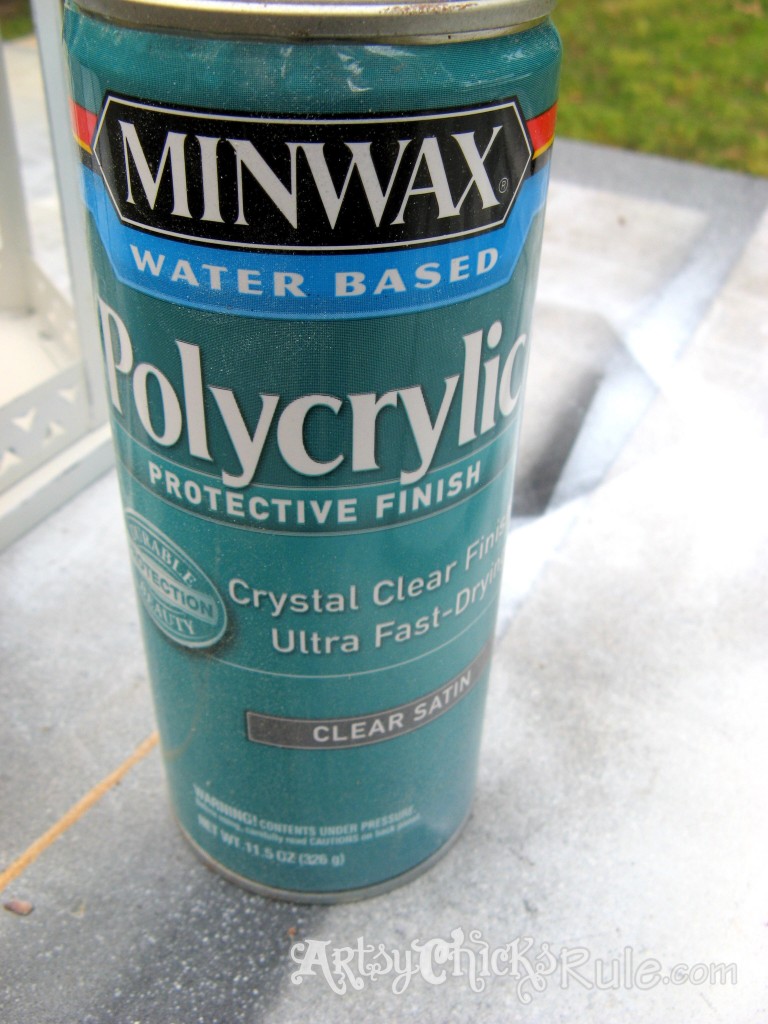
After it was dry, I sprayed it with Polycrylic and sprinkled glitter over the frame.
Because everything needs a little sparkle. Don’t you agree?
I created this fun, swirly printable to go on the inside.
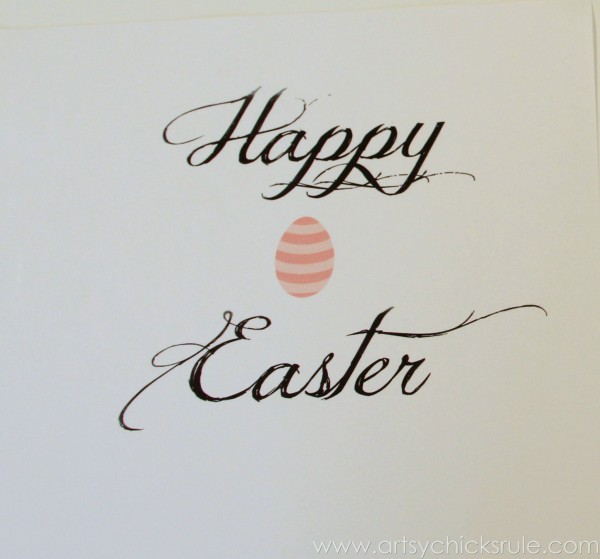
You can do whatever you like here. Again, the possibilities are endless. That’s one of the great things about a project like this.
YOU get to create what you want.
Print it out and rub a regular pencil over the back of the lettering for easy transfer.
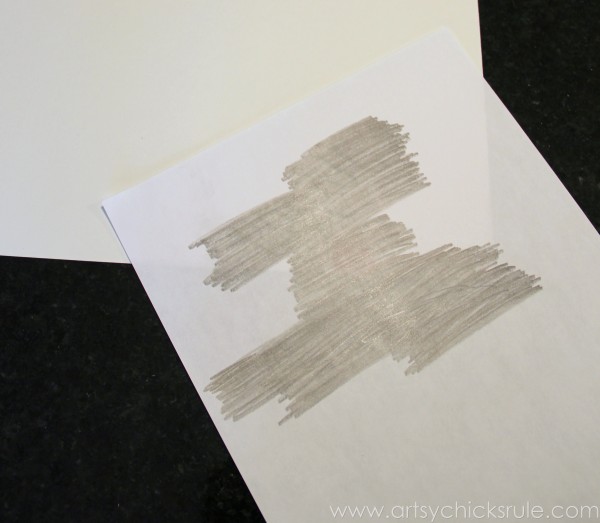
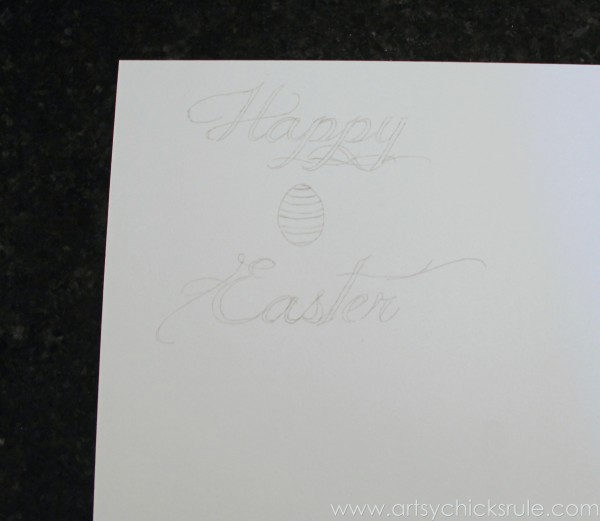
Turn it back over, place it onto your paper and trace over the letters.
Simple! Really, it is.
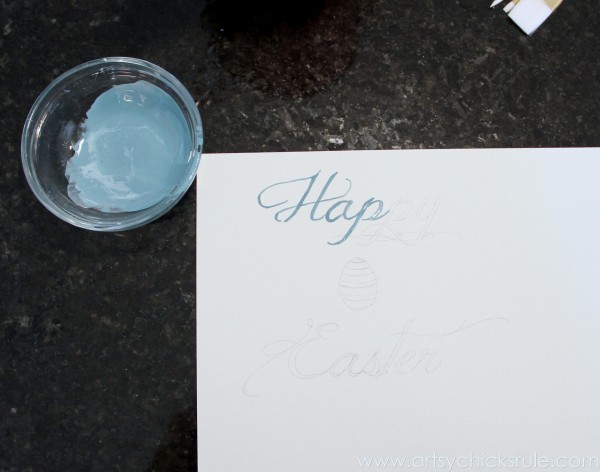
Hand painting in with the same color I used on the frame.
I use a small, thin artist’s brush to do this. Also, it works best if you water the paint down just a bit.
I seem to have more control over the paint when I do that. Especially for small, thin lines, etc.
If you don’t feel comfortable with paint and a brush, you could also use colored pencils or markers to color in as well.
Done.
See the sparkly frame? Love that.
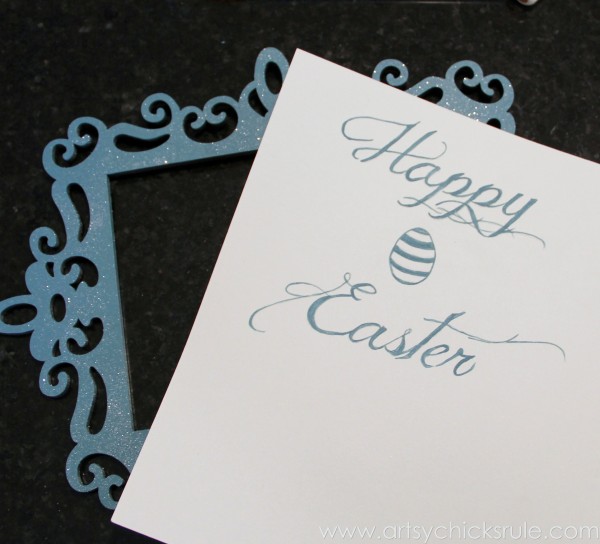
I used watercolor paper that I had for another project.
(I can’t wait to get started on that one! I bought the paper and posted about it on Instagram 13 weeks ago! …but other projects are taking over. ;) )
I’ll be getting to it and sharing it soon, I hope!
After the paint was dry, I sprayed the front of the paper with Polycrylic to seal it.
After that dried completely, I cut the paper to fit the frame and taped it to the back.
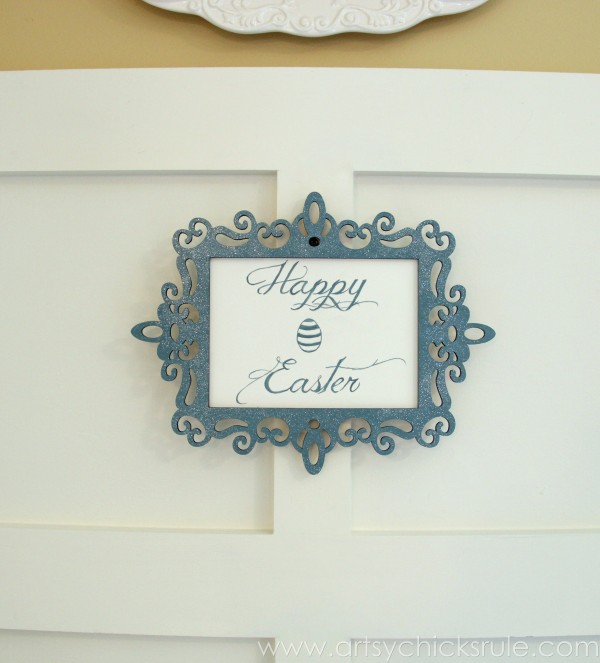
That’s hanging on a screw I have in the wall for my mirror. Not ideal but you get the idea.
You can hang it from a small nail, use 3m Command Strips, or a ribbon.
Lots of ideas.
I chose to use it like this…..
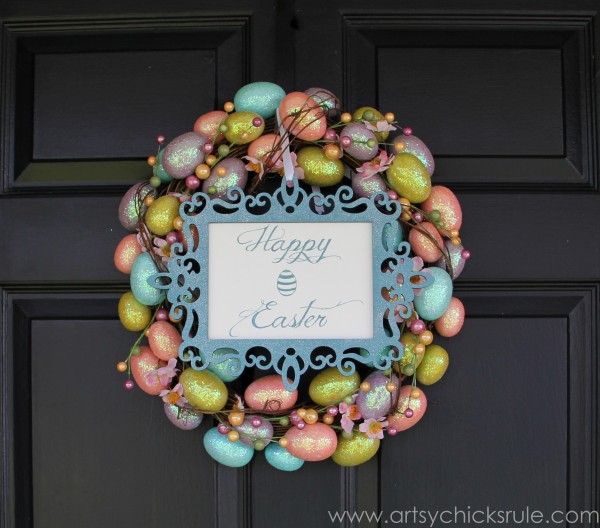
On my front door in the center of the wreath I “made”.
Now everyone will be greeted with a cheery “Happy Easter” as they enter my home. :)
So, really, anyone can make a sign. There are so many different methods.
Projector method (great if you have one, I picked mine up on Craigslist for around $35)
Wax paper method – probably the easiest of all
Chalk transfer – great for fabric…..and more!
But this is one I’ve probably used the most.
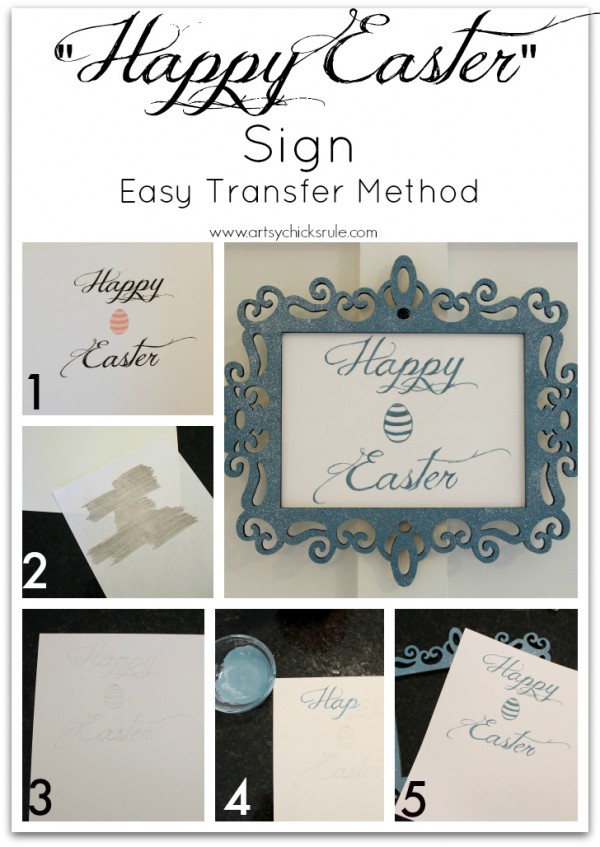
Have you used any of these methods? Do you think you would?
You should give it a whirl if you haven’t! :)
 Be sure to follow me on Instagram if you don’t already!
I always post projects and things I’m working on plus lots of fun (silly!) random dailies. :)







Love the frame and the printable!!
Thank you Crystal!! :)
Nancy
Love this cute sign. I need to purchase a small brush for fine lettering like this. I’m off to check out your waxed paper transfer method.
Thanks so much Paula!! :) Yep, the wax paper method is super easy!
Nancy
So cute Nancy, and the perfect addition to your wreath!! I love those scrolly frames- so pretty!!
Thanks so much Krista! :)
Nancy
Love it Nancy!
Thanks Therese!!
Have a great weekend!!
xo
Nancy