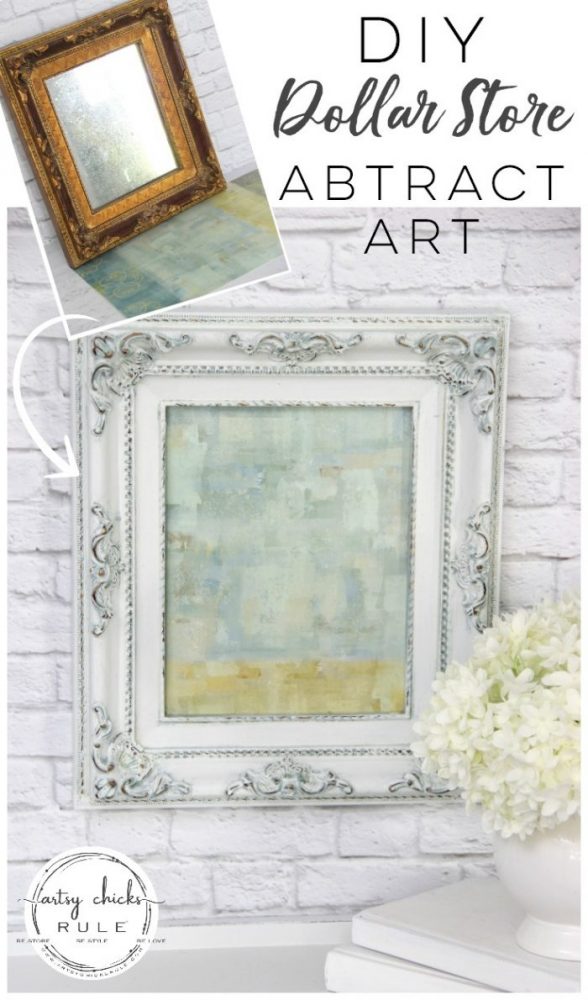
DIY Dollar Store Abstract Art (mirror repurposed)
Artwork for your home doesn’t have to be expensive. Sometimes you just have to get a little creative! Like this DIY Dollar Store abstract art I’m sharing with you today.
Hey friends!
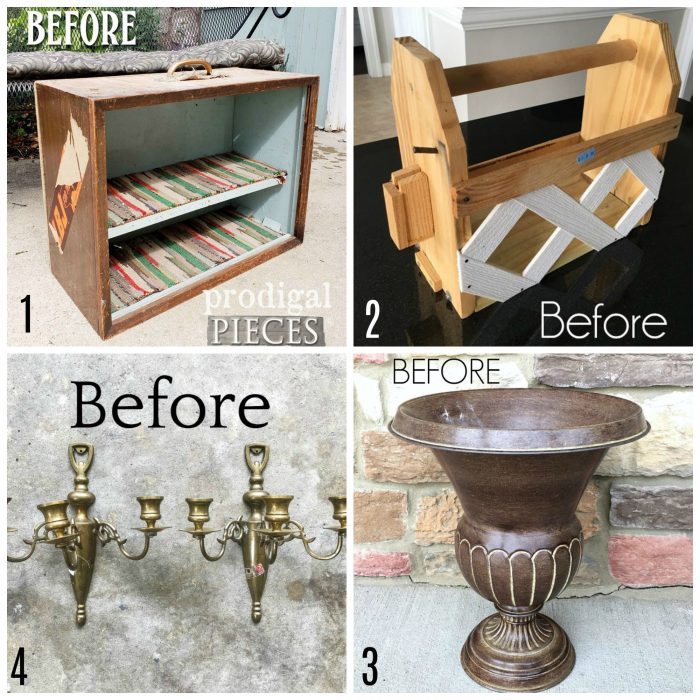
It’s trash to treasure transformation Tuesday and my friends and I are sharing our trashy treasure makeovers. ;)
Be sure to scroll all the way to the bottom so you don’t miss theirs!
Today I’m sharing a neat way to create artwork for your home…. without spending a fortune.
Or even $5!
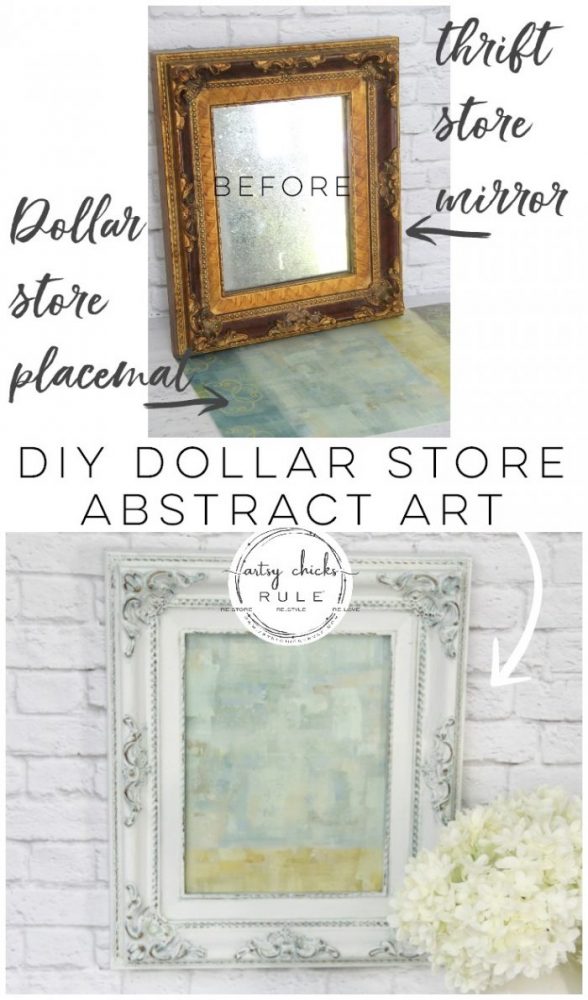
How about an old thrift store mirror for less than $2 bucks and a $1, Dollar Store placemat?
Can’t really beat that….at all.
And it was SOOOO simple to create!
Win-win.
DIY Dollar Store Abstract Art
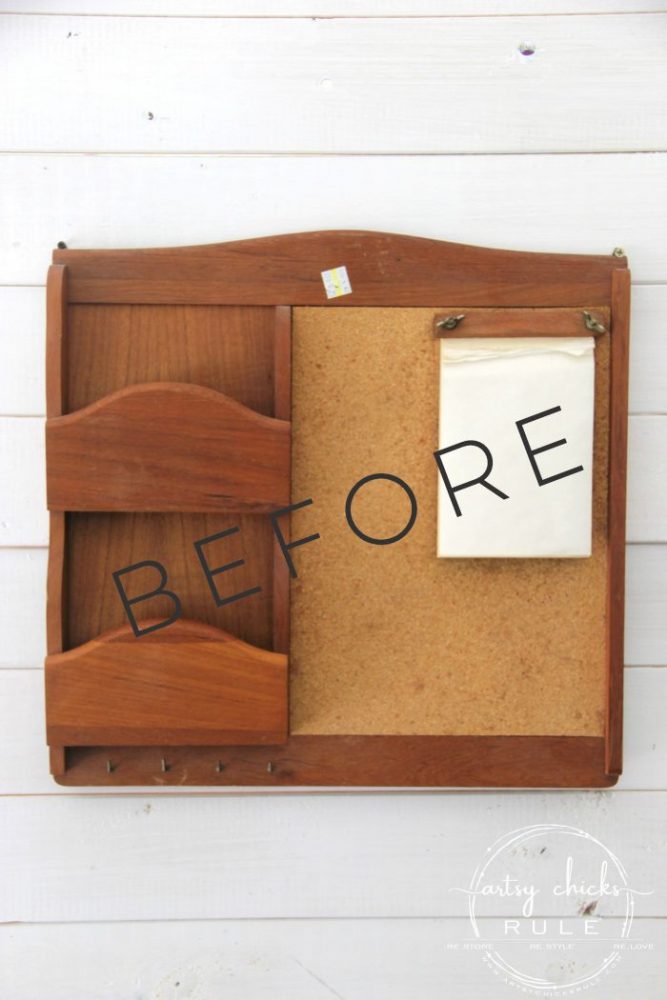
Here’s what I started with:
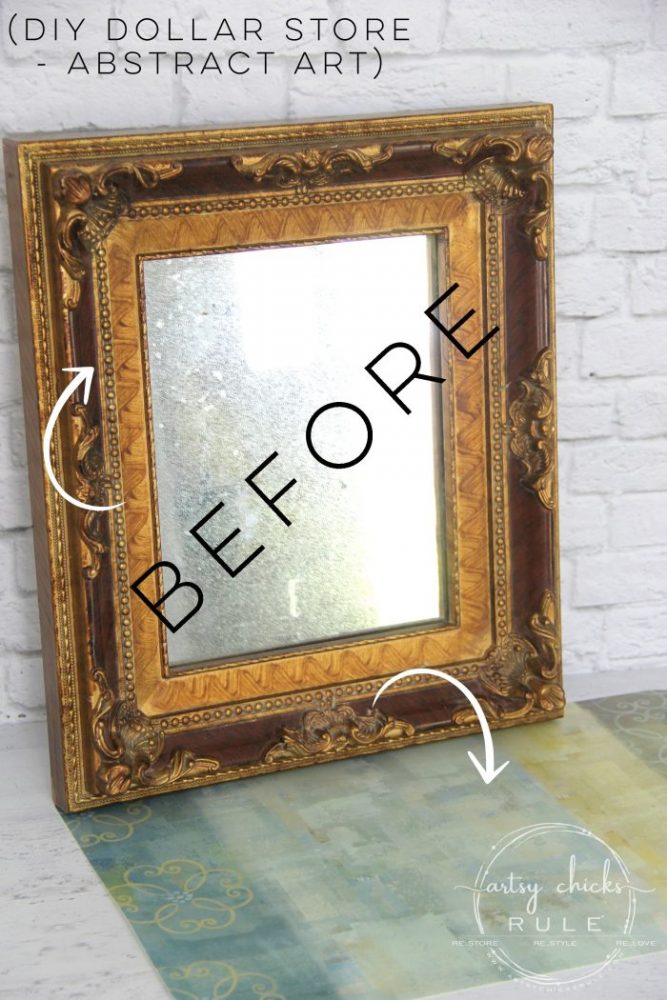
I saw that place mat at the Dollar Store recently and loved the colors. I bought it thinking I’d do something with it but honestly had no idea at the time.
I figured I’d cut it out and use it as a backdrop for a sign.
Which would also be a fun way to use it.
Then I came across this old mirror I found at the thrift store ages ago and decided to create a dollar store abstract art piece instead!
I can’t tell y’all how oh-so-simple this was. Truly, it was.
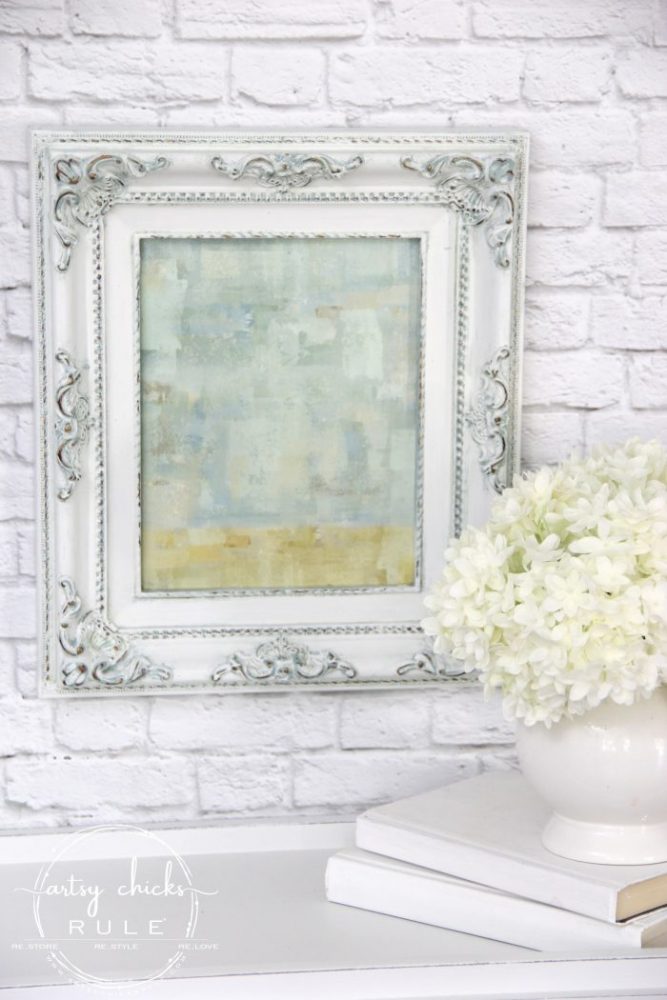
And I just love how it turned out.
Here’s what I did:
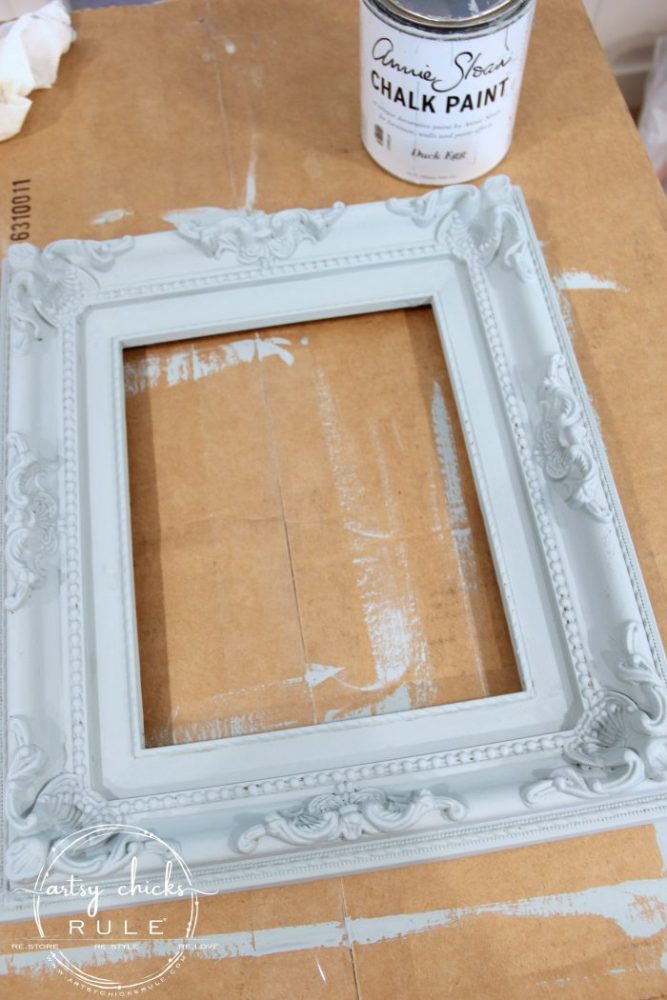
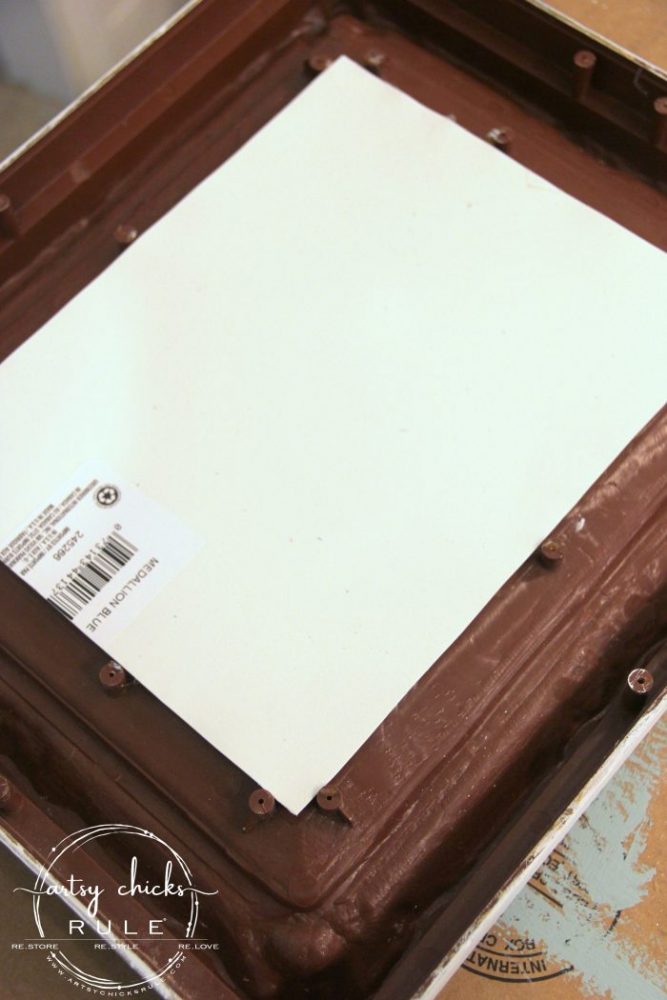
To get the mirror out, I took the back piece off.
It was held on by a couple of small screws.
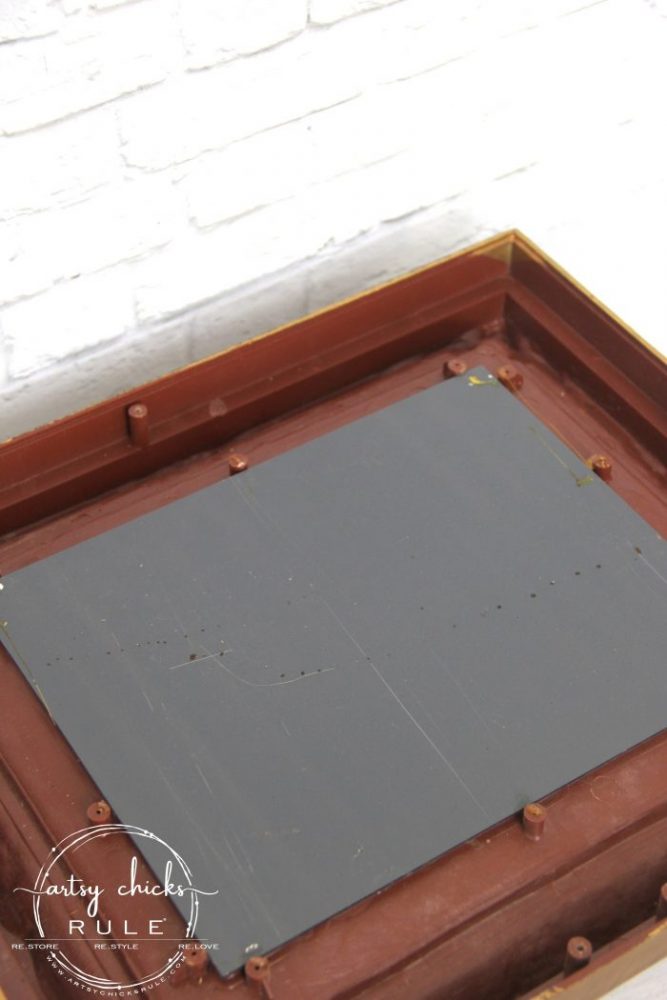
The old glue holding the mirror had long ago lost its adhesion so it came right off.

AND…I’m actually going to use that mirror on an upcoming project I have planned.
So nothing goes to waste here.
Next, I painted the frame with Duck Egg Blue Chalk Paint.
You can also use this paint (which I have and love too) as it’s very similar in color. (and cheaper!)
Once that was dry I painted it with this white paint.
I had thought I’d cover it completely with the white and then bring the blue back through on the raised areas.
I ended up doing it in more of a heavy dry brush style instead.
In the midst of the creative process, I sometimes forget to take photos. Sorry!
I did a very light coat of dry brushing but it was just too much blue.
So I went back over and added lots more white and thought I was done.
It wasn’t looking great with the “abstract art” and I think that’s because of the yellow/gold shading at the bottom of the artwork.
So I decided to bring some of the gold back through on the raised areas to help pull it together.
And yes! That’s exactly what it needed.
I just gently wiped over the raised areas with a damp rag and it removed just enough paint without scratching past the gold to the plastic frame.
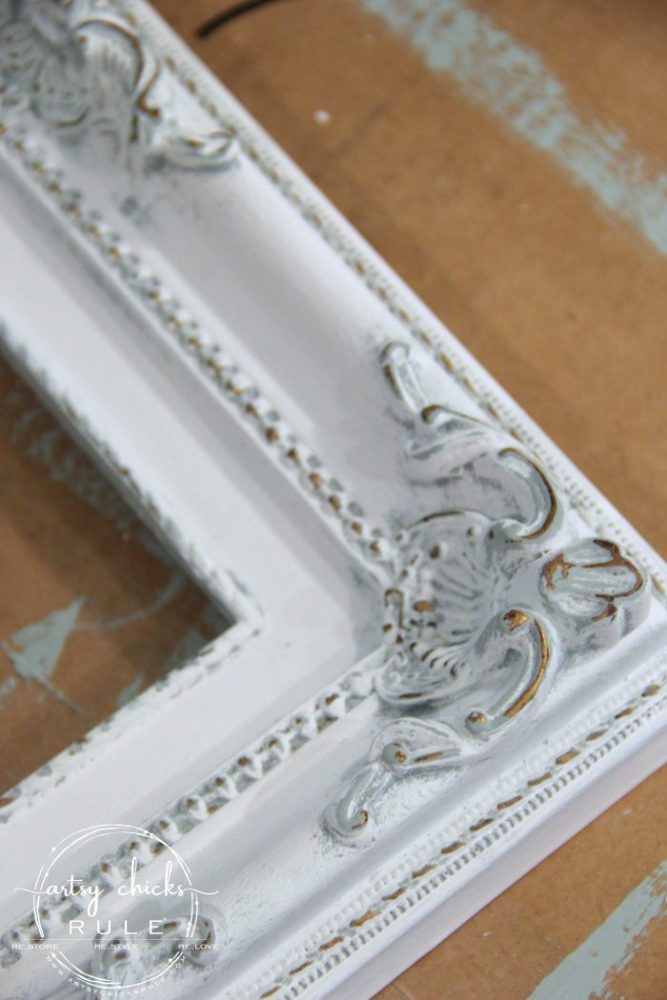
That ties it all together nicely now.
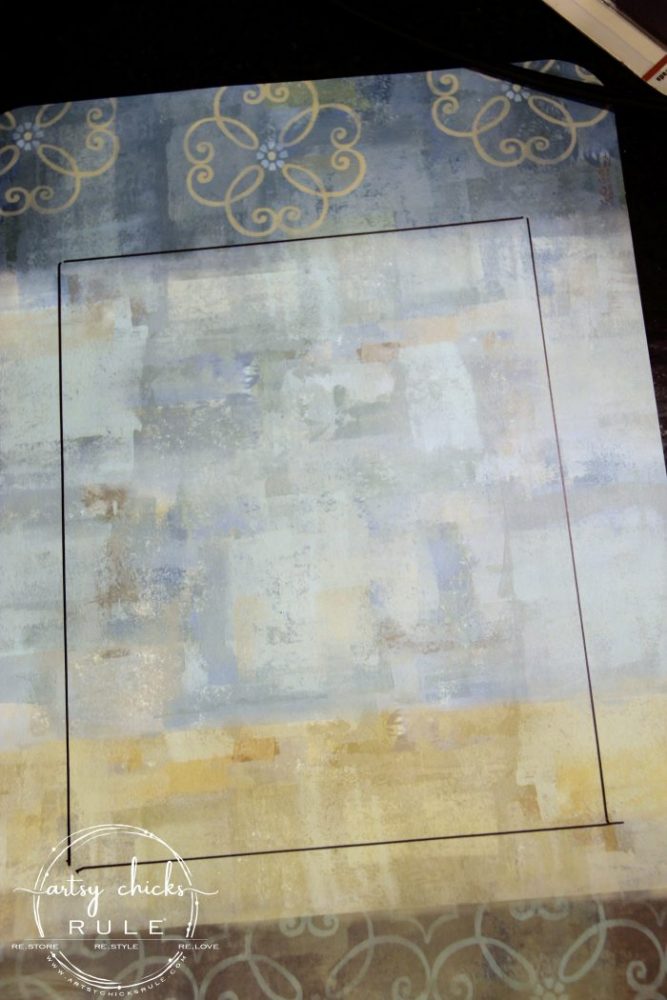
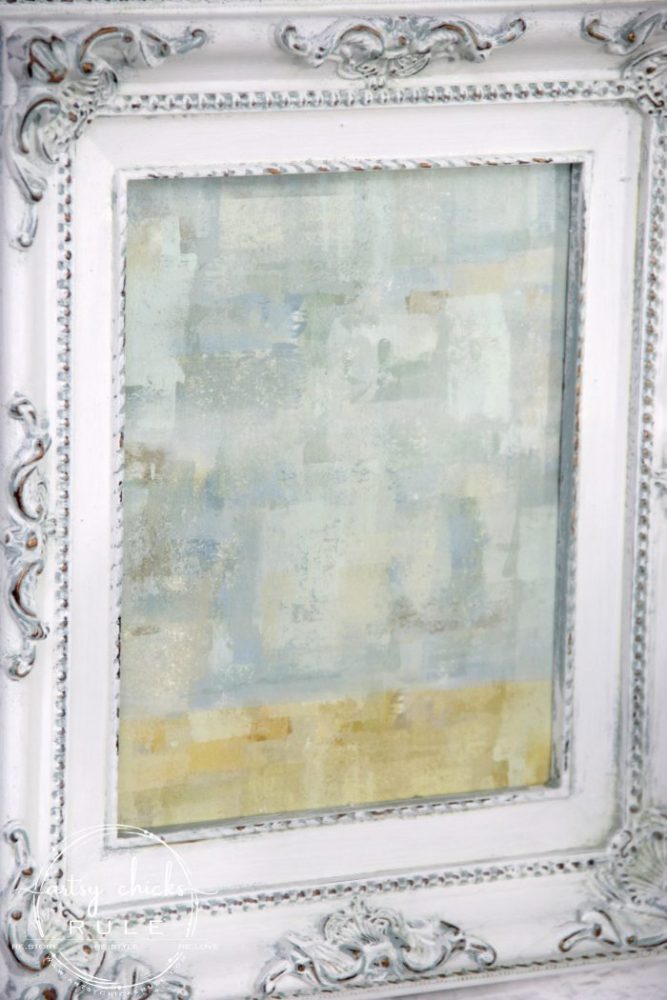
For the “abstract art”, I simply traced the mirror on the section of the placemat that I wanted to use…..
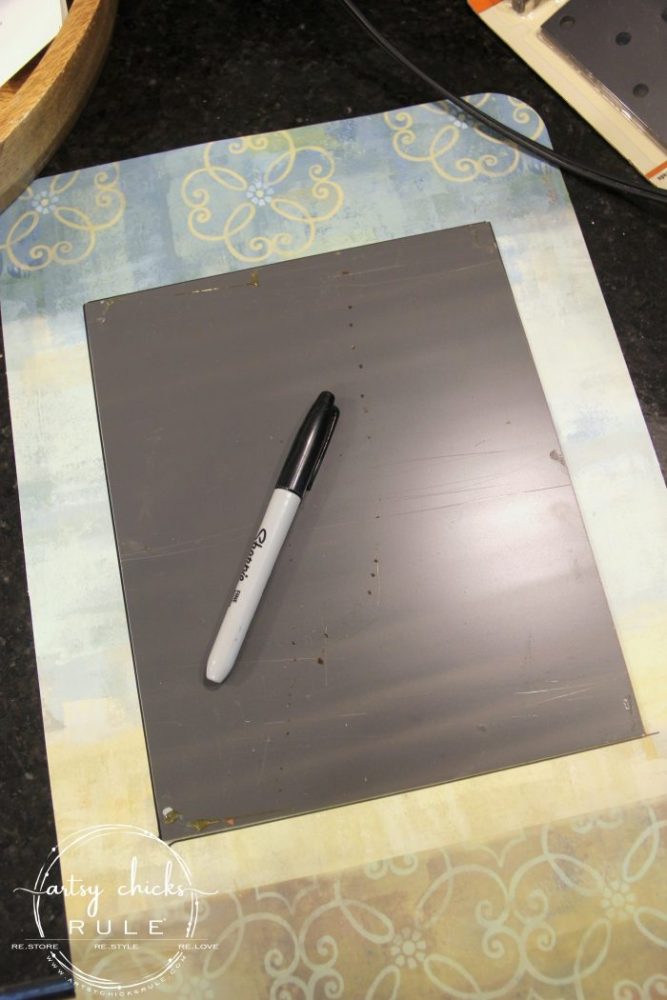
…. and cut it out.
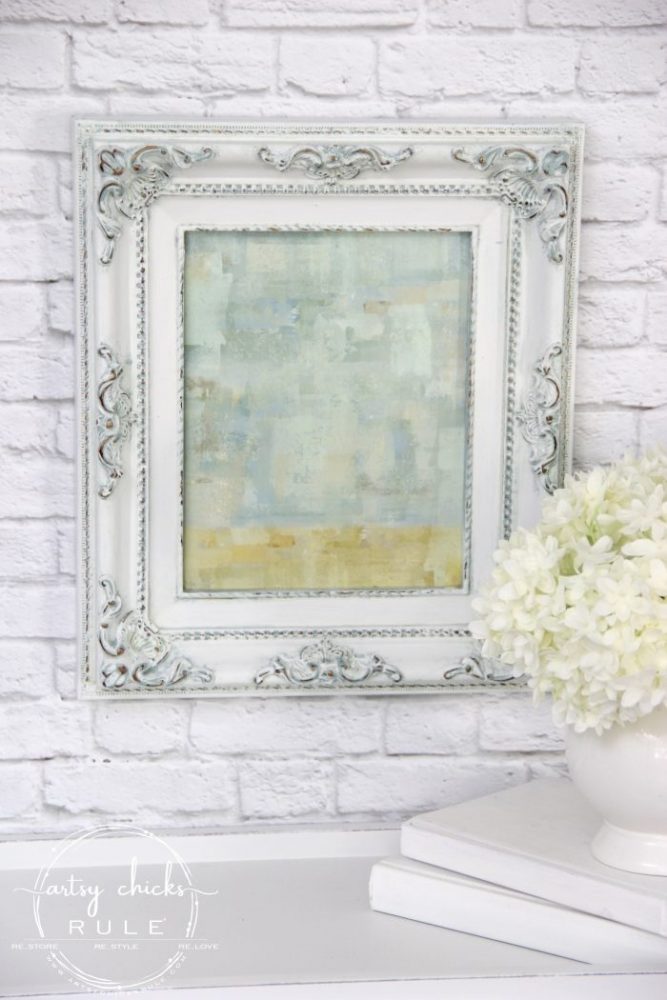
I liked how this section of the placemat actually looked like sand, ocean, and sky.
To attach it, I simply added a thin beading of hot glue all around the edge and firmly pressed the placemat to the frame.
I was going to use (and would have preferred to use) my E6000 glue but could not find it. (with all the remodeling going on, this house currently looks like a hurricane has gone through it!)
Like I said, simple!
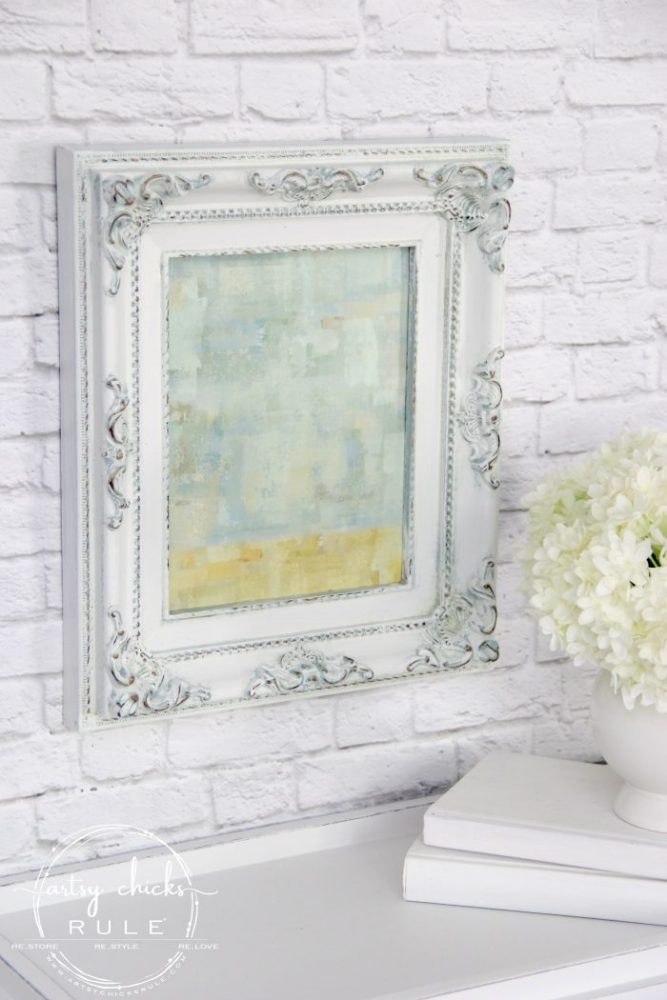
Screw the back piece back on and voila!
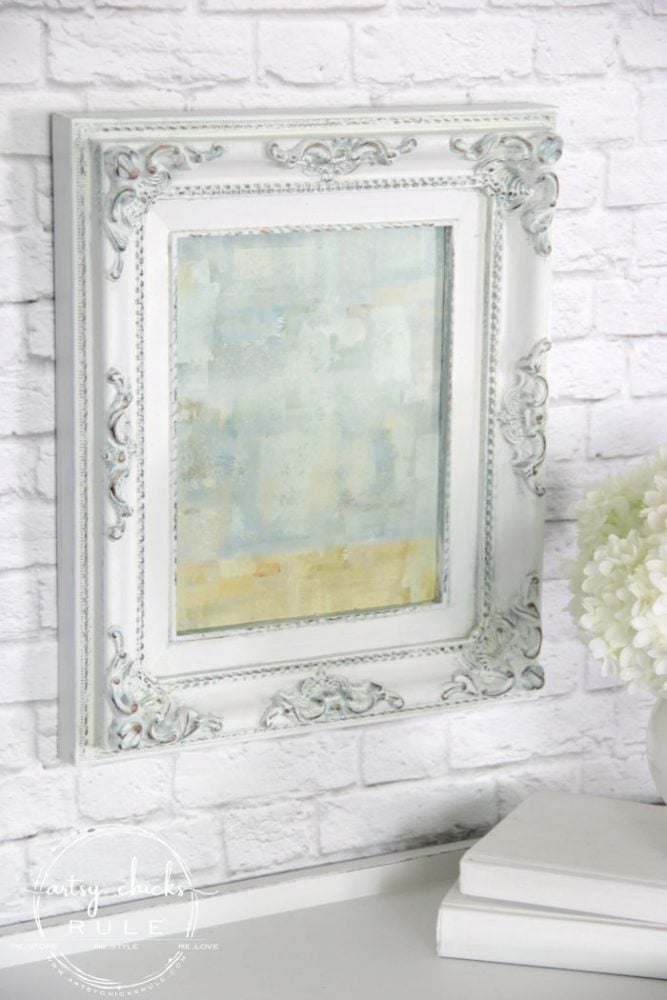
Your very own Dollar Store abstract art for less than $3.
Gotta love that!
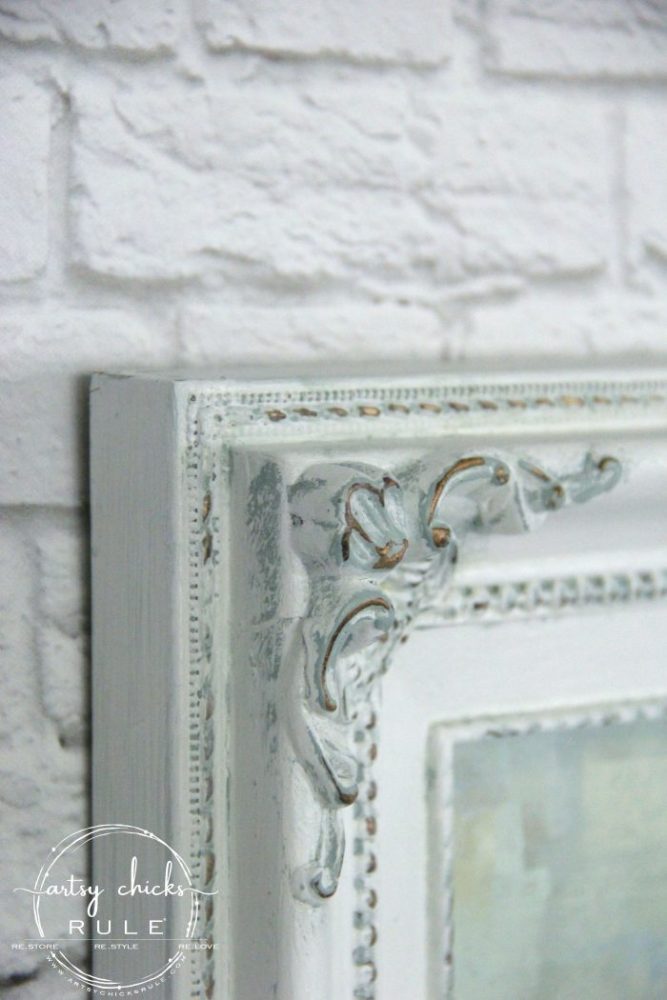
I really think bringing some of that gold/brown back through was the right choice as it does tie in the gold hues in the “artwork” nicely.
And a little sneak peek of our new floor going in!
This is in the study and in the exact spot my fave Aubusson Blue dresser usually sits. (which I think is going to our bedroom now)
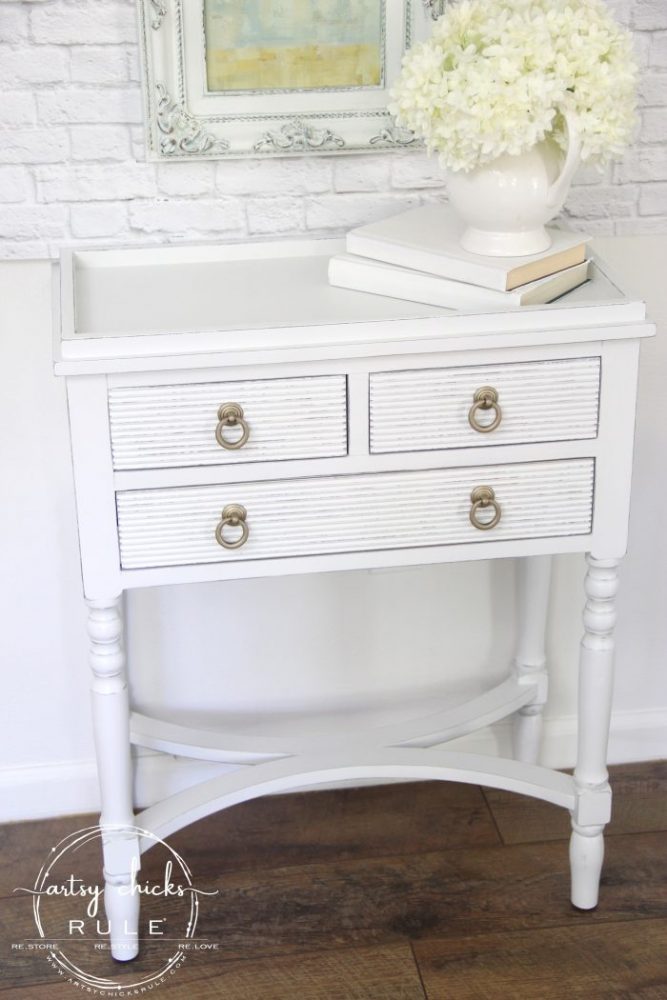
And the brand new table makeover I did recently for the foyer.
More home updates coming soon!
Now PIN this so you can save it for later!
Wait, don’t forget to see what kind of treasures my friends turned these old finds into!!
(links to each are below)
I hope you enjoyed today’s DIY Dollar Store Abstract Art (and thrift store) makeover!
So many things you can find at the Dollar Store to makeover and the thrift store too.
Keep your eyes peeled!
I’ll be back on Thursday with another fun makeover!
xo


")
")


I love how your mind works, Nancy. This is awesome! And you’re right…it does look like sandy beach and sky. Nailed it!
Thanks so much Larissa! This was a fun one. :) xo
Really great job Nancy! Very creative as usual!
Aw thanks! I enjoyed thinking up this one!! :) xoxo
Such a great idea! I have seen some cool looking placemats.
Thank you Rose! Yes, they do have some neat ones! Lots of things you can make. :) xoxo
How cute is that?? It looks fantastic! And I LOVE your floors! I’m not in love with mine at all boo hoo! Can’t wait to see it all done! XOXO
Thanks Christy! :) And you don’t love yours?! I think they are beautiful! xoxo
What a beautiful great idea, I love it.
Thank you Christina! :) It was a fun project! I’m not going to look at place mats the same!! ;) xo
Love it!
Thanks Robyn!! :) xoxo
Who would believe that was a placemat? The antique style of the frame looks great with the modern “art.”
I know, exactly Marcie! :) I sure wouldn’t! Thank you! xo
Nancy this is so creative! I would never have guessed this was a plastic frame or a placemat!
Thanks Jen! :) I know, isn’t it crazy?!! xo
Oh my gosh that is so cool. Love the way it all ties in together. When I was manager of Dollar tree in Tennessee I took Christmas placemats put them back to back and made pillows for my friends and family. Who doesn’t love a crafty deal right? Hugs!
Thanks Bonnie! :) Oh, love that, another great idea! Me!! I surely love a crafty deal!! xoxo
That is so classy, Nancy! A very creative and unique piece. I really appreciate the tutorial. I can’t wait to find something to paint in that style.
Thanks Naomi! :) You are so welcome! This is one of the easiest little makeovers I’ve ever done, too! Can’t beat that! xoxo
WOW!! You are so creative! Beautiful!
Aw thanks Donna! This was so simple too! :) xoxo
Very creative and nice decoration but I wonder how it looks with darker colours because I have white walls in my living room and I need something in contrasting colours.
Hi Kate,
I think it would look perfect on white walls! :)
Wow, Nancy! That is such a smart idea, and done is such a lovely way! Would have never thought of that!
Thanks Julie! This was such a simple craft but one I ended up loving a lot! :)