Don’t Worry Be Happy Signs
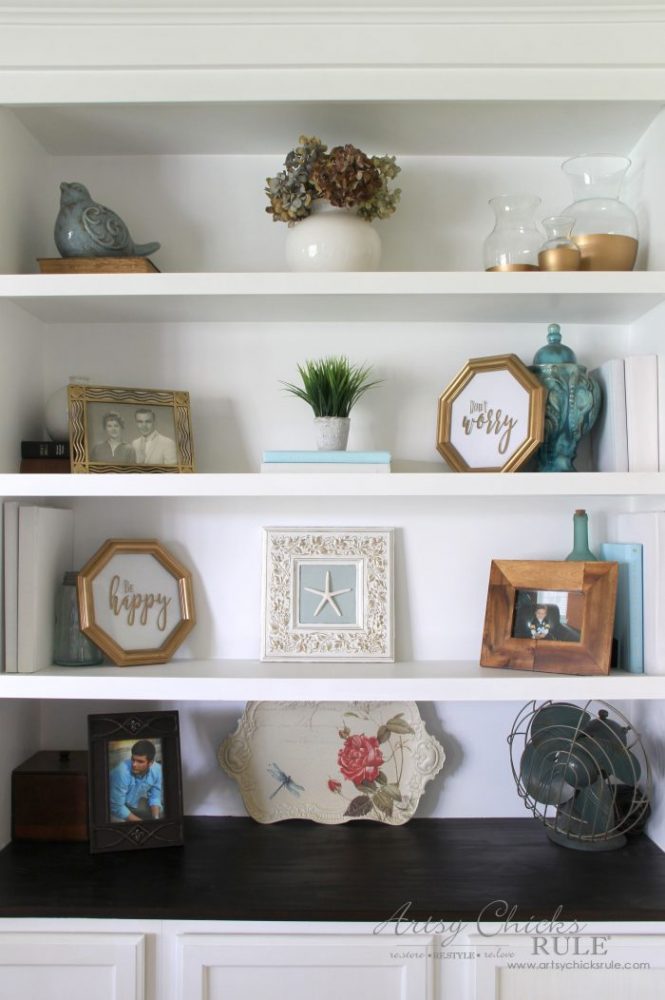
Don’t worry, be happy signs….perfect to bring positive and inspiration to your home. Easy to make, too!
Hi Friends!
It’s trash to treasure day and my friends and I are sharing our trash turned treasure.
I’m sharing these fun new signs I made, Don’t Worry Be Happy Signs.
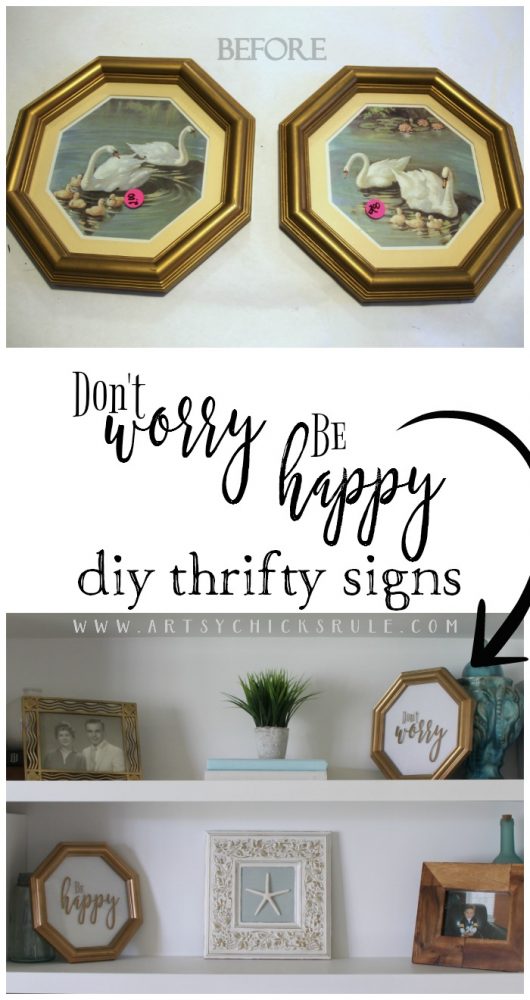
I found these old Home Interior prints at the thrift store….
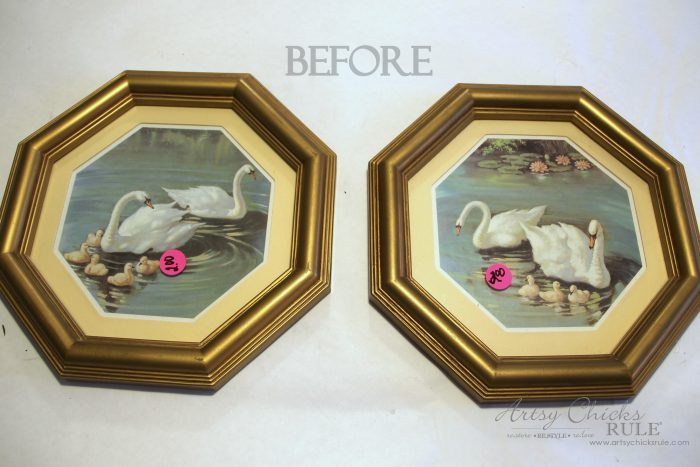
…and while they are pretty, they are not my style.
So, I took them apart and decided to turn them into something else completely, Don’t Worry Be Happy Signs.
I’ll include affiliate links to the products I used in the text below. You can see my disclosure here.
I took them apart and sprayed over the dark gold frame with Metallic Gold Spray Paint to brighten it up a bit.
Check out that crazy glass….
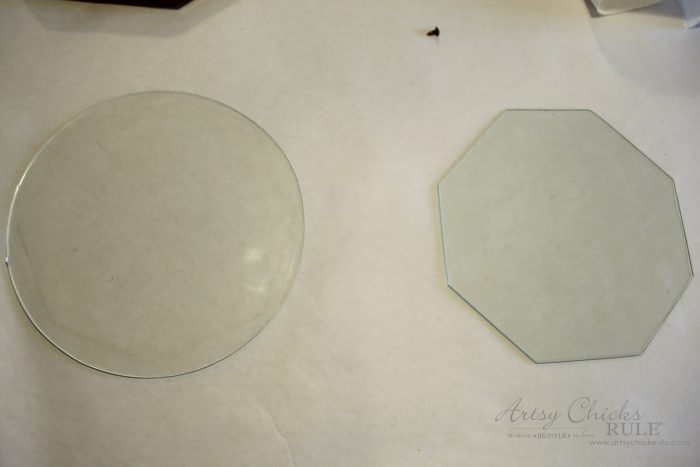
So funny.
And the round one was a bit tough to get in and out.
Anyway, my first thought was to keep them together as a set.
I considered doing something coastal with them, seashells, whatever, but scrapped that idea.
Instead, the words “don’t worry, be happy” popped into my head.
Not kidding. ;)
So that’s what I did.
I created these two graphics in Picmonkey that you can download for free!


You can download it here (minus the watermark). Personal use only, please.
Then I decided to create mirrored backgrounds sort of like this project, “Mirror Word Art“.
That one was actually a mirror, but I wanted to turn this glass into mirrors.
So I pulled out my Looking Glass Spray Paint and gave the backs a few coats.
You can see how I made a “faux” antique mirror out of plain clear glass here, “How to Make an Antique Mirror”
Next I transferred my graphics over to my Silhouette Cameo program and cut them out.
Want to see how easy it is to use your own designs inside of Silhouette? Click here >>> How To Import Your Own Designs Into Silhouette Cameo.
Or you can also use any of these transfer methods to do it if you don’t have a Silhouette machine.
The only vinyl I had was contact paper….with a design on it. ;)
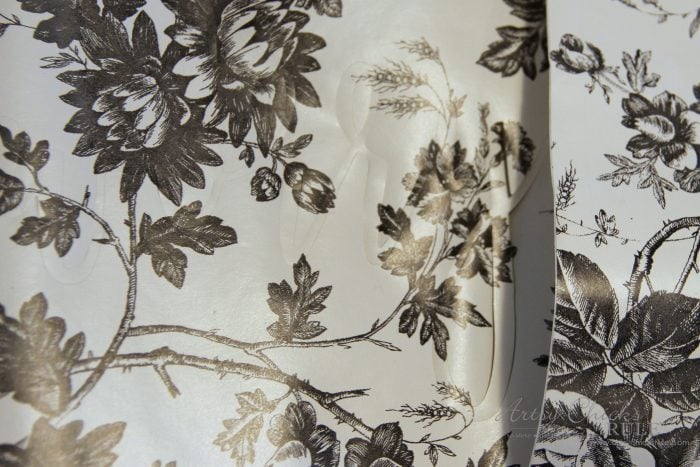
Oh well, I just used it anyway. Nothing paint can’t fix! (see the cut letters above?)
And with a little of the same gold spray paint….
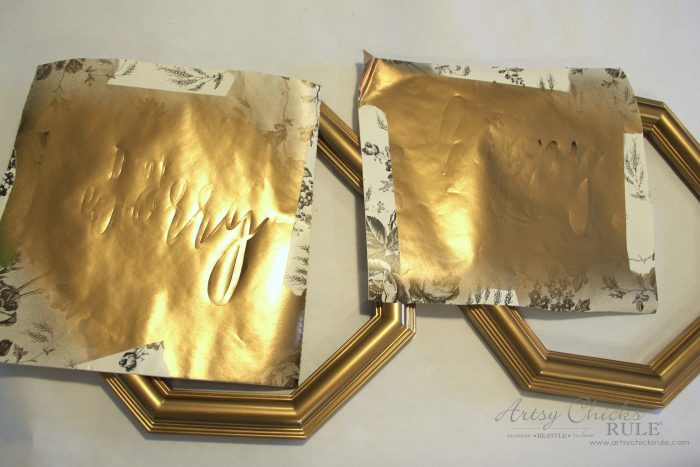
See? Paint is my BFF. :)
I peeled off the excess vinyl after spraying them and cut them to better fit for transfer.
(see the newly mirrored glass underneath them?)
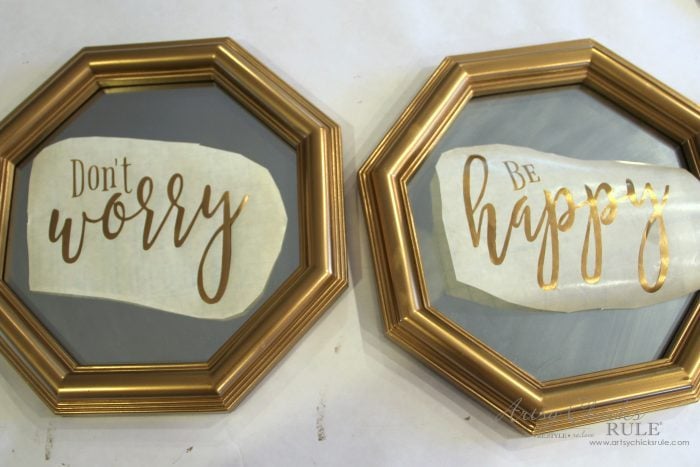
And attaching them to the mirror with the transfer paper.
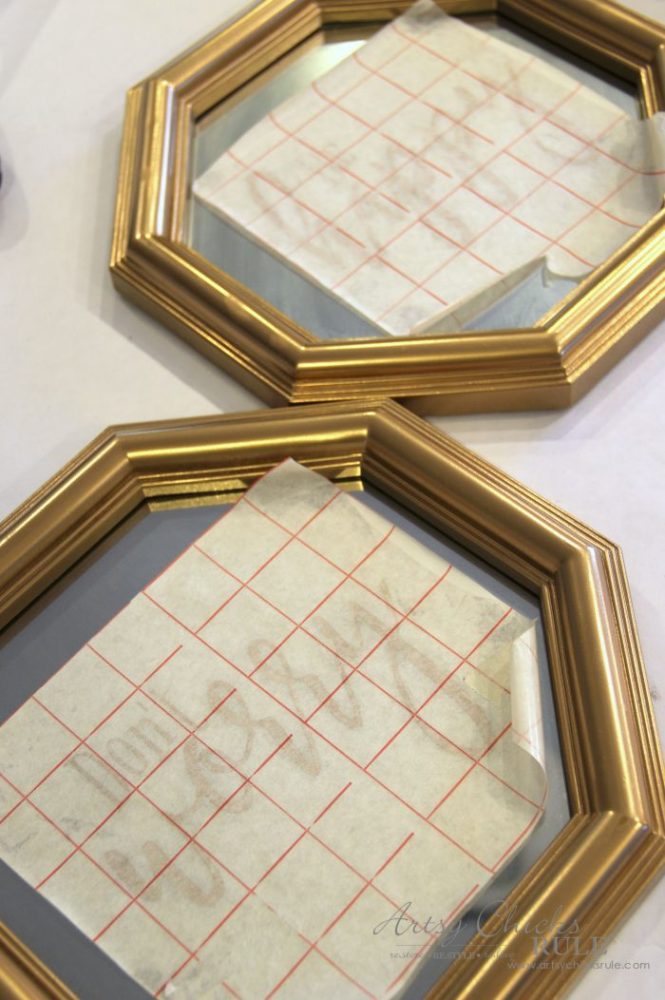
And done!
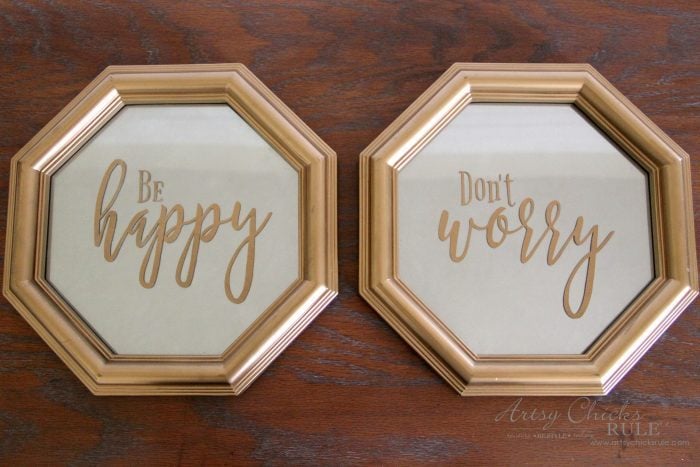
They look great, right?
Yep!
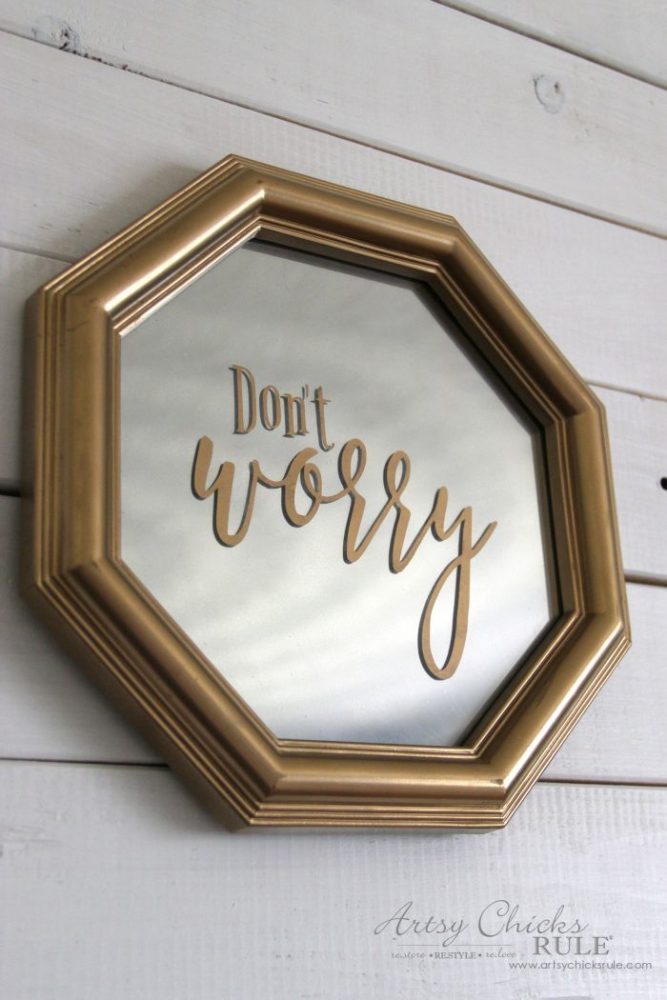
Nope!
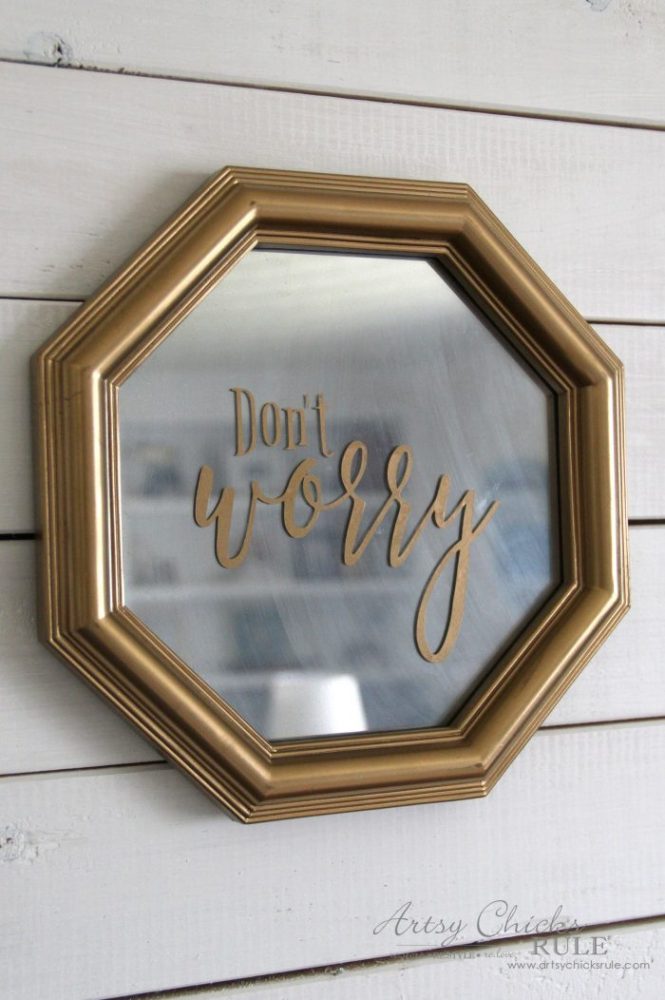
Not so much.
Big ole FAIL. Yep.
They look great at a sharp angle. Every other view, not so good.
Plus it picked up the swipe marks from where I cleaned the glass before hand. Ugh.
So, back to the drawing board.
But my handy (and fave stripper) Citristrip came to the rescue.
I just wiped it on….and wiped the paint right back off. Yep, it was as easy as that.
Back to clear glass and with a simple sheet of copy paper behind it.
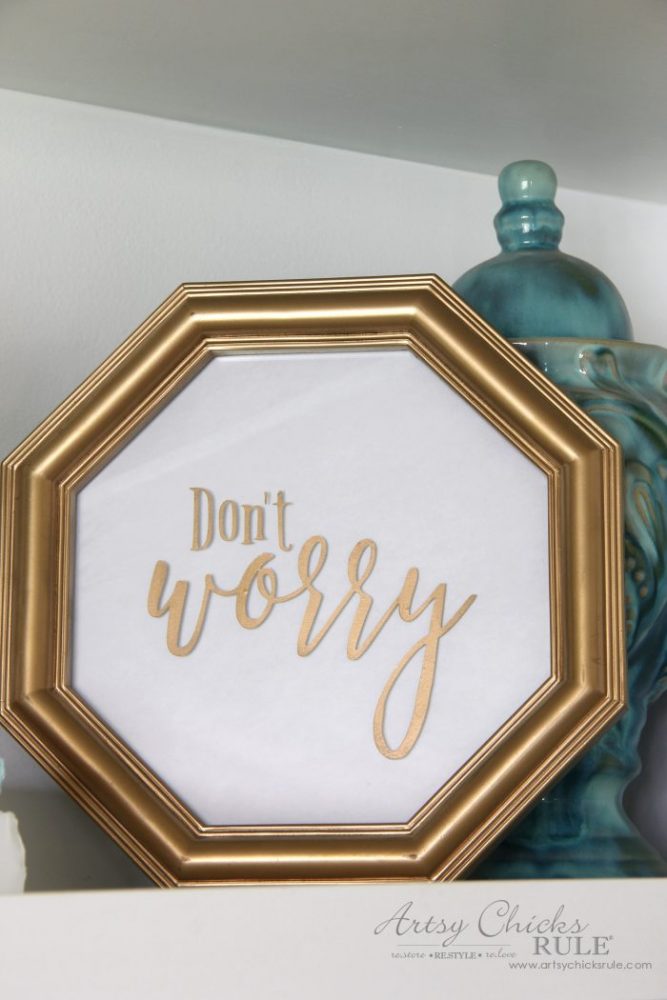
Much better.
You can actually read what it says now. ;)
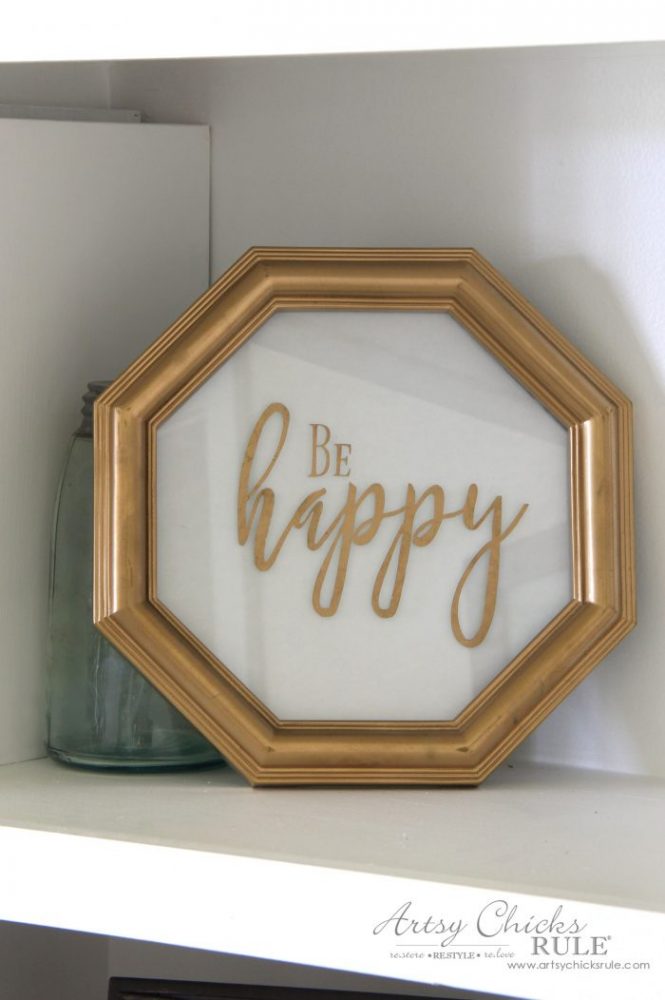
I just love them, and their inspirational reminder, up here on our DIY built in bookcase.
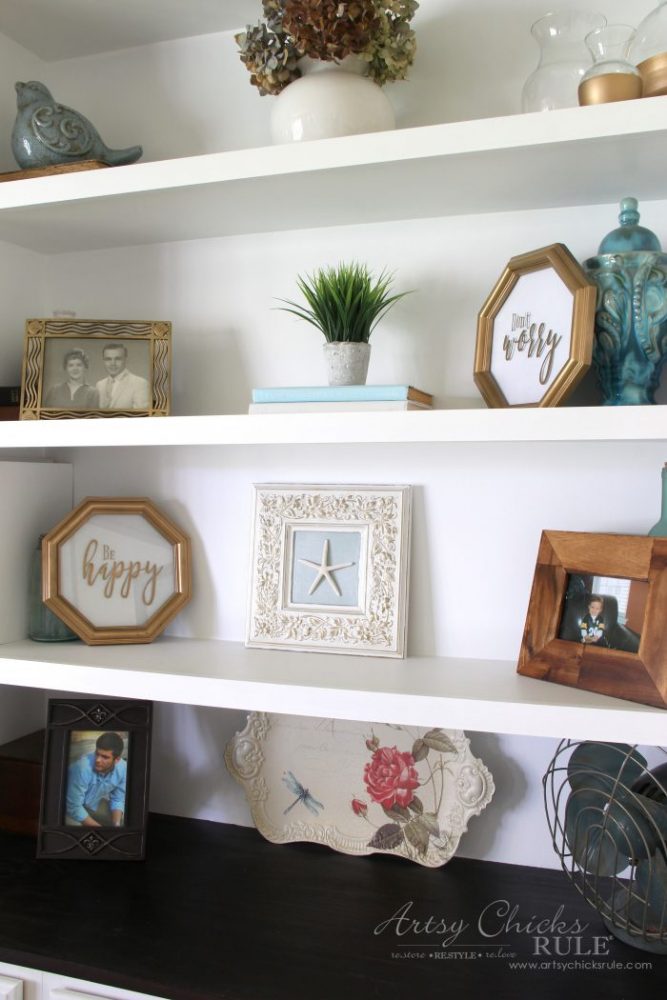
Don’t Worry Be Happy Signs and a couple other past thrifty makeovers up there too. (and photos of my parents, nephew and son :) )
>> Thrifty Frame Turned Coastal Art
>> Gold Dipped Jars (Super Thrifty DIY)
PIN this to save for later (so you can make some Don’t Worry Be Happy Signs too)! :)
Now hop on over to see what kind of treasures my friends made out of these…. (links to each below)
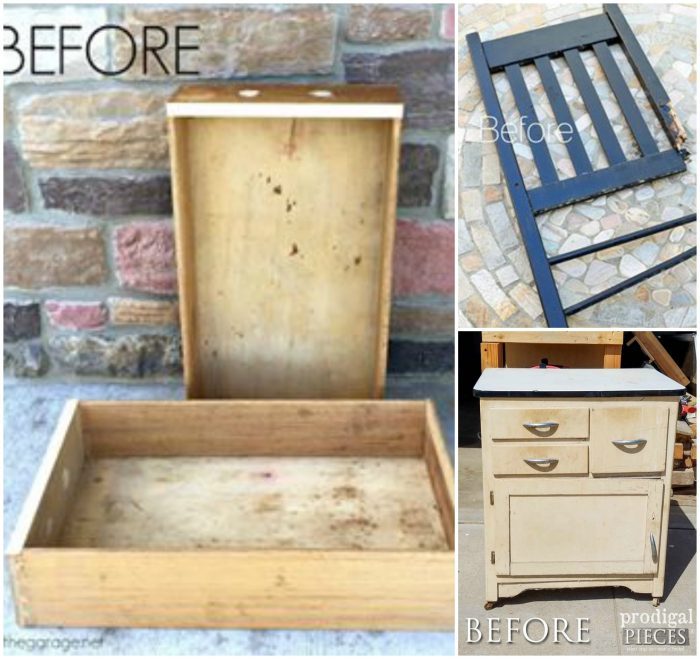
Girl in the Garage / Confessions of a Serial Do It Yourselfer / Prodigal Pieces
I’ll be back on Thursday and sharing what I did with this old thing.
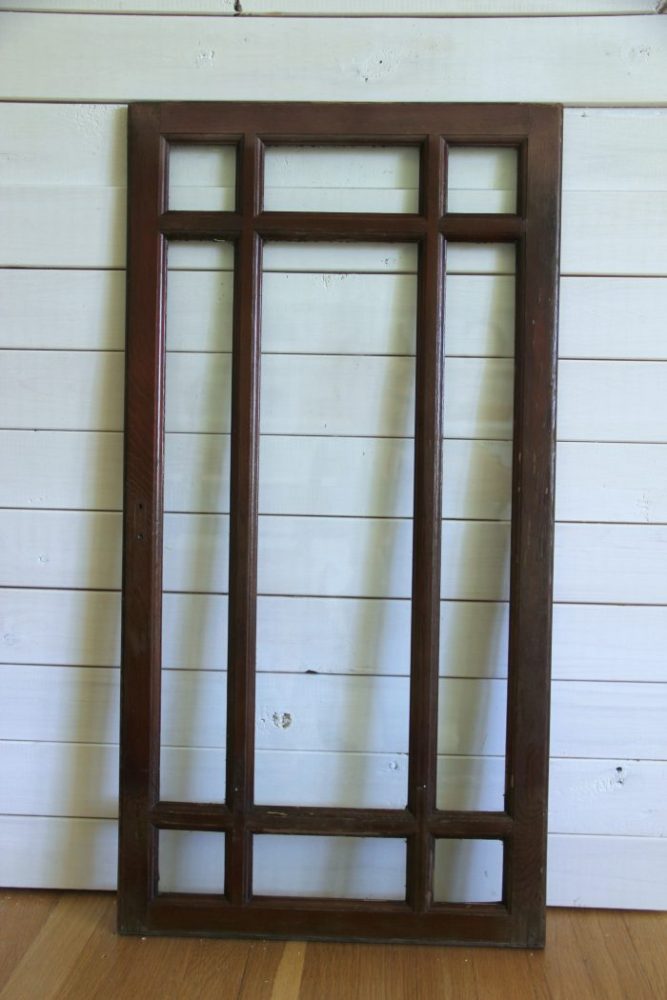
UPDATE!! See it now, here!
Want to see more trash to treasures? >> Trash to Treasure
See you Thursday friends!
xo




Love the sentiment and this pair looks great on your shelves.
Thanks Paula :)
Now I have to thank you for getting that song stuck in my head! :D Those are some sweet pieces you made there, Nancy. Love that you got it done despite the little setback. They are gorgeous!
Haha yep! Sorry! ;) Thank you Larissa!
I love these!! At least you figured out hwo to fix the oopsie lol…they are so fun and look great on your built-ins! XOXO
Thanks Christy! :) yep, I’m good at figuring out oopsies! lol
Nancy, I just adore everything about what you did to those thrift store prints. So stink’n cute and pretty! They look fabulous on your bookcase. Pinning and sharing
Thank you Marie
Painting your contact paper?!? Brilliant! Now I know what to do with those odd colors of vinyl I have that came with the assorted pack. You come up with the BEST ideas! Love, love, love your blog!
Ha yep! :) Paint that stuff the color you want it! I just love good ole paint. :) And thank you so much for the very nice words Suzanne! xo
I LOVE these!! And the thoughts displayed showed up for me at just the right time! I’m pinning and making some! Thanks for the idea and the thoughts I needed to keep in my mind too.
Thanks Linda :)
Aw and I’m so glad to hear that. xoxo
Haha, I can’t imagine those swans in your decor but the new design fits perfectly! The white and gold make them much more modern too. You create so many great projects with your Silhouette Nancy!
Nope, they wouldn’t work here! ;) Thanks Jen!! Love my Silhouette!
hey girl- love the signs! So cool!
Hey Shawnna! Thank you! xo
Such a simple design, I love it! Shame the mirror didn’t turn out right but they still look great!
Thanks so much and yes, I know! Oh well, sometimes happens! xo
Such a great reuse of those framed prints!
Thanks Angie! :)
I love how you completely modernized those frames. They look fantastic!
thanks Lisa!