DIY Jewelry Organizer (Storage Ideas)
Make this DIY jewelry organizer! It’s so easy and a great way to store those fabulous jewelry pieces!
The week is flying by! And if you caught my last post, you know I’m shopping the “World’s Longest Yardsale” with GMC and some other bloggers.
If you don’t know what I’m talking about, you can catch up here.
Today my “Get Your DIY On” friends and I are sharing “storage ideas”.
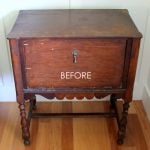
I’m sharing this old, messy “jewelry organizer”…..
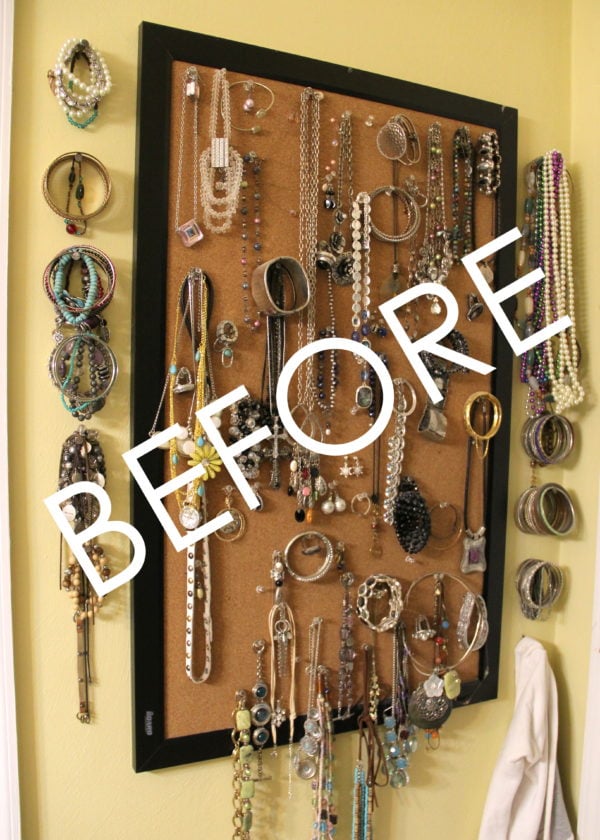
Eeek! I really shared that. ;o
But only with a big ole “BEFORE” slapped across it!
Yep. It didn’t start out that way….but that’s how it ended up!
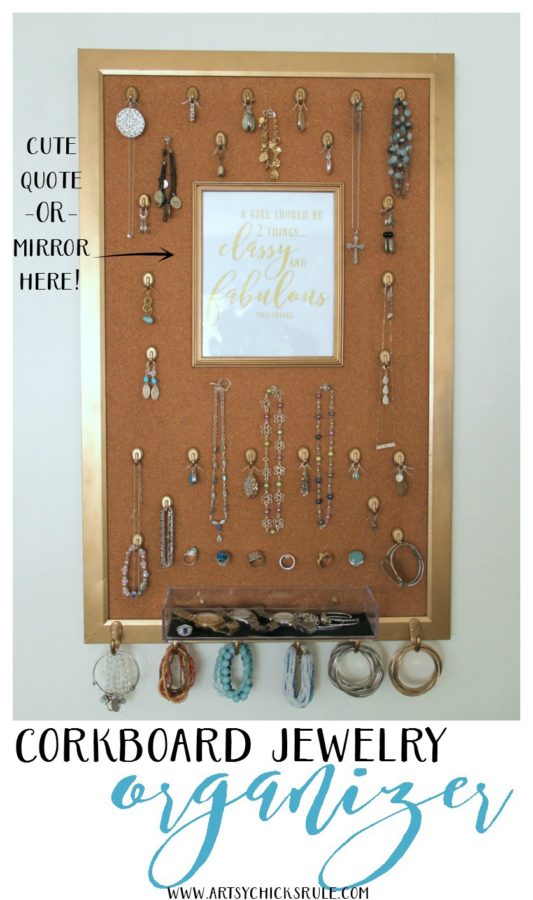
But have no fear…this is what it looks like now…..
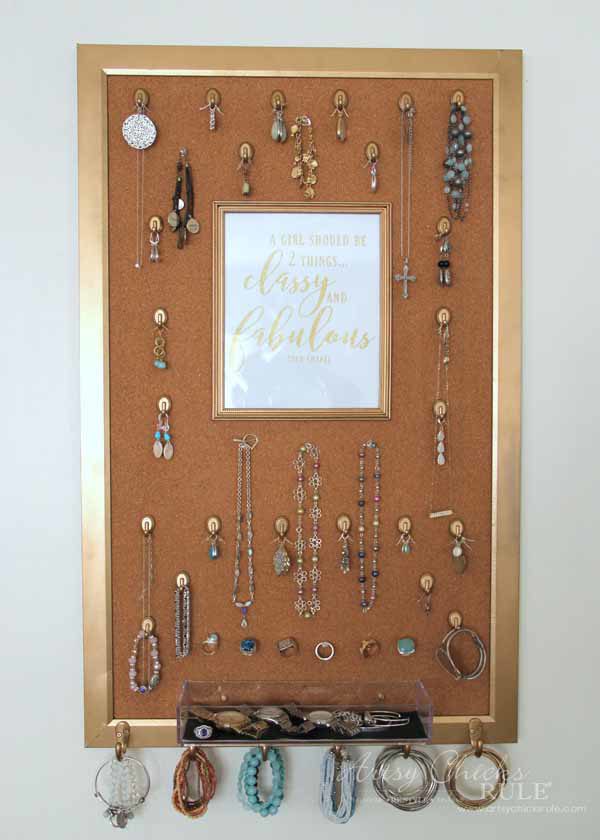
Much better.
I pulled it down from the wall, sprayed the frame gold, and bought a few little accessories ….for my accessories.
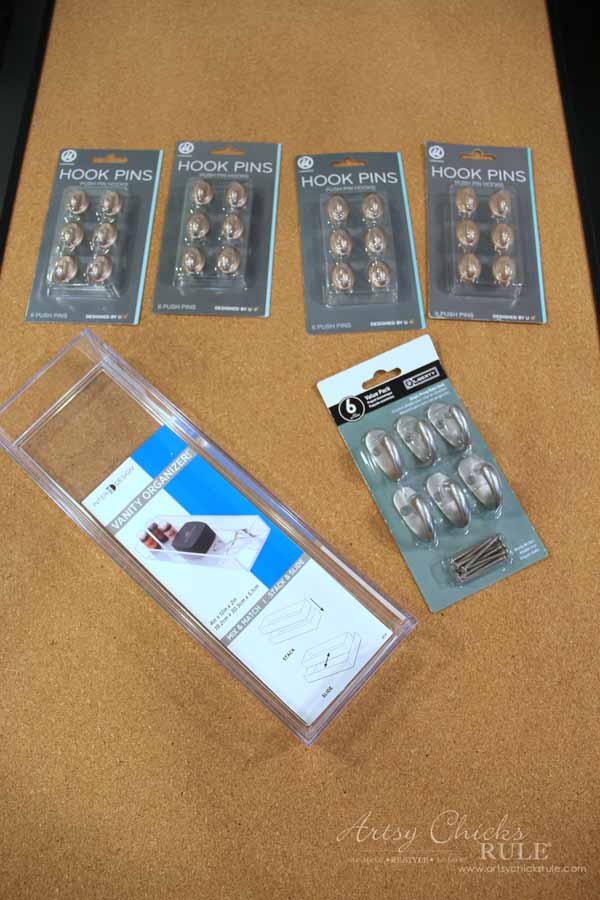
~Vanity Organizer (it’s from Target but couldn’t find it on their site)
Any size corkboard will work
Gold spray paint (or whichever color you like)
I spray-painted everything to match the gold frame.
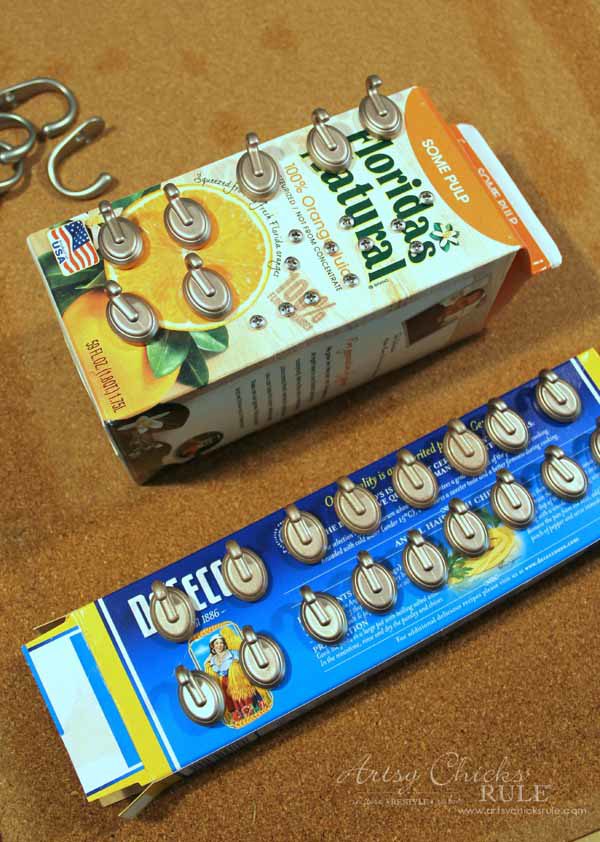
Quick and easy way to paint nail/screw heads and things like this.
Just push them down into cardboard…or leftover spaghetti and oj cartons!
(the hook pins look gold but are a bronze color so needed paint too)
For the center area, I created this graphic/printable for the quote…


Personal use only, please. (the downloadable copy won’t have my watermark on it)
I created my graphic in Picmonkey and transferred it over to my Silhouette to cut.
Want to see how easy it is to use your own designs inside of Silhouette? Click here >>> How To Import Your Own Designs Into Silhouette Cameo.
Or you can also use any of these transfer methods to do it if you don’t have a Silhouette machine.
Now here’s some full disclosure for you guys. Because sometimes things don’t always work out like they are supposed to!
I originally wanted the gold glittery letters to be on the outside of the glass in the frame.
BUT I ended up using vinyl from another company and I could not get it to stick to the transfer paper.
So, basically, it wanted to stay stuck to the backing paper it came on! Ugh.
The only thing I could do at this point was buying more vinyl and try again …. or just leave it on the white backing paper and frame it up!
So that’s what I did.
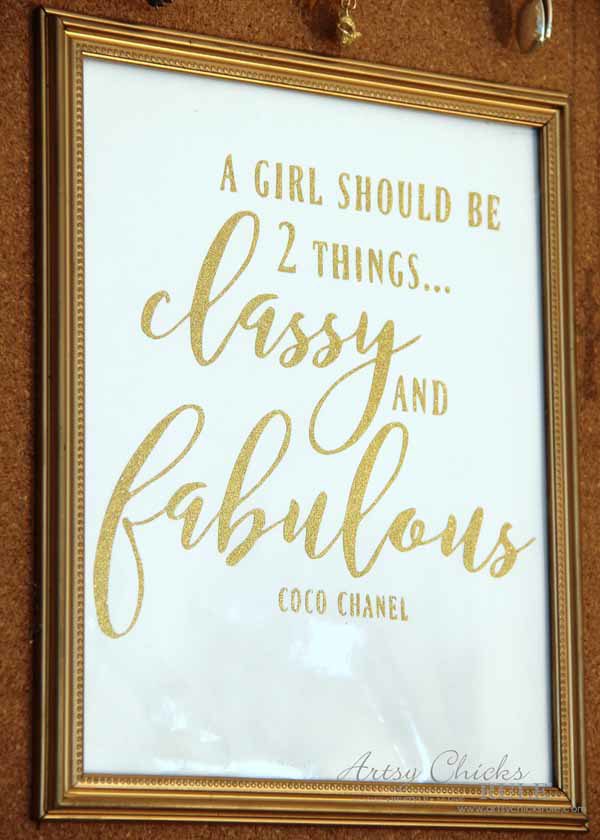
Can you see it’s a little shiny?? Not ideal but I was certainly over messing with it.
The frame came from the dollar store, by the way. It also got gold paint.
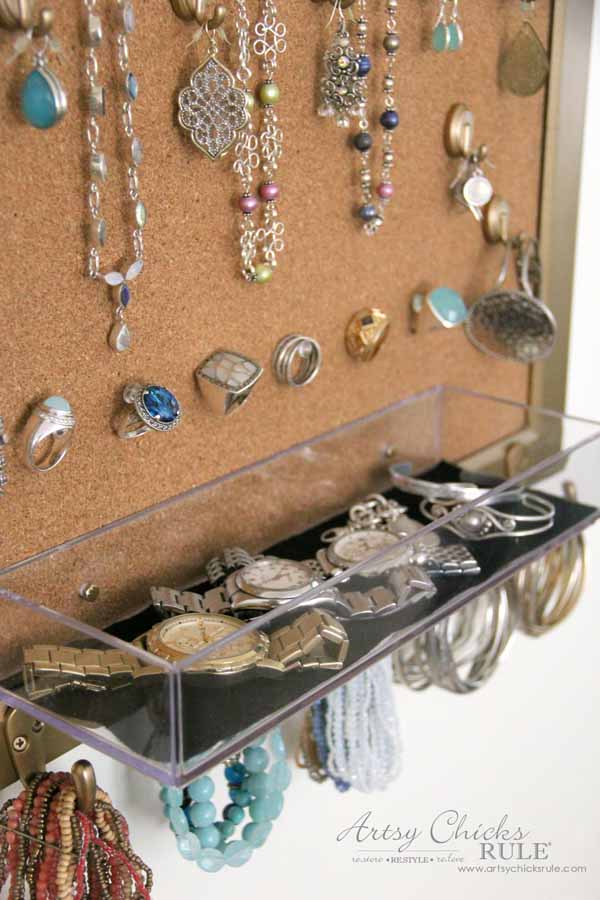
I thought it might be nice to have somewhere on this board to put my watch or cuff style bracelets.
This clear plexiglass container worked out perfectly.
I lined it with a thin piece of felt for cushion. (cut to fit)
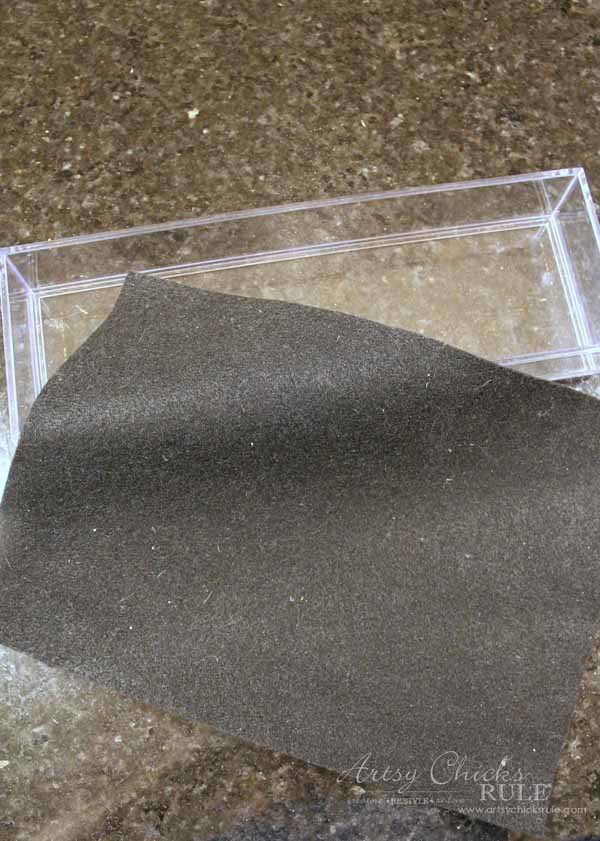
To attach it, I drilled holes in the container and into the board….
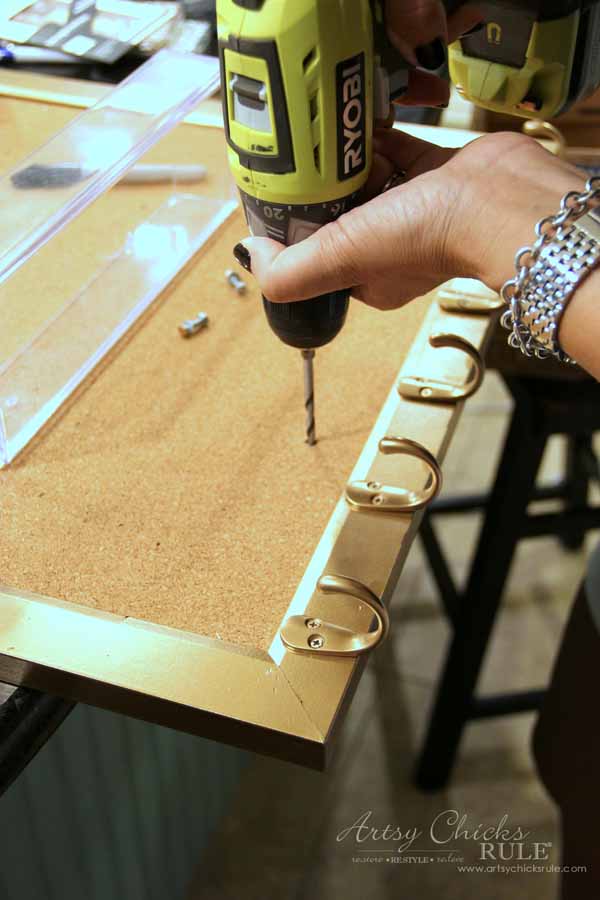
I then sprayed the heads of 2 bolts gold and attached it to the board.
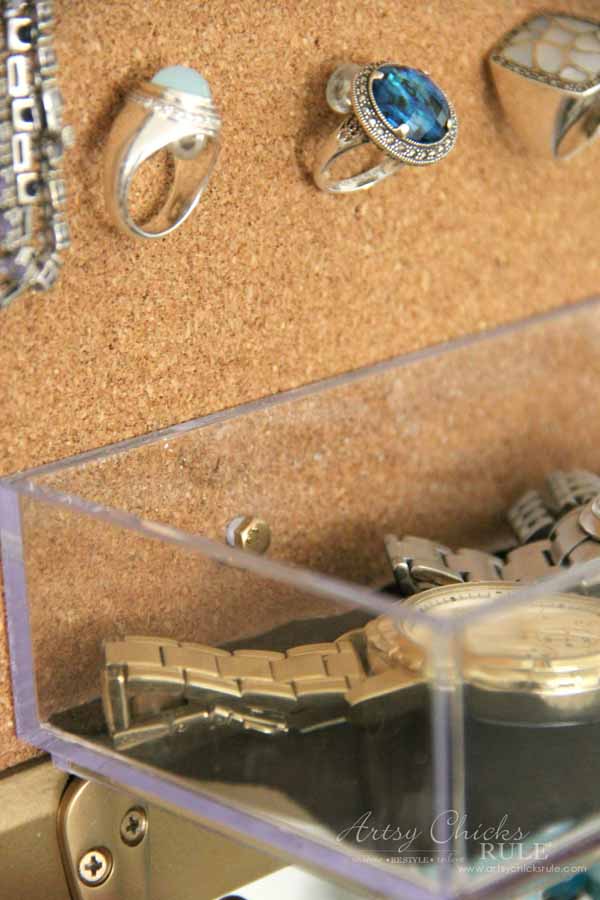
Very sturdy and everything is in one spot. Easy to see and super organized!
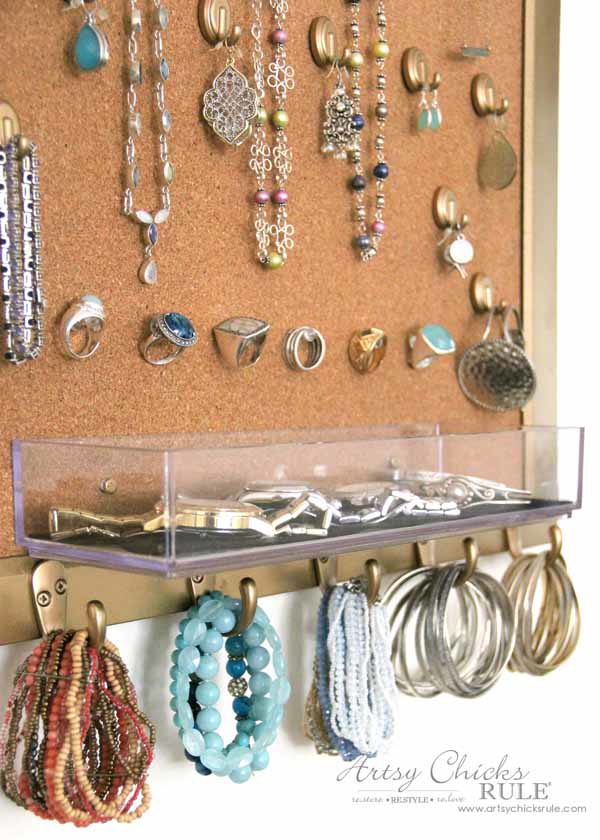
The rings are on clear push pins.
I love the hooks at the bottom for the bracelets.
It used to live inside my closet/dressing area but I decided to move it right out into my bedroom instead.
There’s a little more room plus I have my big floor mirror (to the right of it) I can use as I’m putting an outfit and jewelry together.
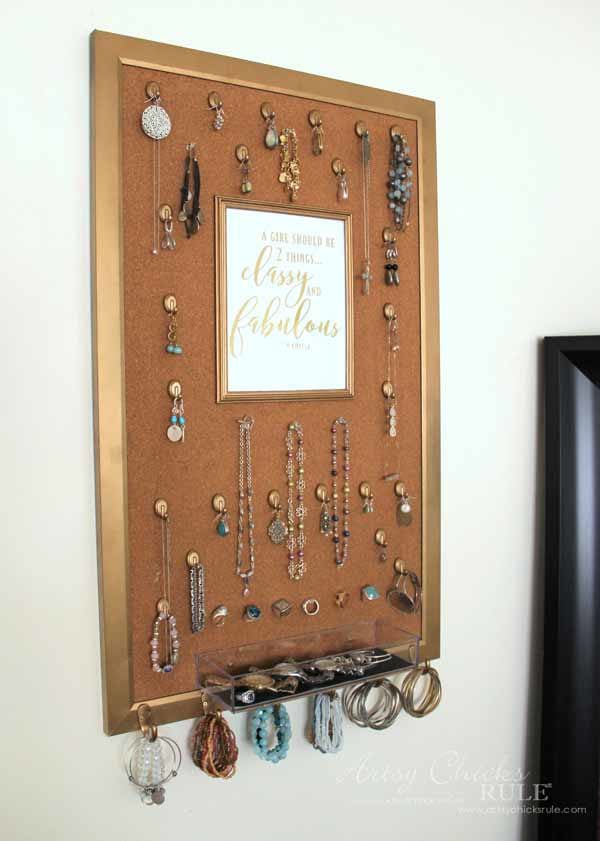
If I didn’t have a mirror closeby, I though it would also be nice to put a mirror right there in the middle where the framed quote is.
Wouldn’t that be great too??
One of my favorite necklaces.
I won it on an Instagram Giveaway. :)
I’ve since bought quite a few things from this great little company, for myself and gifts!
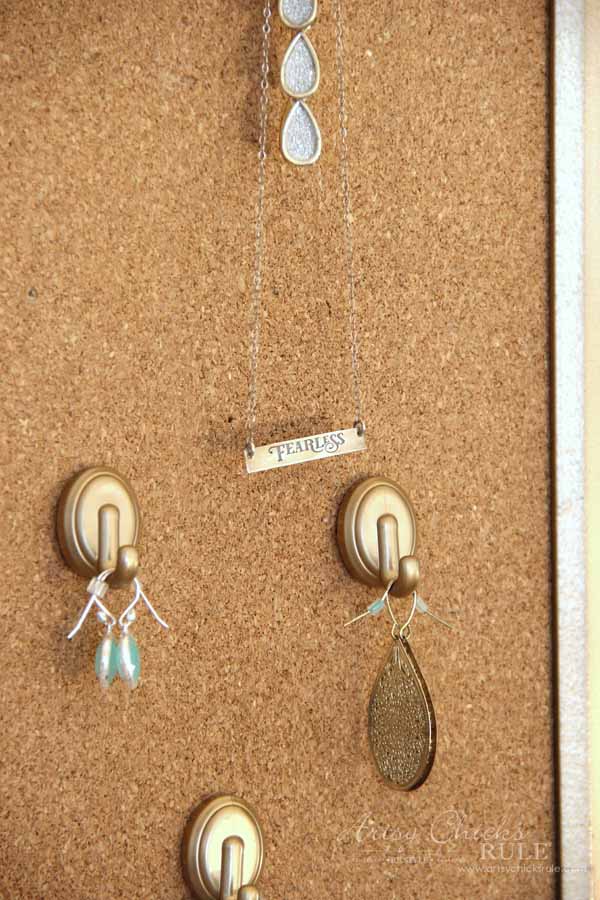
Like this bracelet….
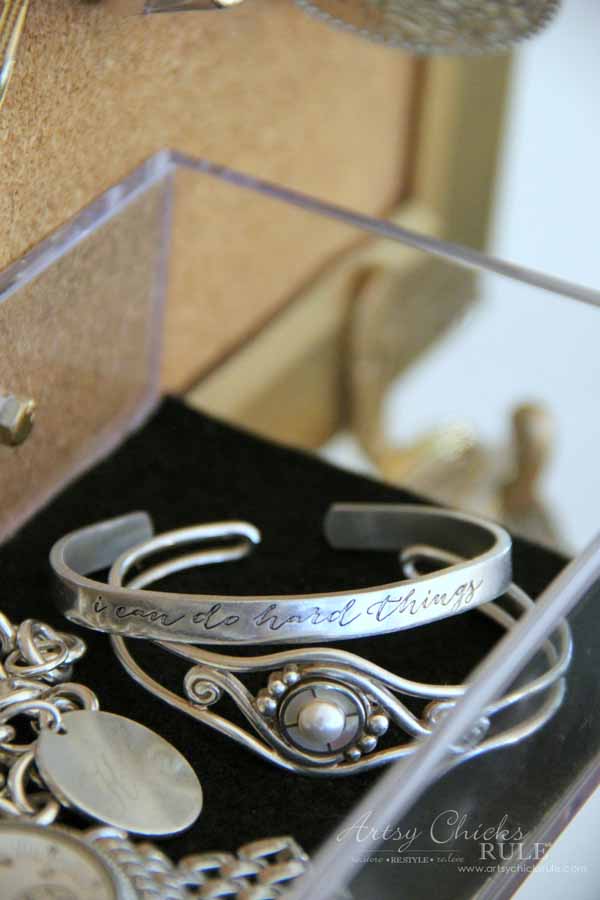
“I can do hard things” …. yes, yes, I can! Love it so much and a good reminder for me.
The company is called Charmed Collections. Go by and check them out.
I feel absolutely giddy over my newly, organized storage solution. (and purging a bit of my jewelry helped too!)
It really is nice to have it so organized and at hand. I can actually see what I have to wear now.
Be sure to PIN this for later so you can make a DIY jewelry organizer too! AND don’t forget, you can put a mirror or a quote in the middle. OR you can leave it empty and just add more hooks for more jewelry.
Here’s what my friends are sharing this month.
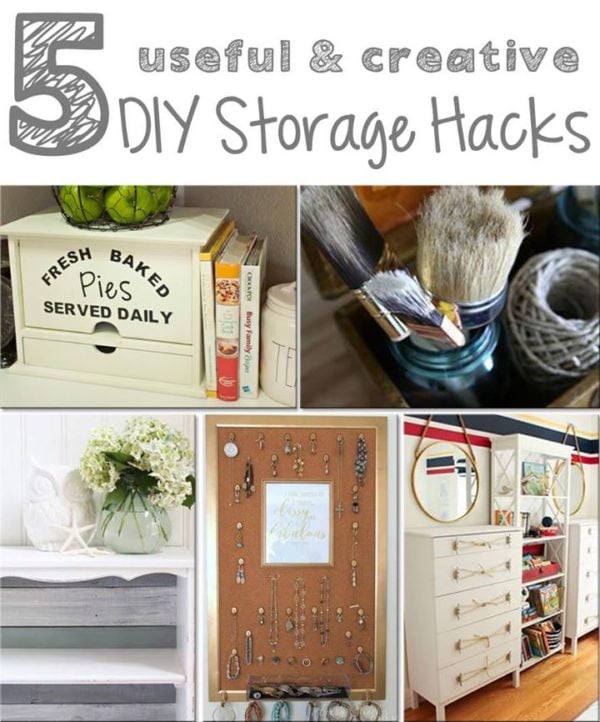
Electronic Dock Charging Station for the Kitchen at The Hankful House
Vintage Container Craft Storage at House by Hoff
Bookcase Makeover at Confessions of a Serial DIYer
DIY Jewelry Organizer at Artsy Chicks Rule (you are here! :) )
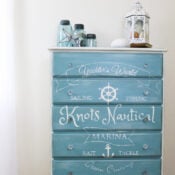
Ikea Tarva Hack Nautical Dressers at The Happy Housie (You are HERE!)
Be sure to pop back over on Sunday at 7pm EST to share YOUR DIY storage ideas!

Oh and Christy and I are having a blast on the World’s Longest Yardsale with GMC!! (well, I’m writing this a few days before we leave, but I just KNOW we will be!! ;) ) Don’t forget to follow along on our crazy and fun adventures over on Instagram this week.
Have a wonderful weekend friends! See you on Sunday night. :)
xoxo



I love it. I’m using gold accents in my bedroom and this is definitely something I will keep in mind. I also enjoy using Command hooks but never thought about spray painting them! They come in so handy.
Hi Bonnie,
Thanks so much! I’m really enjoying using it and so happy I’ve organized it so much better!
xo
Nancy
Brilliant!! Love the hooks!! I need a solution like this in my life…
Thanks Krista! I’m loving it!! :)
hey girl this looks amazing! I need something like this!
Thanks Shawnna!!! I am just loving it!! Especially now that I’ve gotten some real organization in it! ;)
xo
Nancy
There doesnt seem to be the same amount of jewelry on the new and improved!
I got rid of some of it! ;)