DIY Checkerboard Table (Patriotic Style)
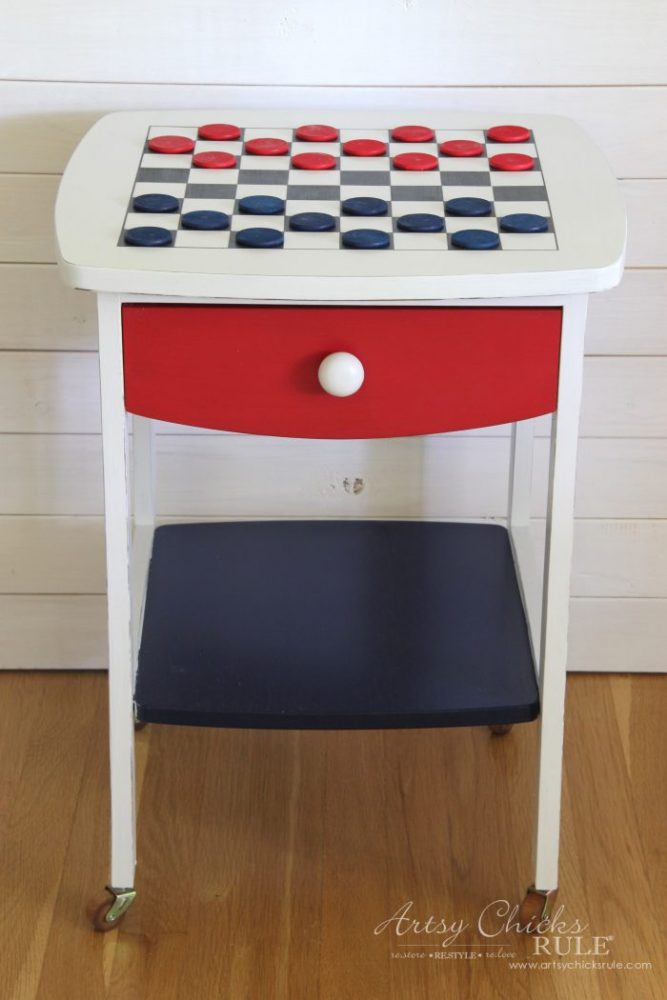
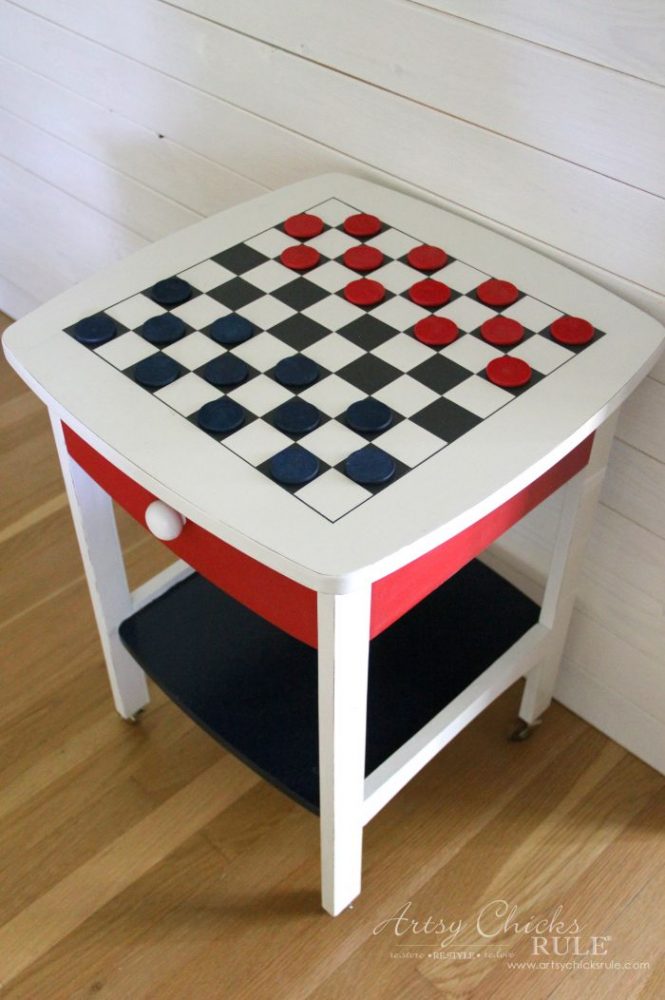
Hours of fun will be had with this DIY checkerboard table!
Happy Trash to Treasure Tuesday Friends! I just love making over trash.
Because you know, it’s not really trash, it just needs some loving.
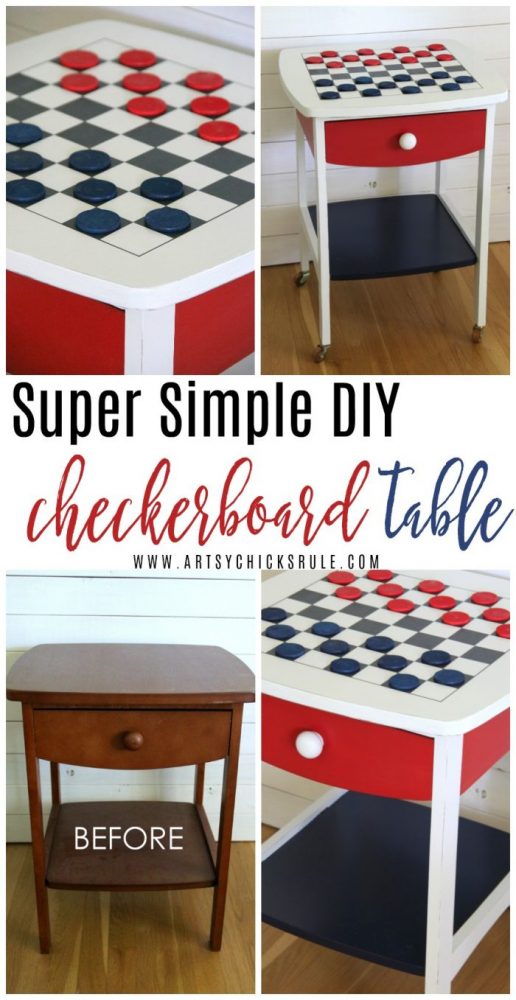
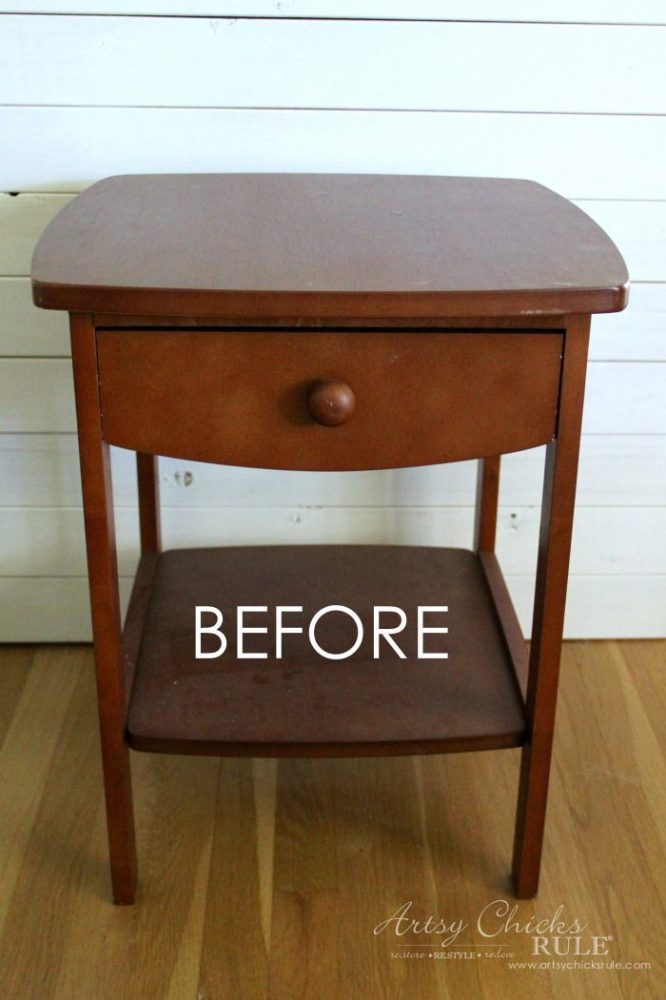
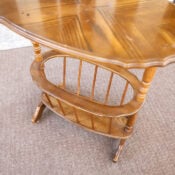
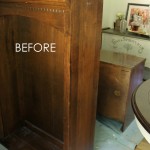
So I gave this little Habitat Restore night stand some loving….patriotic style.
DIY Checkerboard Table….
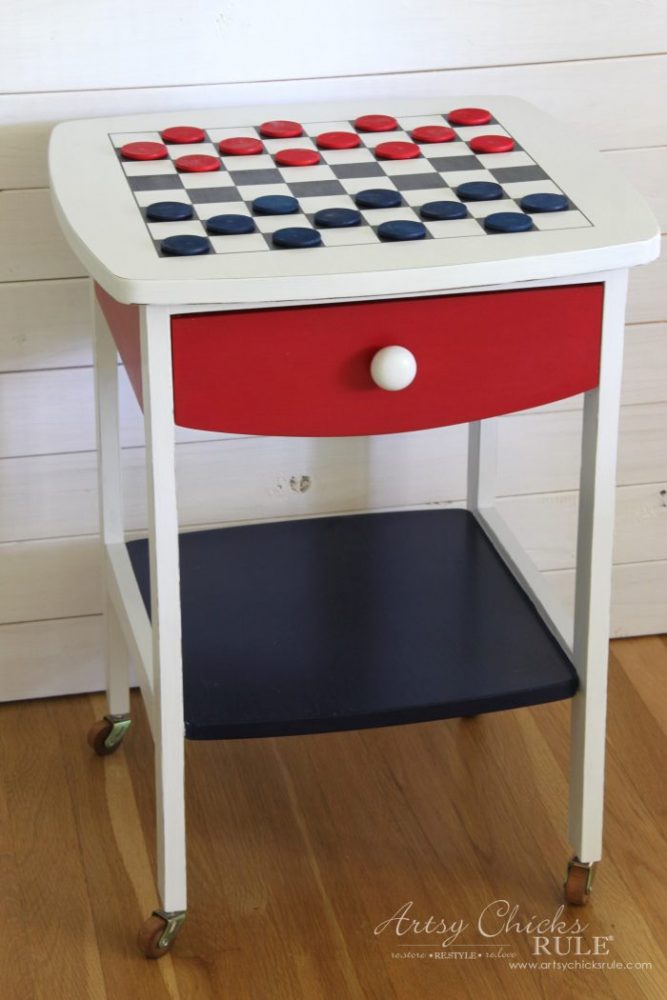
Since July 4th is upcoming, I thought I’d paint it red, white, and blue.
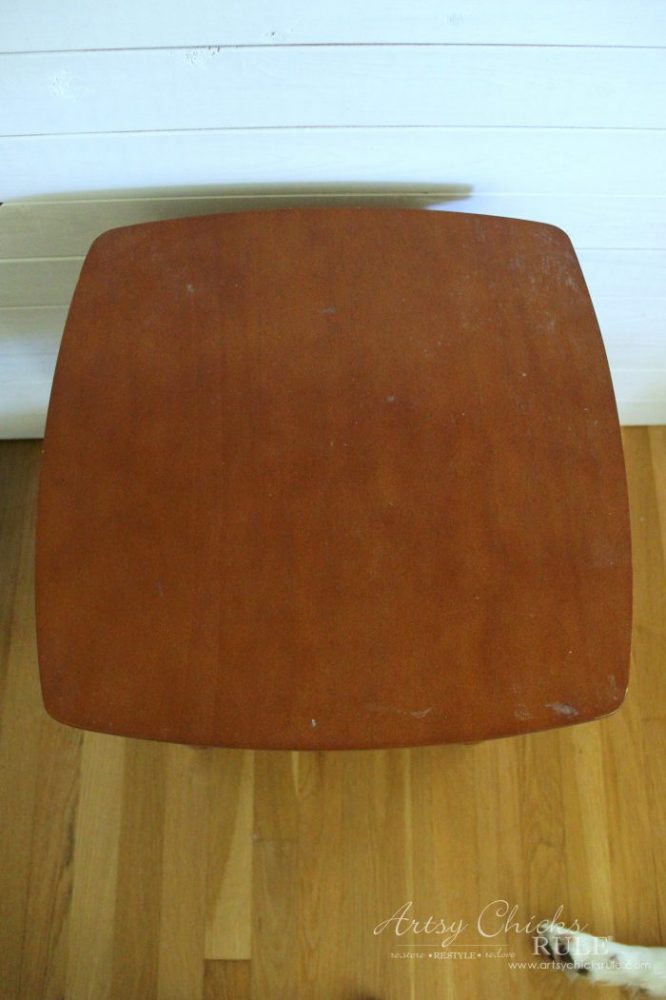
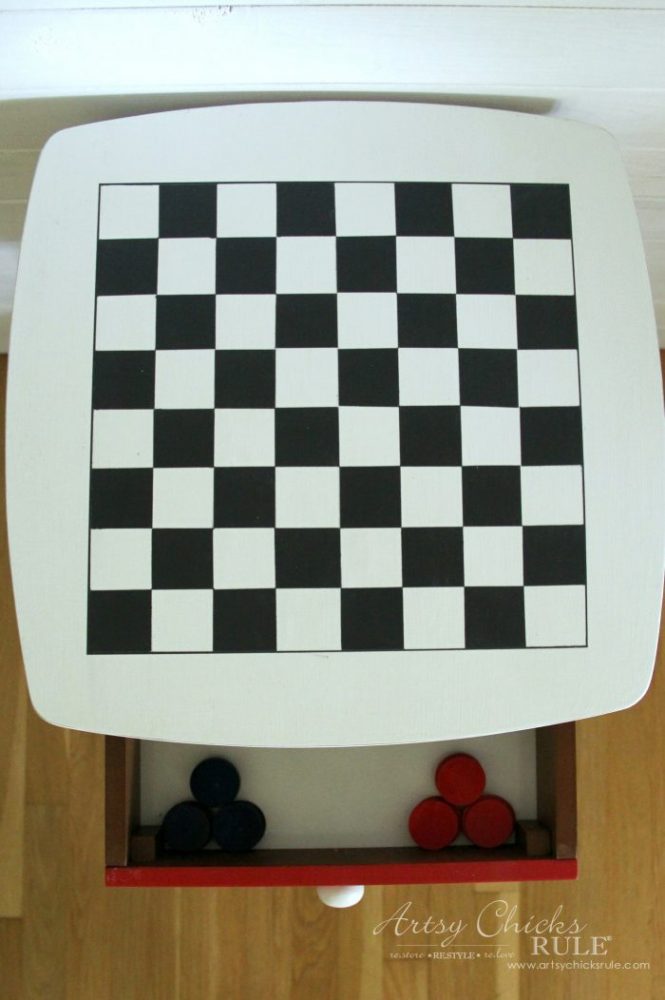
Top before…..
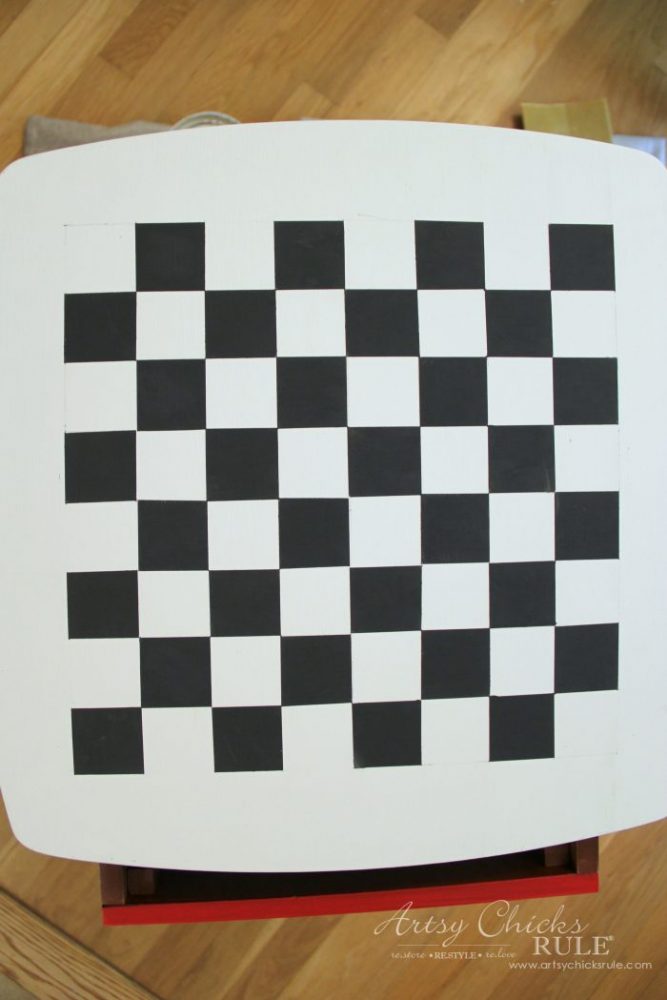
Top after…
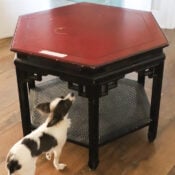
Notice my sweet pup’s paw in the photo above? He follows me around the house and lays wherever I end up.
Well, I ended up here taking photos so he plopped himself right there. haha
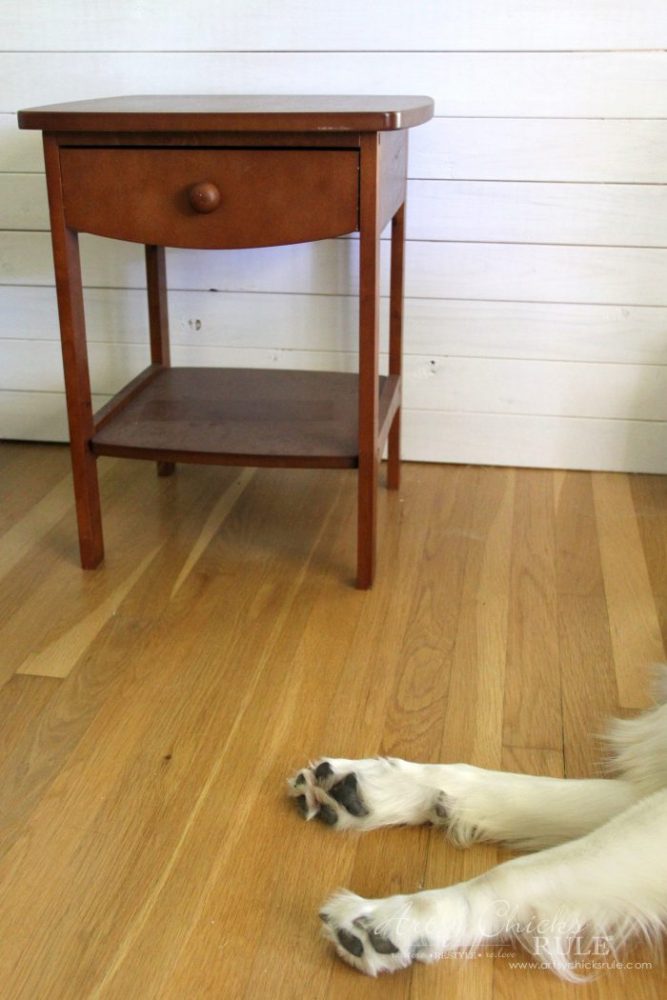
Silly puppy.
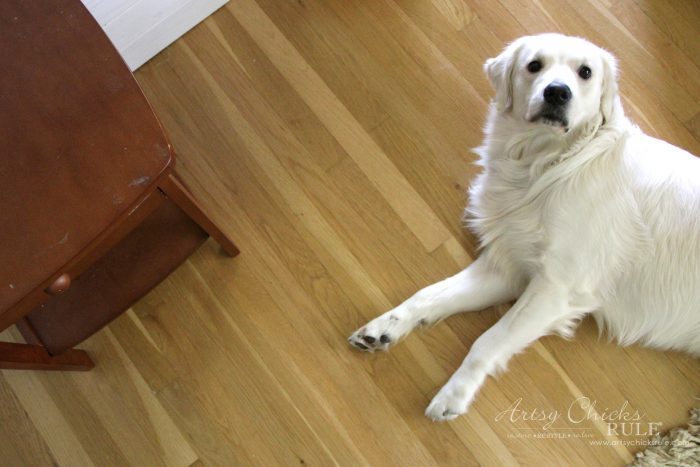
“What is it, Mom”? haha … he’s so cute.
Alright so let’s talk about how I created that checkerboard.
I’ll include affiliate links for the paints and other products I used. You can see my disclosure, here.
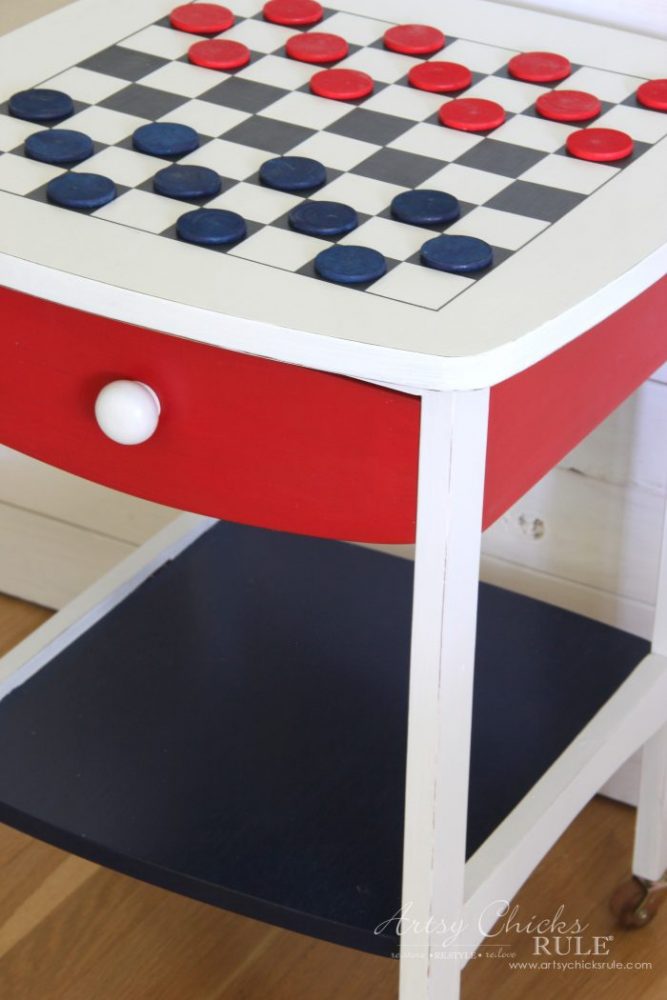
I used this white paint for the top and sides, this blue for the bottom and a little sampler of “Classic Red” from Lowe’s for the drawer.
I thought I’d use tape to create the blocks of the DIY checkerboard but after several attempts at measuring, etc, I quickly decided I had no patience for that! lol
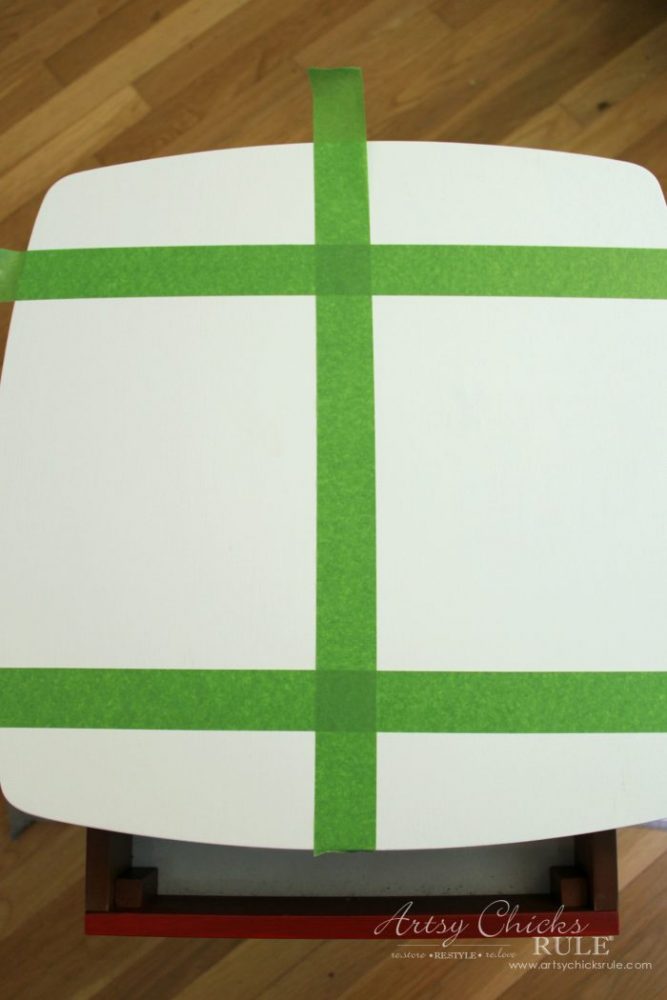
So I hopped on over to my office and looked up a checkerboard graphic on Google. (of which there were many!)
I saved one and uploaded it to blockposters (.com).
You can size it pretty to close to what you need.
Then print it out and go!
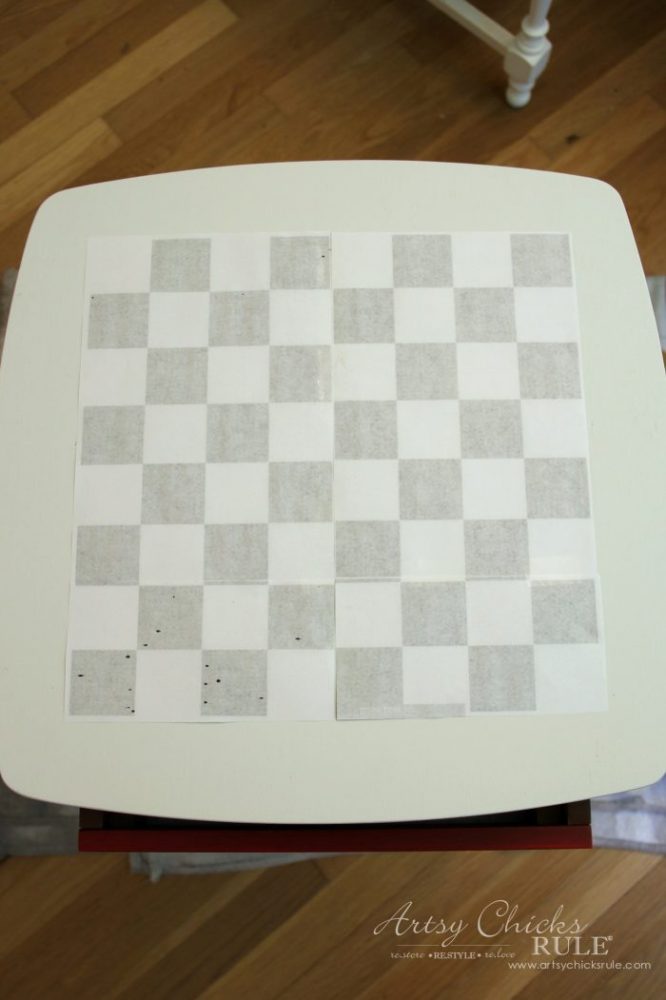
I thought I’d just trace the backs of all the black squares to transfer the printer ink.
So I measured and taped it into place.
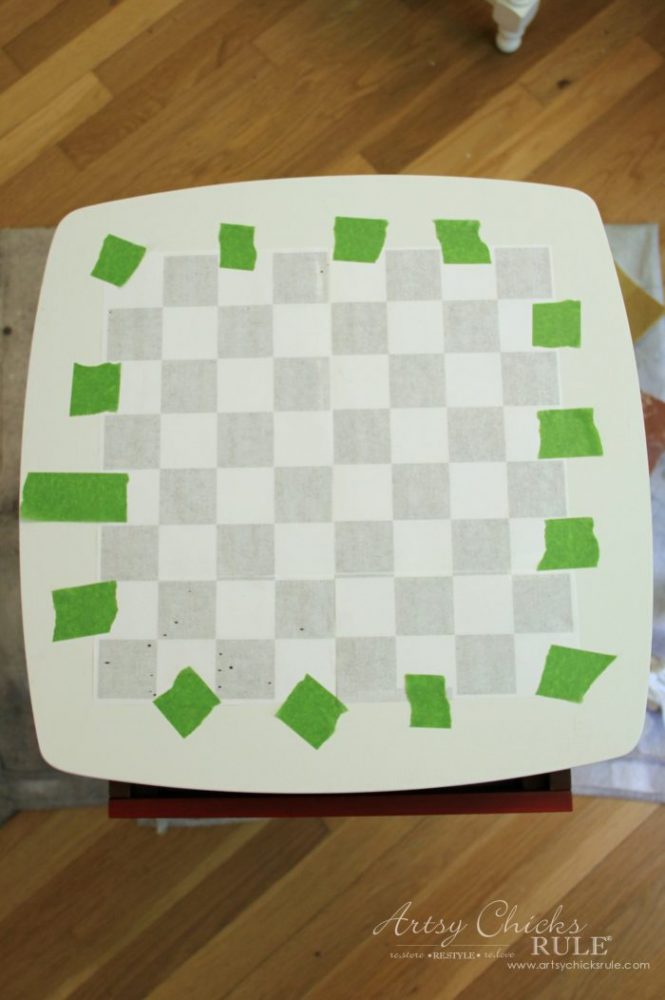
But decided instead to use this fab transfer paper instead.
You can read all about this transfer method and many other I use in a post devoted to just that, here.
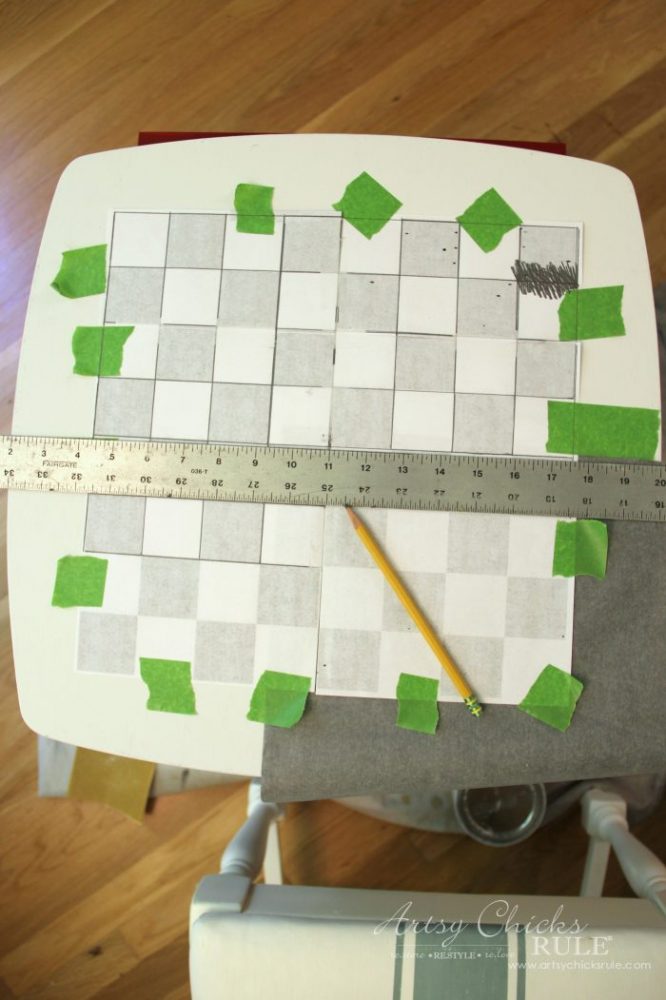
This worked very well.
I used a straight edge to draw lines following the pattern.
Since I already had the checkerboard print out positioned, I just lifted each corner and moved the transfer paper working my way around.
I could have just used the straight edge in the first place (without the printout) but the printout did make it visually easier.
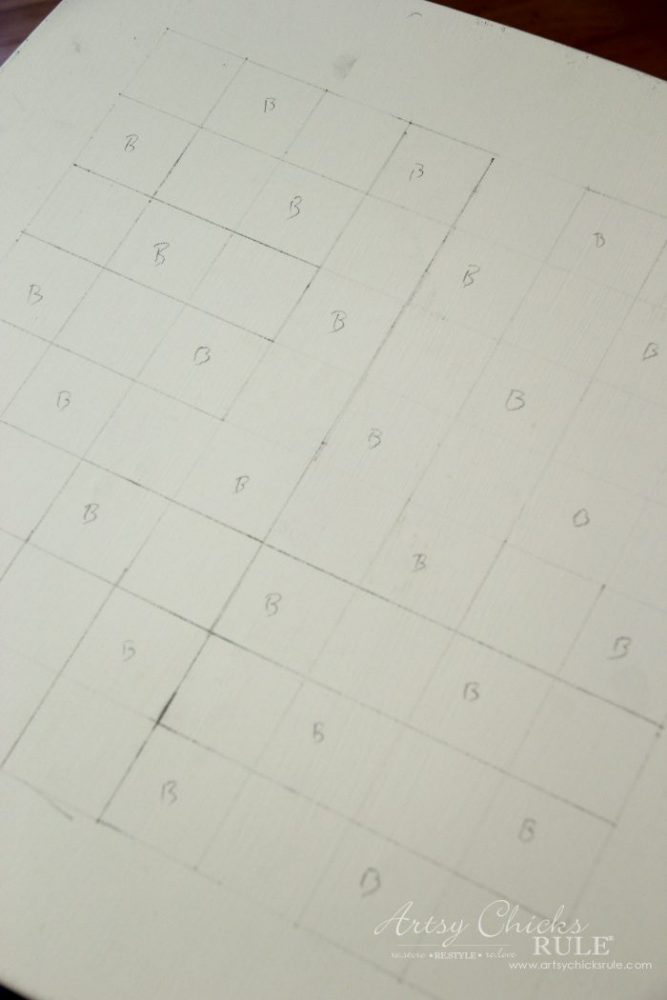
This is what I had when done.
I added a “B” to all blocks that needed to be painted black.
And then I used my favorite tape to block off the letters for painting.
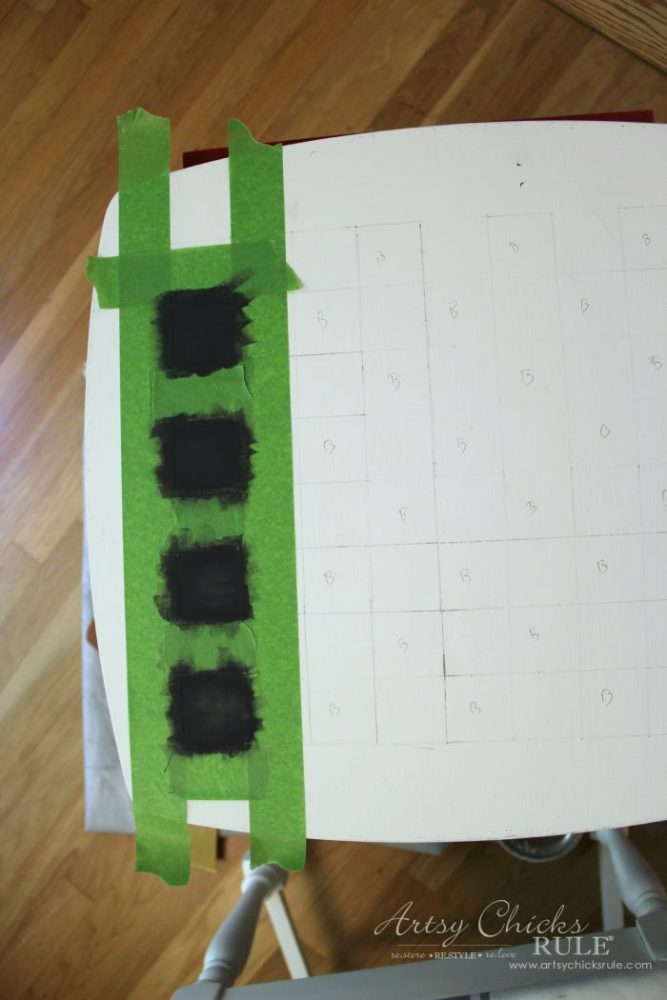
I could have skipped this tape part and just hand painted in the blocks since the lines were there as a guide.
But I wanted nice straight, crisp lines so went with taping off.
Then I taped to create an outline to give the DIY checkerboard a more finished look.
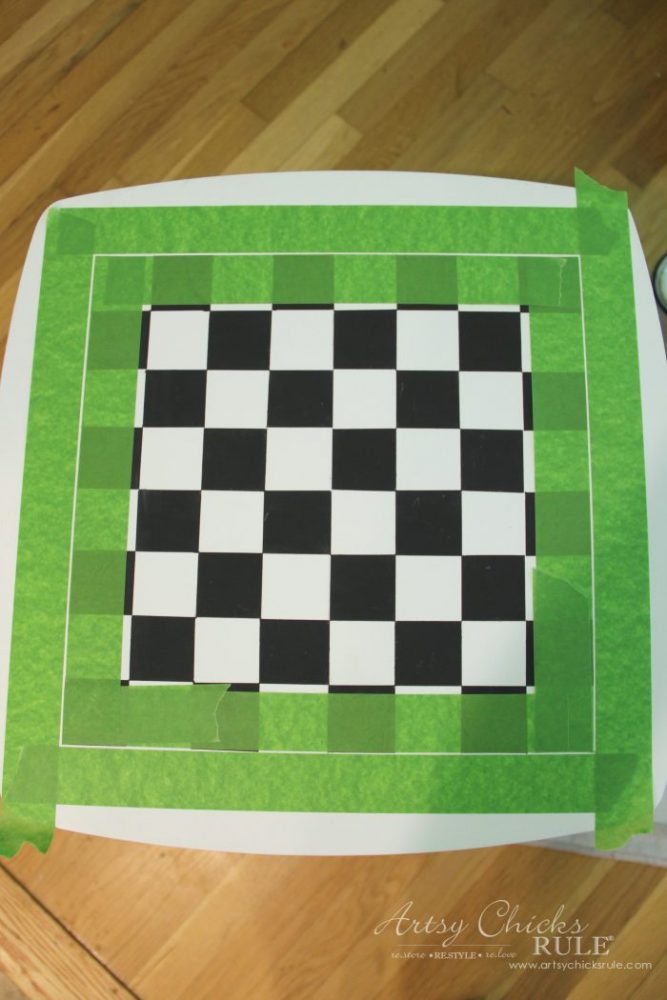
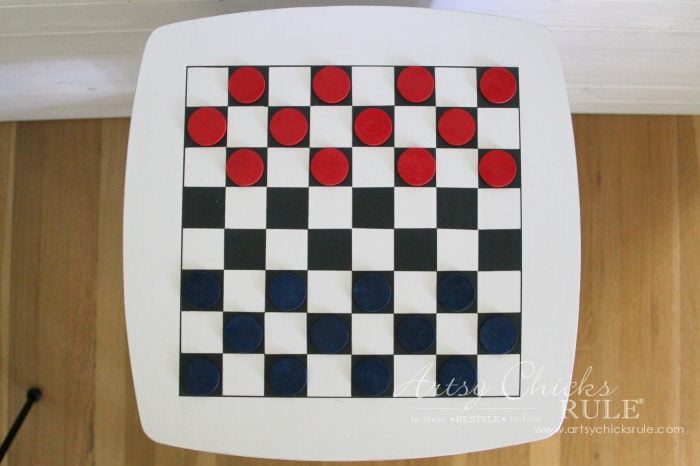
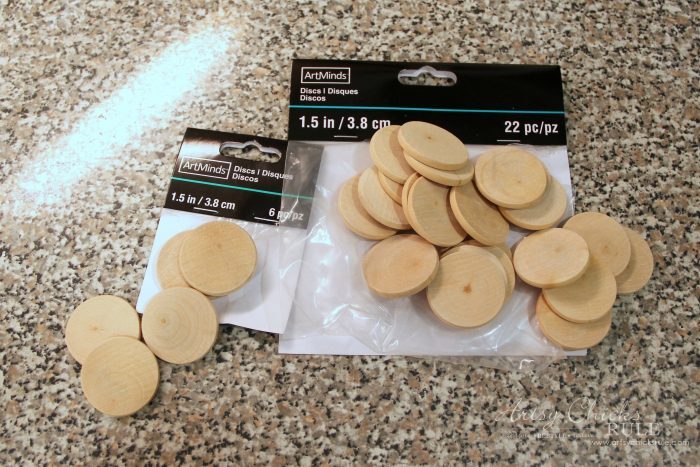
The “checkers” came from Michael’s. I used a 50% off coupon and got them for about $3.
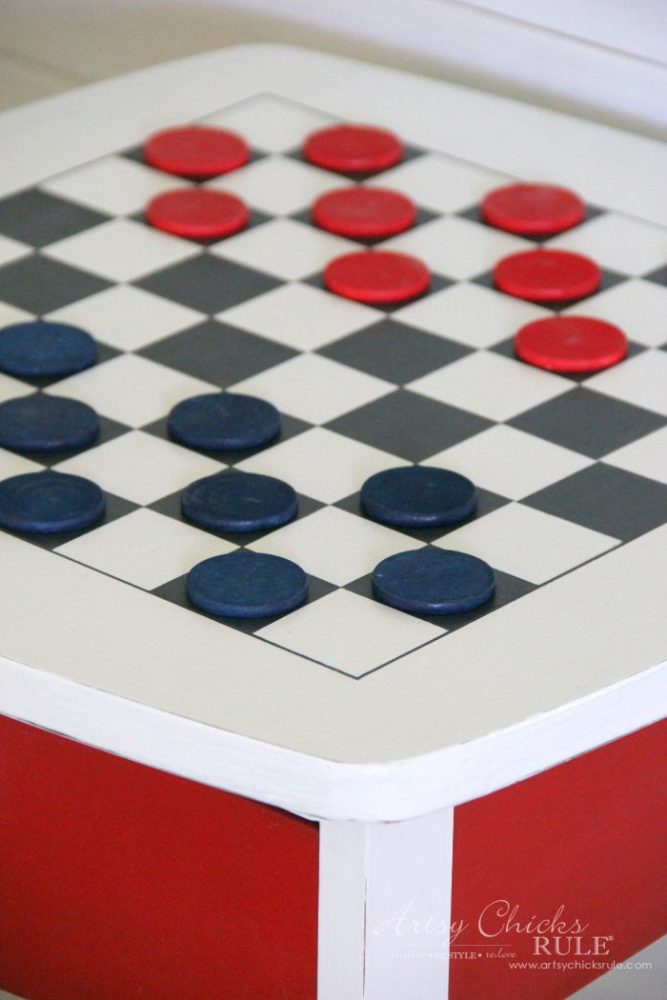
I painted one set blue and one set red, as you can see. :)
The drawer works out nicely to hold them when not in use.
Red, white and blue, perfect for a holiday get together with kids (or adults!).
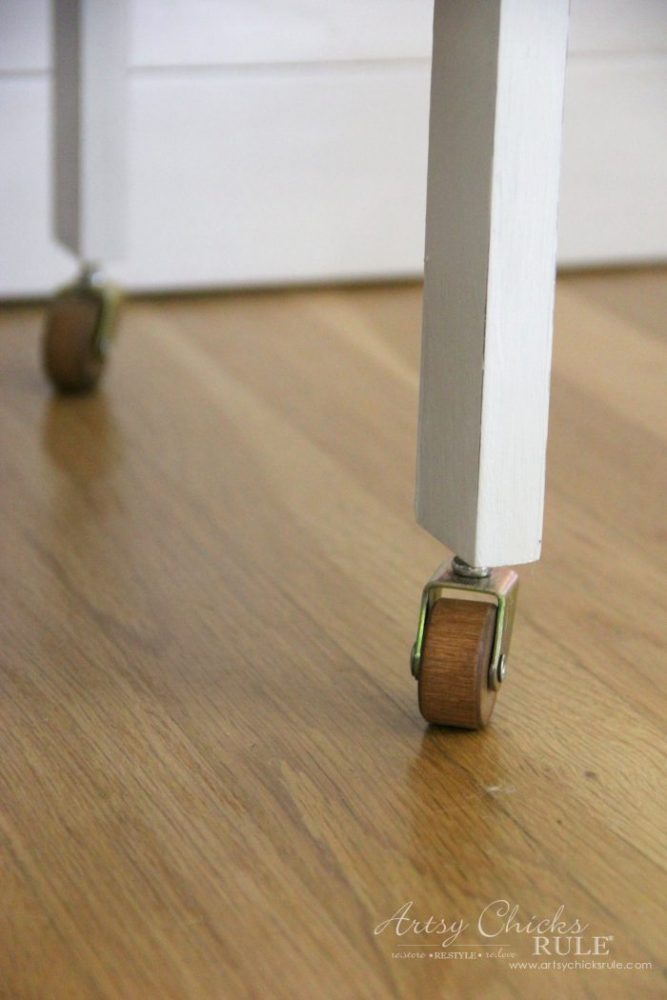
I also added wheels so it would be easy to roll around to play. (plus it made it a bit taller)
So maybe the kids will get off the phones and play checkers! What do you think? ;)
PIN this DIY Checkerboard Table for later to save it!
Wait! That’s not all, click the links below to see what kind of treasures my friends created this month too! :)
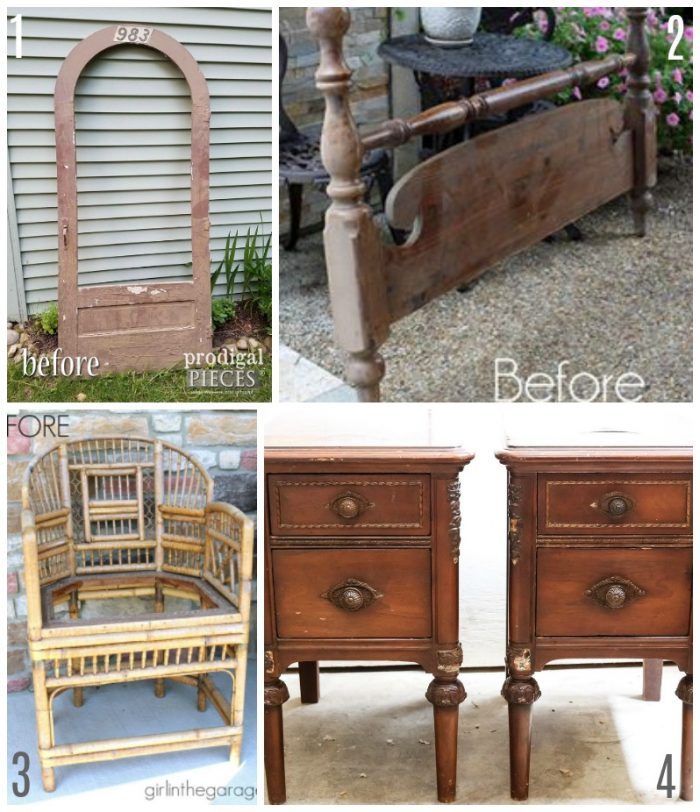
- Prodigal Pieces (repurposed door)
- Confessions of a Serial Do It Yourselfer (repurposed footboard)
- Girl in the Garage (bamboo chair makeover)
- Bless’er House (faux gilded nightstands)
See the rest of my “Trash to Treasure” makeovers, here.
………………………………………………………………………………………………………………………………
I’ve been busy, busy and actually got the new tile backsplash up yesterday! Yay!
All that’s left to do is grout. So excited. :)
I’ll be sharing it soon!
But first, come back by to see my latest furniture makeover!
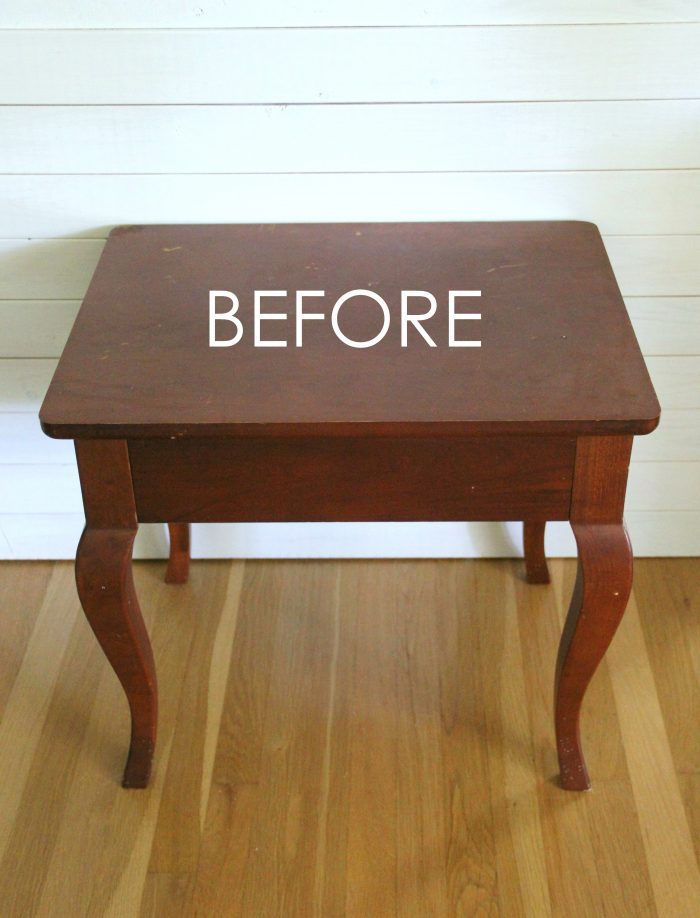
UPDATE!!! See it now, here!!
Hope you have a great week!
xoxo




What a great idea and very colourful. Well done!
Thanks Elizabeth! :)
Genius! I’m all about family time and this makes it even more fun. We love chess too, so this is perfect for both. So fun, Nancy!
Thank you Larissa! I so agree! :)
I love this and I love the wheels –
You can move it all around no problem.
The colors are so sweet.
Have a wonderful day Nancy
Much love,
Rose
Thanks Rose! :) xo
DCute idea and great for a kids room or playroom.
Thank you Rose :) xo
Great job, Nancy! ? I really, really enjoy all your makeovers and tips!!!
Sincerely,
Thanks so much Janet! :) xo
Super cute! I haven’t played checkers in ages, but I bet we would all the time if we had a cute table like this! XO
Thanks Christy! Me either! xo
Way to take a nondescript table and give it some style, Nancy! The narrow border around the squares is the perfect finishing touch.
Thanks Marcie! :) I almost didn’t put that border, so glad I did! xo
That little table turned out so cute!
Thanks Bonnie! :) xo
So cute, Nancy – and I love that it can roll too!
Thanks Jen! :)
Nancy,
You did a super job on this table makeover! Your paint job looks fantastic and the checkerboard is so neat. I always manage to get paint under my tape. I like that you put wheels on the table so one can move it wherever they want to play or use the table.
Thanks for sharing your strategy with us.
Thanks Barb! :) That Frog tape works wonders! I love it for tightly sealed edges. Give that one a try next go round. :) xo
I love your Fantastic make-over. Great game table for the young and old alike. My grandkids would love this.
Great job and Thanks for the tips on making the checker board.
Have a fun and enjoyable weekend
Hey Colleen!
Thanks!! I think so too! :) Hope you have a great weekend too! xoxo
I have this same exact bedside table that’s looking shabby. I need to get on it and re-do it!
Oh fun!! Yes, do! It will feel like brand new! :) xoxo
Love the cute checkboard table! And I love the casters on the table…how do you find the size you need and where did you purchase them?
Thanks Dawn! :) I’ve had these for a long time but think I ordered them online. If you search for “antique furniture wooden wheels” (or wooden casters), you should find a bunch! xo
GREAT job Nancy! Fun colors, great idea with the wheels and I bet you all have a lot of fun with it too!
Thank you, Christina! The wheels make it so easy to move around, for sure! :) xoxo
Hi Nancy! Love what I think was a checkerboard design, but idk if it was my iPhone but I found the constant advertisement covering your photos were very distracting. Is this due to my phone or is it preset?
Thanks much for all your ideas,
Dawn
Hi Dawn! Thanks for letting me know, I think it’s fixed now. And thank you, this was a fun one to do! :) xo
Thanks Nancy! It’s so much better. I was actually getting dizzy, and at my age I get dizzy enough! 🥴
Looking forward to many more of your handiwork. I do get great pleasure and encouragement from them. All the best Dawn
Oh good!! :) I am so glad you enjoy my projects. Thank you for saying so! xoxo
Nancy, you always pay such close attention to details. This is just a wonderful idea. I have a kid-size picnic table and haven’t been able to decide on what to paint on it. Bingo! I am going to put a giant checker board! Thanks for the inspiration and detailed instructions.
Oh yes, Cecilia, this would be perfect for that!! How fun would that be?? :) xo
Cute! Perfect for getting a conversation going and fun without cell phones or video games.
Thanks, Rose! Big ole YES to that!! :) xoxo
Nancy, I adore this makeover! Thanks for the details about printing from Blockposters. Love seeing Ryder in your photos. :) Give him some lovins for me. Also, brilliant to add the wheels!
Have a great July 4th!
Thank you, Christina! Yes! They are great for printing large items. Have used them a bunch over the years. And always, Ryder says thank you! ;) xoxo
How did I miss this the first time you posted it.
I love this idea
So perfect for a cottage. I AM going to do this for our lake house.
In red and white, for Canada Day. Which is today! 🇨🇦🇨🇦
You never cease to amaze me!
PS hi Ryder 💕🐾🐾
Oh, that will be just perfect! Love it! :) Ryder says hi, Tracey! :) xoxo
That was a great idea! Thanks for the tips!
You are very welcome, Lorrie! Happy weekend to you! xo
Thanks for sharing this cute idea again. I did not see this project when you first posted it, but it is a great idea for not only the 4th of July, but anytime you want to have some fun playing checkers. The wheels are an added bonus and makes it easy to roll around anywhere! Thanks for sharing. Have a wonderful 4th of July. Loved seeing the younger version of Ryder!
Oh yes, the wheels made it so easy! Glad you enjoyed seeing this one again, Sue. Happy weekend and 4th to you! (Ryder says hi!) xoxo
Inn2019 I responded that I would put a checkerboard on the children’s picnic table! Update: Too cute! I found a bag of wood X/O’s at Target in the $1.00 section and BAM! The kiddos love playing checkers when they take a break from the pool. Have a great 2021 Fourth of July!! XOXO
Oh, I love that idea, Cecilia! Perfect!!! Have a wonderful weekend! xoxo
WOW!!!! What a truly fabulous idea. Love love love this – looks great and is just so danged clever, Nancy!
Thanks so much, Michele!! Fun, fun for the kiddos, big and small! :) Have a wonderful weekend! xo
Wow! Brilliant!!
Thank you! :)