DIY Beverage Station Tutorial (perfect for outdoor entertaining!)
This is a sponsored post brought to you by The Home Depot. All opinions are my own.
I’m so excited to be sharing this cute little DIY beverage station with you guys today!
I was thrilled to partner with The Home Depot to share their DIY Workshops with you guys.
Did you know that The Home Depot offers workshops at all of their locations for do it yourselfers of all ages and experience levels?
Besides the DIH workshops, they also have DIY (Do It Yourself) and Kid’s workshops too.
You guys can learn how to build decor projects, make easy repairs to your home and operate tools through the demonstrations and step by step instructions.
Remember, the Workshops are free, demonstrative classes.
However, you won’t always be able to make and take the project (changes by store), you will walk away with the skills to recreate the project at home!!!
And that is the important part….empowering you to “do it yourself” or “herself”. ;)
For more information, visit http://workshops.homedepot.com
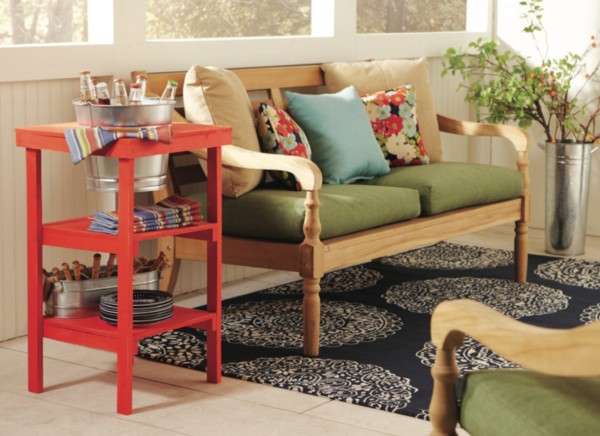
So, last week, I shared what I would be making (and what you will be making if you attend The Home Depot’s workshop!)
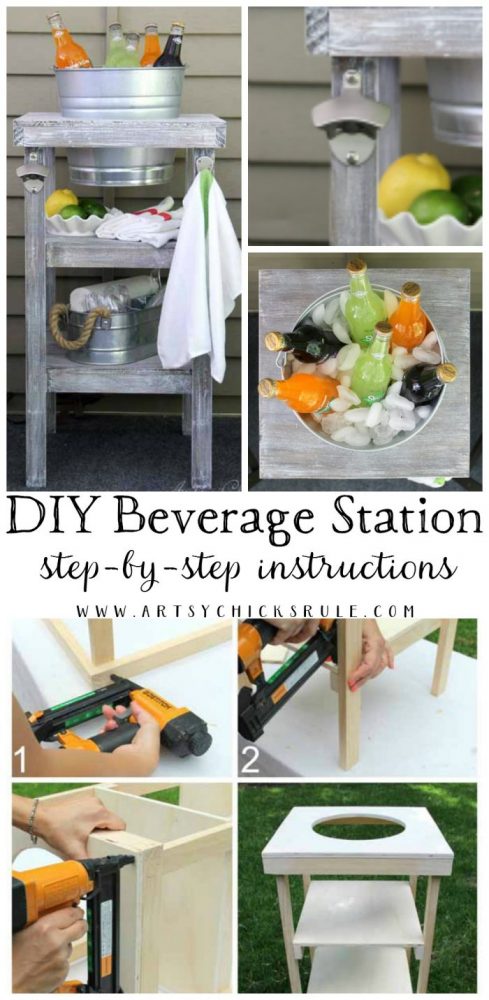
This DIY beverage station >>>
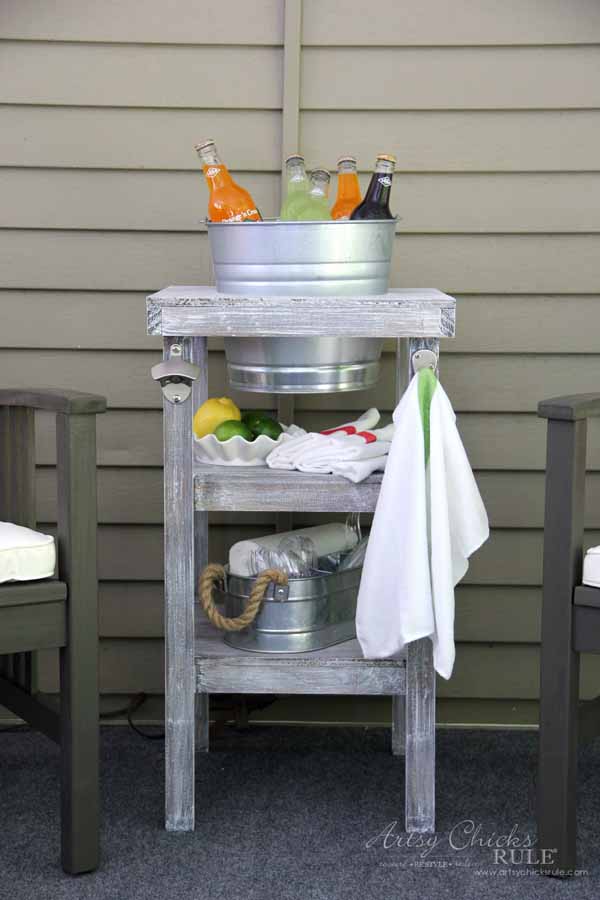
Here is mine….
M A T E R I A L S L I S T
- 1 – 1/2″ x 2″ x 4″ Sanded Plywood Board
- 3 – 1″ x 2″ x 8″ Common Board
- 1 Box – 1-1/4″ x 18 Gauge Brad Nails
- 1 Twine/String
- Paint or Stain
- 1 – 10 qt Galvanized Pail
- Wood putty (stainable/paintable), optional
T O O L S
- Circular Saw
- 18 Gauge Cordless Brad Nailer
- Drill
- Drill Bits
- Measuring Tape or Carpenter’s Square
- Pencil
- Safety Goggles
- Sanding Block
- Reciprocating Saw
Okay, let’s make this!
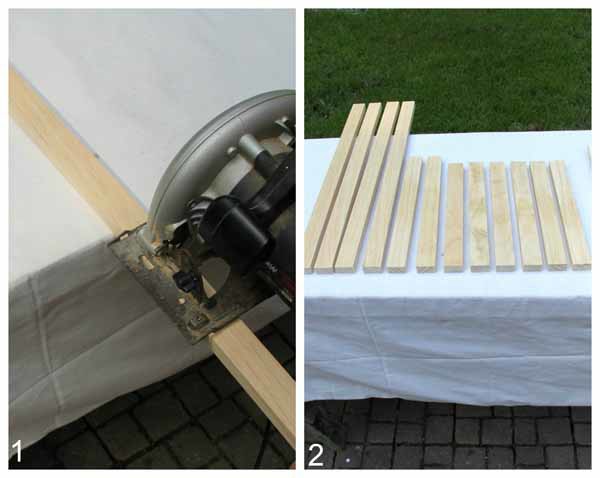
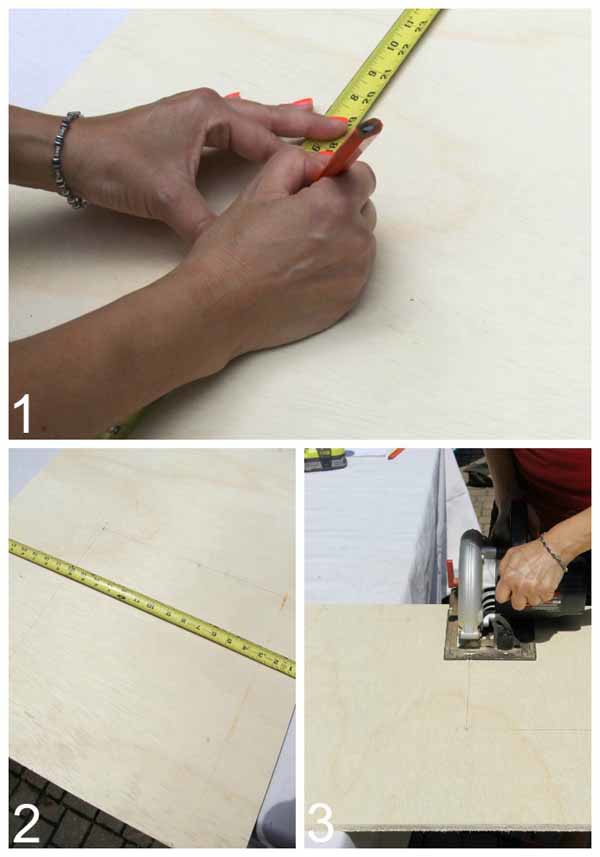
1. Measure, Mark and Cut
- Measure, mark and cut for the frame boards from the (3) 1″x 2″ x 8″ boards.
Next measure, mark and cut for the shelves and top from the 2 x 4 plywood board.Frame boards…. (1″ x 2″ x 8″ boards) - (4) 1″ x 2″ x 28-1/2″ legs
- (2) 1″ x 2″ x 16″ long frame
- (2) 1″ x 2″ x 14-1/2″ short frame
- (4) 1″ x 2″ x 14-1/2″ shelf brace
Shelves and top…. (2′ x 4′ plywood board)
- (1) 16″ x 16″ top shelf
- (1) 14-1/2″ x 13″ middle shelf
- (1) 14-1/2″ x 13″ bottom shelf
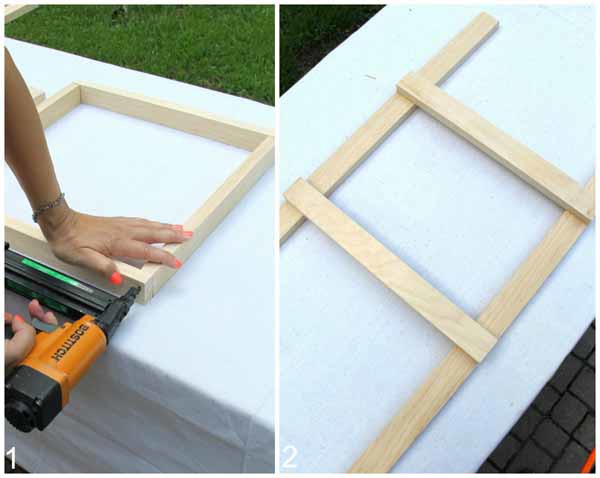
2. Create Top Shelf Frame and Leg Frames
- Place the (2) 16″ long frame boards on end parallel to each other.
- Sandwich the (2) 14-1/2″ short frame boards in between the 16″ boards to create a 16″ square.
Next…
- Lay (2) legs flat, 14-1/2″ apart. Using a brad nailer, attach (2) 14-1/2″ braces to the legs with the first attached at 7-1/2″ up from the bottom and the other 17-1/2″ up from the bottom. (for the shelves)
- Repeat with the other two legs and shelf braces.
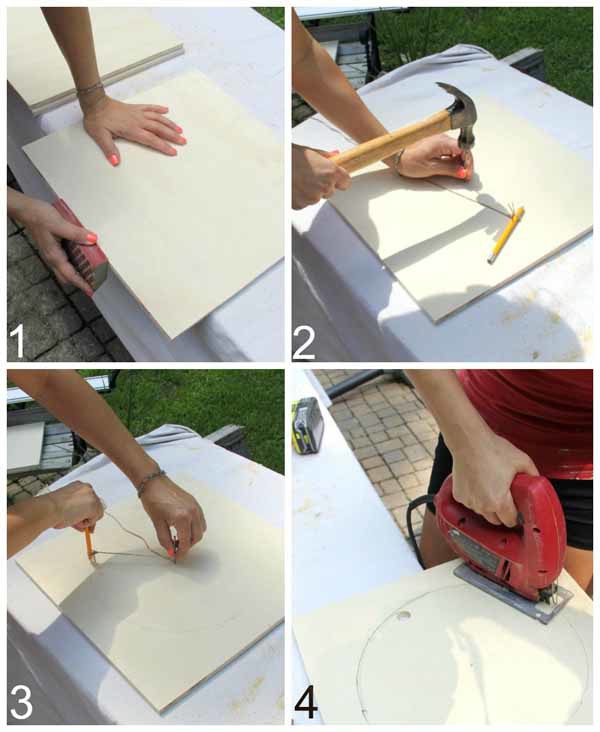
3. Draw and Cut Circle in Top Shelf
- Mark the center of the 16″ x 16″ board. Nail a nail into the center and tie a string around the nail. On the other end of the string, tie a pencil. (ensuring, when stretched, that the length from nail to pencil is 5″ to create a 10″ hole)
- Draw a circle using the pencil.
- Next, using a 1/2″ drill bit, cut a hole inside the edge of the circle. Using a recipricator saw, cut the circle out.
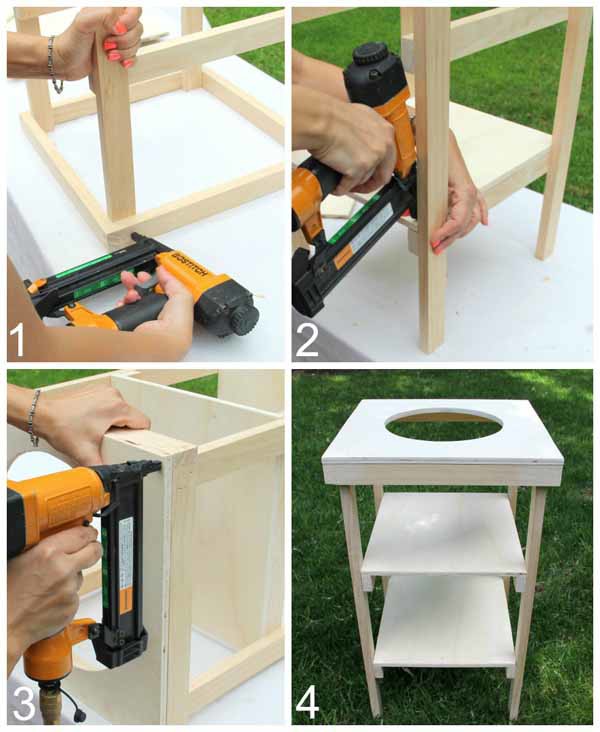
4. Assemble the Beverage Station
- Place top shelf frame upside down onto a flat surface and insert leg frames upside down into frame with shelf braces facing inward. Be sure to keep legs flush with frame and nail with brad nailer.
- Once secure, turn it over and attach the top and shelves.
- Attach bottom shelf first, then middle shelf, then top last.
Now to paint or stain.
You can also paint and stain before you assemble. I decided to stain it once assembled.
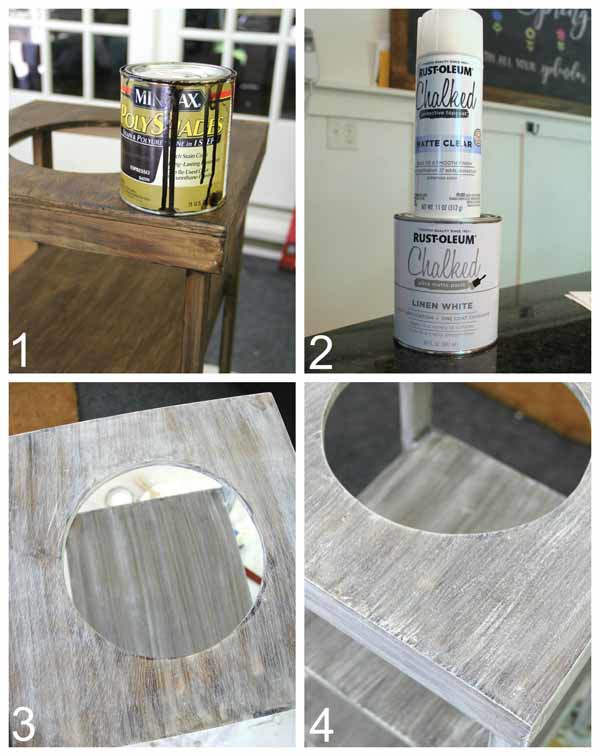
I used Minwax Polyshades in Espresso. I had thought I’d just leave it a dark stain (with several coats) but decided it would better match my decor as a “weathered” finish.
Here is how I created the finish:
- Apply one coat of Minwax Polyshades (any color but dark is best for this)
You don’t have to be super careful in application. (picture 1) - Once fully dry, using a wet rag (old tshirt material, etc) and a little of the Rustoleum Chalked Paint (in Linen White color), rub a layer of paint over every surface.
Again, you don’t have to be too careful with this application. You are going for an aged, weathered look so messy is best. (picture 3) - Once that coat is dry, apply more of the Chalked Paint using a dry brush.
I used one light coat and then went back and added more here and there until I got the final effect I was after. (picture 4) - Finally, once all is dry, a gave it a light spray with the Rustoleum Chalked Matte Clear spray.
I decided to add a bottle opener and a towel hook to mine….
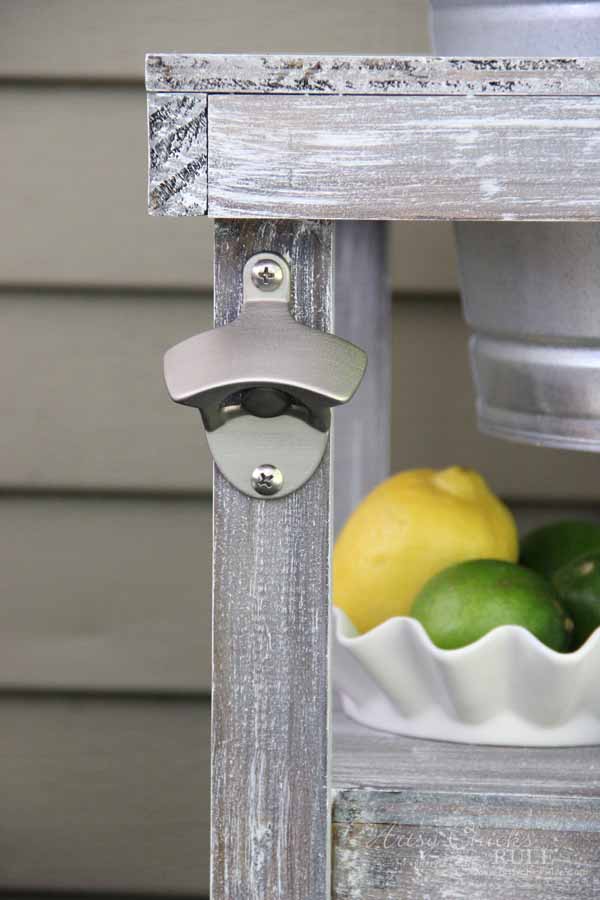
The Home Depot has these in several different finishes.
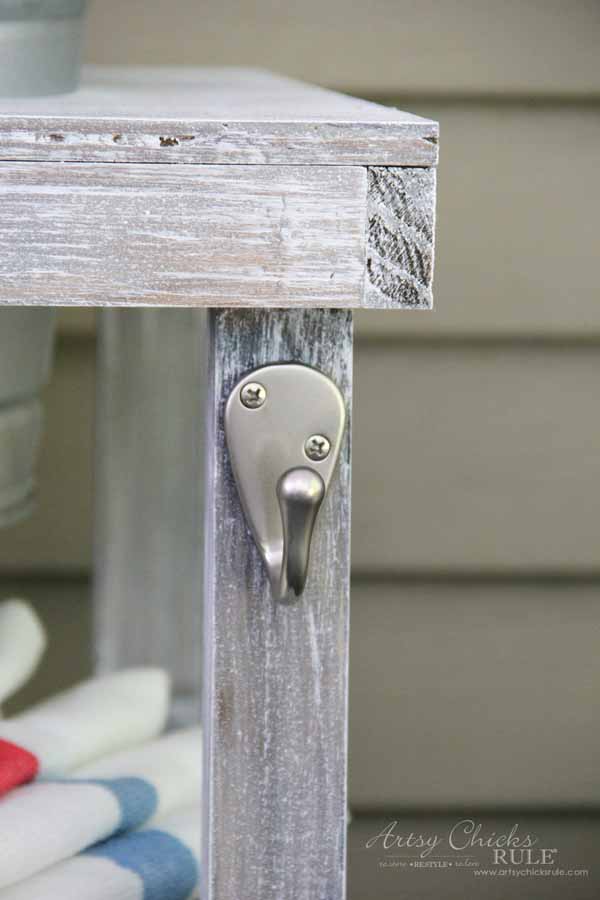
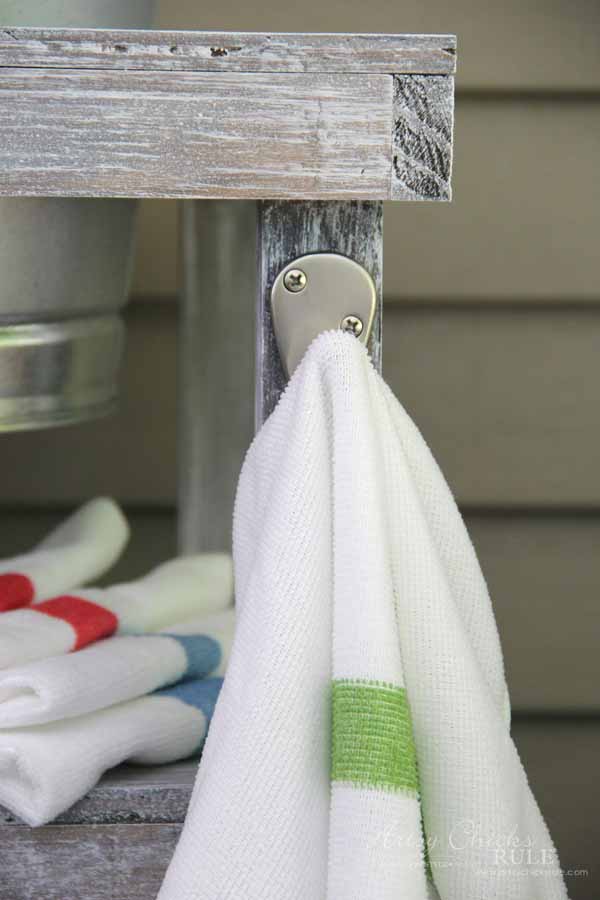
And with a towel. :)
I found them at The Home Depot too.
I am so happy with how mine turned out!
Such an easy, very do-able project.
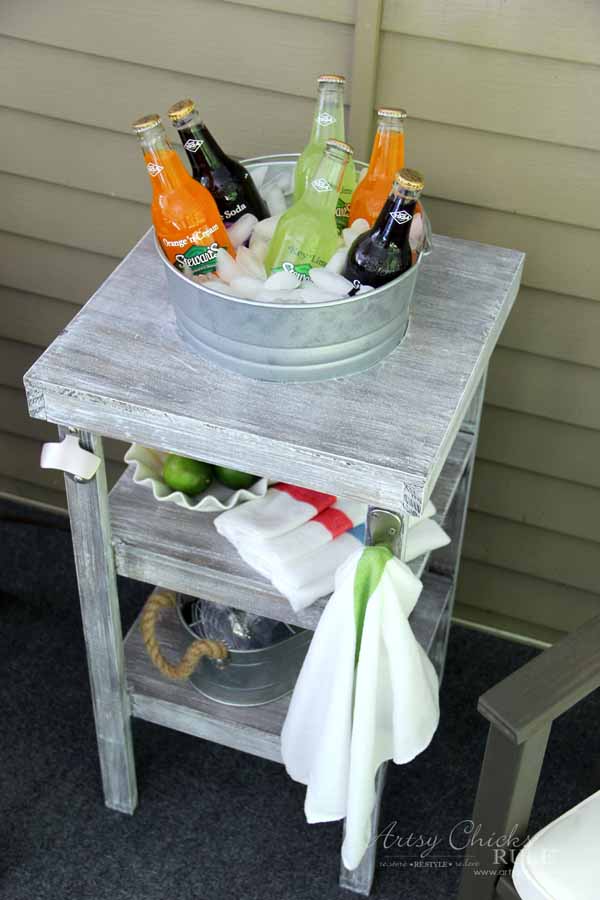
Perfect for keeping cool beverages at hand.
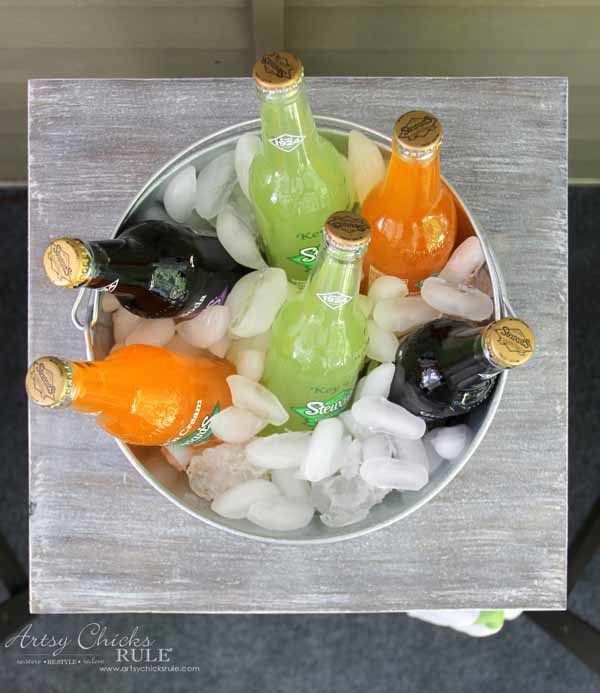
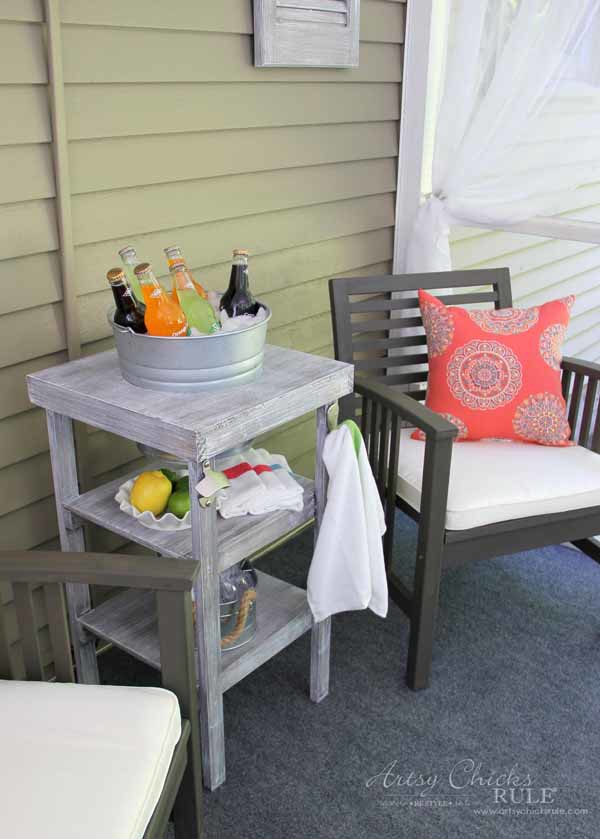
Looks great on my back screened porch too.
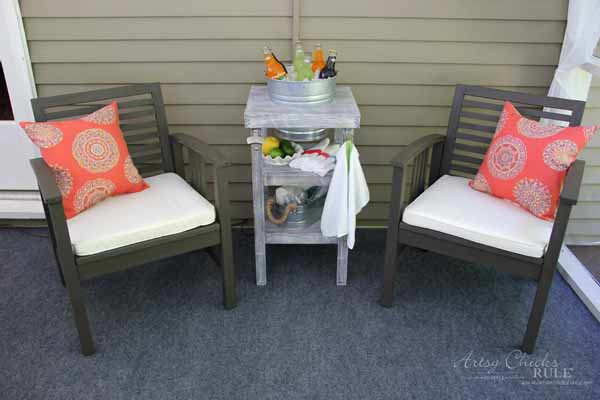
It will get tons of use this summer!
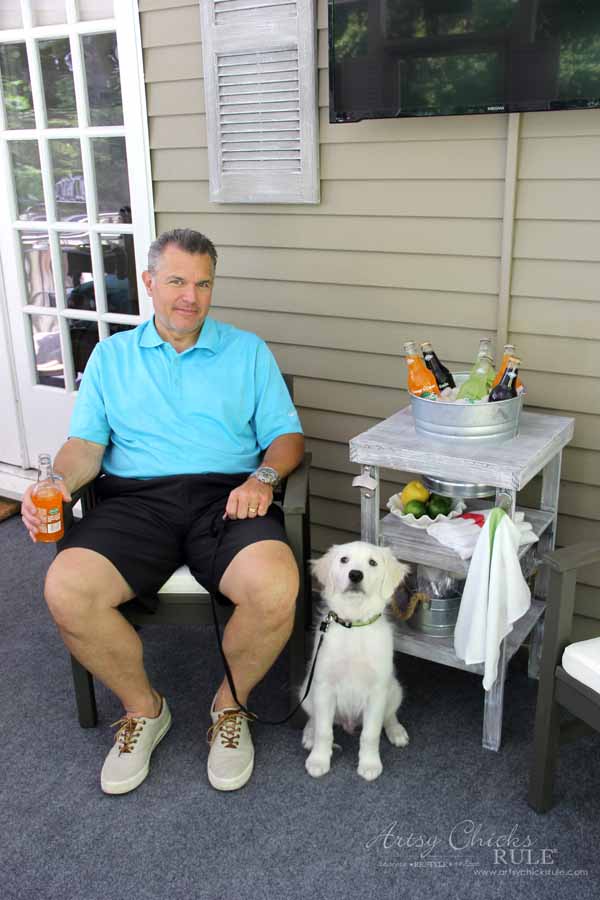
Right fellas?
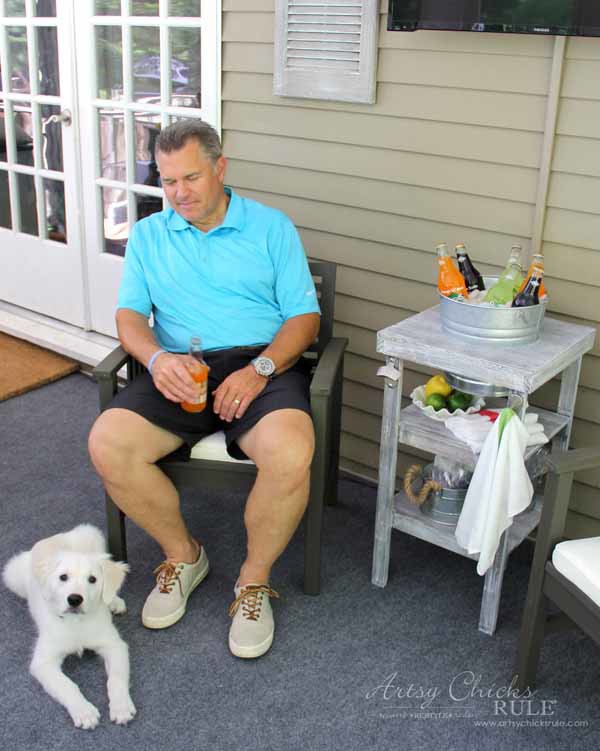
They seem to be enjoying it. (and the recently “made over” porch…I’ll be sharing more soon! :) )
Ryder boy says hello to all of you!

So, I just know you guys want to make one too, right?!! :)
You know you do, so hurry and grab your place in the class this week!
Go here to sign up >>> REGISTER NOW.
If you do make one, please share photos of it on social media so we can see!
Be sure to use the hashtag >>> #DIHWorkshop so we can find it. :)
Okay, be sure to pin this for later!!!
…………………………………………….
I know you guys can’t wait to check out everyone else’s beverage stations!
See how they created theirs and made it their own below:
The Casual Craflete Blog / Little Glass Jar / Fox Hollow Cottage
Twelve On Main / Just Between Friends / One Horse Lane
The Crafting Chicks / Family Food Fun / Inspiration for Moms
Petticoat Junktion / Our Southern Home / Artsy Chicks Rule
Iris Nacole / The Rustic Life / Domestically Speaking
The Creative Mom / Live Laugh Rowe / Little Vintage Nest
One Artsy Mama / Dagmar’s Home / Fancy Farm Girls
All Things Thrifty / Whipperberry / Lolly Jane
Landee See Landee Do
…………………………………………………
Alright, now hop on over to The Home Depot and make something too. :)
Go here to sign up >>> REGISTER .
I hope you have a wonderful week friends!!
xo

*The Home Depot partners with bloggers such as me for DIH Workshop program. As part of this program, I received compensation for my time. They did not tell me what to purchase or what to say about any product mentioned in these posts. The Home Depot believes that consumers and bloggers are to form their own opinions and share them in their own words. The Home Depot’s policies align with WOMMA Ethics Code, FTC guidelines and social media engagement recommendations.





I love your beverage station Nancy especially the finish! Awesome! The dog looks more excited than hubby to have his picture taken ;-)
Thanks Kathy!! :) Yes, he probably is!! lol
xo
Nancy
I love your finish!
Mine is similar, but with aqua, though it was so bright ourside it’s hard to tell. LOL
You have super cute models. I really like the fluffy one :)
Thanks Shannon! :)
Love the aqua!
xo
Nancy
came out gorgeous!! love the rustic finish xxo
Jamie
http://www.jamieeverafter.com
Love the weathered wood finish!! so cute!!
Thanks Heather!
What a fun project! Love the finish! Ryder is precious!
Thanks Christy!! yes it was!! :)
What a great piece for your porch and it will be super handy for the graduation party that you’ll soon host. I love the finish that you gave your beverage stand. It makes it look old and beachy.
Oh it will!! Thank you Paula!! :)
xo
Nancy
I actually made it to class! Not that I built anything mind you. As I have never built anything from scratch, I was totally freaked out. I couldn’t get the nail/staple gun to work, operator error! Push down, Carol! Any way, this looked so easy I’m actually going to build it. After I finish another chalk project. Thanks for the heads-up on the Home Depot DIH classes.
AW that is so great Carol!!! :) Thanks for letting me know and please send me a photo of your pretty little beverage stand when you make it! Would love to see what you do with yours. :)
xo
Nancy