DIY Believe in the Magic of Christmas Sign
Happy Sunday Friends!
I hope you all had a wonderful weekend.
We surely did (and a busy one)! We went to Christmastown (Busch Gardens) on Friday night and went to a holiday homes tour on Saturday.
Sadly I was unable to take photos in the homes but I’d have loved to share with you.
We surely did (and a busy one)! We went to Christmastown (Busch Gardens) on Friday night and went to a holiday homes tour on Saturday.
Sadly I was unable to take photos in the homes but I’d have loved to share with you.
They were big, beautiful old homes (the oldest we visited was built in 1780) decorated for Christmas.
I do try to share things over on my Instagram account like this. If you don’t follow, I’d love for you to pop over and say hi!
Instagram is so much fun and a great way to keep up with the daily for everyone.
I do try to share things over on my Instagram account like this. If you don’t follow, I’d love for you to pop over and say hi!
Instagram is so much fun and a great way to keep up with the daily for everyone.
Like this Christmas sign I made for my holiday decor this year… (I already shared a snippet of it over there before today)
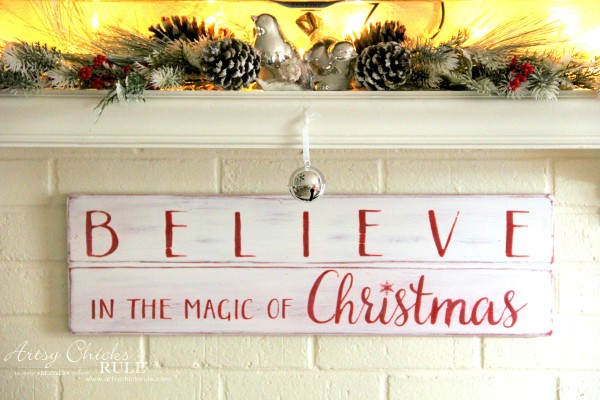
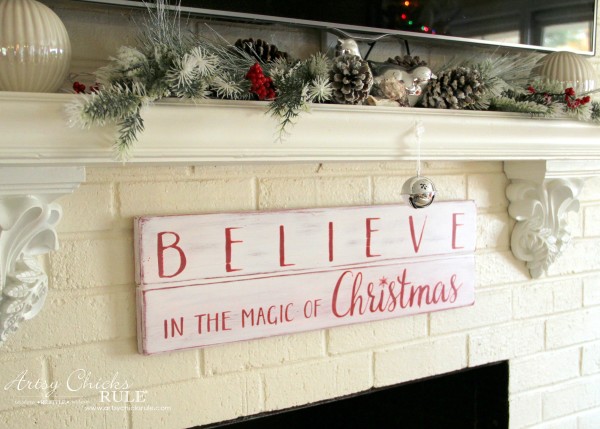
BELIEVE …. in the Magic of Christmas.
So here’s how I made this Christmas sign.
I used 2 scrap pieces of wood we had in the garage. (that happened to be the same size)
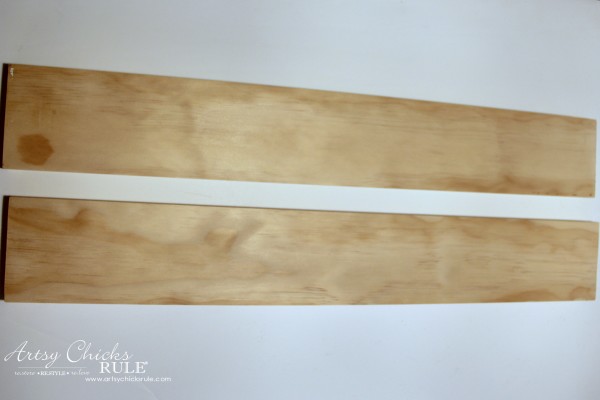
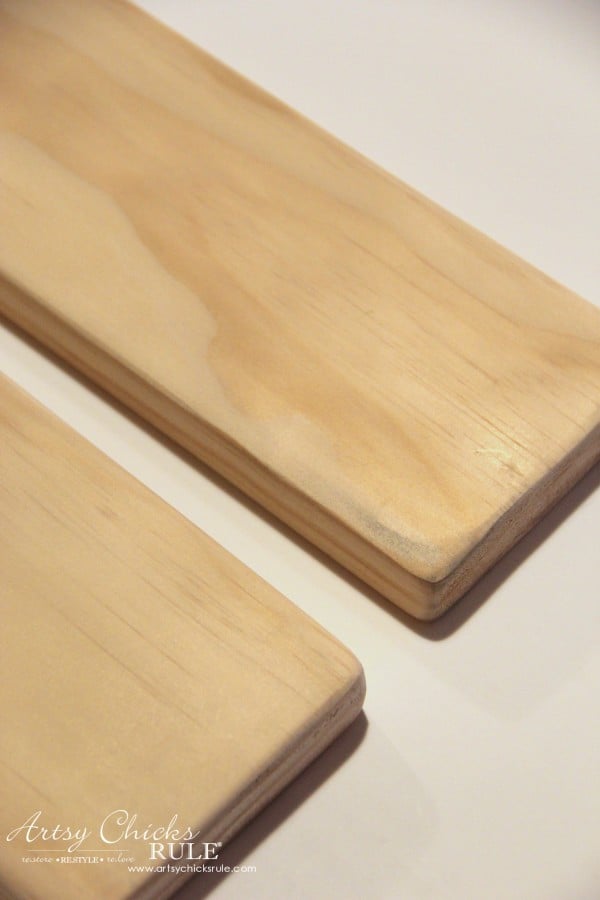
I sanded the edges a bit to make them look worn….
Then I glued (wood glue) and clamped them together.
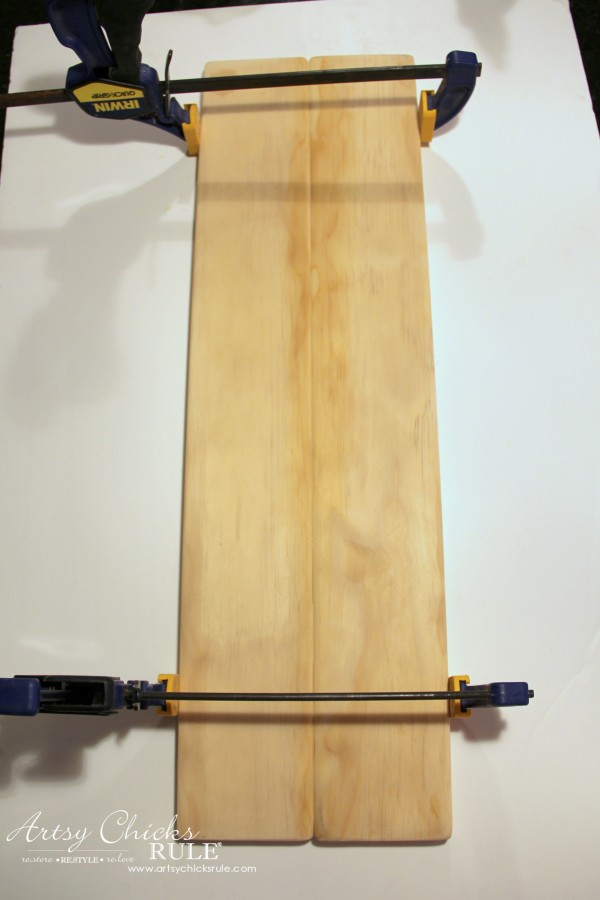
I envisioned 3 boards to give it a “pieced together, old look” but only had 2…so only used 2.
Once the glue was dry I painted 2 coats of red as a base coat. (I used Chalk Paint by Annie Sloan in Emperor’s Red but you can use any paint)
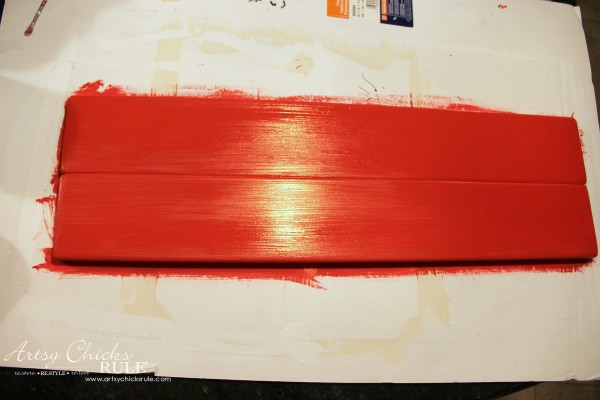
Once that was dry I painted one coat of white (I used Pure White Chalk Paint)
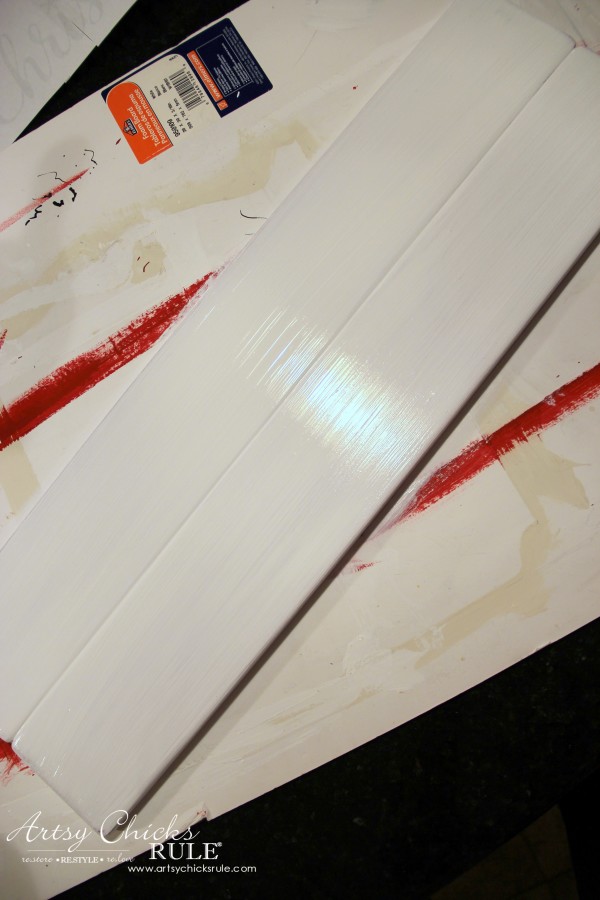
(*affiliate link, disclosure here)
I created this graphic for the sign on PicMonkey…..

I used it in reverse for this project.
I printed it out (using blockposters.com) and transferred the lettering to the white board as shown below…
(excuse my messy “painting board”)
I printed it out (using blockposters.com) and transferred the lettering to the white board as shown below…
(excuse my messy “painting board”)
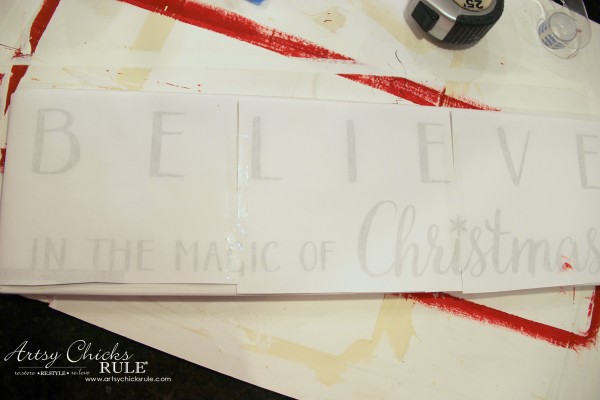
The ink from the printer transfers to the board when you rub over with a pencil.
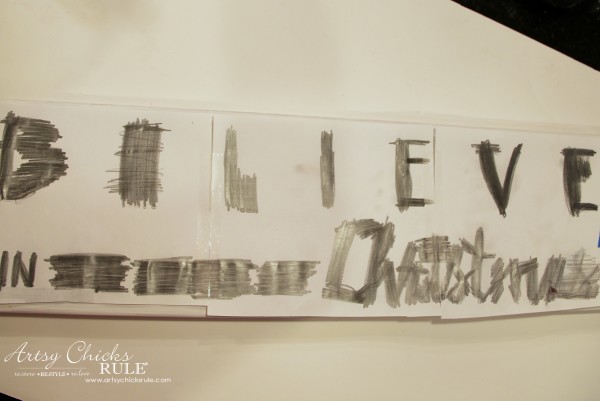
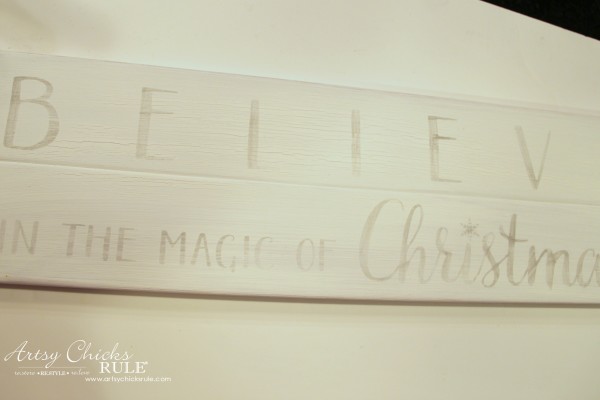
Then all that’s left to do is paint it in!
I used an artist’s script liner brush and the same red I painted as a base coat.
You can also use paint pens and it will be much easier.
You can see how I did a recent project with paint pens… here.
I used an artist’s script liner brush and the same red I painted as a base coat.
You can also use paint pens and it will be much easier.
You can see how I did a recent project with paint pens… here.
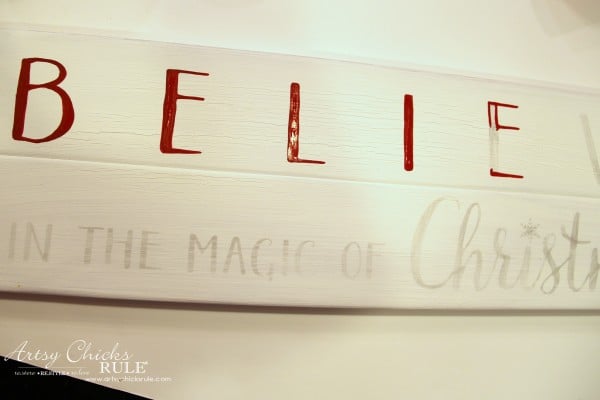
Simple, really.
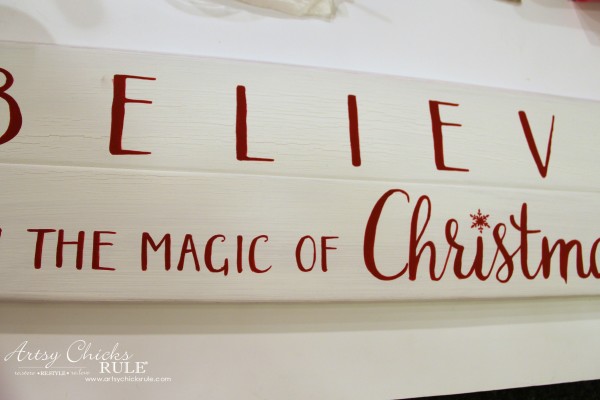
Want even more ways to transfer?? Check out my “How To Transfer Graphics” post! (sharing all the techniques I use)
I enjoy doing this and find it very relaxing. Mind therapy. :)
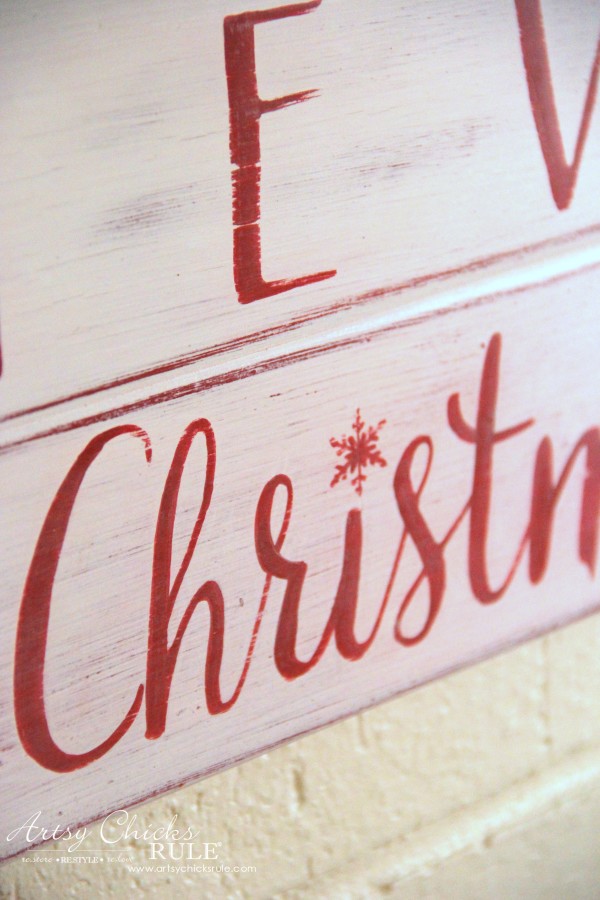
I liked it white and crisp as you see above but really envisioned it old and worn.
So I distressed it …
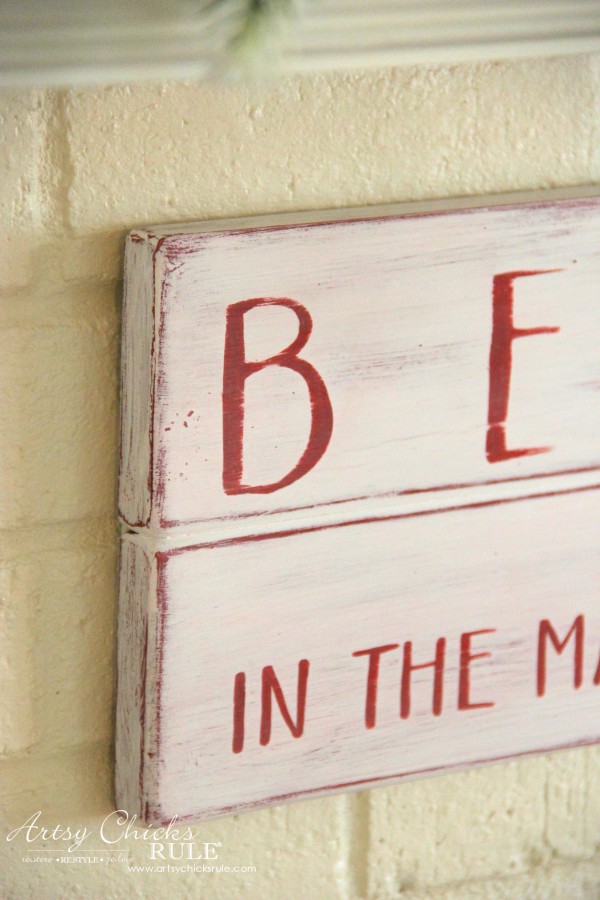
Which basically is just sanding a bit with a piece of fine grit sandpaper.
I painted the red underneath so it’d show through once sanded.
I painted the red underneath so it’d show through once sanded.
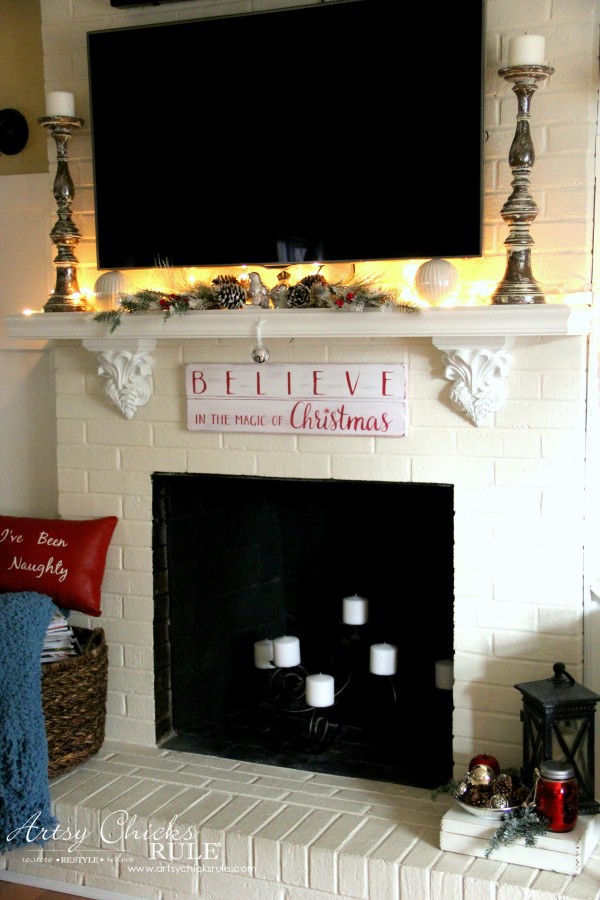
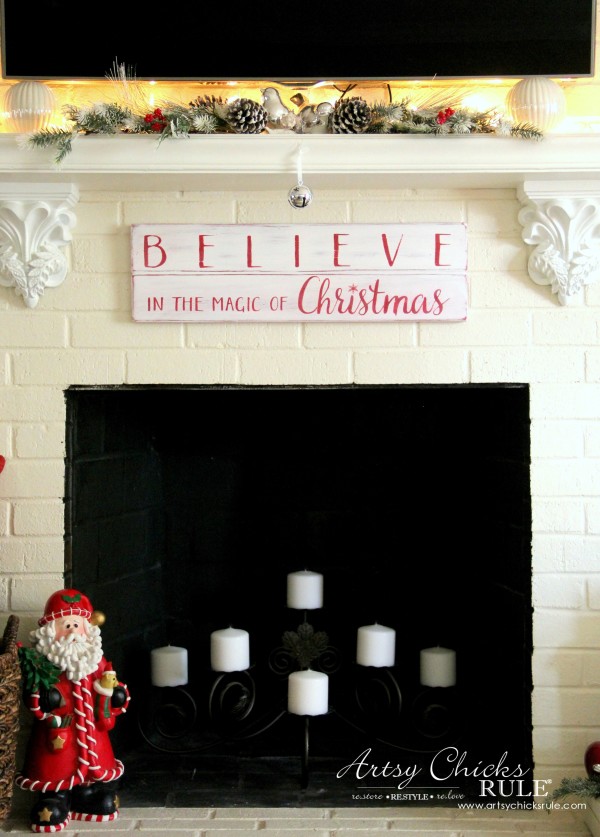
I decided to hang it here under the mantel.
The stockings are hanging somewhere else for the first time ever!
AND…I actually already had the bell hanging there before I even thought to make this sign.
It worked out so perfectly.
Have you seen The Polar Express? Remember? You can hear the bell ring …. if you believe. :)
The stockings are hanging somewhere else for the first time ever!
AND…I actually already had the bell hanging there before I even thought to make this sign.
It worked out so perfectly.
Have you seen The Polar Express? Remember? You can hear the bell ring …. if you believe. :)
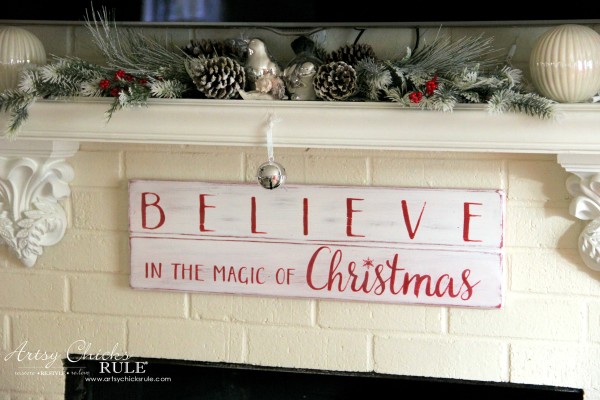
I’m so happy with how it turned out.
And do you see the lines across the middle?
That’s the look I was going for. It just gives it a little bit of something, I think.
That’s the look I was going for. It just gives it a little bit of something, I think.
Lights on, on the mantel…
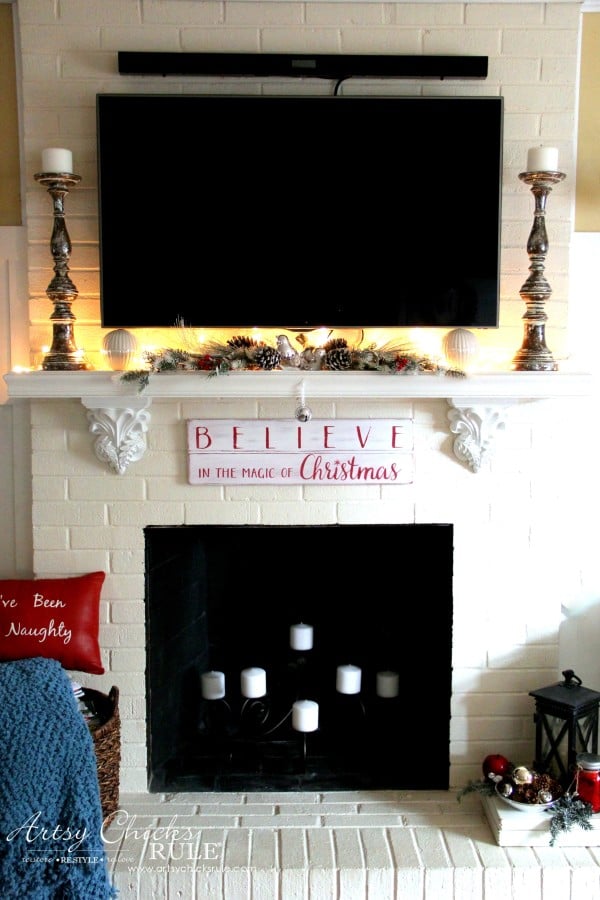
Lights off…
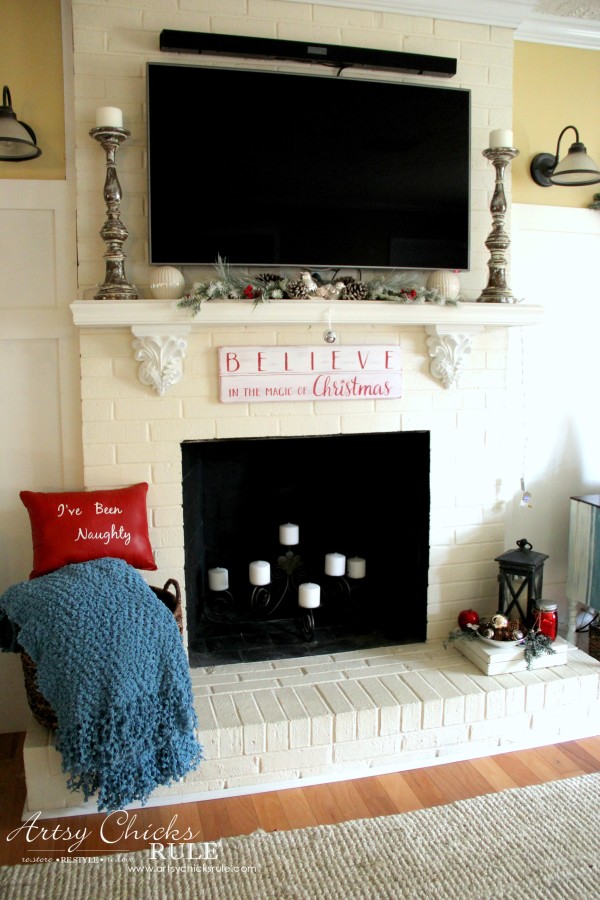
We have new lights going up there on either side of the mantel. (the current ones are the ones I sprayed with Oil Rubbed Bronze)
I’m hoping to have my husband install them before I take photos for my Christmas Home Tour I’ll be sharing soon.
That might be tough, however, since our 15 year old washing machine went out this week.
And while looking for a new set (yes, we went ahead with a whole new set because they need to match, y’all) I also found a stove for our kitchen (finally!!!).
None of which is in our home yet.
That stove has been on the list for SO long but I just kept putting it off. No more!
And so..needless to say, we’ve got our hands quite full at the moment. ;)
Anyway, I’m hopeful!
I shared the ones we purchased over on Instagram awhile back.
I LOVE them and can NOT wait to get them up!!! (and the new stove, I can not tell you how happy I am about that!)
Okay, so back to this Christmas sign of mine.
Believe…front and center for all to see.
And with SANTA…. just magical. :)
Do you think you might make one too?
You can use the free printable to just print and frame if you don’t want to do the painting.
You can use the free printable to just print and frame if you don’t want to do the painting.
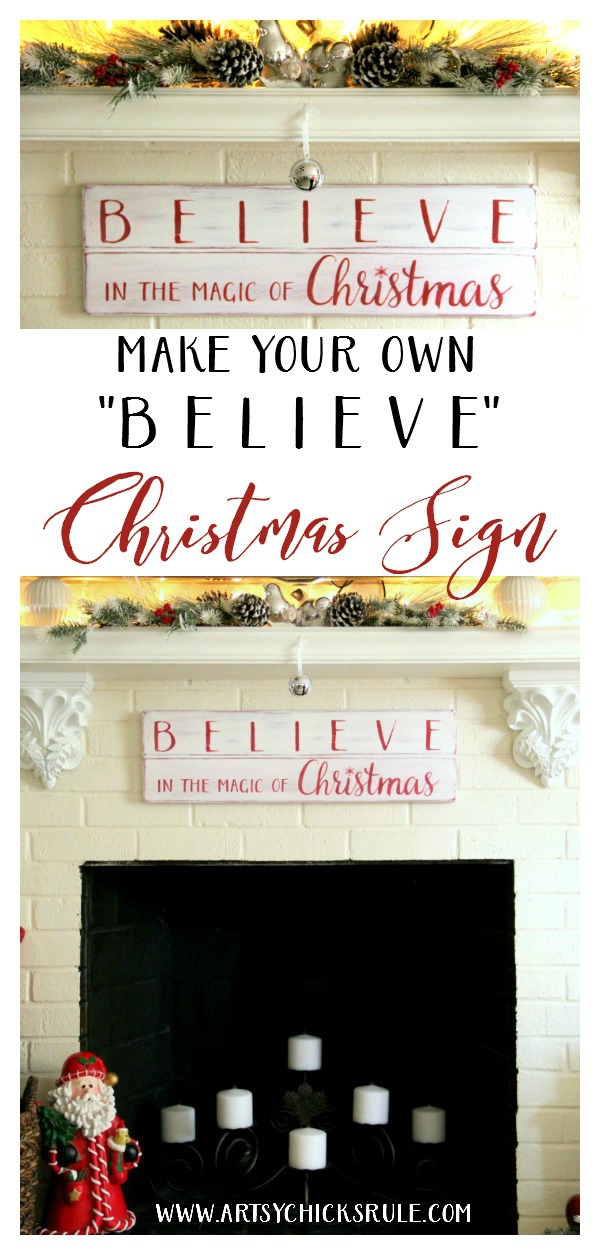
PIN this for later so you can make one too! :)
I’ll see you guys right back here on Tuesday with a brand new “Trash to Treasure” makeover.
It’s actually the one I’d hoped to share last month but didn’t get finished in time.
I’m so excited about it and can’t wait to share it with you all!!
It’s actually the one I’d hoped to share last month but didn’t get finished in time.
I’m so excited about it and can’t wait to share it with you all!!
See even more holiday ideas here >>> Holiday Project Gallery
xo

You may also like this project:
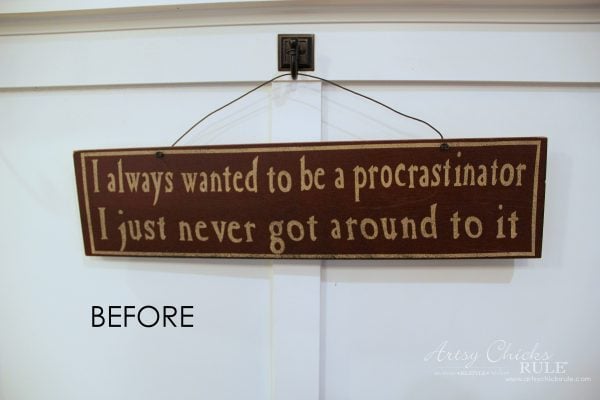
See it here >>> EASY DIY “Merry & Bright” Sign








So pretty, Nancy! I love the unique way that you have it hung on the mantel.
Thanks Christy! :)
Nancy
Your sign looks so great. I love the words. We get lost in all the other “stuff” at this time so this is a great reminder!
Thanks Lindsay!! :) So very true!
xo
Nancy
Hi Nancy! I just love your sign, it is so Christmas-y! I’d like to give this one a try!
Hi Judy!
Thanks so much! :)
Nancy
Your sign is so cute! Looks great on your fireplace!
Thanks Tammy! :)
xo
Nancy
I believe! :)
Loooove the sign, a perfect reminder for the holidays ♥
Yay! Thank you Diana! :)
xo
Nancy
Nancy, thanks for feeding my sign addiction! I love everything about it.
Thank you Karen! :)
xo
Nancy
Hi Nancy – Visiting as a fellow participant from the #HomeForChristmas blog tour. I love this sign – you are so creative and I especially love the distressing! Merry Christmas and Happy Holidays to you and yours. Hugs, Holly
Thanks so much Holly! Merry Christmas to you too! :)
xo
Nancy
Nancy so pretty – You do this so well
Maybe I will try this next year.
Enjoy your Christmas Holiday
Rose
Hi Rose!
Oh yes, do try it! :)
Hope you have a wonderful and Merry Christmas!
xoxo
Nancy
I do, I do believe in the magic of Christmas Nancy and your sign stating that fact is AWESOME, including the silver bell!
Oh yay!!! :) Thank you Marie!
xo
Nancy
What are the dimensions of your boards?
It is 24 x 7.
Oh how I love this Christmas sign! I’ve got a thrift store sign that would be perfect for this. Thanks so much for the inspiration!
Thanks Ashley! :)