Coastal Guest Bath Refresh
Coastal guest bath refresh – small changes for a big impact!
Hello, my beautiful friends!
I’m finally sharing our coastal guest bath refresh. The mirror saga has concluded. lol
Thank goodness!
But first…have you entered my birthday giveaway yet?? If not, hop on over and do it quick! >>> Birthday Giveaway
I wrote a post recently about our “Changes & Updates” and shared some of what we are up to over here. One of the things is this coastal guest bath.
It’s been “made over” oh, this will be the fourth time! Wow, but hey, when you live somewhere for almost 18 years, your style changes, and sometimes you just want to update a bit.
Plus blog life. ;)
Coastal Guest Bath Refresh
To recap, check out these 2 posts first if you want to see the full evolution of this room.
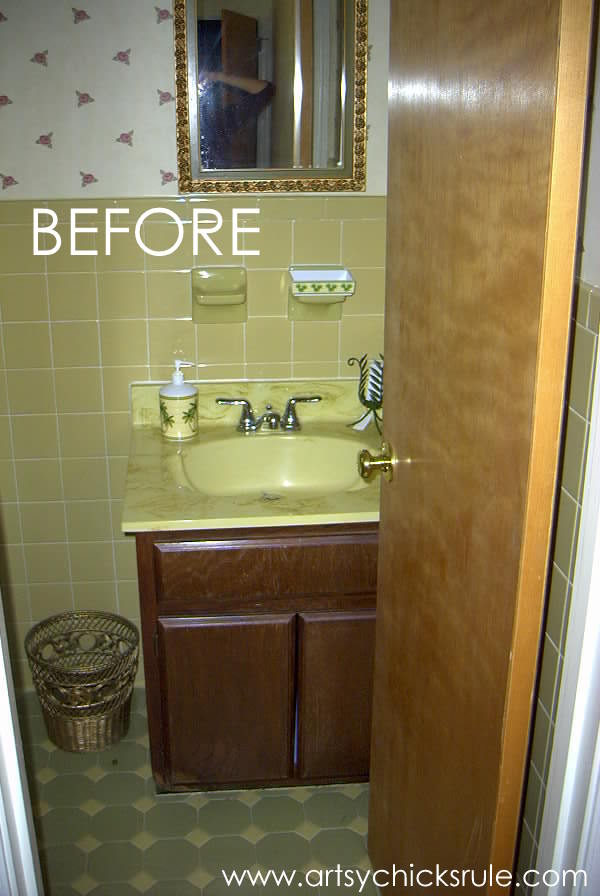
Here is where we started when we moved in…
Here is the progression since…
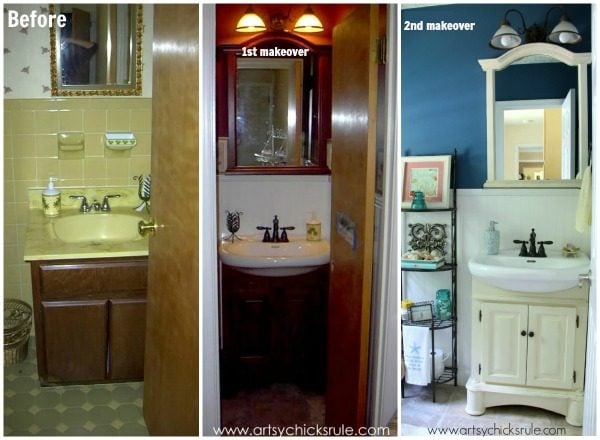
A little maroon paint on the walls with palm trees, a new dark cabinet, and new beadboard walls.
To painted cream cabinet and blue painted walls.
To this “farmhouse” rendition, and yes, cabinet painted again…
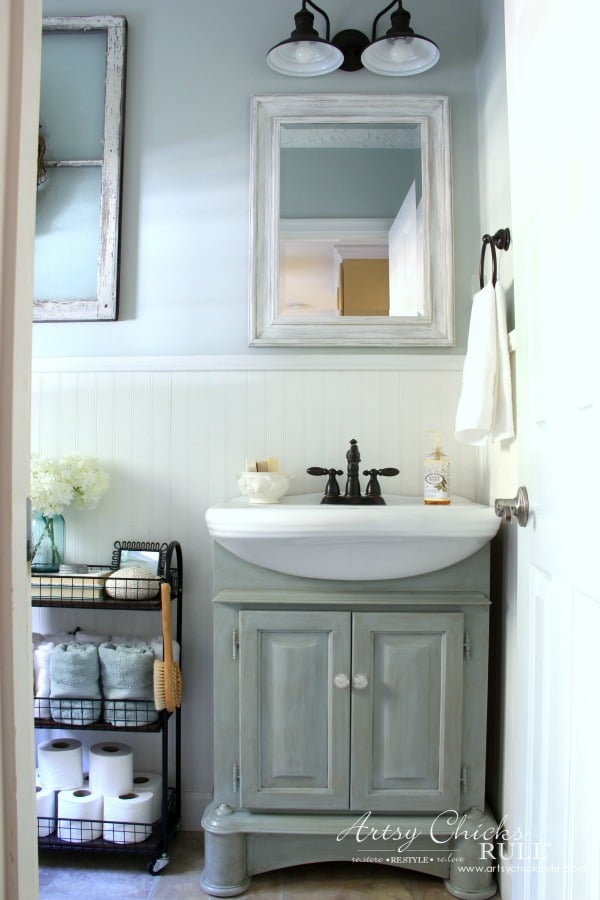
And now…
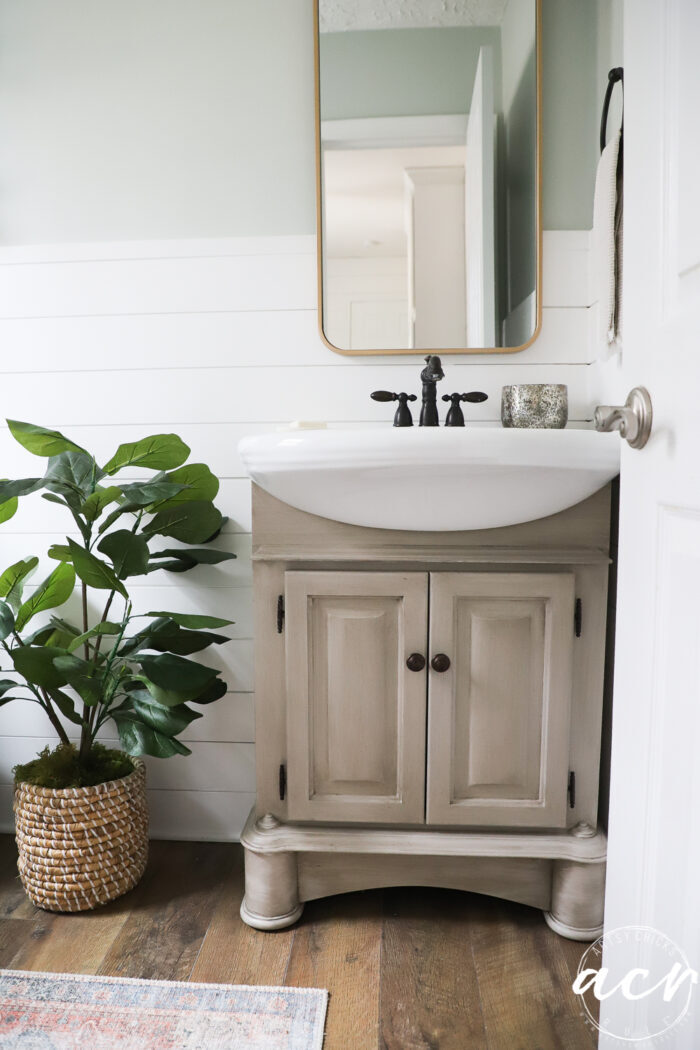
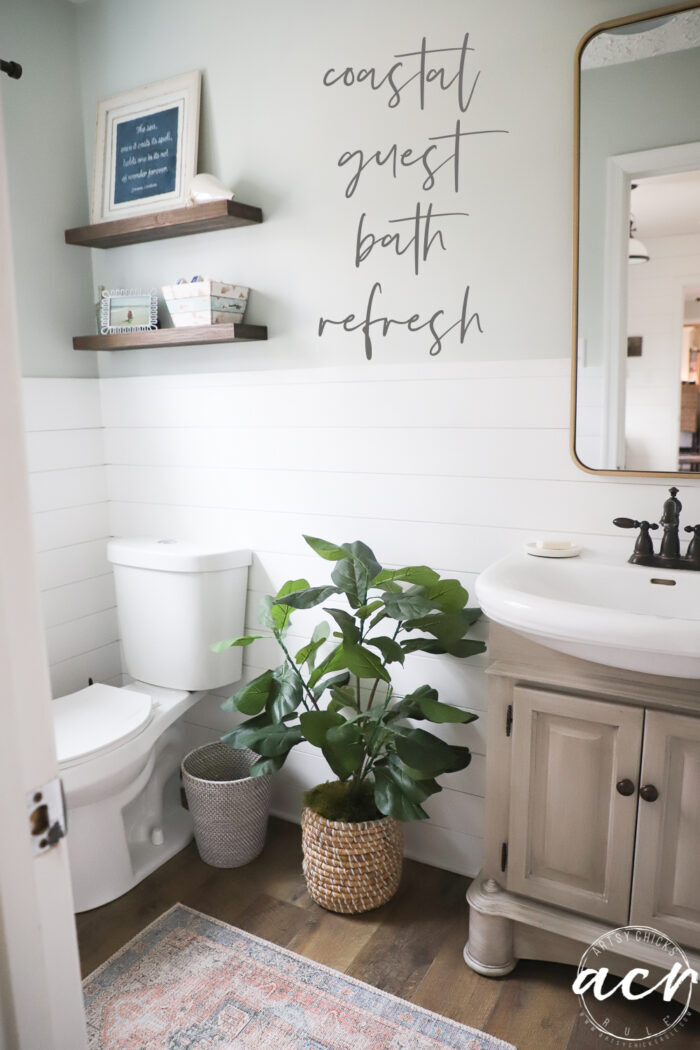
Although this still probably looks a bit “farmhouse-ish”, I’m moving more away from that and more modern coastal instead.
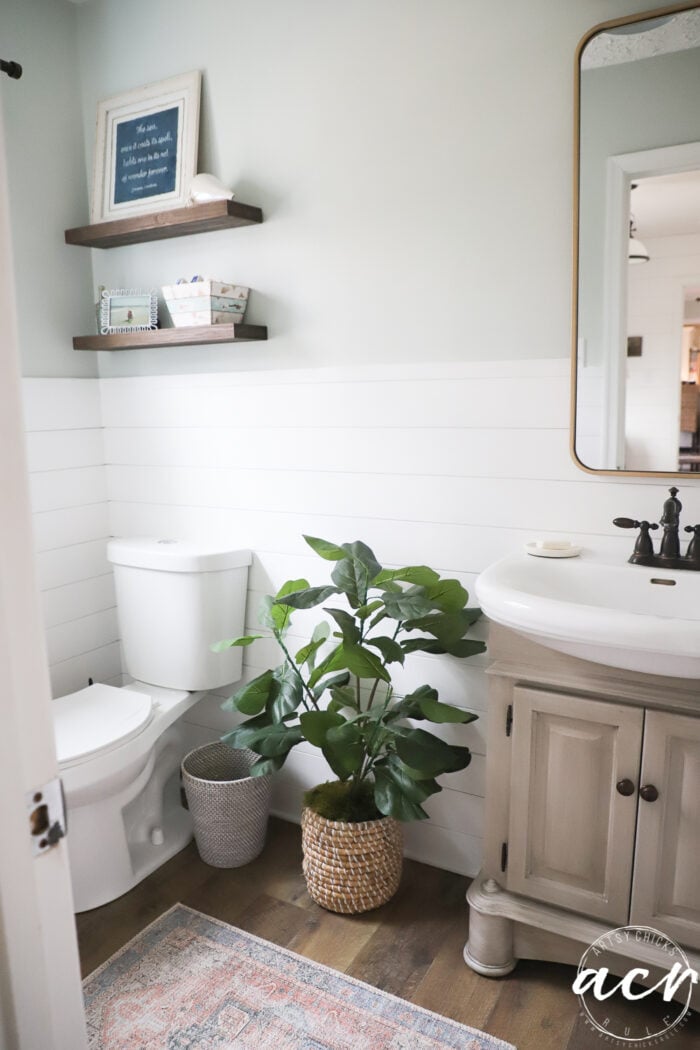
New shiplap to replace the tired beadboard, newly painted cabinet (yes, again! Ha!), and a new mirror.
It feels so fresh in there!
Okay, let me give you the materials list for the paint, etc., first.
MATRERIALS SOURCE LIST
- Cobblestone Paint (base coat on cabinet)
- Driftwood Stain & Finishing Oil (topcoat and “wood” look over paint)
- Black Flat Spray Paint
- Bronze Gilder’s Paste
- Rug
- Fiddle Leaf Fig Planter (similar)
- Mirror (I got “Brass” but sprayed it gold because it was much darker in real life)
- Wood Shelves
- Wall Paint Color (Sea Salt by Sherwin Williams)
- Light Fixture
- Curtains
- Shiplap
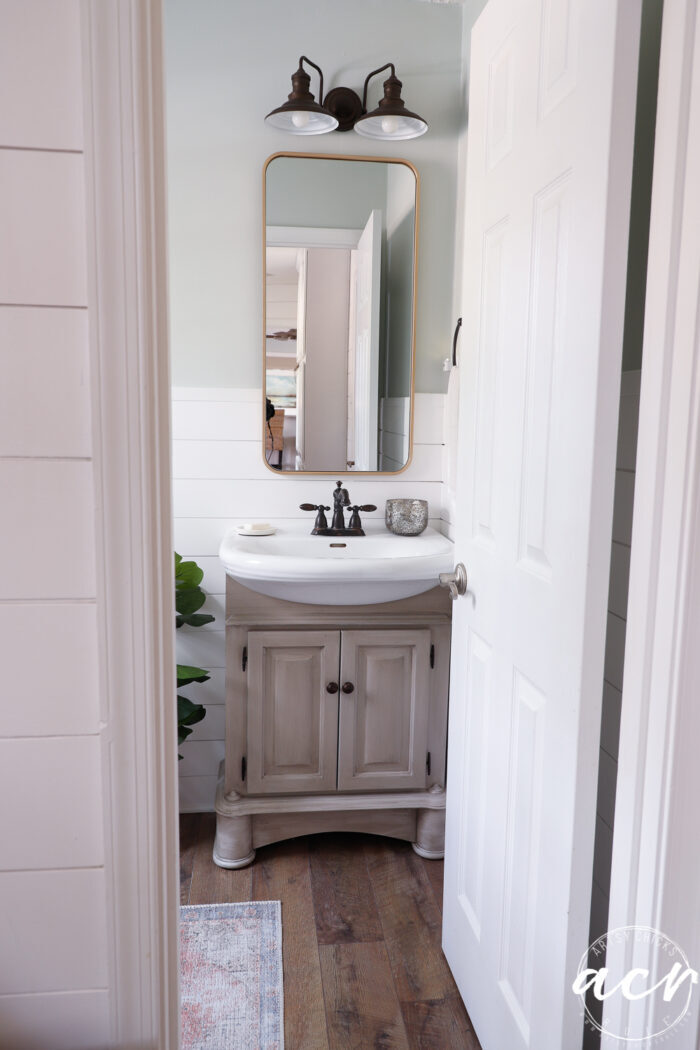
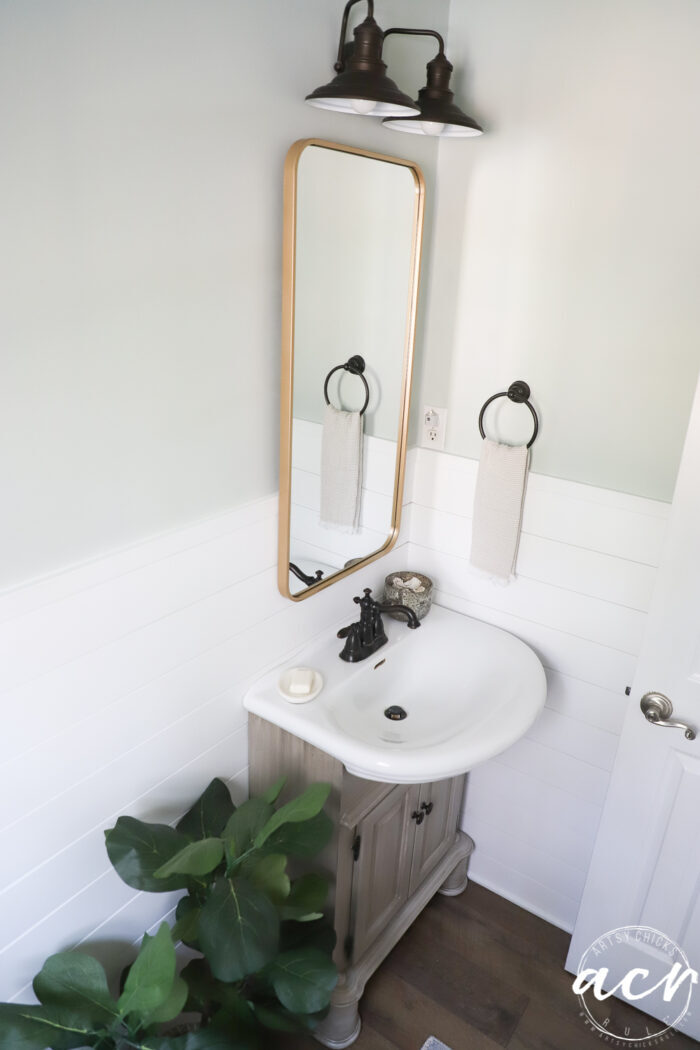
One of the big changes (well the shiplap, of course) was replacing the old shorter mirror with a long one.
I absolutely LOVE the different look it gives.
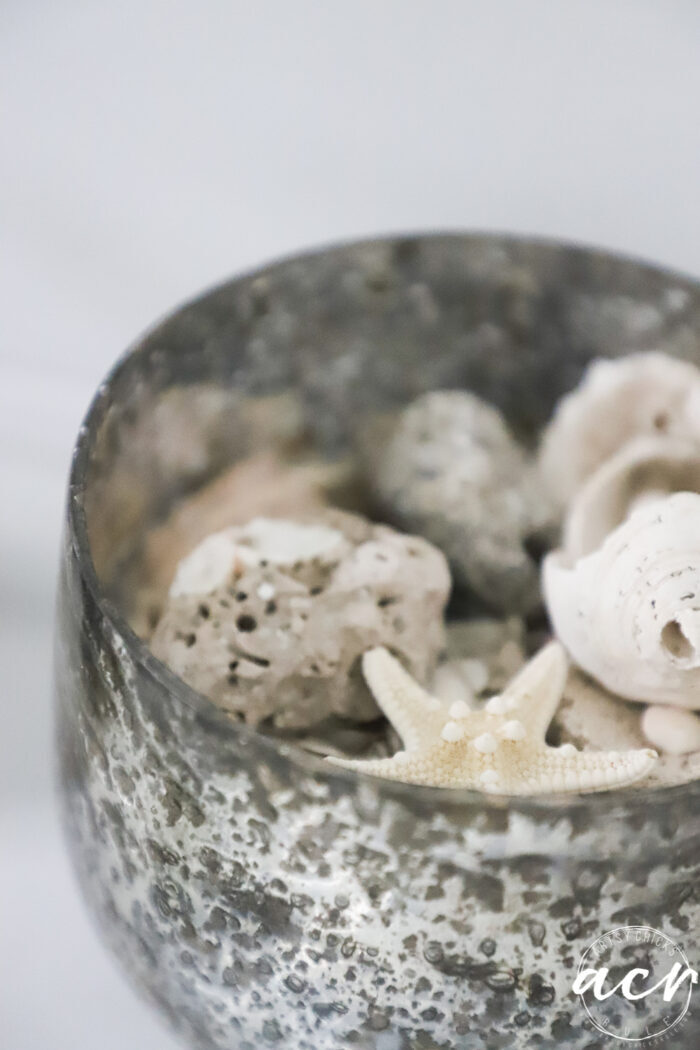
A bowl full of shells to go along with that coastal feel.
We were originally going to change out the sink/cabinet for a larger one (longer).
But it was just not working out well with the sink being on the right. It became more of a headache trying to find a top, etc, that I just said oh well, I’ll repaint the other one instead.
Saves money too, so win-win.
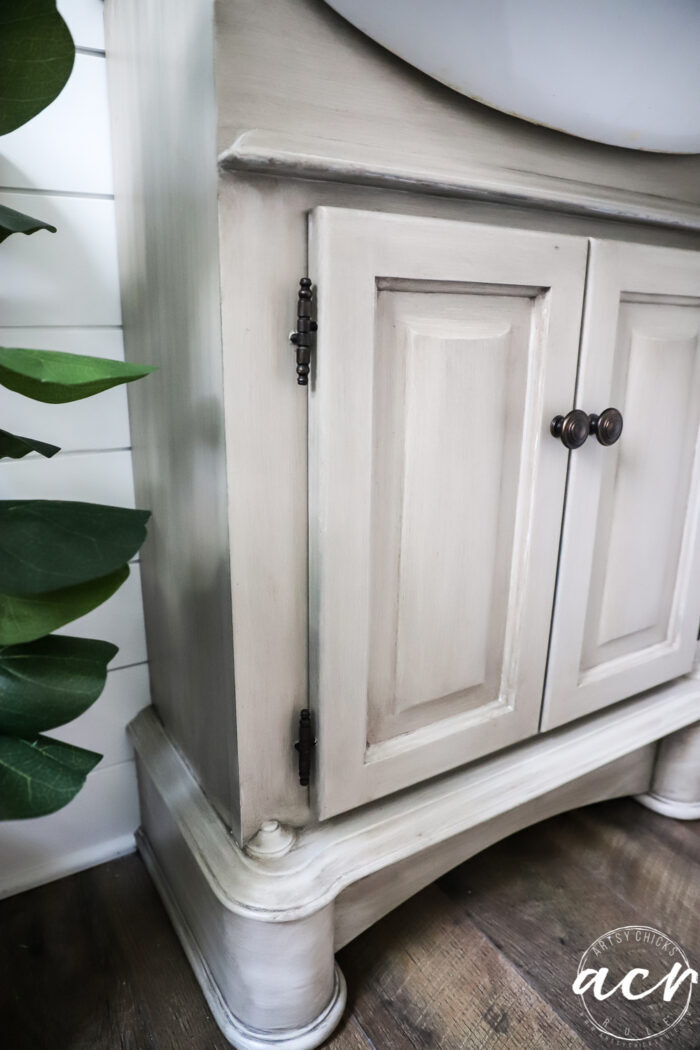
I painted it with Cobblestone (which is a lovely color!) and finished it with Driftwood stain and finishing oil.
I wanted it to have a weathered wood-ish effect to still go along with the coastal feel of our home.
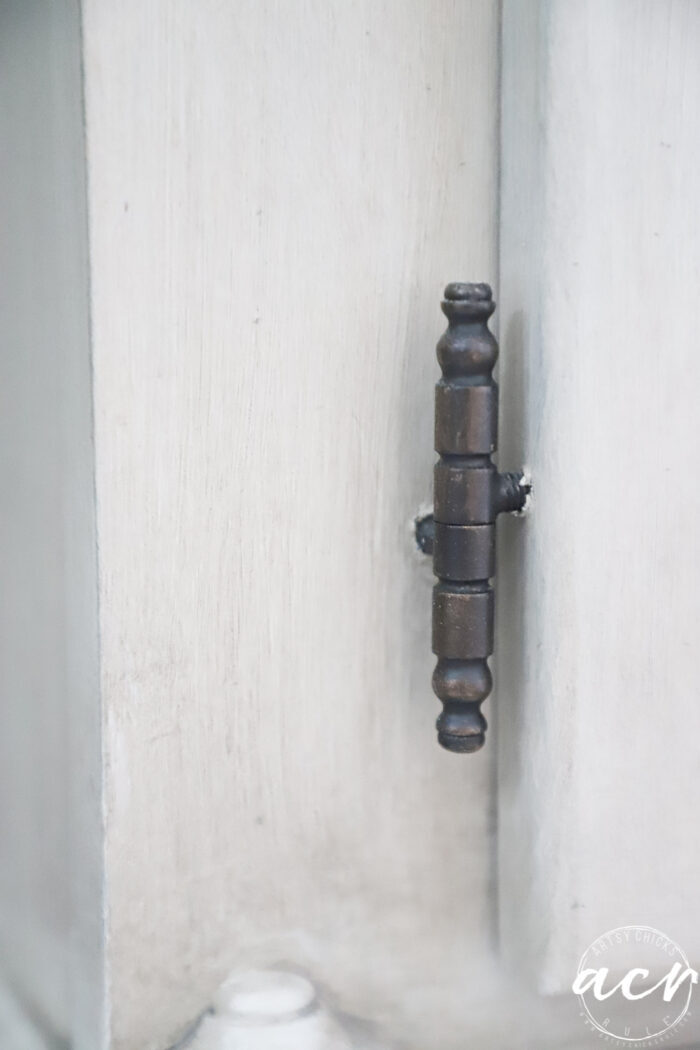
I took the glass knobs off (see the older photo above) and found these metal ones in my stash.
Unfortunately, I had no Oil Rubbed Bronze in my stash so I made due another way.
I sprayed the hinges (I had painted them blue with the cabinet on the last paint makeover) and knobs with a flat black spray paint I did have.
And once that was dry, I rubbed a bit of Bronze Gilder’s Paste to give it the look of oil rubbed bronze to match the faucet, etc.
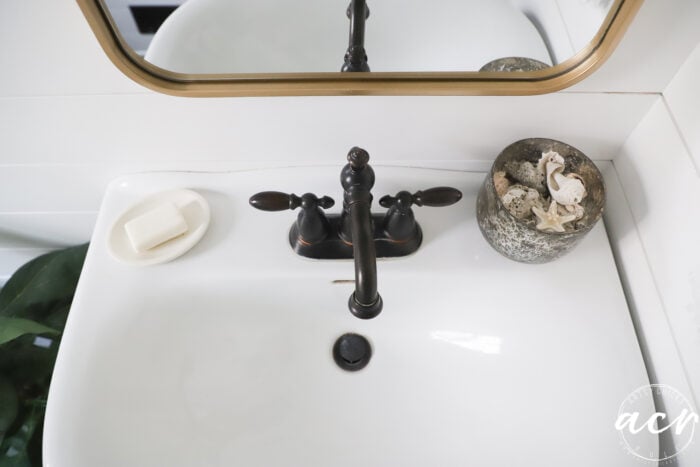
I’d say it turned out quite good!
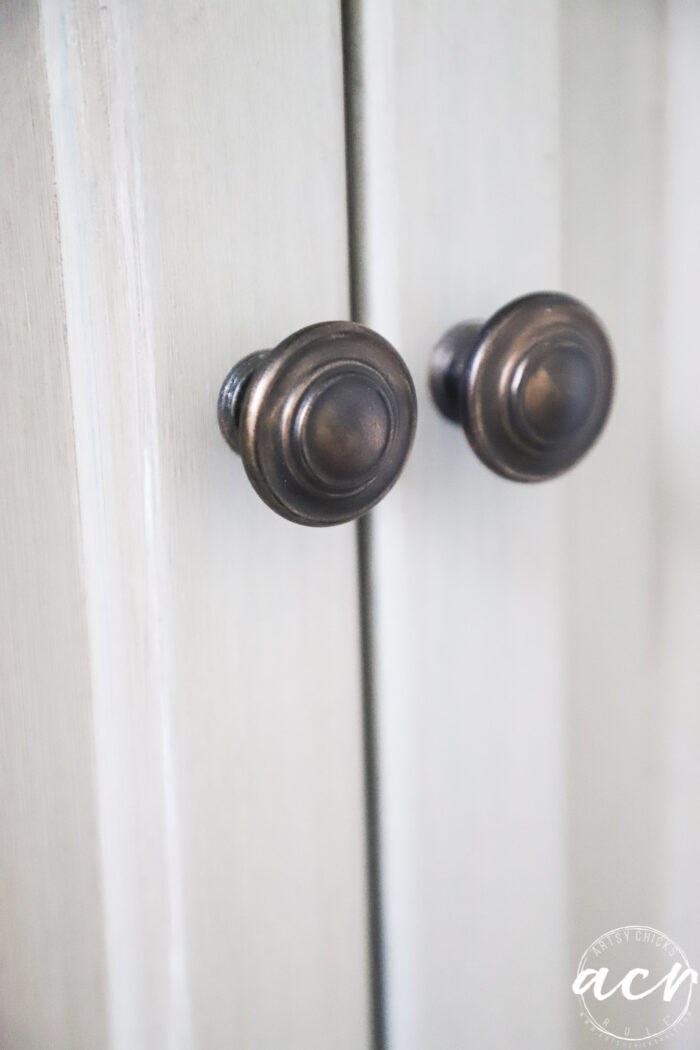
It actually looks more authentic than just spraying them with ORB spray paint.
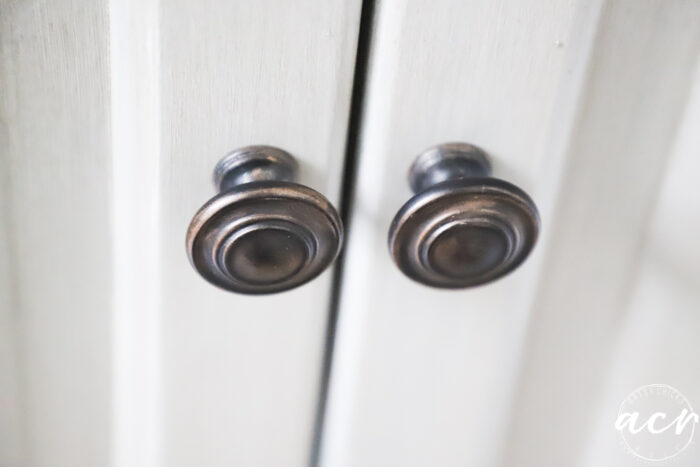
It was time to see the little cart go.
This one…
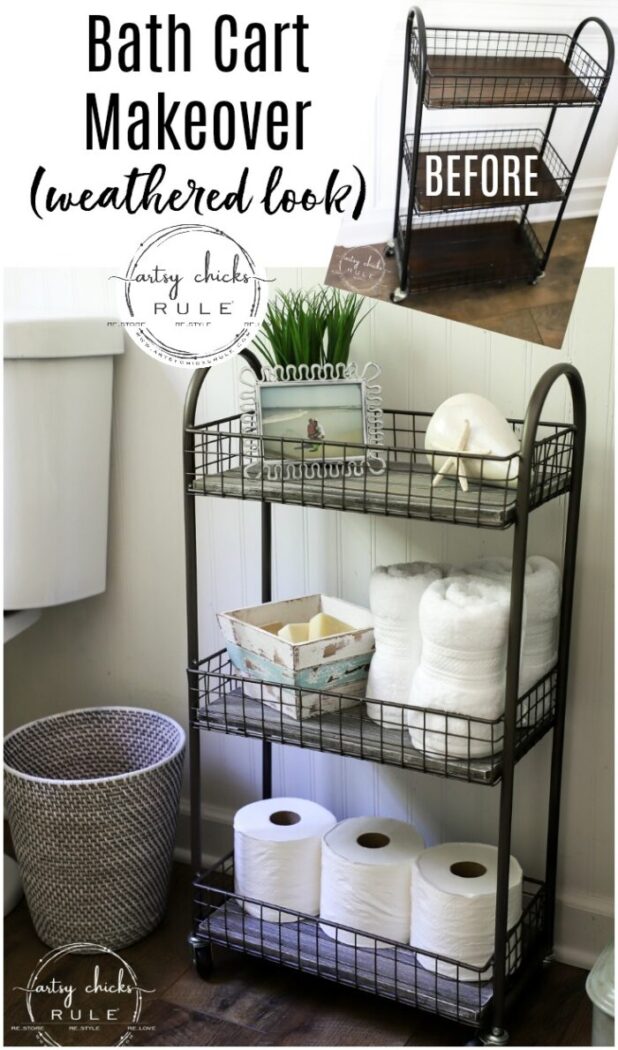
I’d even given it a makeover at some point to change things up. lol
I kind of hate that blank space in here (and why I wanted a longer cabinet) so I had the cart there previously and decided to add a fiddle leaf fig now.
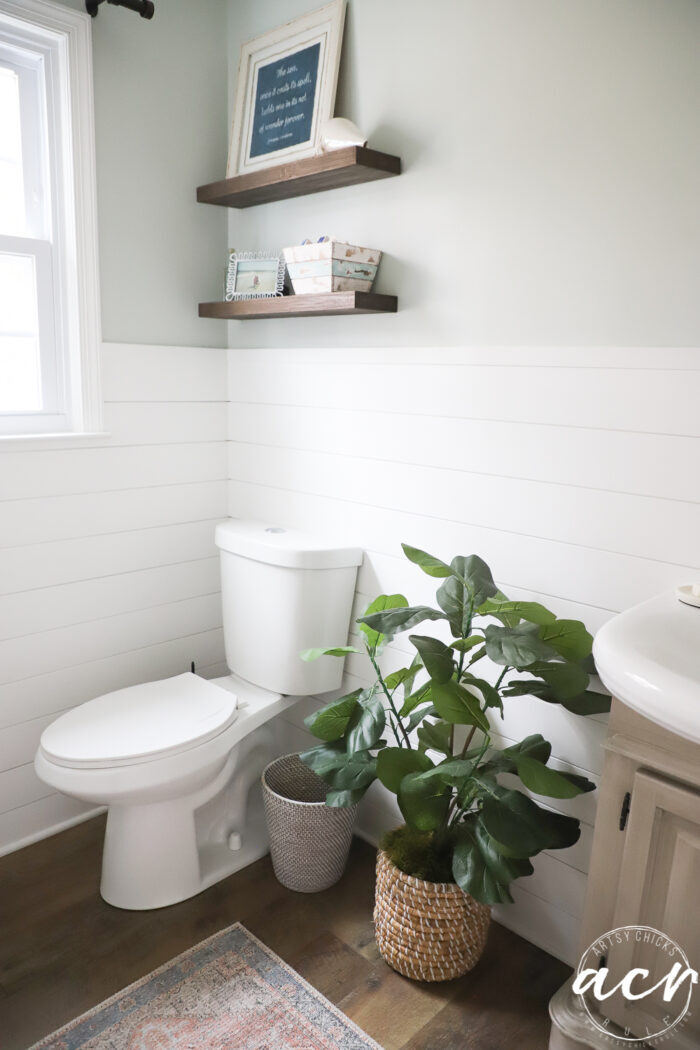
I removed the old, antique window I had hanging on this wall and added wood shelves.
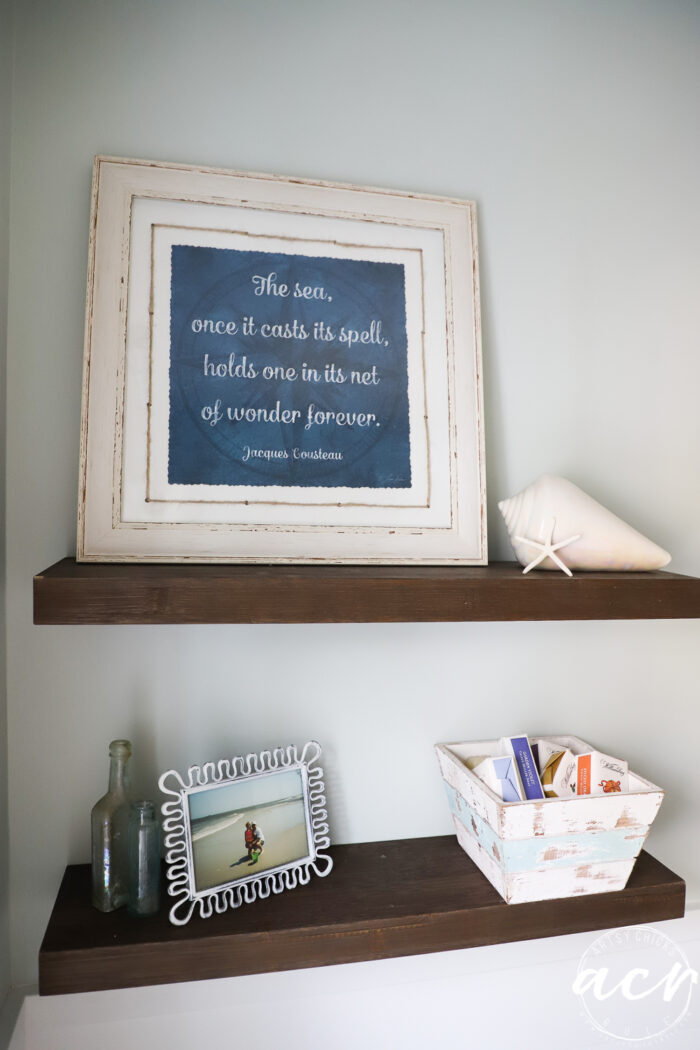
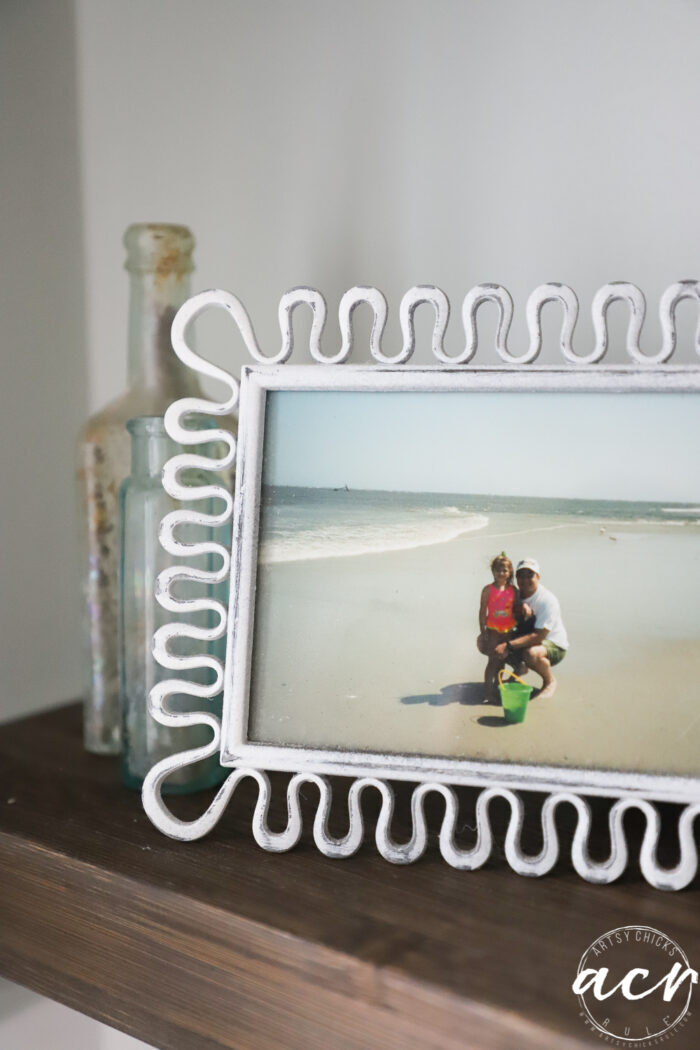
Our daugher and her uncle on the beach in SC. Miss those days!
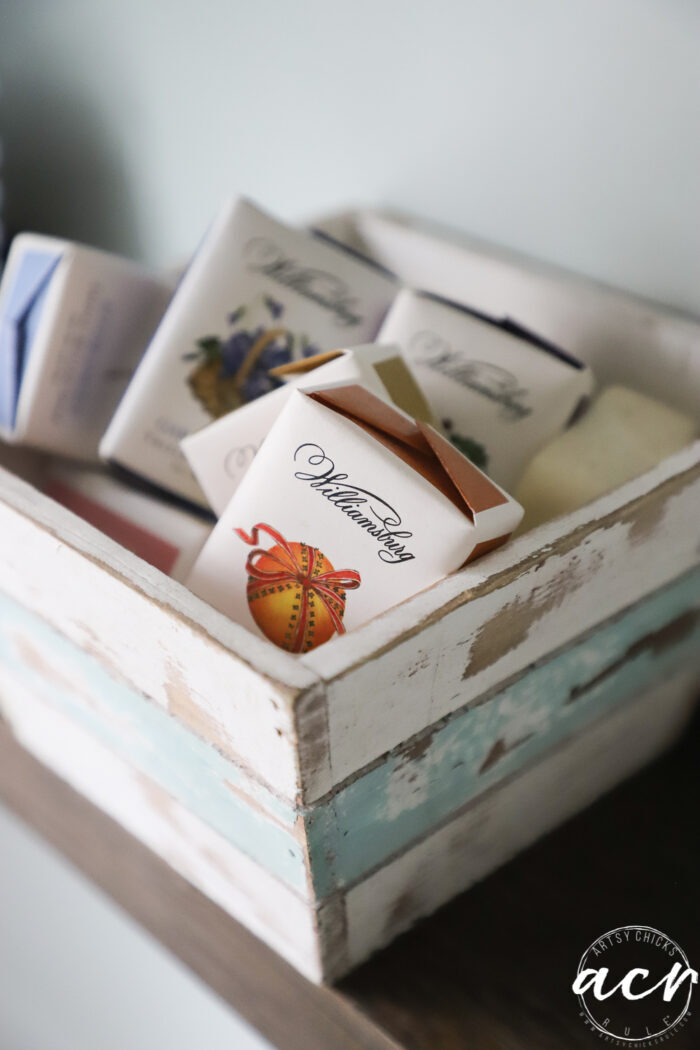
I love these fancy (and delicious smelling!) soaps we get in Williamsburg, VA.
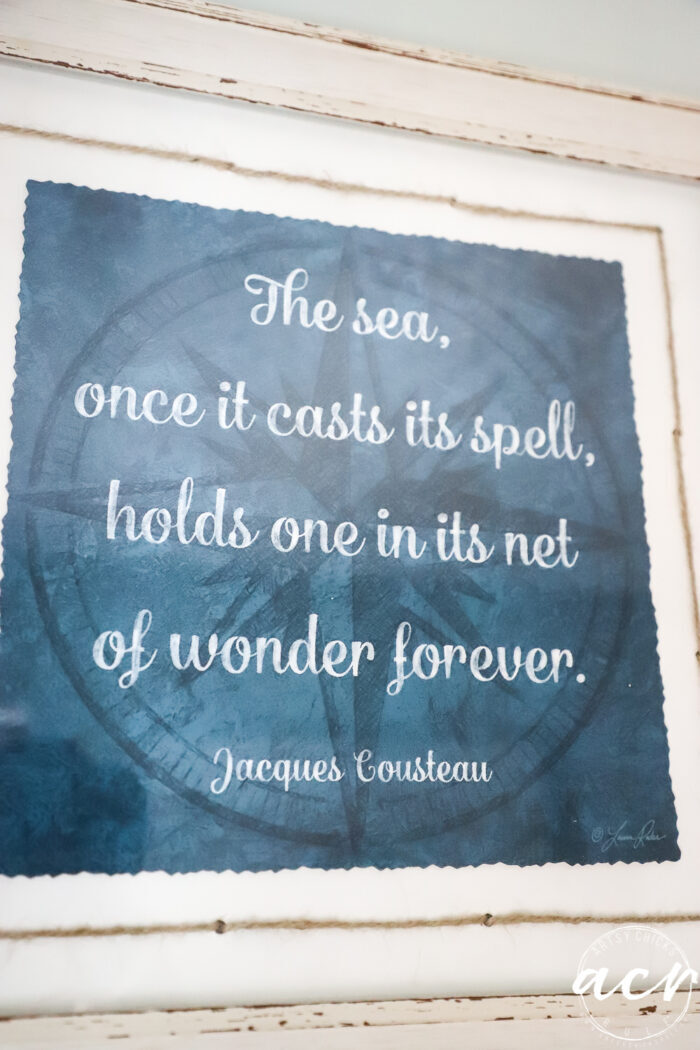
One of my favorite prints. I had it on the shelf on the wall opposite and moved it over here with the changes.
I took down the old faux roman shade I made and put in a sliding curtain instead.
SO much easier to just slide across for privacy.
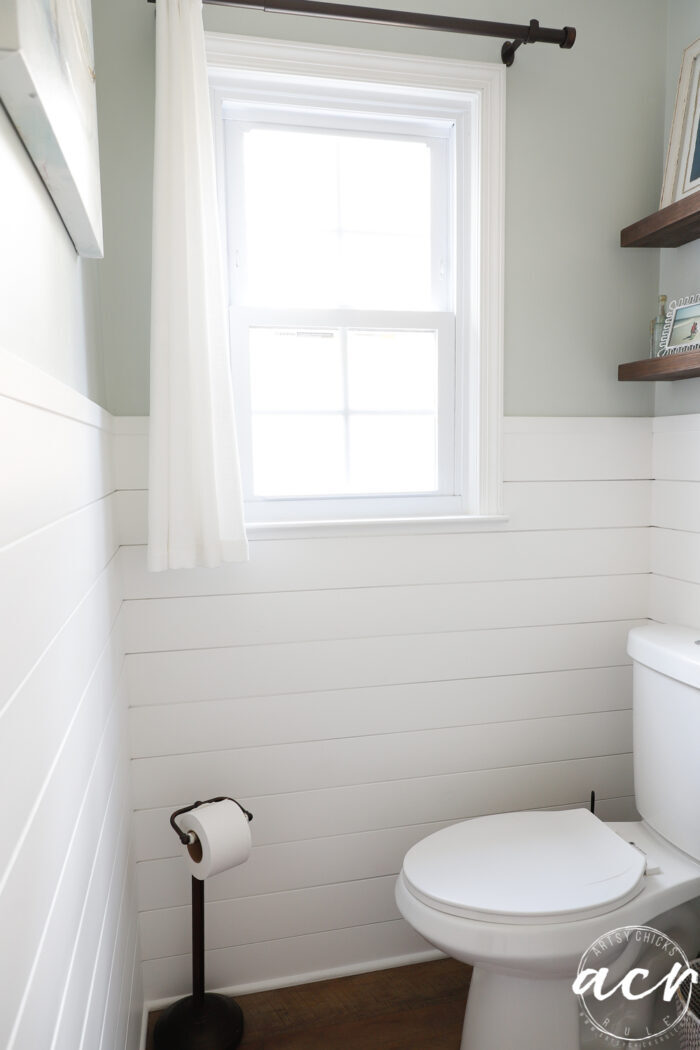
I simply bought a longer set on Amazon and shortened to the length I needed, no sew, of course! Plus a set of 2 covers 2 windows instead of one.
I made the same curtains for our other 2 bathrooms (with the same-sized windows in each).
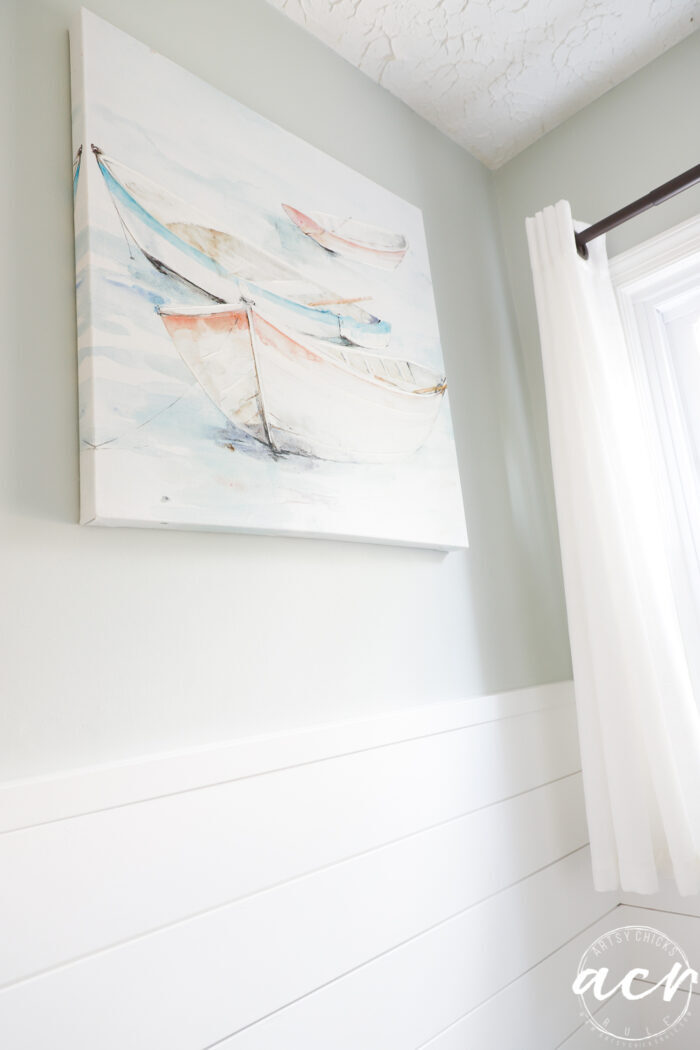
I want a large, pretty piece of artwork on this wall. I had this one in my stash in the garage so hung it for the time being.
Once I find what I want to go here, I’ll update this post.
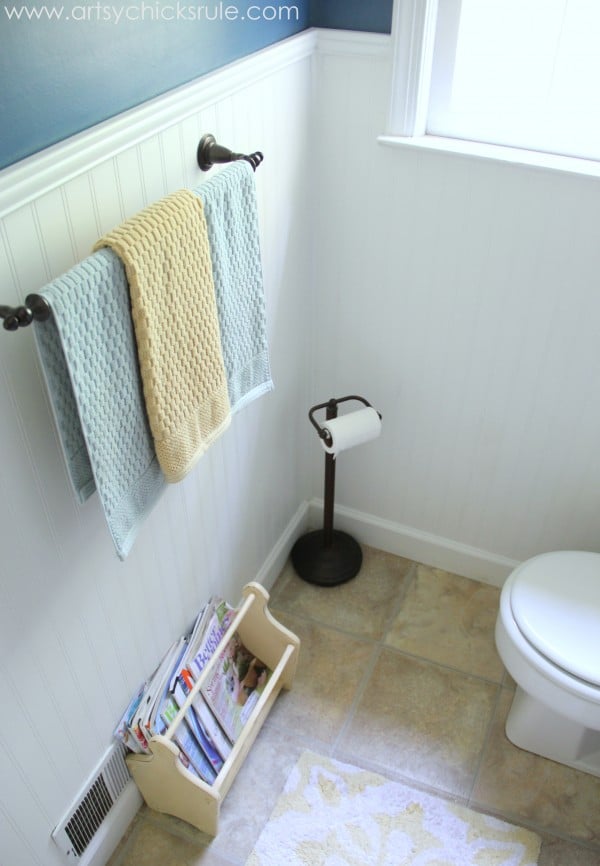
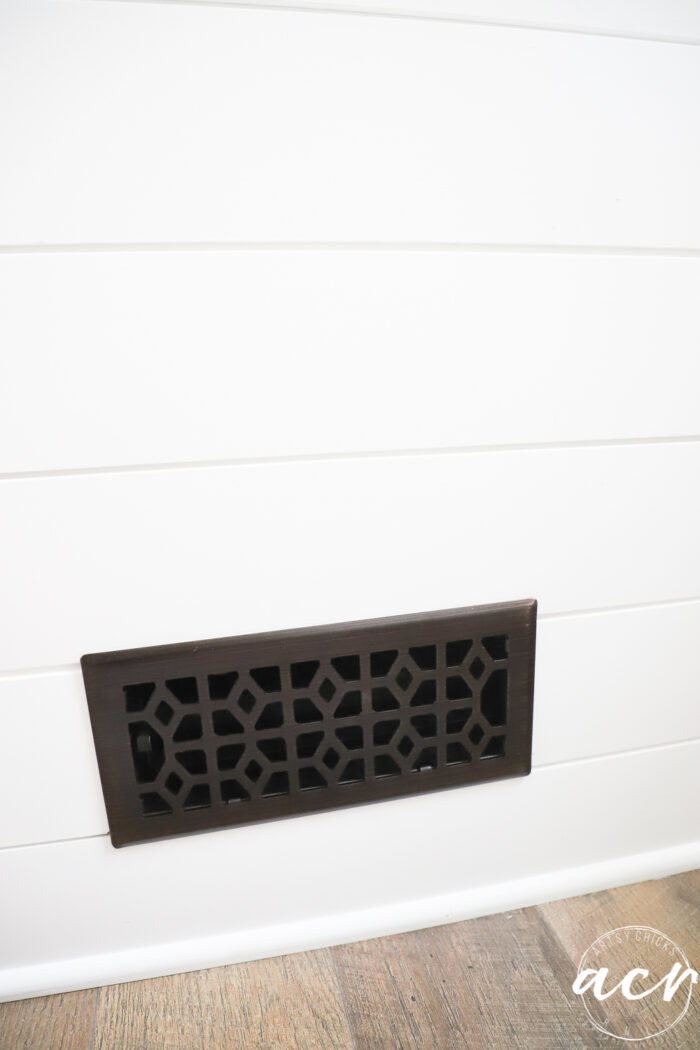
This old register used to be larger and metal slat type. (you can see it below in this older photo)
When my husband did the shiplap, he cut it to fit a normal-sized register and I replaced it to match the rest of the house.
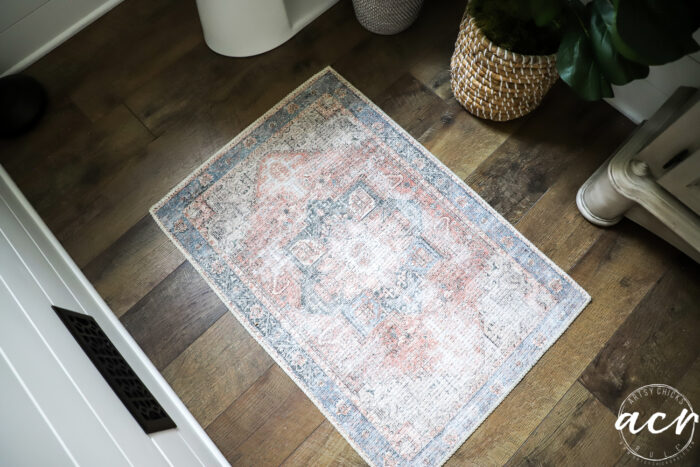
Then I ordered a small rug for in here. This is actually the same design as our new living area rug.
I just love the colors. (just a reminder, you can find links to all of these things in the “materials source list” box above)
It surely looks different walking through the laundry room to the guest bath now.
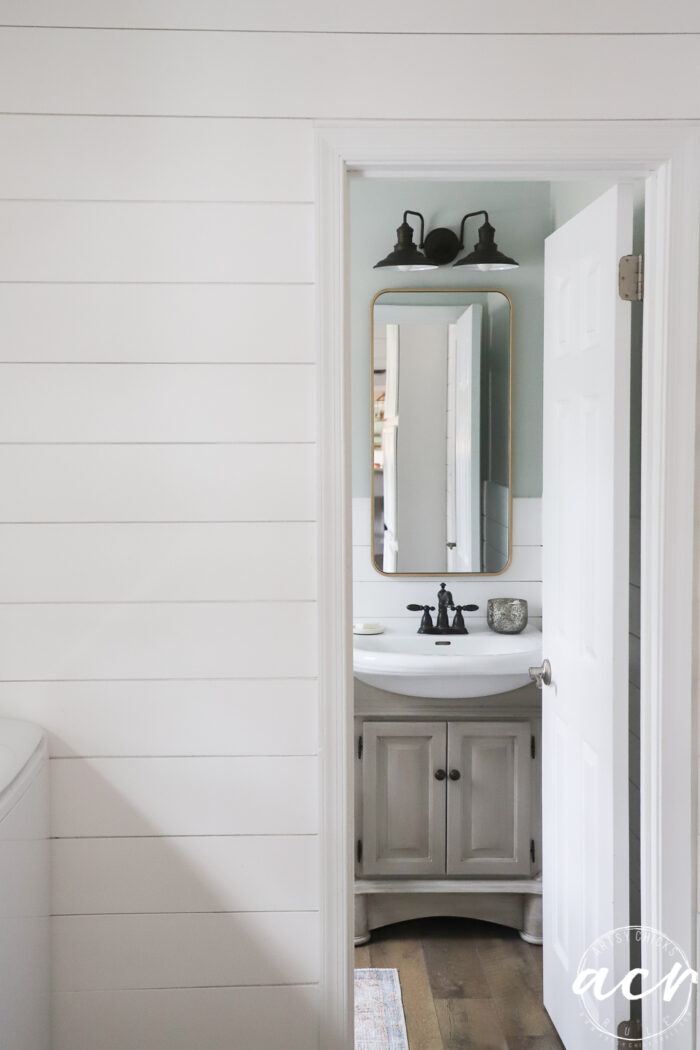
I’m so thrilled with it.
UPDATE: I’ve added a little something for the plant to sit on since this refresh…
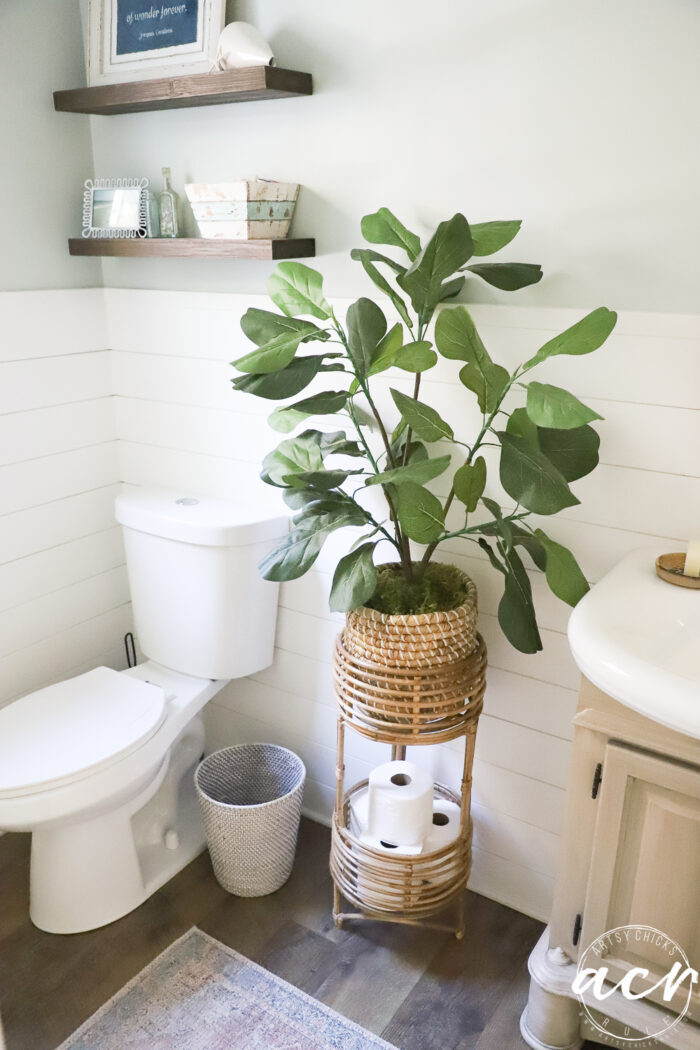
Perfect addition, I think!
And we are also coming along with our upstairs hall bath remodel. Keep an eye out over on Instagram to follow along!
We have finished the tile tub surround, installed the new brushed nickel hardware, I’m going to paint the walls this week and the floors soon after.
You don’t want to miss that part. I’m very excited about the floors and will definitely be sharing on Instagram when I do. (and here later)
Another update! We have finished the upstairs hall bath remodel and you can see it here.
PIN it to save it!
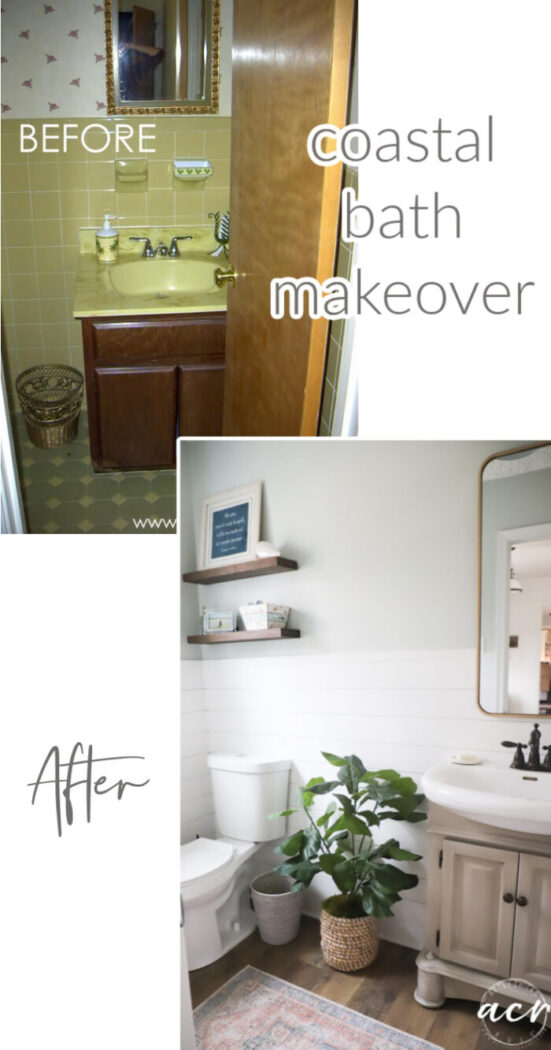
How about you? What have you been working on lately? Any new home refreshes too?
It’s fun to change things up a little. Breathe a breath of fresh air into those spaces for spring!
I’ll see you back here on Thursday!
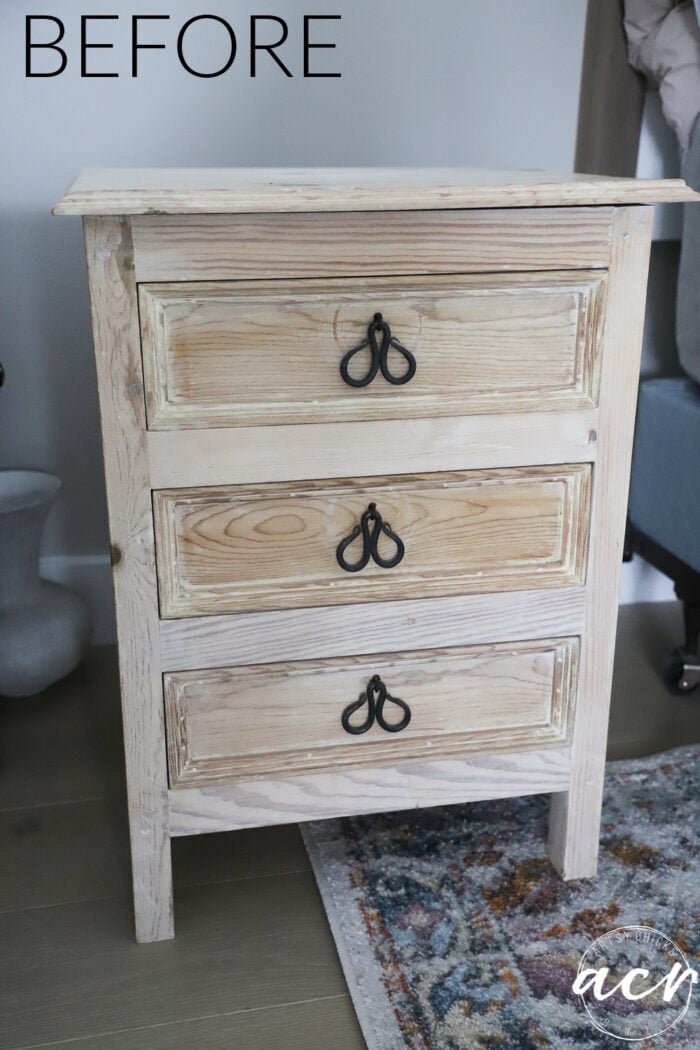
UPDATE!! See it now here!
Have an amazing week, friends!
xoxo






Absolutely beautiful!!!
Thank you, Joyce! xo
Oh my goodness! What a huge difference. Love it!
Thanks so much, Karen!! :)
Wow! That’s a magical transformation!
Marvelous work!
Thank you so much, Willie!! :)
It looks so good! So fresh and new and updated! I can’t believe that yellow sink was ever a thing lol! Hard to believe that was fresh and new at one time! And I love the picture that you have hanging in there…looks like it goes with the rug! Hope to see you soon, my friend! XOXO
Thanks, Christy!! It feels like a breath of fresh air!! So needed!! And yes,haha, isn’t it? Avocado green and gold…so pretty!! lol And I’m sure it was well loved at the time too. Yes, the colors do go great actually but not what I had envisioned for the space…we’ll see. :) Yes, soon, looks like we might be having a mild winter, fingers crossed! xoxo
It turned out BEAUTIFUL! I’m in love with the vanity! I went back and looked at some of your posts I’ve pinned to see how you got that look but since this cabinet was painted did you sand it at all or just paint over it with the paint and then use the Driftwood stain over it? I have a piece that I want to have that same look but I can’t get it outside to sand. Thanks in advance!😁
Thank you so much, Susan! You know what, I’m going to have to do a post on just that. Stay tuned! Once I find a good piece to do it on, I’ll write the post to help show what I did. And no way, didn’t sand a bit! Just cleaned it up and painted it over top then applied the Driftwood stain. :) xoxo (I have shelves in our upstairs hall bath that are currently white and I’m considering giving them a similar look…might show how on those)
I love how stylish your bathroom looks. Got to say you really did get your money’s worth from your bathroom cabinet. It looks great in that finish. Thanks for the tip on the Gilders paste on your knobs. I would not have thought to do that I was thinking it wouldn’t blend in….just sort of be slimed on the knob, the paste coming of on your hand.
Thank you, Lorri! Yes!! We really did get our money’s worth out of that one. And, nope, you just lightly rub it on and it stays. It will cure and won’t budge a bit. It’s great stuff! :)
But there’s no place for guests to put their “stuff”. Think about it. Where’s a guest to put their makeup, shaving gear, toothbrushes, toothpaste, cosmetics, and ? Not to mention hanging worn clothes and tomorrow’s outfit. Nice for a photo shoot but not for the needs of a house guest.
Hello Leslie! Well, it’s a “guest” bath for guests that come over, for dinner, to visit, etc. Not to stay overnight. It’s a downstairs half bath without a tub or shower so not really intended for makeup/shaving gear/cosmetics/clothes etc. There are no bedrooms downstairs so no one would ever need to use this guest bathroom for those purposes, only to use the toilet.
We are in the middle of remodeling our upstairs hall bath (as noted in this post) that will be a place for guests who stay as it has a tub/shower and an extra bedroom adjacent for guests. All of those needs will be met in that particular bathroom for guests who stay.
The powder room came out beautiful! I’m thinking a piece of your original art would be just the ticket!
Whatcha think? 😊😊
Thank you, Susan! Hmmm…now you’ve got me thinking! :) xo
Awesome trasnformation. I love this look and the shiplap is so much more appealing. You thought of every little detail even down to the new register and rug (adorable). This powder room does look fresh and relaxing. The evolution is simply stunning! Thanks for sharing all the details and the materials! Have a wonderful week.
Awesome transformation. I love this look and the shiplap is so much more appealing. You thought of everything even down to the new register and rug (adorable). This powder room does look fresh and relaxing. The evolution is simply stunning! Thanks for sharing all the details of how you transformed this room as well as the list the materials you used. Have a wonderful week.
Thanks Sue! :) xoxo
Love the coastal look. Always have when we lived at the Jersey shore and now in SWFL. Your decor additions definitely speak to me. Great redo of the cabinet.
Love SWFL! And thank you, Rita! xo
So fresh, Nancy! I’m with Susan – I also thought about a piece of your artwork in there.
Thank you, Marcie! :) Have a wonderful weekend! xo
I have been waiting to see this bath makeover of a makeover! Love the mirror and it was well worth the long wait! Those knobs look great with the faucet and towel bar. I am about to makeover our master closet; nothing as extreme as yours but freshen it up. Look forward to seeing who the winner of the giveaway is! Take care!
Aw, thanks Cecilia! xoxo
Adorable!!! I love the vanity color especially, and look forward to seeing your technique or tutorial. I would love to try that on a table that needs some work!!!!
Thanks, Lee! Yes! I am planning to do something soon! :)
This came out beautiful! I love how you can continue to transform that vanity to work with your make-overs as it’s such a nice vanity. This last finish you’ve done is beautiful! I keep saying I must try the Fusion products. I love the shiplap and colors, mirror, everything. Ok I have to admit that I just love that little bath cart where it had been and how you had it set up. Maybe hold onto it in case you end up missing it in that space lol. The plant looks so nice there too though. You have such a knack for everything. Oh also, agree, hang one of your pieces of art! P.S. You handled that very rude comment above with class. =)
Thank you so much, Debra! Fusion products are great!! You really should, I love everything I have tried so far.
That is probably not a bad idea to hold onto the cart. You never know with me!! lol And thank you! :) Hope you have a wonderful weekend, Debra! xoxo