Thrifty Tray Botanical Decoupage Makeover
Happy Thursday Friends!
I hope you all had a wonderful holiday this week! Can’t believe it’s already Thursday (much less July!).
This summer is already going by so fast.
We’ve been on the go quite a bit so I’m sure that might have something to do with it.
That and all of the many projects we are trying to complete around here.
My pretty hydrangeas are growing like crazy this summer and they are finally BLUE! Yay!
If you follow along on Instagram, you might have seen this pretty view out my kitchen window….
Yep, those pretty flowers were definitely the inspiration for this project of mine today….and a little botanical decoupage. :)
I picked up this thrift store tray for a few dollars….
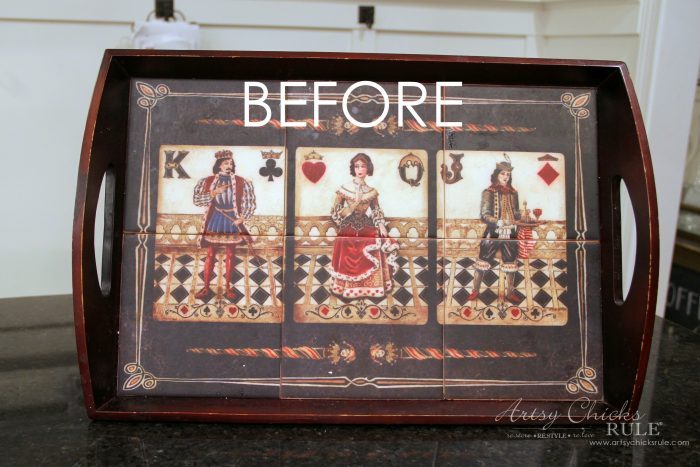
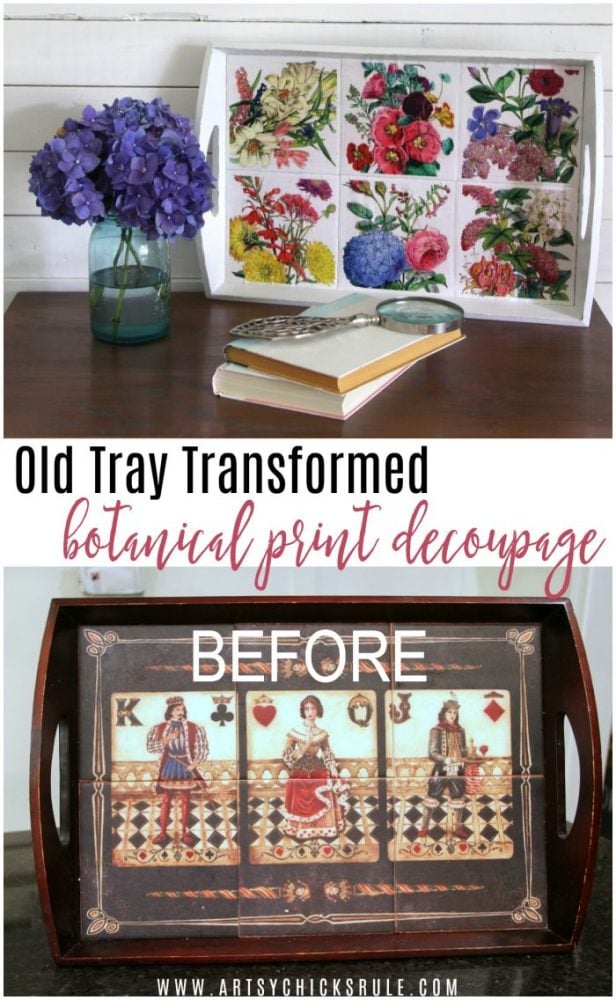
…and brought it home to turn it into this fun, new colorful botanical decoupage tray…
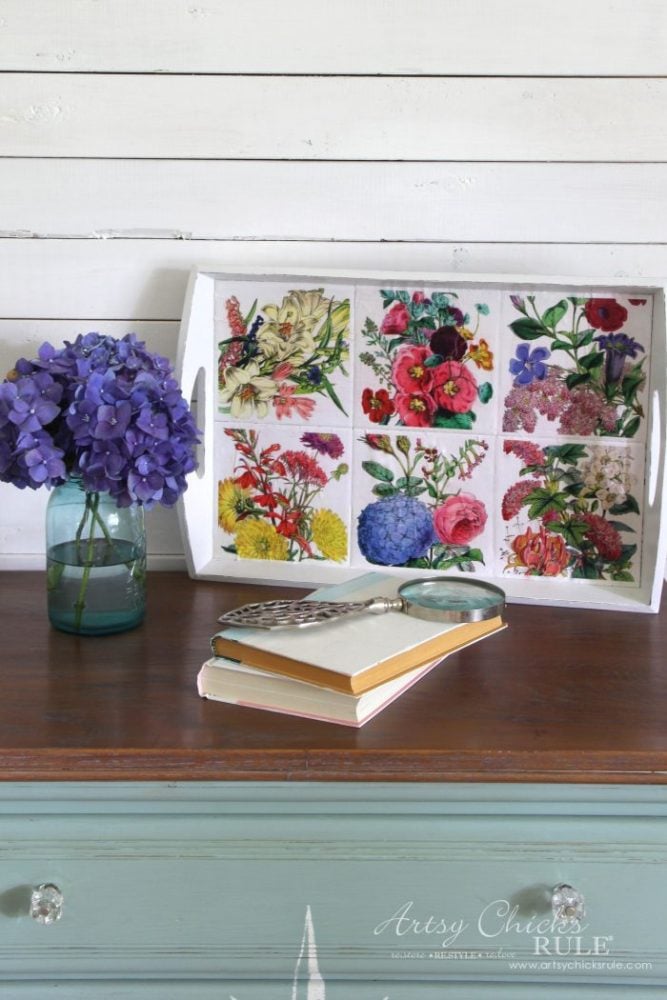
I’ll include the links to the images further below.
I’ll also include a few affiliate links too. You can see my disclosure, here.
Before beginning, I found and printed out my botanical prints to size. (these tiles were 6×6)
Once I had them all cut out, I sprayed several coats (drying in between) with this sealer.
You’ll want to do this if printing with an inkjet because the ink will run during this process if you don’t.
I then painted the entire tray, tiles and all, with this paint.
Any white paint will work.
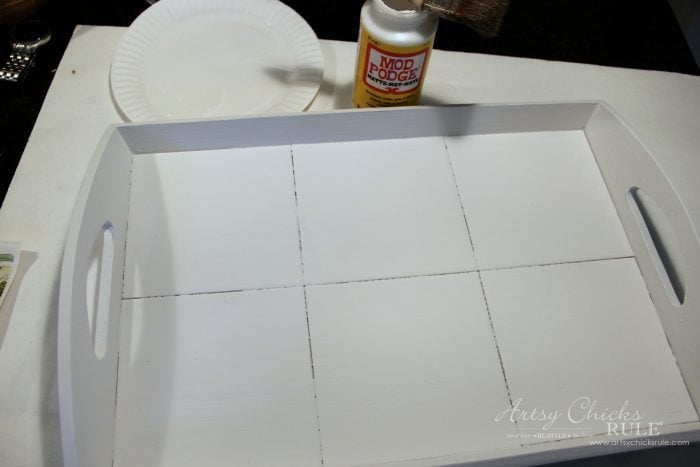
Two coats and once that was dry I applied Mod Podge to the entire bottom area. (tiles)
I then applied the botanical decoupage prints….
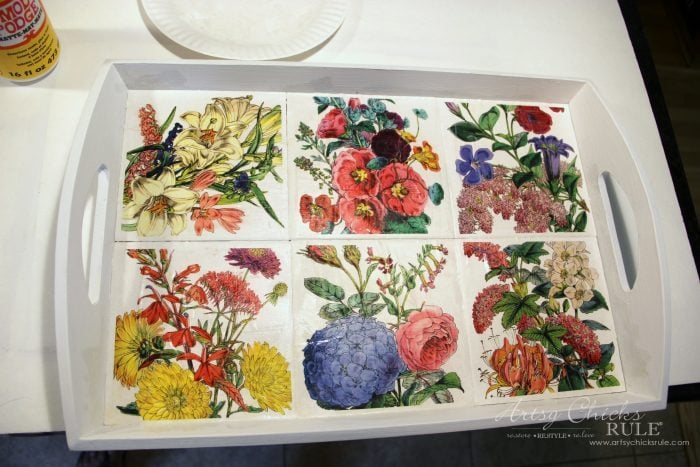
Be sure to press firmly to remove any air bubbles.
Let that dry.
………………………………………………………………………..
Here are the botanical images I used from The Graphic’s Fairy…. (clockwise from top left)
I saved each one to my computer then cropped them into a square in PicMonkey.
Then I opened Microsoft Word and inserted them to print.
I like using Microsoft Word sometimes since you can print it out in the exact size you need.
I printed them out at about 5 1/2 so I’d be able to leave a white boarder around each.
Once printed, I cut them out using one of these. This cutter makes it easy to cut to the exact size needed.
In my case, 6 inches.
………………………………………………………………………..
Once that is dry, apply another coat of Mod Podge over the top to secure any loose edges.
And when that was dry, I applied one final coat of top coat to seal everything, including the paint.
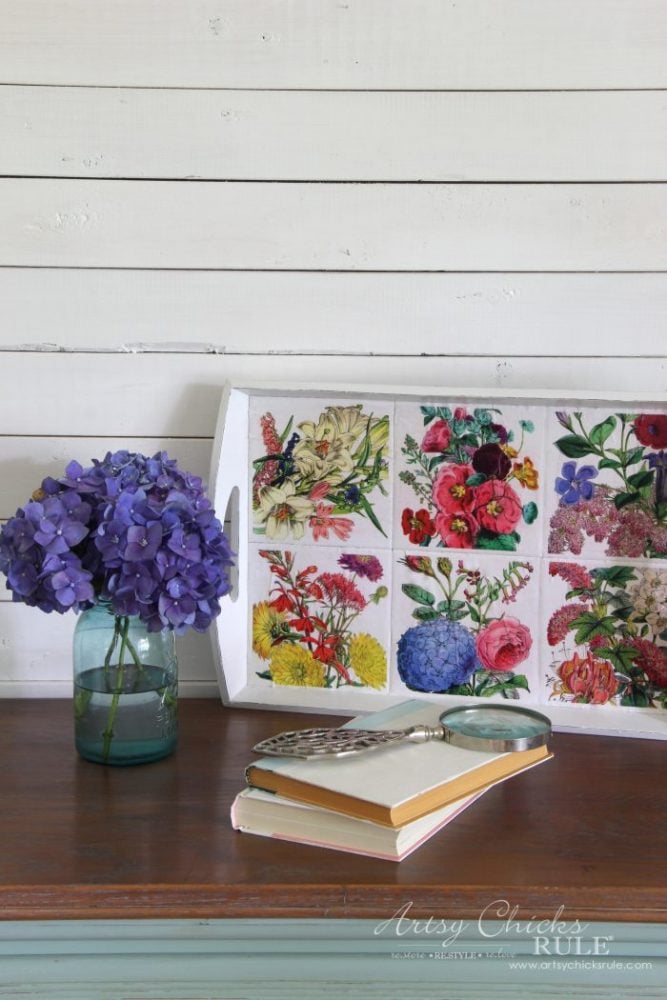
I love all the happy colors.
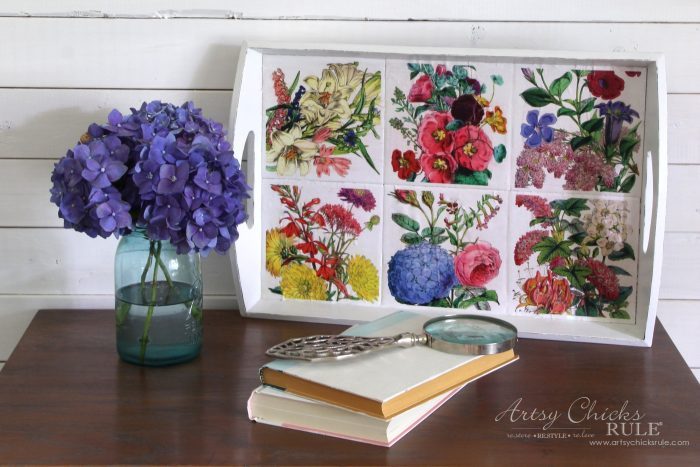
And I think it looks great with the pretty hydrangeas from my yard. :)
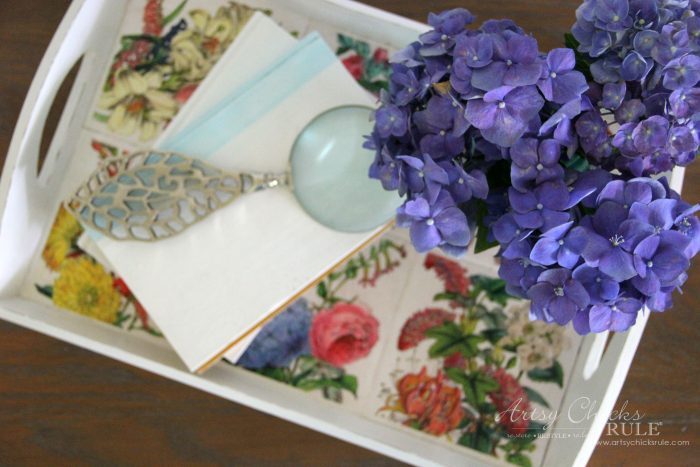
This would make a nice gift for someone!
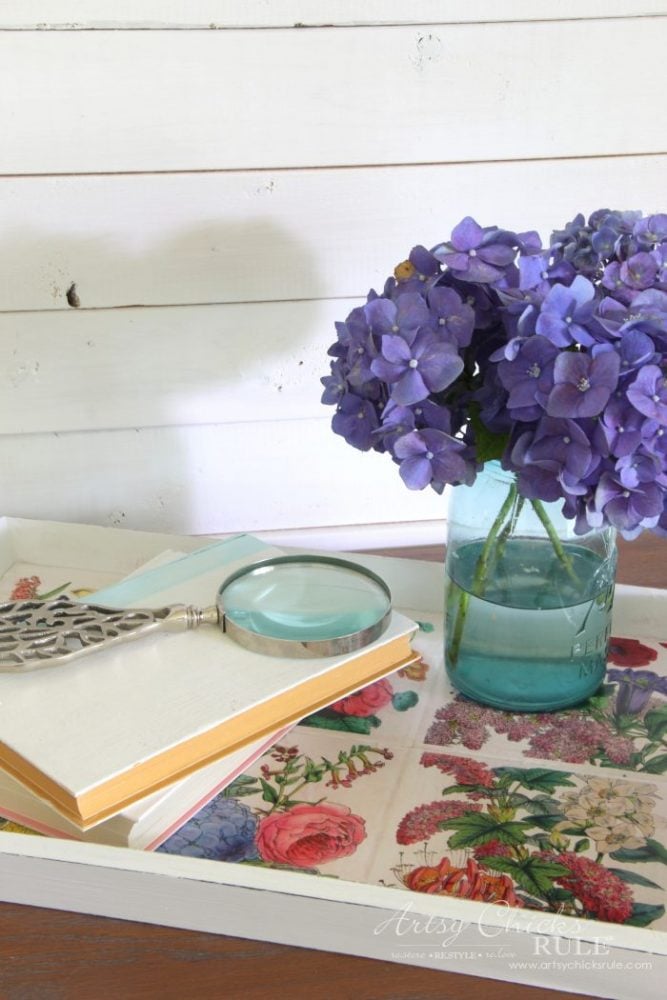
Especially someone who loves flowers and/or colorful decor. :)
Be sure to PIN this botanical decoupage makeover for later to save it!
I hope you have a wonderful weekend!
I’ll see you back here next week. :)
xo




Summer is indeed going fast! It’s my favourite time of year for getting creative and I just love your makeover ideas
Thank you Carolyn!
Good morning Nancy, what a great idea and looks so pretty!! ❤️
Good morning! Thank you Sandra! :) xo
I love that makeover! How did you get your hydranga to get back to such beautiful blue? They are so beautiful. Please share the details on how you did it.
Hi Mary! Thank you! :) I bought some plant feed from Lowe’s that is made to change the color. (I think it had to do with the acidity of the soil) I did it exactly as stated last season and they didn’t come in blue. BUT this year they came in a rich blue/purple. I’m so excited it finally worked. (I didn’t reapply the product, guessing it took a while to work) xo
At first glance I thought you bought new tiles. Way to DIY and make it fabulous!
Nope but that is sort of the look I was going for! I wanted to keep it looked as if they were tiles. :) Glad it worked! ;) xo
Hi Nancy,
Beautiful job –love all of the vibrant colors –it would make a great gift but I know I’ll keep it for myself! Question: what did you use to adhere the tiles to the tray? Also — you completely sprayed the pictures with sealer before “mod podging” them onto the tiles? Thanks again for sharing –enjoy your website!
Joanna
Thanks Joanna! I used Mod Podge to adhere them to the tray. And yep, I sprayed them several times to seal the ink before starting. :) xo
I LOVE that! My birthday is July 24th! LOL kidding.
Thanks Rose!! Oh haha, Happy early Birthday to you! :) xoxo
So pretty! I love the botanical prints you picked :)
Thanks Annie! :) I really love all the color in those prints! xo
This is inspiring. I have several ‘mini’ trays I was getting ready to ‘toss’, but now I’m got a different idea! Thanks, Nancy! (Very creative, btw.)
Oh yay!! Thanks Julie! :) I have another tray I picked up at the same time….now what to do with that one! ;) xo
I have a question about decoupaged dressers. I found a poster of Sea-life with Cancun at the bottom. I want to decoupage it to a dresser I have, but the poster is thick like the poster paper kids do school projects on, or people make yard sale signs on. Do you think this will possibly work? would I have to wet it first? I need suggestions… I still have to prep the dresser so I have some time yet. Thank you.
Hi Carolyn,
It’s hard to say but I would think you could do it. But, keep in mind that it will have a raised edge because of the thickness. I wouldn’t wet it first. I would basically glue/decoupage it to the dresser and then seal it several times with a good sealer. You could try it with something of similar style/thickness on a scrap piece of wood first to see if you’ll like the end result. Good luck!! :)
How do you get your hyhydrangeas so blue?
Karen
I added and additive to the soil. I got it from Lowe’s, it’s for hydrangeas (and for changing their color). I believe it has to do with how acidic the soil is, as far as what color they will turn. I never added anything else to the soil and they are now pink again this year! ;) SO…I’m guessing it’s a regular maintenance kind of thing if you want them to stay blue/purple.
Hi Nancy,
I love flowers and what you did with this tray. So pretty! I love the floral prints. I love being creative…thank you for inspiring me.
Always, Liz
Hi Liz! Thank you so much and thank you also for the sweet words! :) I think I was drawn to all the pretty colors in these. So glad you like it. xoxo