A Few of my No-Sew Projects
So, if you’ve read my recent post, A Tale of a Dining Room..Reinvented, you know I don’t sew.
Well, I suppose that is not entirely truthful.
I can sew on a button.
I can sew a hole up.
I can use a needle and thread.
I just don’t use the actual machine.
And don’t really have a desire to learn. Although, I must admit, I wish I did know how already.
So I improvise with something called Steam-a-Seam…or similar products.
Not ideal, but works for me for most things.
If you sew, just disregard this entire post.
If you don’t, follow along and I’ll show you how I made a few things for my home without touching a needle or thread.
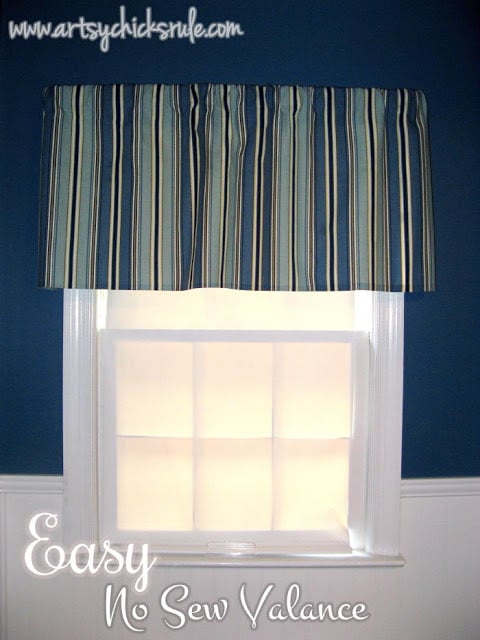
First up is a very cheap little valance I made for my guest bath.
It is really sort of an in between until I figure out what I’m going to put in there to stay.
I found this fabric in the remnants bin at the fabric store for 2.00.
Two bucks. Cheap.
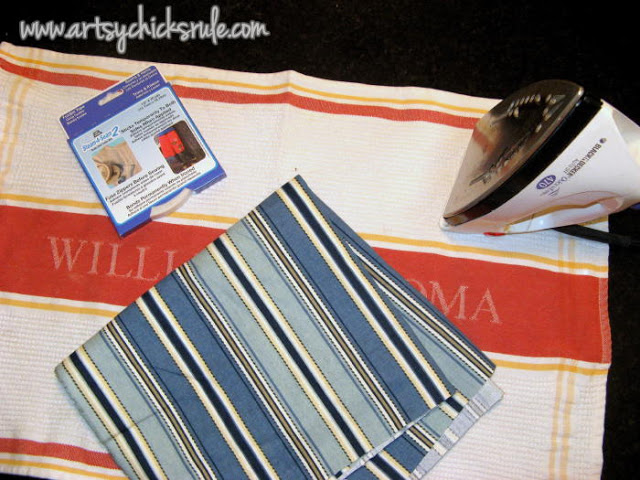
I have no pictures of the actual making but here is basically what I did.
I folded and made a hem on the top and bottom, placed the Steam-a-Steam 2 strip inside of it and ironed.
Next I did the same on both short sides of the fabric.
Then I measured the width of the flat rod I already had up on that window.
I folded over the amount I would need for the opening so it would fit the rod.
Placed the Steam-a-Seam there and ironed.
Voila! Done.
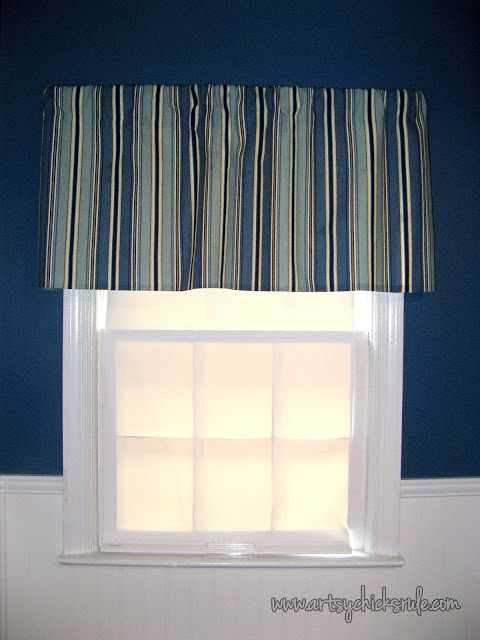
And quickly too.
It really was as easy as it sounds.
Before redecorating my kitchen, I had used cloth napkins as a window treatment, like such….
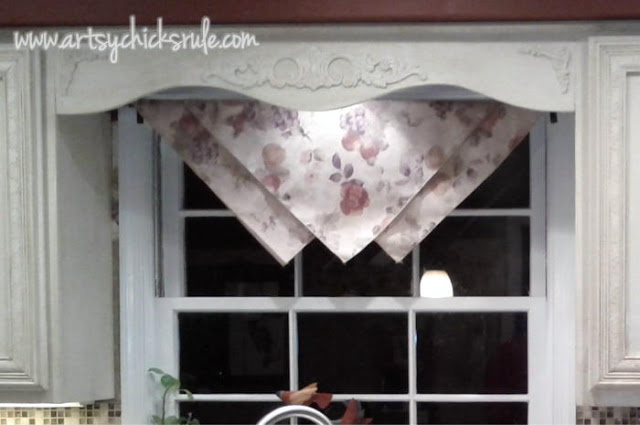 |
| Please ignore the poor picture quality |
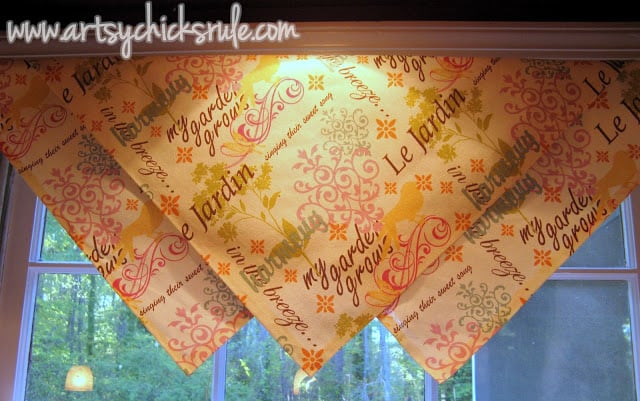
I didn’t want anything too heavy or large inside the space. So I came up with this inexpensive little trick. Layering 3 cloth napkins over the rod.
When I redecorated the dining and kitchen (and entire house!) I thought I was going to use the same fabric in both rooms.(I ended up not doing so)
So I made 3 cloth napkins with the new fabric to recreate the look I had in the kitchen previously.
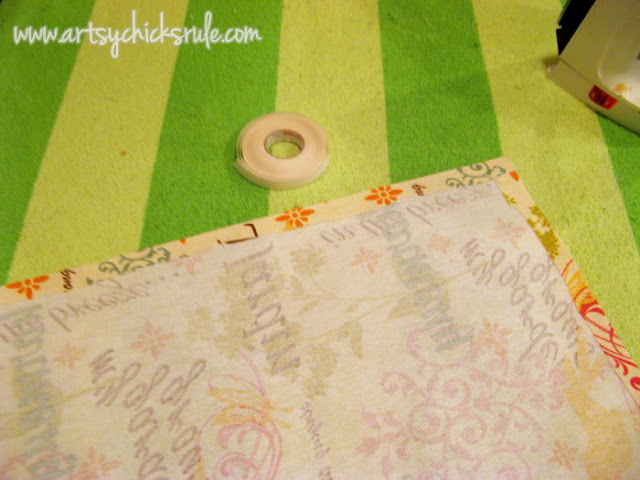
I just measured and cut the size I needed. I folded over the hem and ironed.
To be sure I made them all the same size, I placed the consecutive ones over the first when ironing the seam.
In doing this, I was able to make sure they did not overlap the others. (yea, did that instead of measuring …I hate math ;) )
Finished look…..
I also made place mats for my dining table to help protect that pretty new finish….
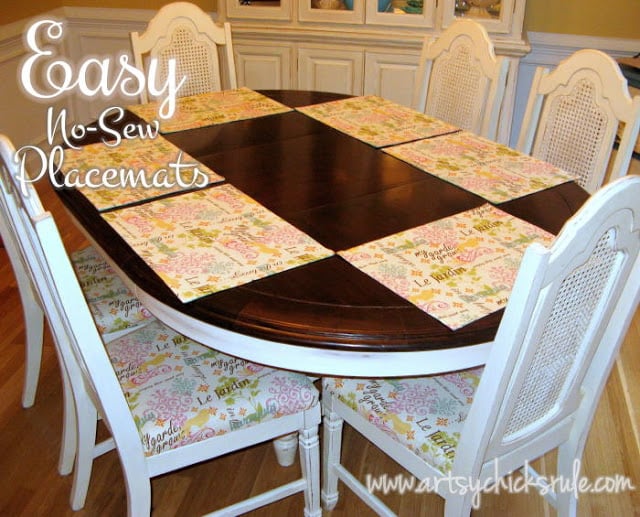
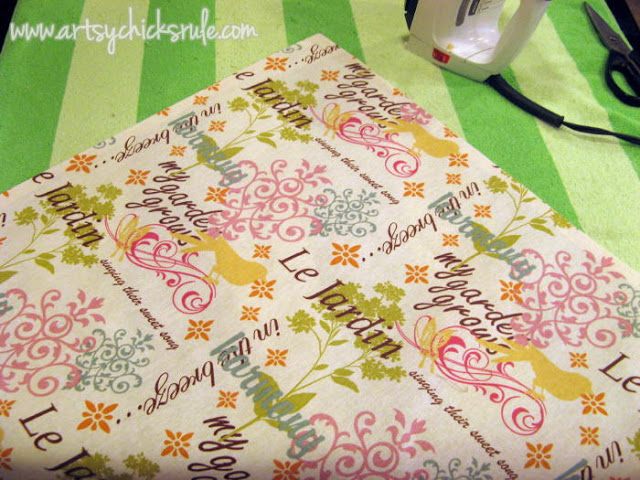
Again, I measured and cut to size (and sort of used the same method as above–maybe not the best way but that’s how I did it).
I decided to do a solid teal fabric for the backs of these.
I used an old (really old!) beach towel to help absorb some of the steam from the iron so the fabric would not end up wet.
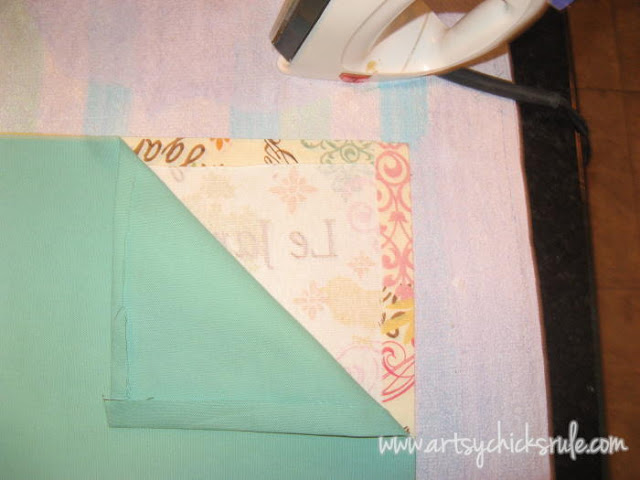
Ignore my ill cutting. That was going to be inside and not seen.
Finished with the back, shown below….
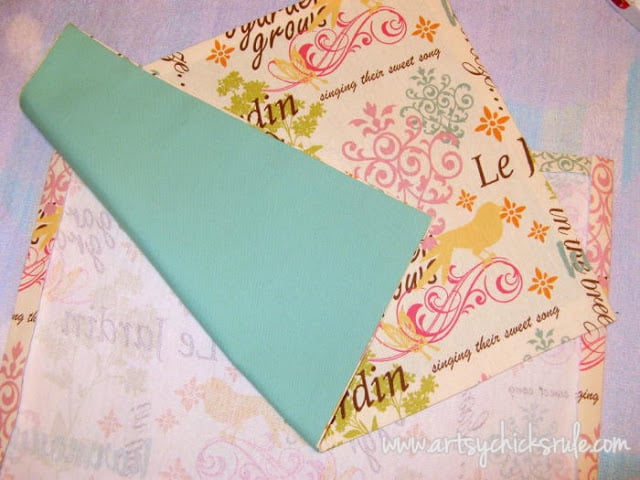
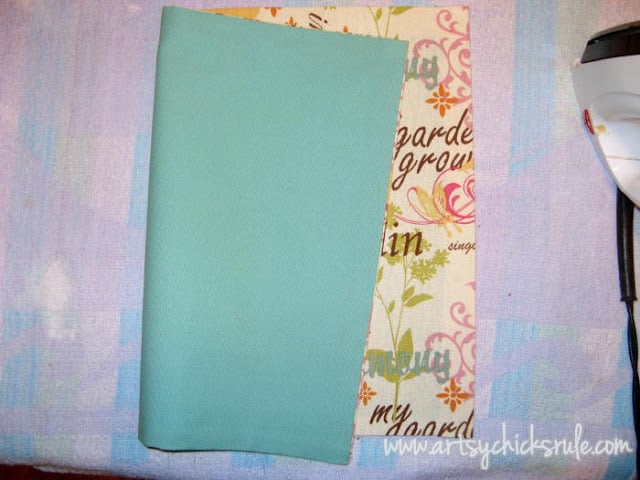
I made a short table runner out of what I had left. Also with the teal fabric backing.
And I did the “no-sew” thing on the windows in this same room here.
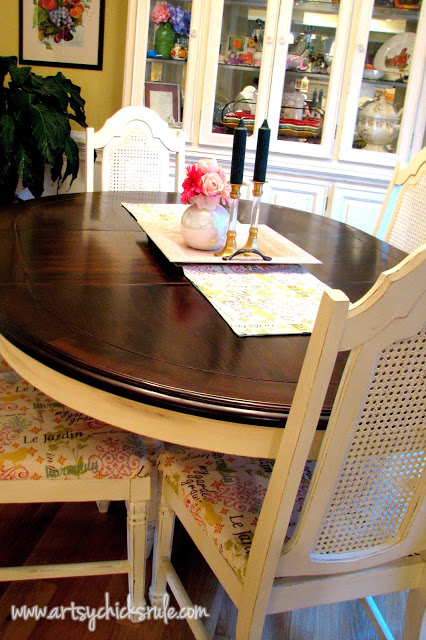
So no, I do not sew but I am able to do some small things without touching a needle, thread or a sewing machine.
I’m sure it would be easier in the long run if I did. But this works for my purposes so far!
Maybe one day I’ll finally learn. Or not.
I’d love to hear about your no-sew projects!







Will def be doing this. Thank you for the idea!
Hi Angeliah,
You are so welcome! :)
Nancy
These look great can’t wait to try doing these.
How do these hold up in the washing machine? I’ve got quite a collection of placemats, and if I can make my own, well, hold me back! After meals I toss them in the laundry. Are these pretty sturdy? Love ’em!
Thank you! They have held up great through washings so far but I don’t wash mine that often! They don’t get used every day here.
Nancy
OMG Nancy! That blue striped fabric you used for the bathroom valance is the EXACT fabric I have on my dining room chairs! And I recovered them about 10 years ago, so same timeframe! It might be time for an update! ;-)
Oh that is too wild, Audra!! Yes, haha, maybe so but only if you don’t love it anymore, of course! :) xo Happy weekend to you!