A Faux Weathered Sign, No Sew Pillow & Fancy Cork Board (Swap It Challenge)
Ya’ll….it’s Swap It Like It’s Hot time!
I’ve been talking about it all week, on Facebook, Instagram and even here on my blog.
What is the Swap It challenge? Well, it’s basically a bunch of bloggers swapping stuff with each other…namely, thrifty, garage sale items.
We have no idea what’s headed our way so it certainly gets our thinking caps on once the swapped stuff arrives! ;)
I just love that though. I’m all about envisioning what something can be anyway.
Here’s what I created with the swapped items from the last “Swap It” challenge back in March. –> “Thrifty Makeovers Repurposed”
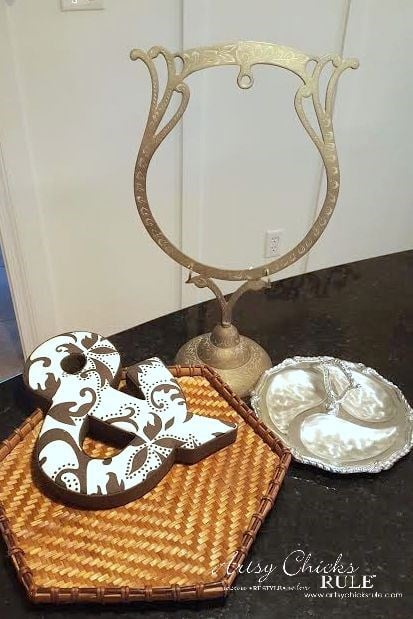
This time I created a faux weathered sign, a no sew pillow and a fancy cork board out of the items that Danielle over at Finding Silver Pennies sent to me below.
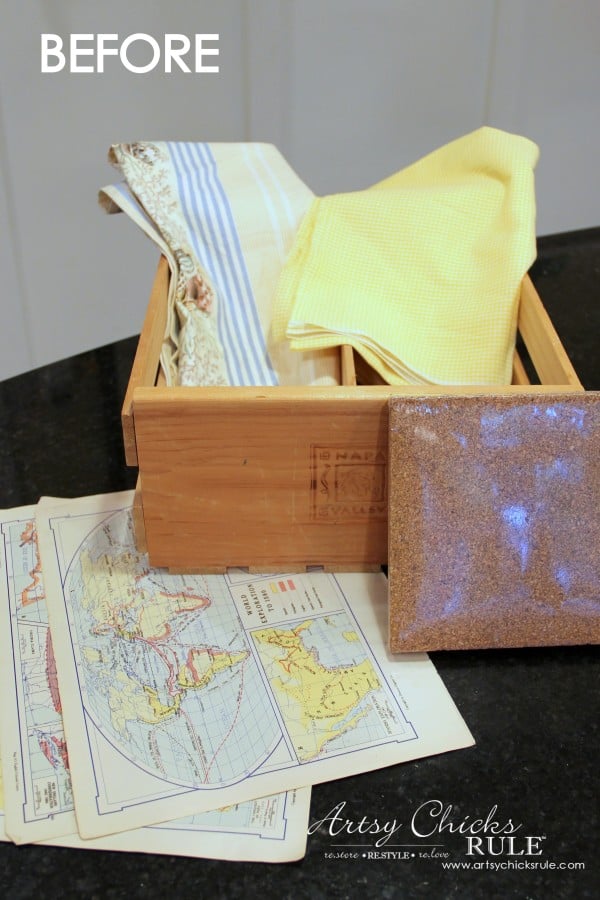
I didn’t end up using the map sheets or the yellow check fabric but I did use everything else.
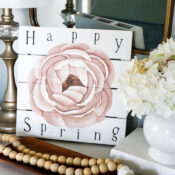
I created this faux weathered sign first…..(and it’s my favorite!)
(I’ve included several affiliate links below for your convenience. See my disclosure here.)
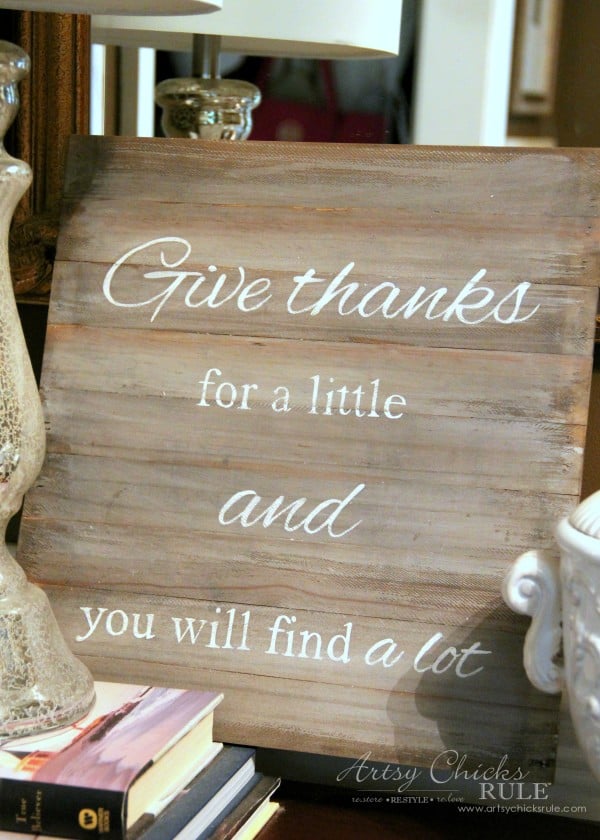
I created it by taking the crate apart and gluing all of the “slats” together to create this flat surface.
To see all the make details on the sign, click here.
Then I created this fancy cork board out of the cork pieces.
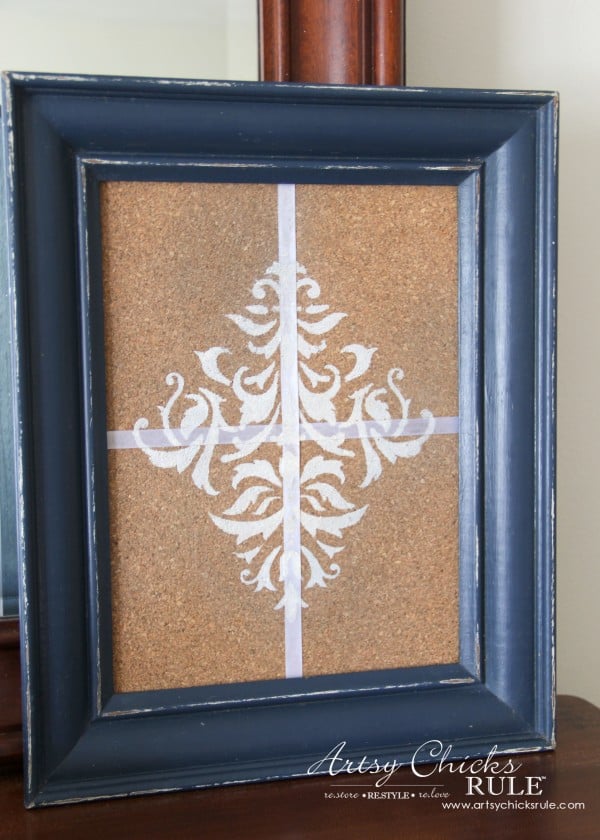
I actually painted that frame about 4 years ago with Napoleonic Blue Chalk Paint® (or a blend of it to make it more “navy”)
I had used it for awhile with a print and then took it apart and put on the shelf.
I pulled it down to create this board (I keep everything because you never know!! ;) )
I just used the little stickies that came with the cork pieces to attach the cork to the cardboard frame piece.
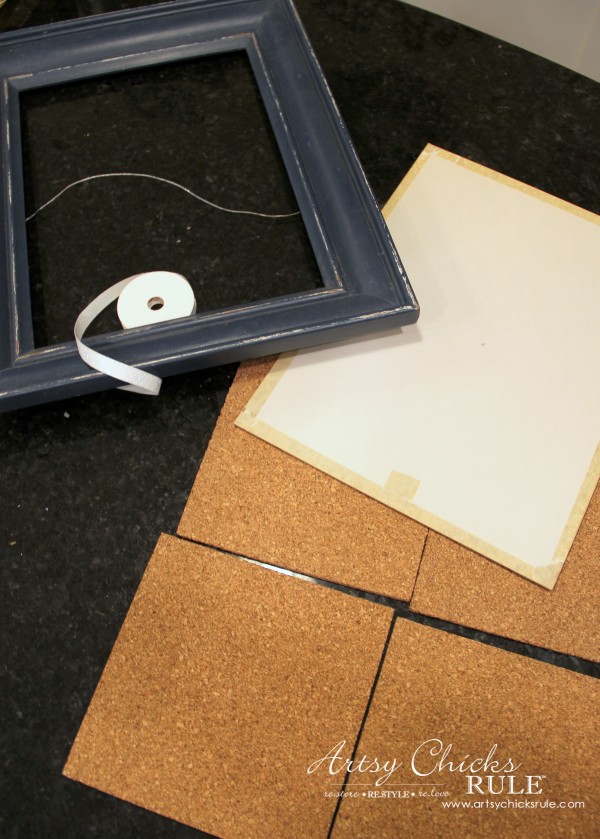
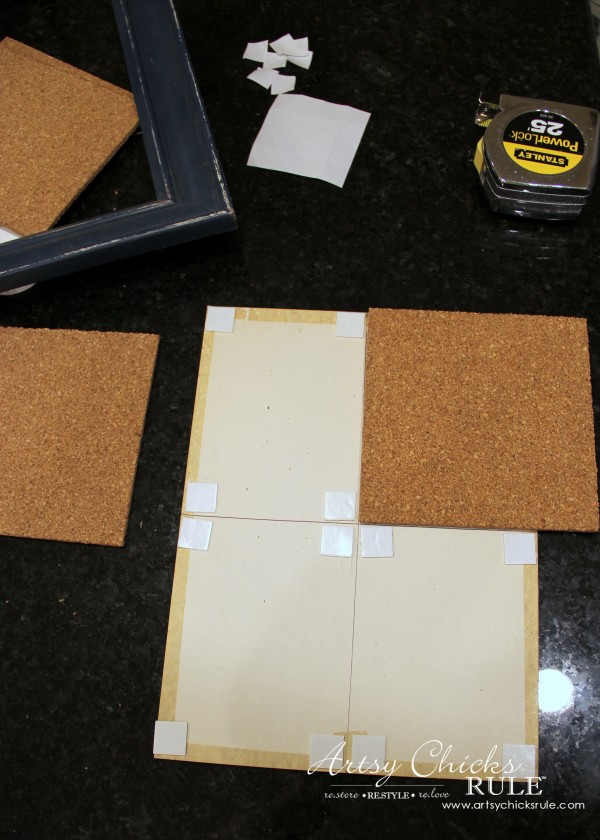
So easy.
Then I trimmed the excess cork and attached white ribbon along the seams. (on the front)
I then did a bit of stenciling to make it “fancy”. (and some glitter over the white stenciled paint too!)
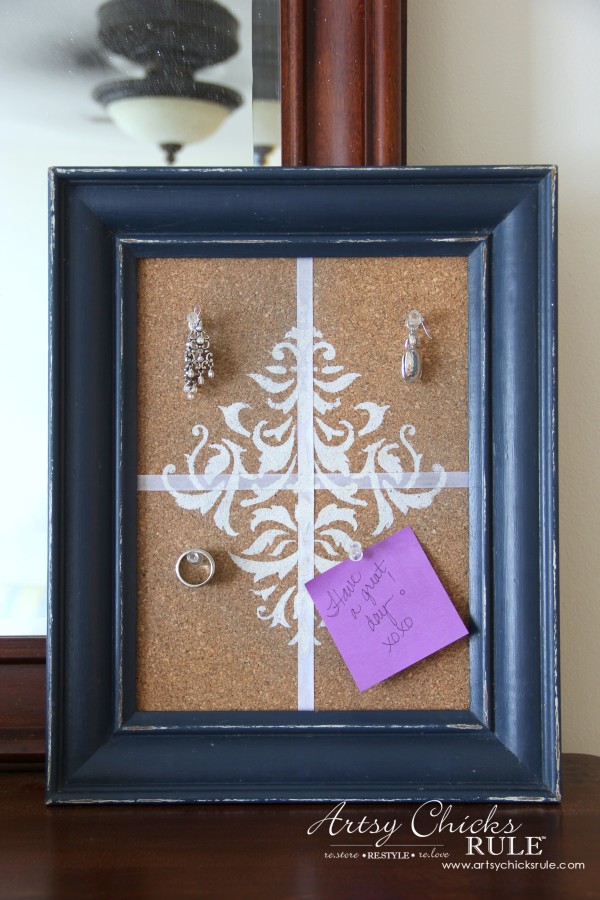
Too bad you can’t really see it in the photo. I love sparkly, glittery things.
Perfect little spot for small jewelry pieces or notes.
Lastly, I created a no sew pillow out of the coastal fabric/curtain.
I started by removing the existing seam.
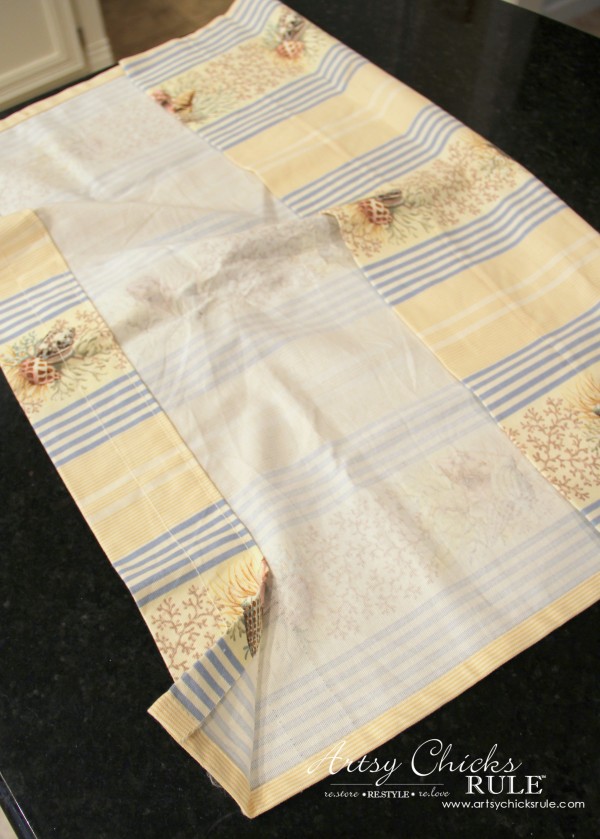
Then I cut it to size and folded the edges over and ironed them.
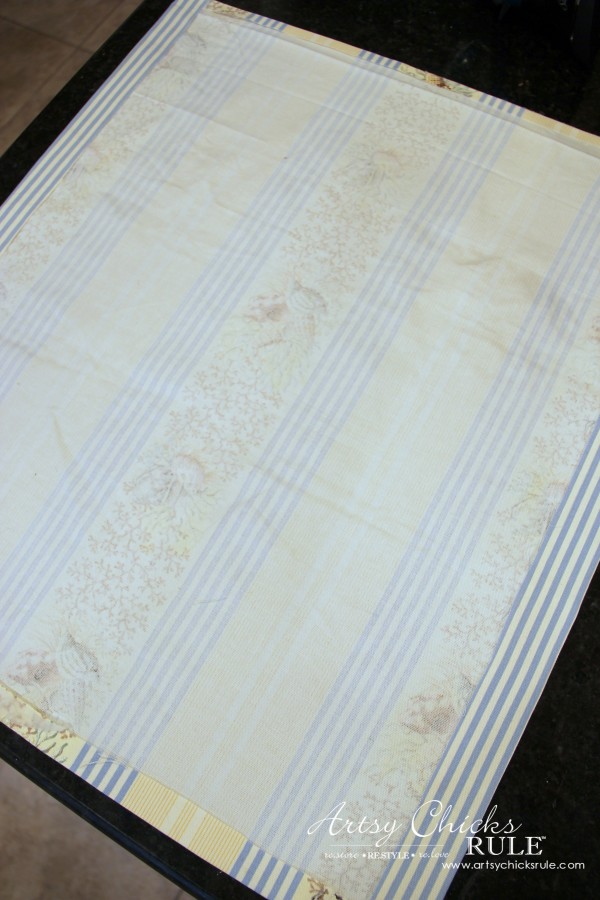
I used Heat Bond (don’t like it) because that was all I could find on my quick trip to the store.
I ended up using the rest of what I had left of my trusty Steam-A-Seam 2 Double Stick Fusible Tape instead. (much better)
I went all the way around the pillow and left a small opening so I could fill it with the Poly-Fil.
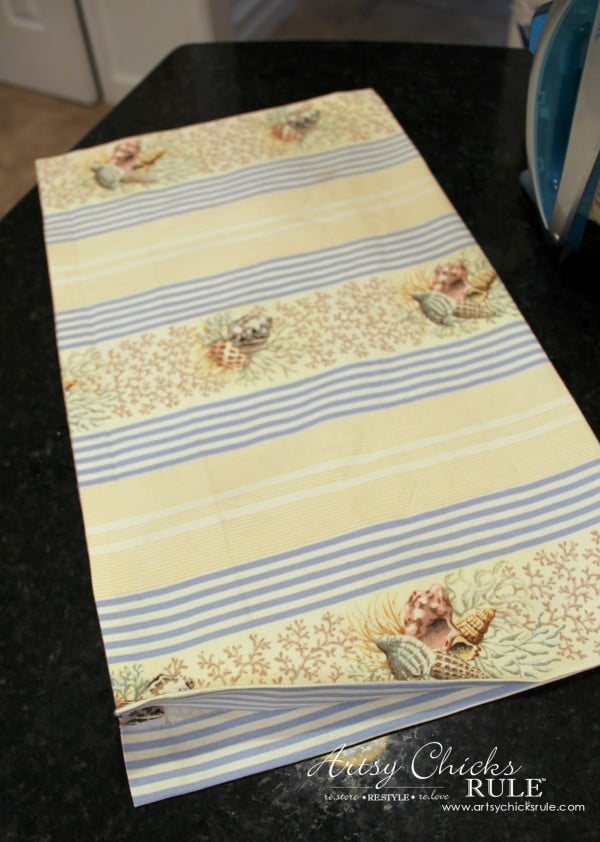
Stuffed and finished!
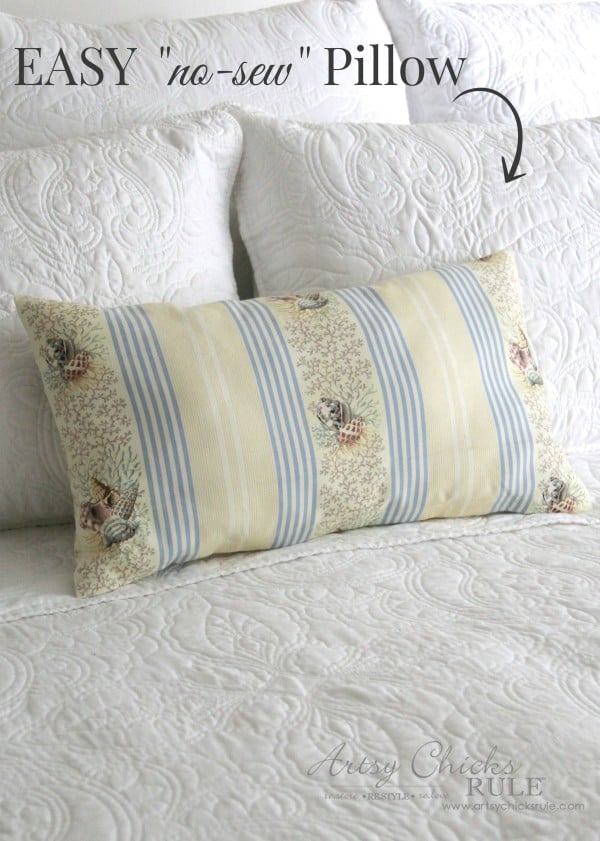
How sweet.
It matches my decor perfectly.
I do think this will end up on the front porch on my white wicker couch though!
Will look perfect there.
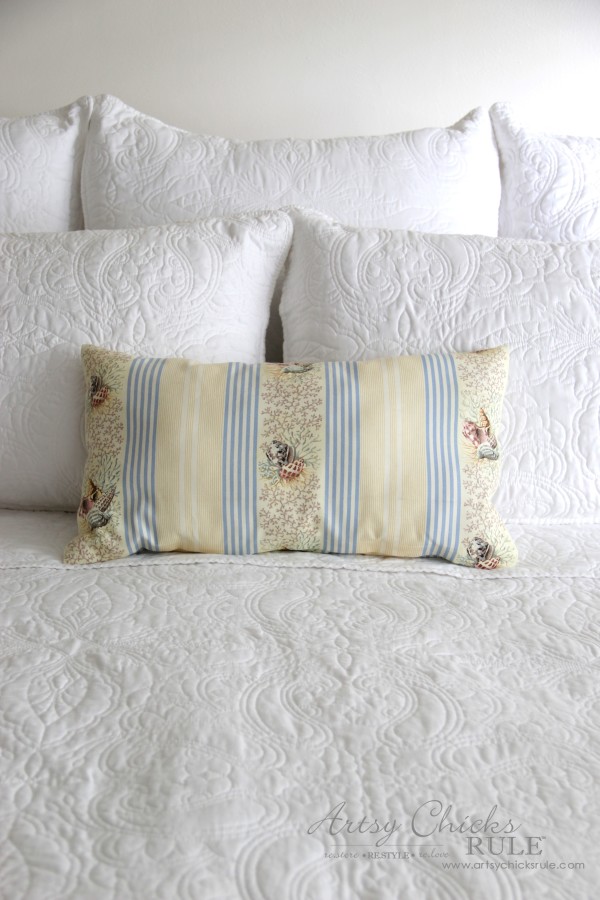
I need to make more “no sew” pillows! Do you know how expensive pillows can be?
This was SUPER easy to do and looks great (I think so anyway).
I’m definitely going fabric shopping. :)
So there you have it, another round of Swap It Like It’s Hot.
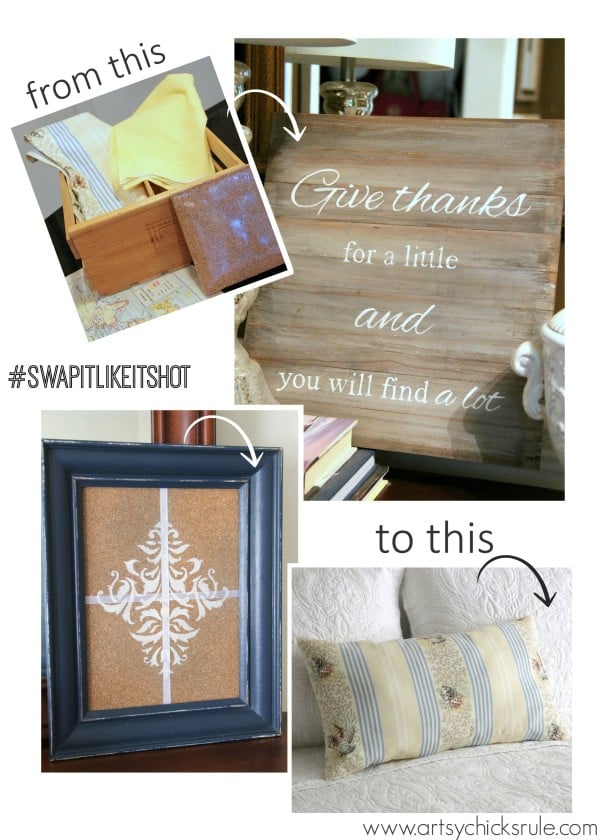
So much fun!
Now go by and see what Katie from Something To Be Found did with these items that I sent her. ;)
Also, the links to everyone else’s posts for today are below (and earlier in the week if you missed those).
Be sure to check back in tomorrow to catch the final day of swapping!

Follow along! –> Instagram ~ Facebook ~ Pinterest ~ Bloglovin
Tune in all week to see the crazy items this talented group of bloggers has been making over!
Search the hashtag #swapitlikeitshot on social media to follow along with all the fun or check out our Pinterest Board.
MONDAY
TUESDAY
Confessions Of A Serial Do-It-Yourselfer
WEDNESDAY
Designer Trapped In A Lawyer’s Body
THURSDAY
Like A Saturday
FRIDAY
*This post contains affiliate links. See here for full disclosure.




Nancy, I love what you did with the items I sent. I love the sign – brilliant idea taking it apart and that pillow looks perfect on your bed. xx
Thanks Danielle! It was fun!
xo
Nancy
Nancy!!! These projects are amazing! I especially love the weathered sign you made. Can’t believe you took apart the crate to make that. You’ve got some serious skills!!!
Thank you for sending me all my goodies :) My 6 year old son had a ton of genius ideas of what to do with them :) Maybe I should suggest to Charlotte to do a swap among kids!
Thanks Katie! :)
So fun your son got involved too! I miss those days! My youngest is 17 (and a Senior in HS, ack!) but he would have been just the same at that age!
xo
Nancy
I can’t believe you HAND PAINTED that!!!! SO sweet and perfect! And that pillow looks store bought! Amazing makeovers!!
Thanks Charlotte! :)
And thanks for organizing the fun tour again!!
xo
Nancy
I love the pillow – looks so pretty on the white bed.
Have a great weekend
Rose
Thank you Rose!
Have a great weekend! xoxo
Nancy
Wow! I love that you took the crate apart to create that gorgeous sign!! The other items look amazing too, definitely not like the thrifty finds you started with! XO
Thanks Christy!! :) No but this challenge sure does get that mind going!
xo
Nancy
Would you please explain exactly how you glued the wooden slats to make the sign? What glue did you use? Did you use clamps to hold the pieces together while the glue dried or did you have a stabilizing piece of wood on the back to hold them all together?
Hi Tara,
I took the crate apart, removed the nails and then laid them side by side (actually side by side on the board pictured in the photo with the “Driftwood” packet).
I then used regular wood glue (I’ll add a link for it) and applied a tiny bit along the entire edge of each piece and placed them together. I tried to keep it to a minimum (just enough to hold it together but not too much so it’d stick to the board underneath) After they were all glued, I made sure they were aligned evenly and just left it to dry. (I didn’t clamp)
After it was dry, I turned it over and applied more glue in the cracks of the backside to sturdy it.
After that was dry, I turned it over and applied the Driftwood product.
Hope that helps!
Nancy
You did good girl! The fabric looks so pretty transformed into a pillow. The cork board is oh so sweet – love the stencil you used over the cork. I ditto what Christy said about how you glued the wood slats together for your sign? I’m guessing construction adhesive and clamps? Love it and especially the message of the graphic!
Thanks Marie! :)
Yep, I just glued them together. Really easy! :) I edited the post and added a bit more info for that.
And thank you my friend!! xoxo
Happy Weekend to you!
Nancy
You certainly created an awful lot out of a little, didn’t you? I am amazed with what you did. I would never have thought to take the crate apart. I am still working on the basics in my new house, but I am seeing all kinds of inspiration here for the little things that will make my house a home!
Thanks Chloe! It’s always a challenge (within myself,lol) to use everything that is sent to me, one way or another! ;)
Nancy
Nancy, these makeovers are INCREDIBLE! I love the sign, I’m a sucker for signs!
Thanks Jillian! :) I’m a sign lover too!!
xo
Nancy
I keep wanting to make a no sew pillow out of some fabric I have- great inspiration! love it!
Thanks Bee! I love no sew! It’s so easy. :)
Nancy
Wow, you really made great use of everything in your package! LOVE the idea to take apart the crate.
Thanks Kimm! It’s always a fun challenge! :)
Nancy
Wow!!! All of your makeovers are fantastic, Nancy! I think my favorite is your faux weathered sign – how smart to take the crate apart and turn it into a palette for a pretty sign! Beautiful!
Thanks so much Emily! :) That’s definitely my fave! I’m thinking it might stay around all year!
xo
Nancy
So smart to take the crate apart. I truly love everything you have done!
Thanks Michelle! :)
Nancy
Nancy you did so much work! They are amazing makeovers! Isn’t it just so fun to be creative and play wither art supplies?
Glad to be on the Swap with you!
Thank you Jessica! :)
Nancy
I love this sign also! Can you please explain how you transferred the lettering to this board?
Hey Kristin,
I explained a little in the post. I typically print out the graphic (sometimes in reverse so that the ink from the printer becomes the transfer medium). Turn the paper over onto your project and trace the outline of the letters. When you do that the ink from the printed paper transfers to your project. That way you can then just “paint in the lines”.
For this one, I believe I printed it out regular view (not reversed) and colored the back of the paper with chalk. The chalk then becomes the transfer medium. Shake away the excess dust and align it onto your board. Do the same (trace with a pencil) and the chalk outline is then on your board to “color in the lines”. I’ve got many tutorials for this on the blog. Navigate to “Project Gallery” and choose “Signs”. Visit a few of those and you should get an idea of what I mean. :)
Hope this helps!!