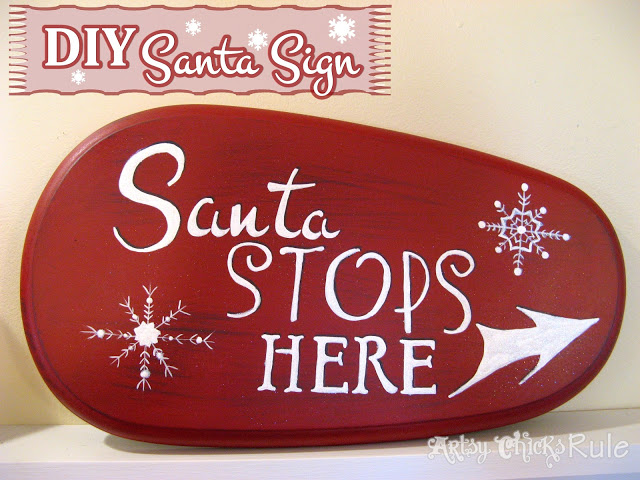
Santa’s Coming to My House, the Sign Says So!!
Santa’s coming to my house! The sign says it’s so. Make this festive sign by following the tutorial below.
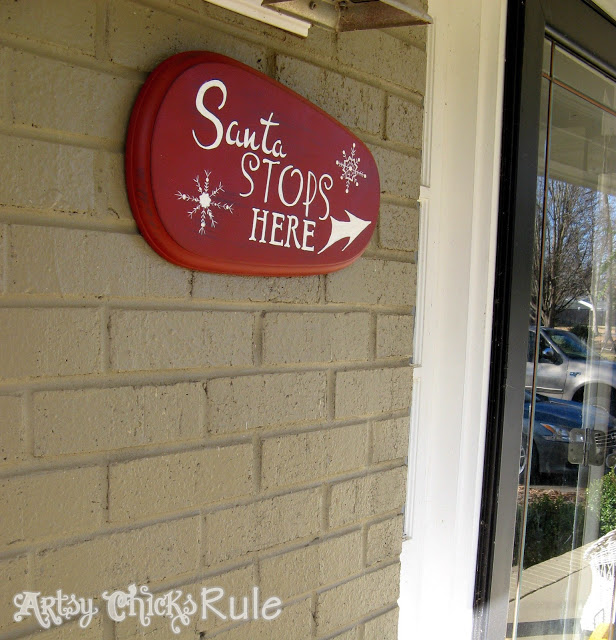
See? Didn’t believe me? The arrow is pointing right at my front door. ;)
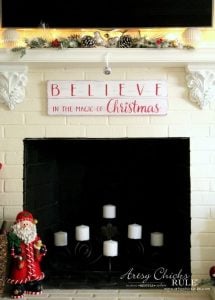
But I’m fairly certain he comes in through the fireplace.
Believe it or not, this was another thrift store find. Well, the base of it was.
Just this crazy shaped, finished (stained and poly’d) piece of wood.
Weird, huh?
What in the world it was intended to be, I have no idea!
But when I saw it I immediately thought of painting this sign on it………
My inspiration for this sign came from “that’s my letter’s – “S” is for Santa Sign”–> here.
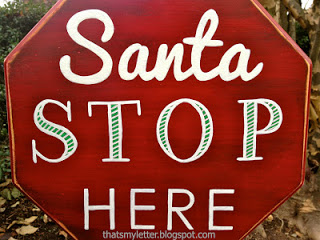
Isn’t that adorable! SO cute.
I love the Santa “stop sign” but wanted to do something a little different.
(and my wood was funky shaped, not stop sign shaped!)
So mine became more of a “Hey, everybody, Santa stops HERE! At my house! See?”
Just thought it would be a funny little thing to put up right by my front door.
I forgot to take a “before” pic of the front. Sorry!! But here is the back.
It looked exactly like this except, well, it was the front.
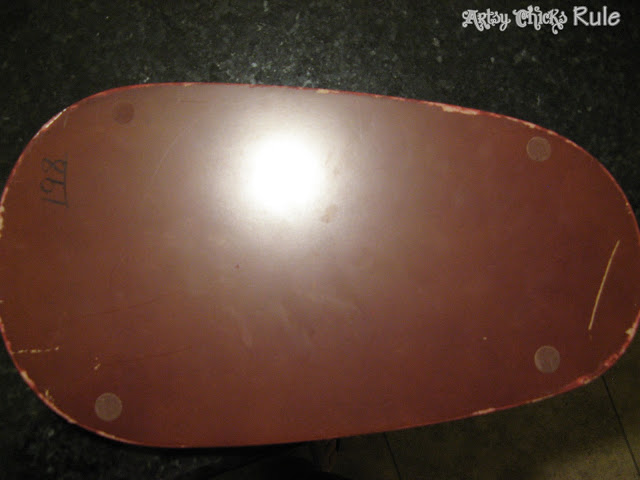
Quirky little thing, huh?
Anyway, I mixed up some paint…..
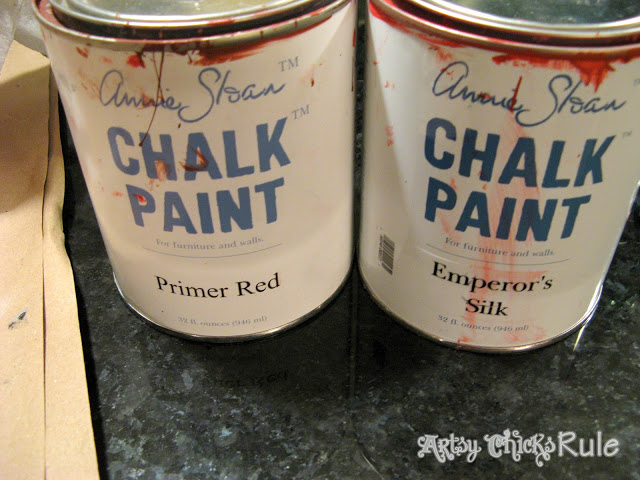
Mostly the Primer Red with just a touch of Emperor’s Silk to brighten it a bit.
If you’ve read any of my posts you know by now I am a huge Annie Sloan Chalk Paint fan.
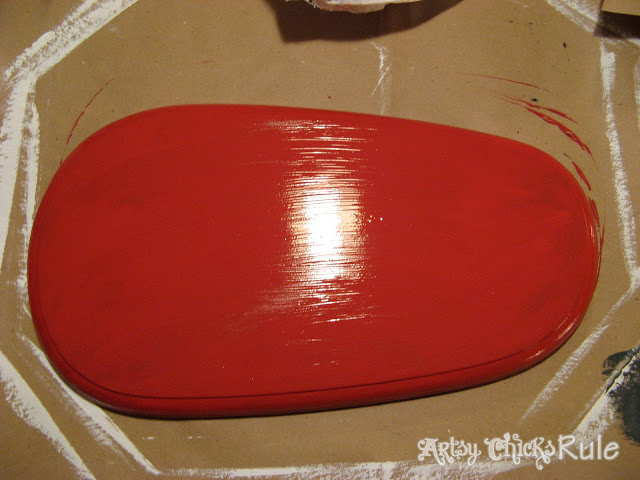
I painted on several coats…..
While that was drying I ran upstairs to my office and worked on some fonts, etc.
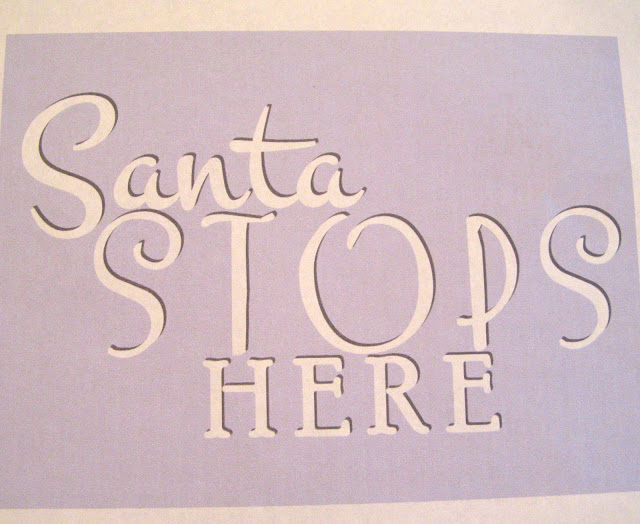
This is what I came up with…..
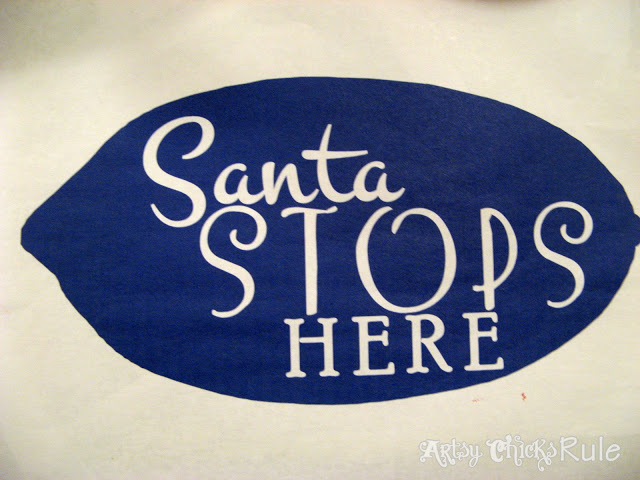
Do not ask me why I used the shape of a lemon as a background for this. I guess I was trying to find something that had a similar shape as that funky piece of wood.
And I did it in white because I knew I was painting the letters white.
BUT, I meant to switch those to black and delete the big blue lemon before I printed.
Too quick on the print button….all that wasted ink. Silly me.
Anyway, the fonts I used were….
- Santa-Montez
- Stops-LemonChicken
- Here-Poor Richard
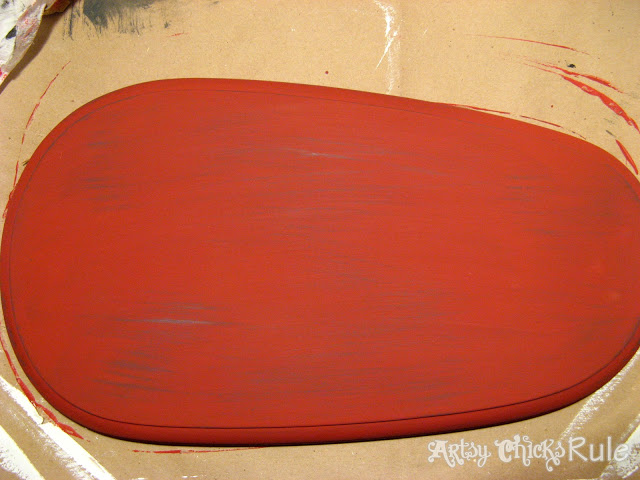
After the red dried, I dry brushed a bit of Graphite Chalk Paint over the top.
Then started drawing……
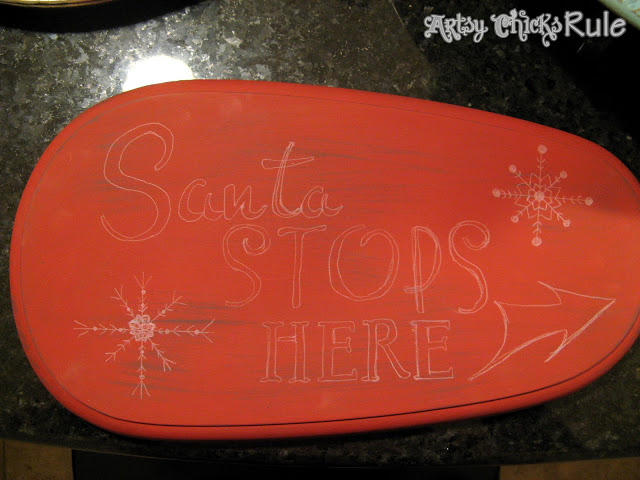
I used a white water color pencil.
I just looked at the sheet that I printed and hand drew the letters.
They’re not perfect but I’m going to be putting paint in them so it will hide some of that.
There are other methods to transfer the letters but I usually just do them by hand.
For small things like this anyway.
If you want to see a much easier way to do this, take a look at this page that I’ve compiled all my favorite (and EASY!!) transfer methods into:
“My Favorite Graphic Transfer Methods ANYONE Can Do!”
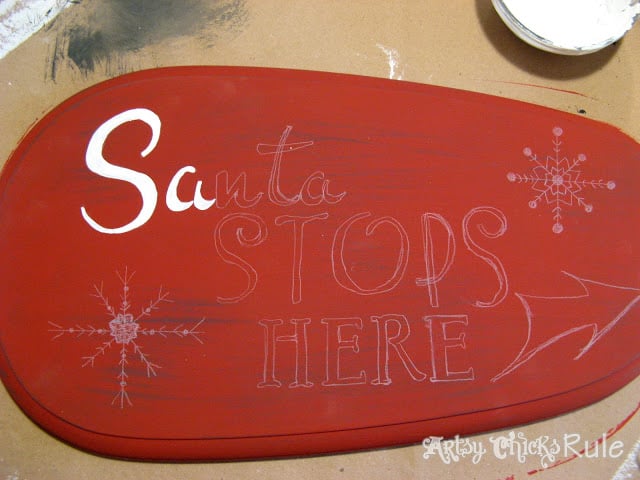
It looked a little plain after I was finished putting the words on…
…so I hand drew some snowflakes onto the two sides.
I decided to use acrylic white paint to do the letters.
I found this in my stash…..it is about 15 years old.
Ugh, it’s a little goopy.
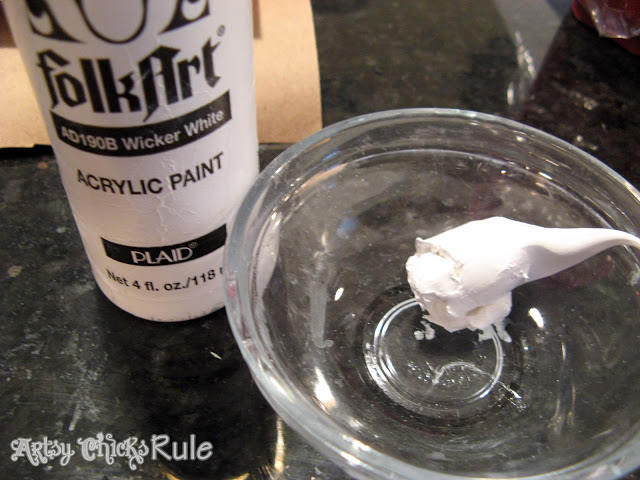
At least it wasn’t completely dried up!
I mixed in a little water and I was good to go.
All finished painting…..
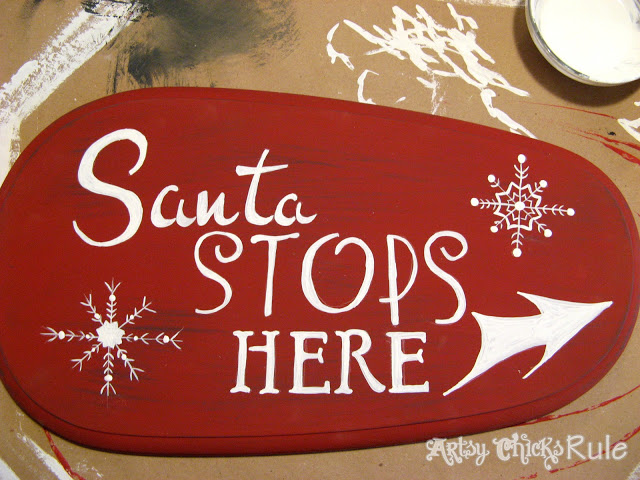
It was looking a little plain to me, sort of one dimensional.
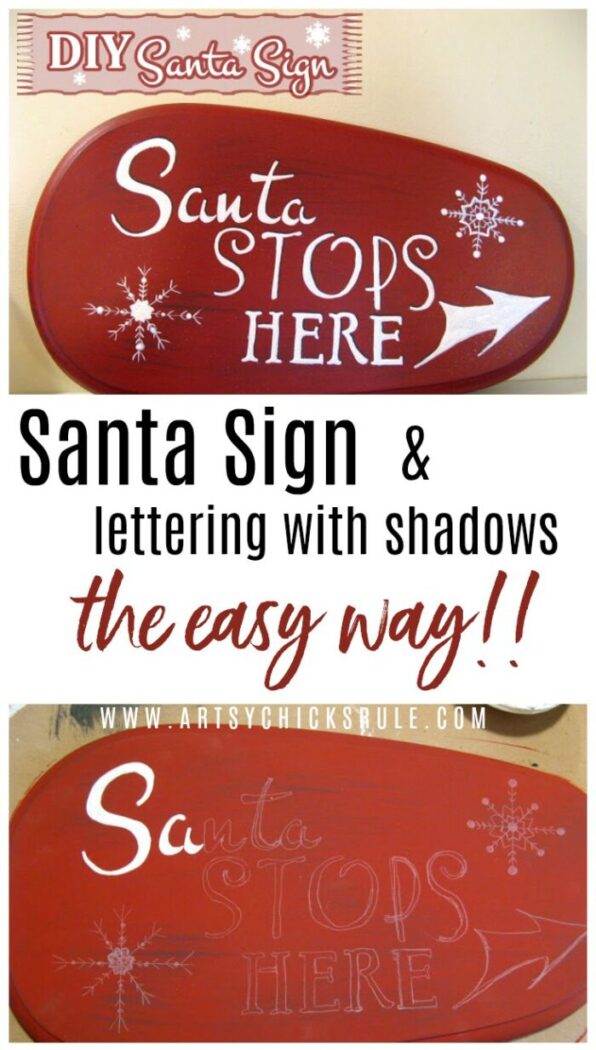
It needed some shading, shadowing on the letters.
So I went back up to my office and put some shadowing
on my words and printed it out as a guide to follow.
I used that as a guide for the shadowing I painted onto the letters.
See it here….
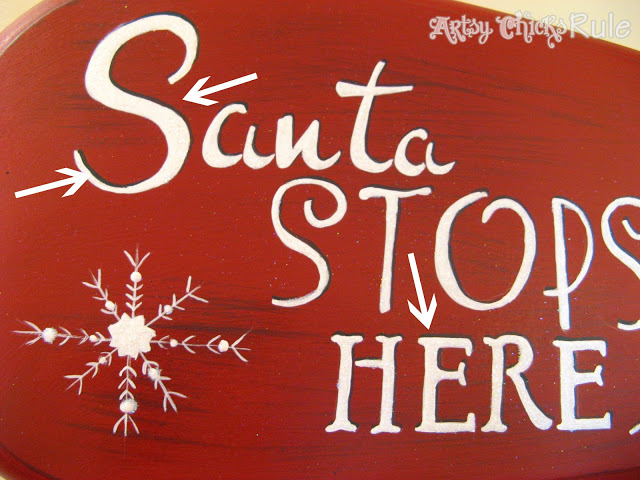
I used Graphite Chalk Paint for that.
At this point, I wasn’t sure if I wanted to distress the letters all up …..or glitter them all up.
I had to let it sit for a couple days and think on it. I really wanted to distress it but…..
glitter won out since it is a Christmas decoration after all!
Has nothing at all to do with the fact that I am a glitter, sparkle freak.
Nope….well, maybe.
So I mixed a little Elmer’s Glue All with some water and went back over the letters.
Then sprinkled them with glitter while they were wet.
(This was a multi step process. A few letters at a time)
It’s hard to see the sparkle in the picture but it is there!
After that was dry I sprayed it with Minwax Polyurethane (oil based)
since it was going to be used outside.
And now everyone knows …..
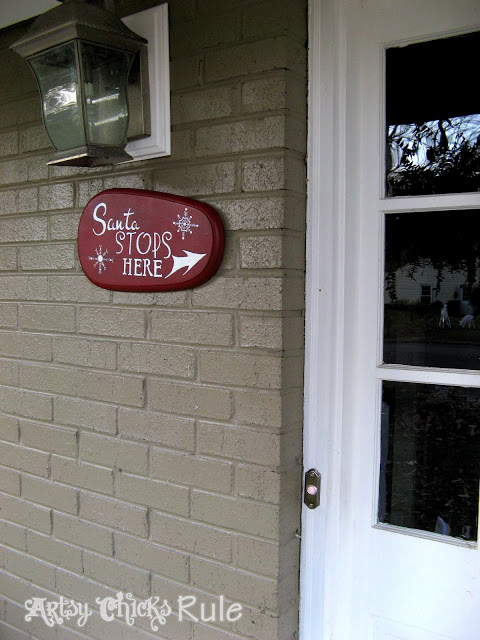
…..that Santa’s coming to my house. Yay!
Like it? PIN it to save it!
Ever see something online that inspired you to make something yourself?
I’m so thrilled I saw the Santa “Stop Sign” that inspired me to make this fun little project!

You might also like these projects:


")


Thanks for the complete tutorial. Pinning. Linda
You are so welcome Linda! I’m in the middle of a few fun new holiday signs for this year! I love making them. :)
Nancy
Love your sign, wonky shape or not. It’s really great. You’re so lucky to be able to hand print the lettering. I have to use stencils and usually practice on sheet of paper first so i can see how the spacing will be. I try that shadowing also by looking at other things. No I’m no letterist? is there such a word? As well we all have to do things whatever way we can. There’s people like you that can do it beautifully and there’s people like me, lol. I’m pinning this for my holiday projects, love your sign. Happy Thanksgiving
Hey there! Thank you so much!:) Yes, thankfully I am able to do the lettering by hand but I don’t do it often. There are easier ways to transfer that I use most of the rest of the time. ;) (like this post here..super easy transfer method — https://www.artsychicksrule.com/2013/04/easy-diy-pantry-sign-tutorial-chalk-paint.html )
MUCH easier for transferring lettering. Sometimes I don’t have the patience to print it out the correct size for the project (trial and error) though so I’ll just go right to it instead. ;) And letterist…never heard it but I like it! lol
Happy Thanksgiving to you as well!
Nancy
LOVE this, Nancy! What a perfect Christmas sign! Thanks so much for linking up, my friend!
~Abby =)
Thanks Abby! :)
Nancy