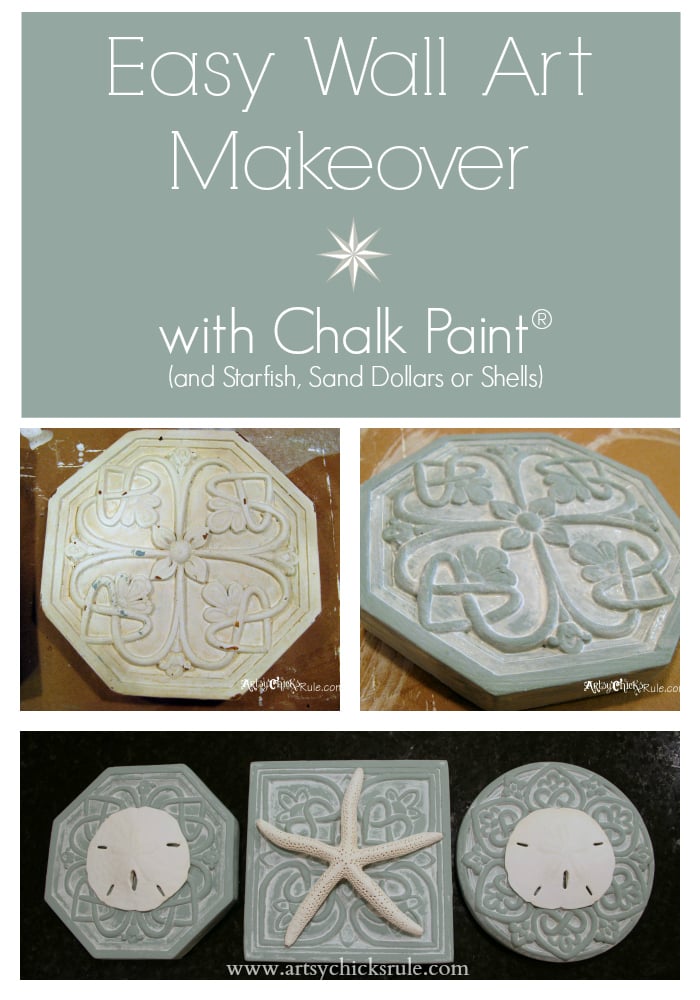
Restore, Restyle, Relove {Simple & Thrifty Wall Art}
If you’ve read around on my blog at all you know that I am thrifty, thrifty.
I love to shop thrift stores and garage sales. You can find so many cool and unique things to decorate your home with ….so inexpensively.
But have it look as if you spent a bunch.
Or I often just re-use things I have in my home in new and fun ways.
That’s what I’ve done here.
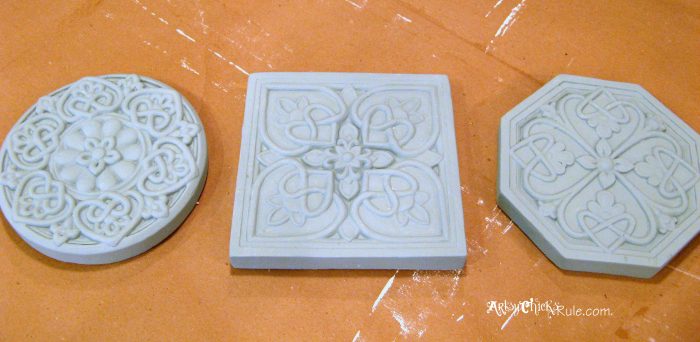
I’ve had these 3 wall plaque medallions for about 9 years. As you can see, they were a creamy, off white color and a bit ‘chippy’.
They look a little tired and in need of a makeover, don’t you agree?
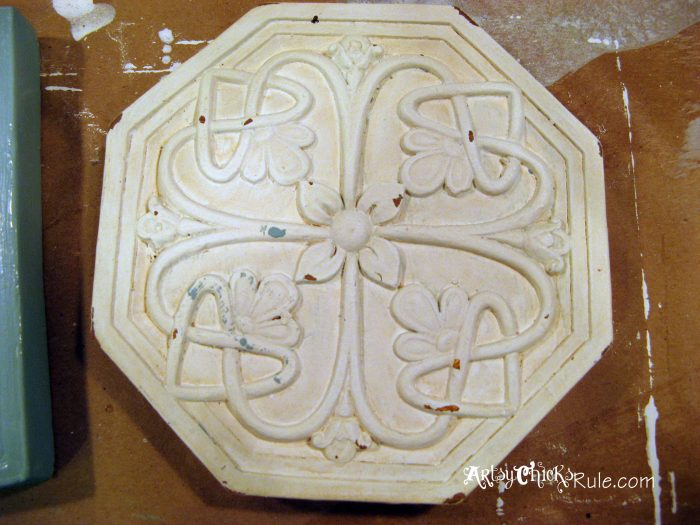
Here they are (terrible “before” picture, I know) where they reside in my kitchen. Directly above my sink/window.
But you get the idea…..
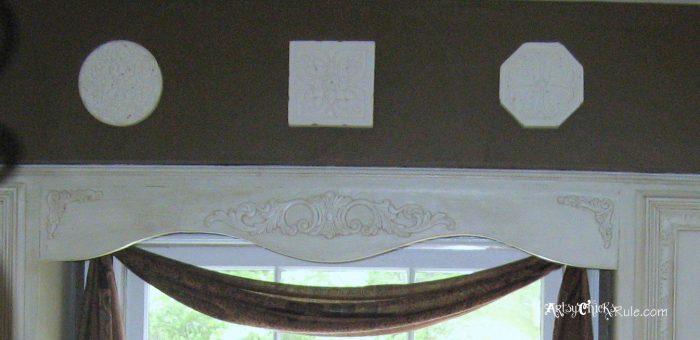
Oh and a little sneak peek of the paint I used to have on my kitchen cabinets (glazed). I repainted them with Chalk Paint® about 7 months ago.
Be on the lookout for a post about that next week! :)
I was actually going to take these down and replace with something else in that spot. I still might. But in the meantime, I pulled them down and painted them.
Because that’s what I do. I paint things. But really, why not?
It’s a great way to recreate something and make it like new again. And I just love that.
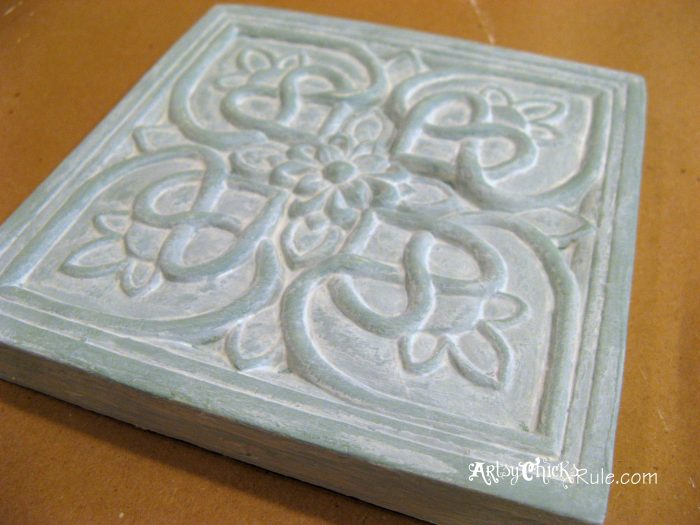
So I chose to paint them Duck Egg Blue (Chalk Paint) to go with the Kitchen Island I painted the same color.
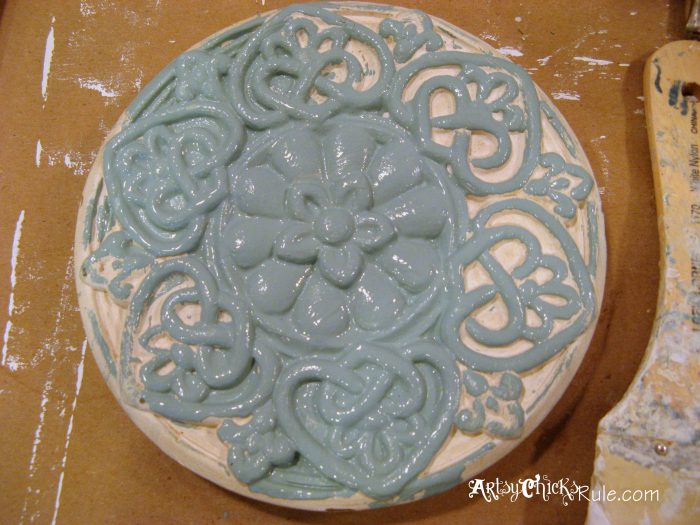
Pretty easy really. Just cover completely with the paint.
All three completely painted and dry below…..
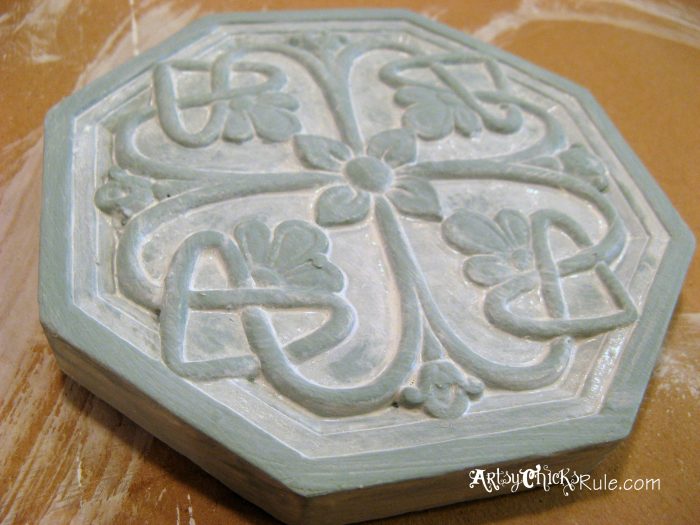
Much better but I decided to give them a “wash” of color over top. I mixed a little of the Old White Chalk Paint with a tiny bit of water and brushed over the entire surface of all three medallions.
I took a dry rag and wiped away excess on the high points like so…
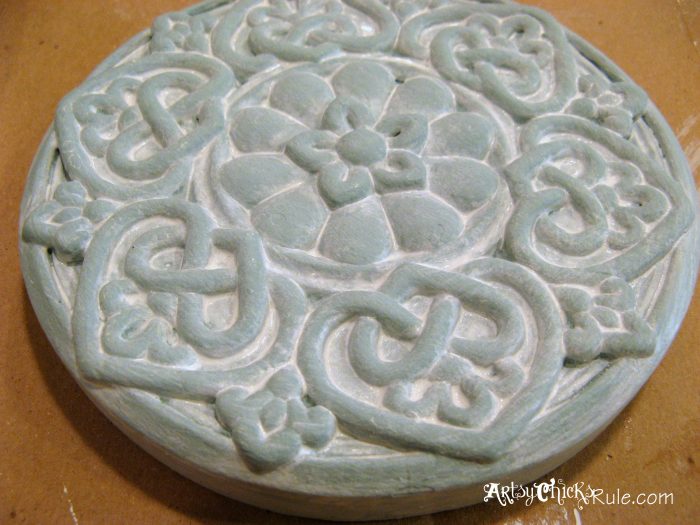
What a difference, right? From the beginning…and then from the blue?
That white wash really takes it to the next level I think.
I left these unsealed because I liked the look of the dry, matte finish.
So they got hung back up for a few more months….until I decided to change them up again the other night. Who me?
Yes, me. I’m always changing things around here.
I recently ordered a bunch of Shells, Starfish & Sand Dollars for Christmas decorating and crafting I’ll be doing very soon. (if you follow me on Instagram, you’ve already seen photos of that haul ;) )
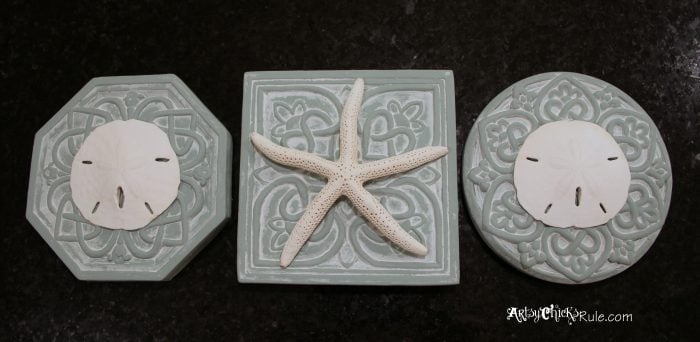
I had them out the other night working on ideas for crafts and decided to use a few of them on these medallions. I pulled out my hot glue gun and put a Starfish in the middle and two Sand Dollars on either side.
What a super simple (and inexpensive) change!
I love them!
I’m sure maybe some of you will be thinking they looked better before and that’s ok! They look great both ways, all 3 ways really….I was just ready for a change.
And this was a good one, for me.
They look totally different than when I started and I just LOVE that.
Instead of buying new, I recreated what I already had. And that’s what it’s all about!
Just like my tag line above says….re.store, re.style and then re.love!
YES, exactly.
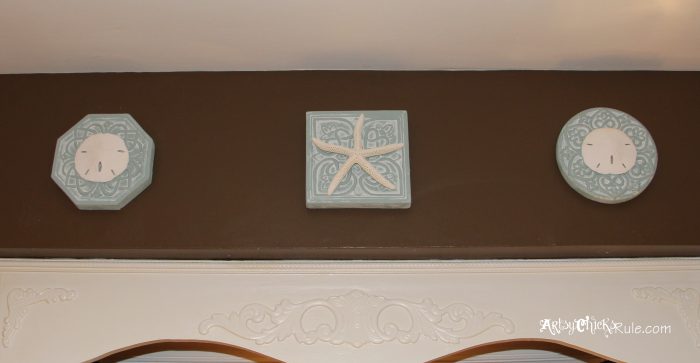
(oh and check out the new paint sneak peek in the photo above…compare it to the first shot I posted…I will reveal next week!)
I also thought I’d share a super quick, super easy (and also inexpensive) idea for wall art that is similar to what I did above.
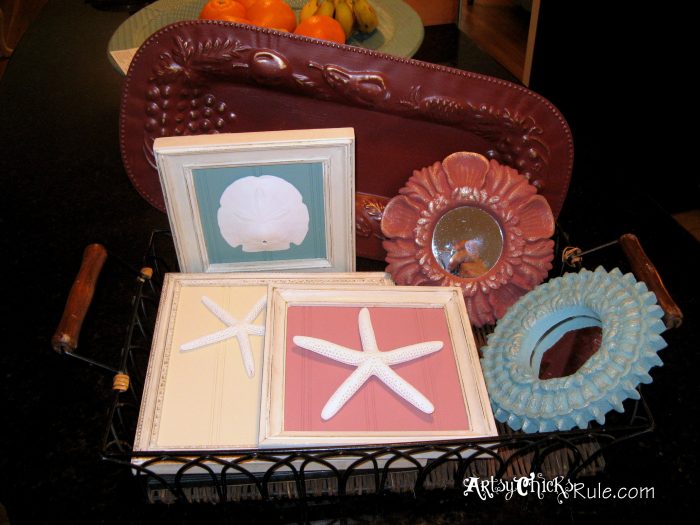
I made all of these last year with pieces of scrap beadboard, old thrift store frames and the nautical pieces you see in the photo. (the ones above went to the shop and sold)
These are in my guest bath….
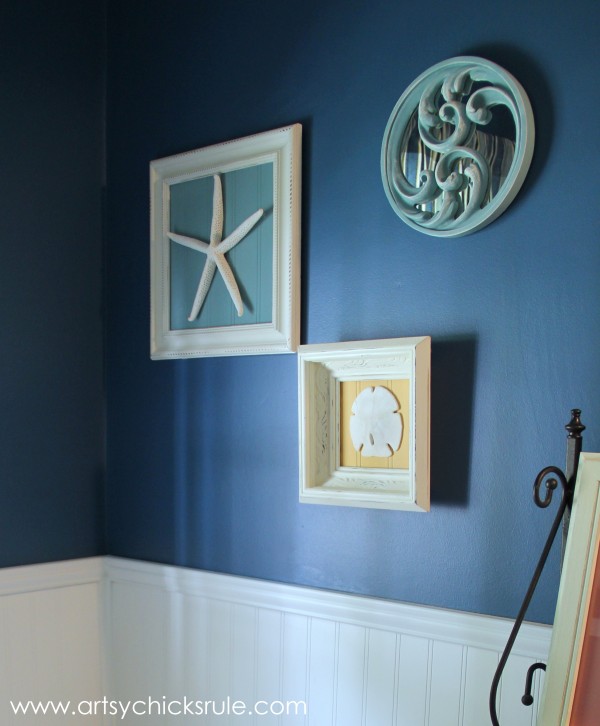
My husband cut the beadboard to fit, I painted them different colors (any paint will do, I used Chalk Paint), painted the frames and then hot glued the pieces to the boards.
Voila! Cute (really simple) nautical wall art.
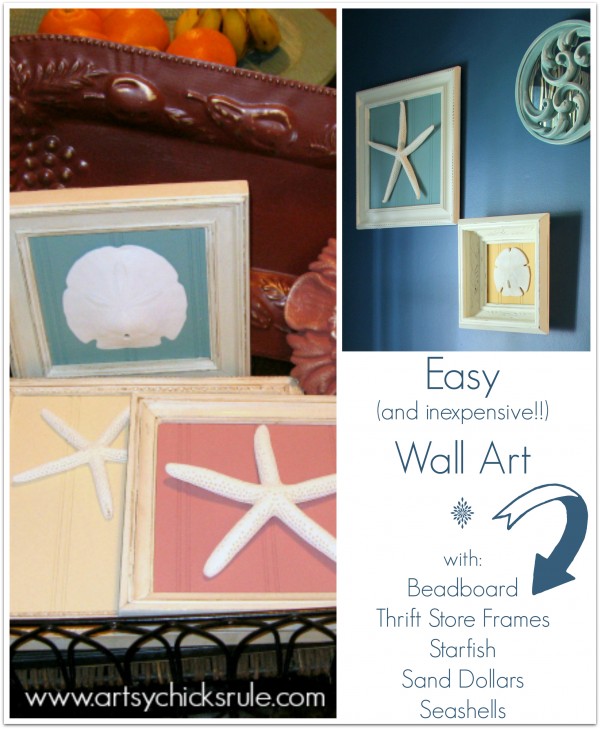
You could also use decorative fabric, burlap, old paper, etc, for the backing but I liked the look of the beadboard so went with that. I think burlap fabric would look great too.
So there you have it. A bit of thrifty “redecorating” with items you already own and creating pieces of art with leftover and thrifty items.
Two great ways to create artwork for your home. If nautical is not your thing, there are other items you could use in place of that.
The possibilities are really endless.
Have you taken items from your own home and recreated/reinvented them instead of buying new? I’d love to hear about it!


")


")


Those plaques look so great painted and I love the shells! OHH, can’t wait to see ALL the cabinets! Have a great weekend ~Sonya
Thank you so much Sonya :) Yes, the cabinets have been done much too long to have not been posted about yet! lol It’s my camera’s fault (or mine because I don’t know how to use it fully yet!). But I have some better pictures so it’s time to post. ;)
Hope you have a great weekend!
Nancy
How do you come up with these ideas? This is exactly what I wanted for my bathroom. But my mind tells me to shop at all the home goods stores to find stuff like this. It never dawned on me to make my own decorations. Great post. Great idea!!!
Hey Aimee!
I don’t know…they just pop into my head much to my husband’s dismay, I am sure! ;)
I love Home Goods but no, I’d bet you can find everything you need at the thrift store and put it all together in one afternoon. :) Plus you’d have that fun sense of accomplishment too.
Hope you are doing well Aimee!
xo
Nancy
This is so creative! I love how it turned out. Hope you are doing well Nancy – have a great weekend:)
Hi Krista :)
Thanks so much! I like them so much better…plus they match the theme of my home better too! (and they were in need of something ;) )
Hope you have a great weekend too friend!
xo
Nancy
They look GREAT! Have a wonderful weekend…
Blessings,
Cindy
Thanks so much! :)
Hope you are having a wonderful weekend so far!
Nancy
Painting these pieces and adding the sea life to them totally changes the look. It’s like you have brand new art for your kitchen! My mom has a beach rental and this would be a great idea for easy art for a bathroom that’s still pretty blah.
Thank you Paula :)
I agree…totally different look! Yes, these would be great in there..and you can find similar pieces at probably any thrift store to do that same!
Nancy
ASCP to the rescue again! They look 10 times nicer. Anxious for the kitchen reveal.
Oh yes, you know it Ellen! ;) And thank you so much!
Nancy
Love the wall art makeover Nancy! I’m right in the middle of a project like this for a client and really appreciate your tips and tricks.
Gorgeous dah-ling!
Thank you :) It was fun to change them up and I’m just loving them so much!
Nancy
I LOVE re-using what you already have. Great little makeover!
Thanks Erica! Me too!! It’s cheap and fun to do…and I just love that. :)
Nancy
I love re-using items you already have :)
Great little makeover!
Thanks Erica!! :) (so sorry for the late reply! I am just finding some old comments I missed!!)
Nancy
You rocked it lady!!! They really stand out now with that new color and added dimension!!!! Beautiful!!!
Thanks friend! :) They make me smile every time I walk into the kitchen now!!!
Nancy
These are so pretty Nancy!! You did a beautiful job!!
Thank you sweet friend! :)
What an economical decor idea! I love the matte look, too!
I know, my very favorite kind! ;)
Nancy
You are so cram dafty!!! They look awesome. :)
-andi