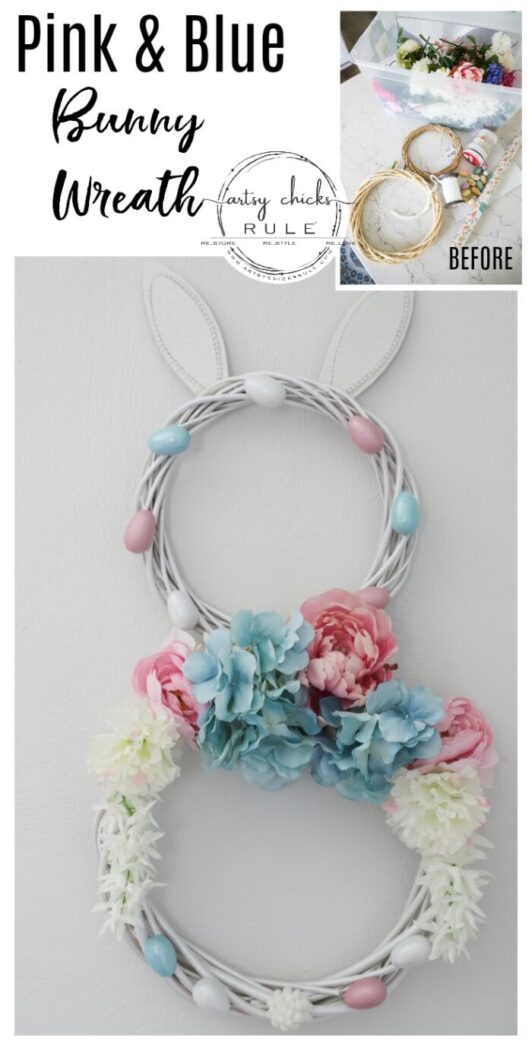
Pink & Blue Bunny Wreath (simple do at home project!)
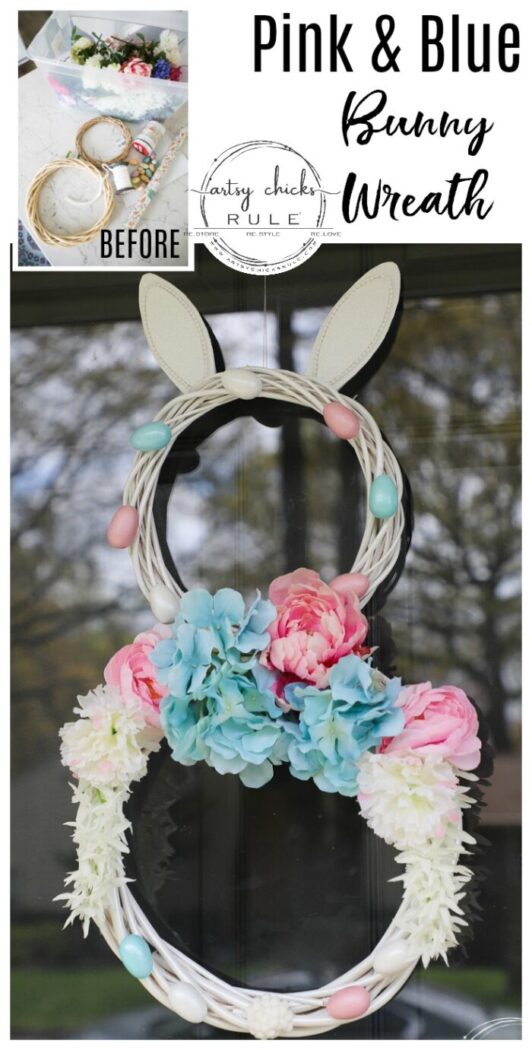
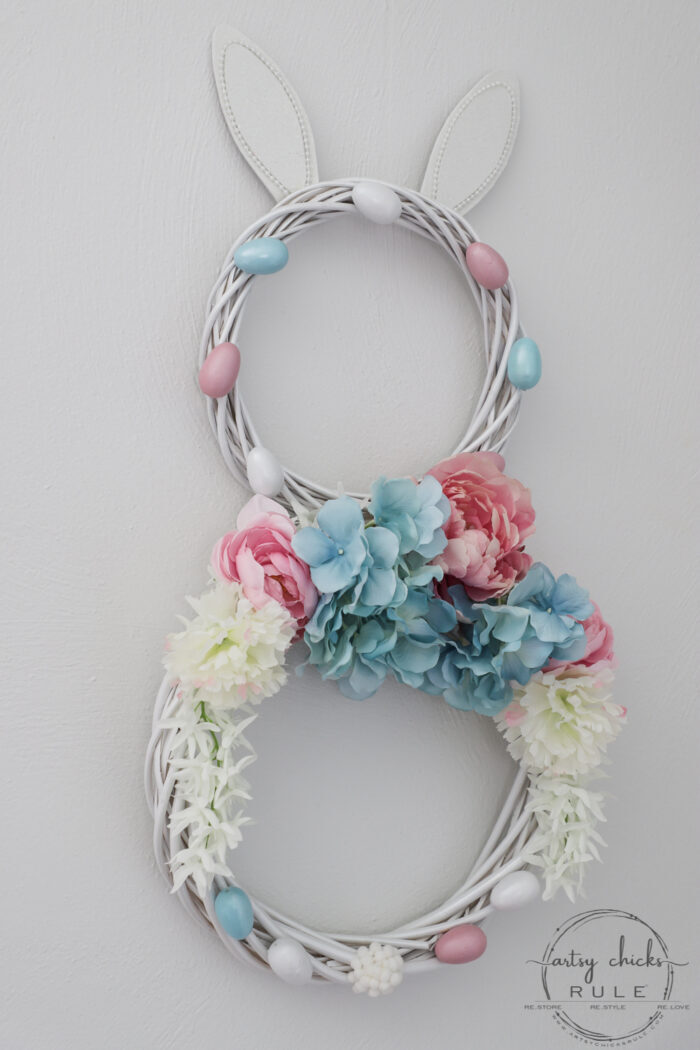
This adorable pink & blue bunny wreath is simple to throw together with just a few items! Perfect for spring and a fun project for kids!
Hello, my sweet friends!
I hope you all enjoyed me sharing those purple beauties on Tuesday. It’s so much fun to see some vibrant paint colors for a change.
If you missed it, you can see it >>> here.
Over the weekend, I was feeling a little stir crazy…and so decided to get crafty. I dug all through my stash to see what I could find to make for spring.
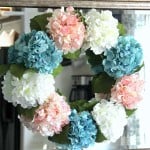
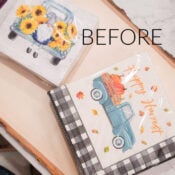
And I found these 2 wreaths (well, I had 4, so I have 2 more to play around with…stay tuned :) ) and thought, how cute would this be as a bunny wreath?
The two sizes were just begging for it. So, I made a bunny wreath!
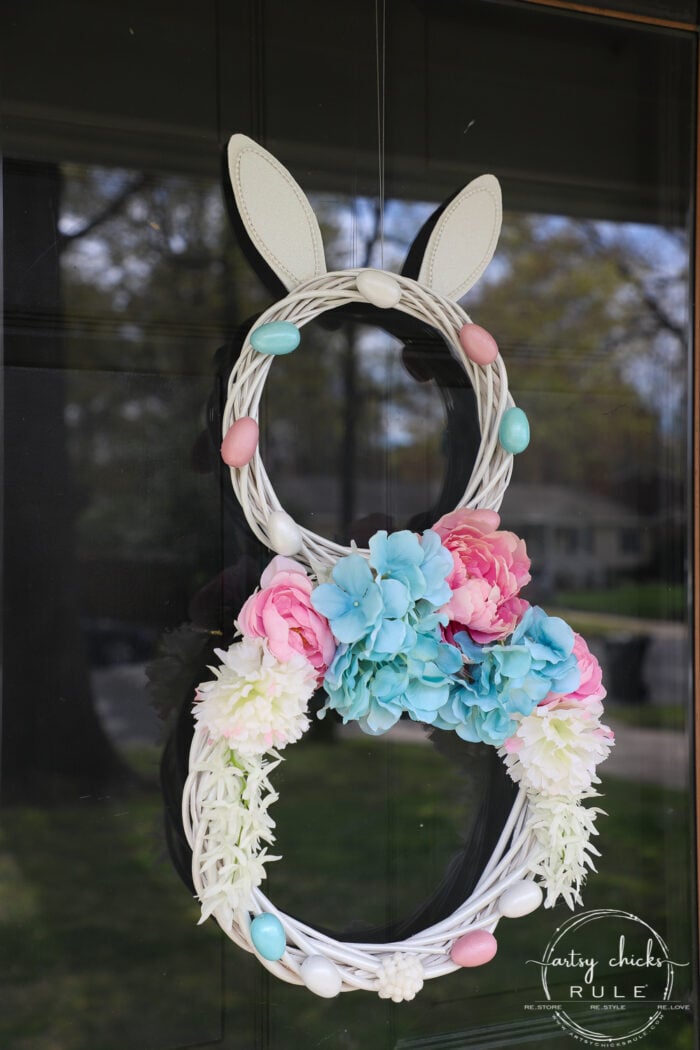
Pink & Blue Bunny Wreath
I pulled out my box of flowers and got busy playing around and deciding on how to do it.
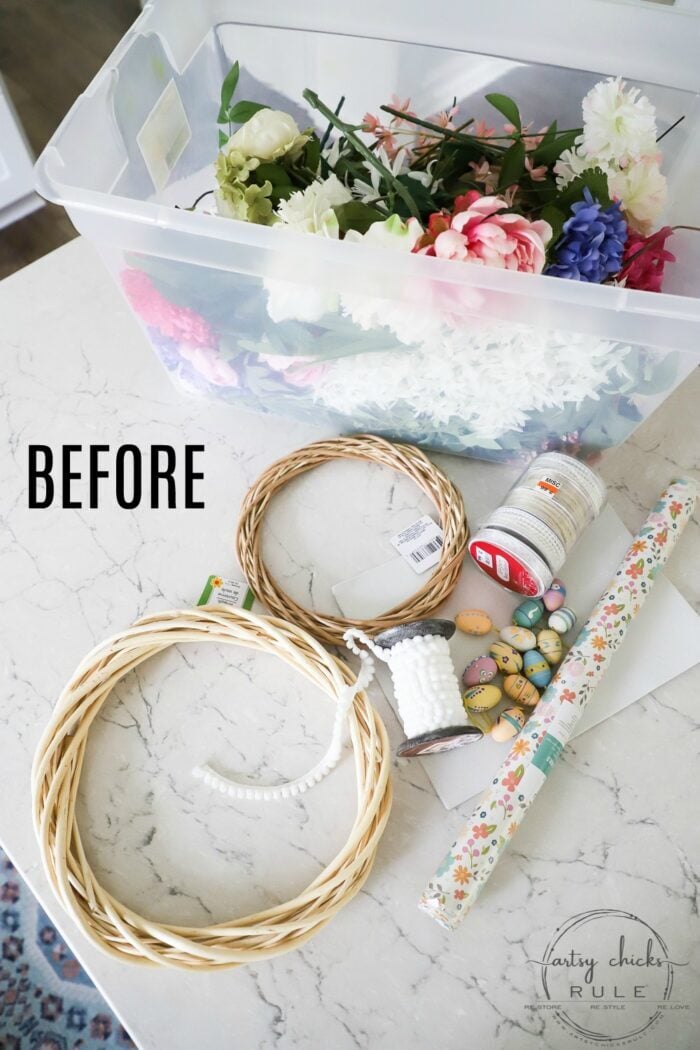
So, I found these 2 different sized wreaths, those little eggs I’ve had for forever some ribbon from the thrift store, a sparkly foam scrapbook sheet and the same pom-pom trim I used on this flatware box recently. (I didn’t end up using the pretty floral wrapping paper…will have to find something else to use that on)
I began by spray painting the two wreaths with white “satin” spray paint. (any kind will work)
Then I used a glimmery, shimmery clear-ish topcoat/spray paint. (it is no longer available) which gave it a really pretty luster.
It’s hard to tell in the photographs but you can definitely see it in person.
This frosted pearl spray paint might be similar. (I have not used it though)
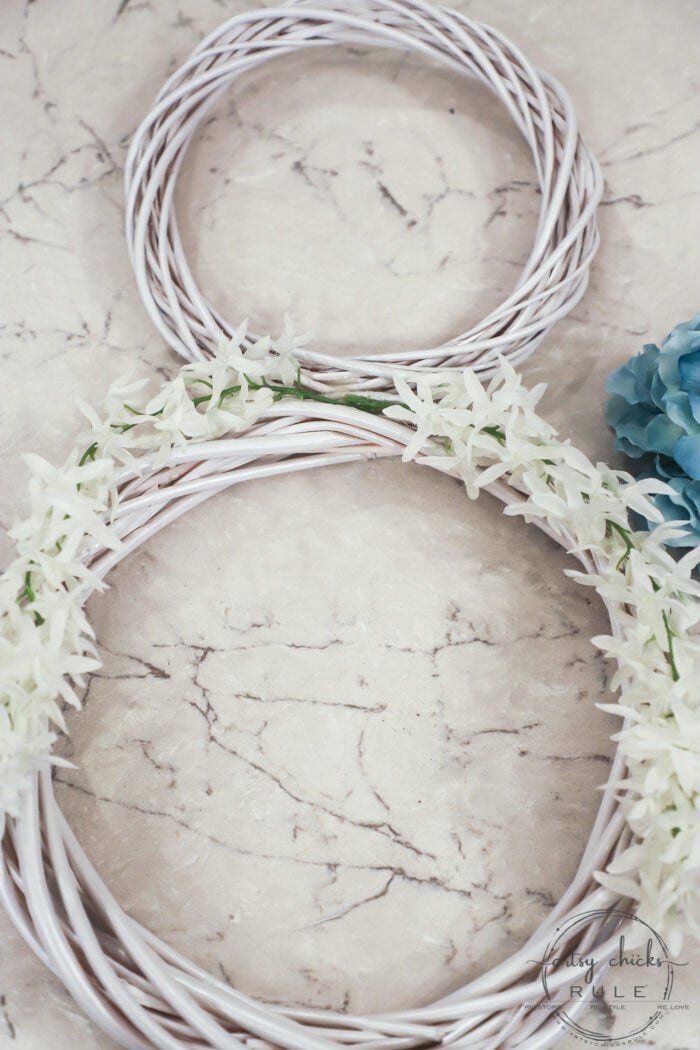
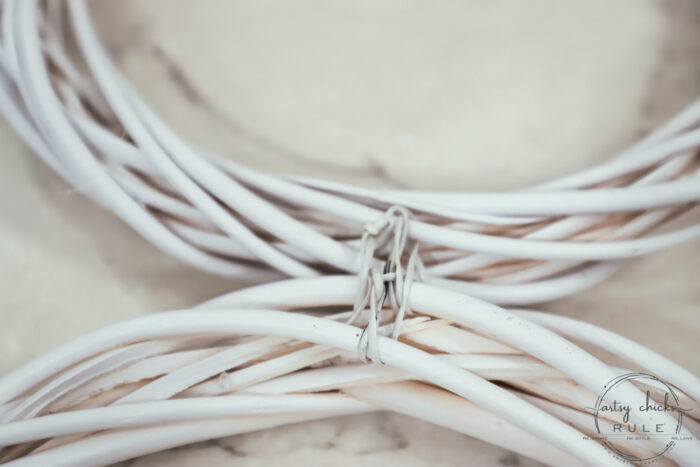
Then I used a long wire to wrap the two together.
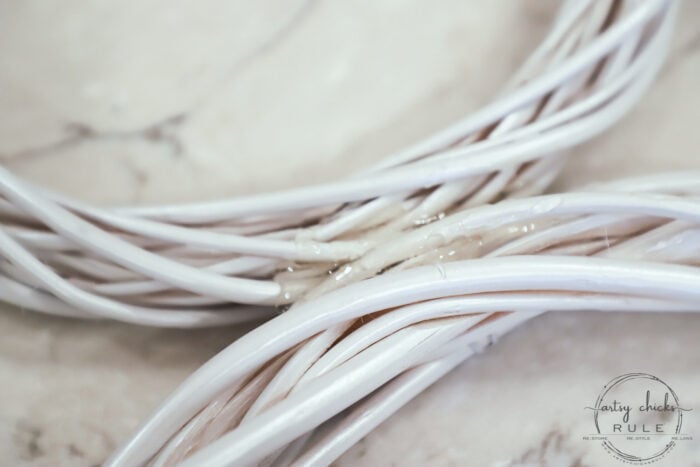
Next, I used hot glue to better secure it.
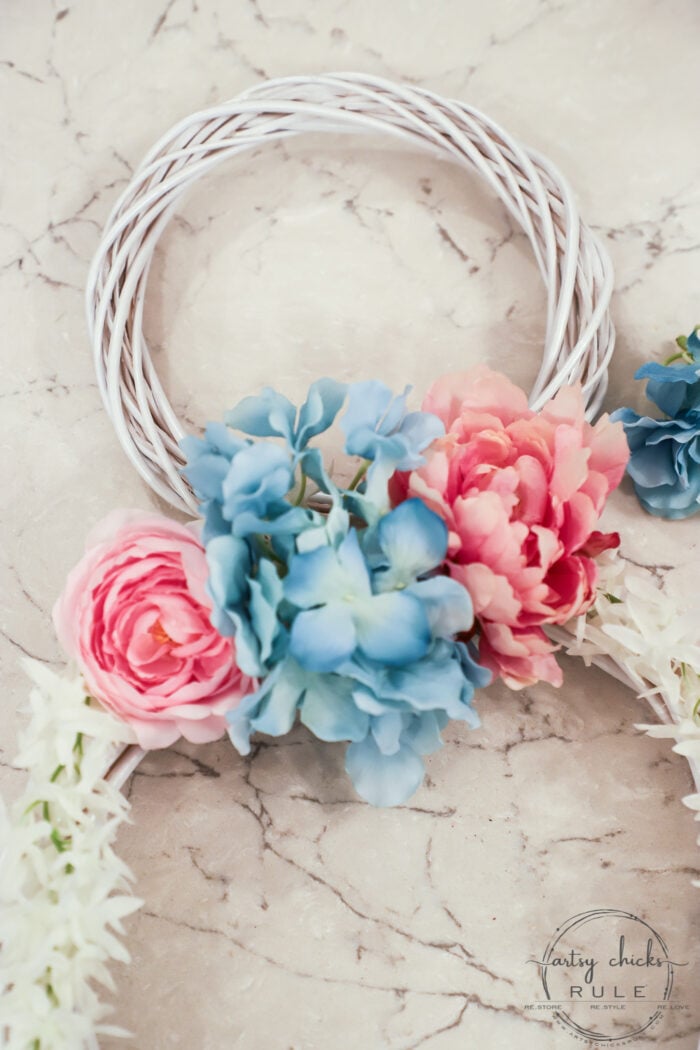
Then I just started adding flowers. (with my hot glue gun)
Normally, I will just start laying things out on the wreath in the way that I like. Once I’ve got it how I want it, I go back and start hot gluing it all on.
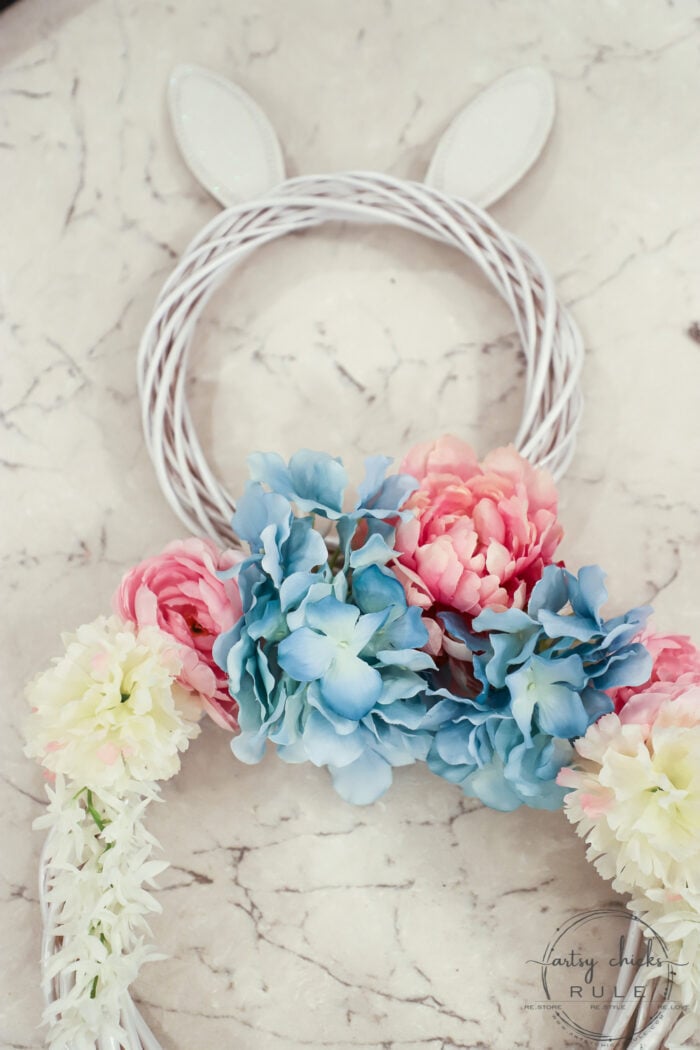
I wasn’t trying to make it super symmetrical as I wanted it a little off to one side.
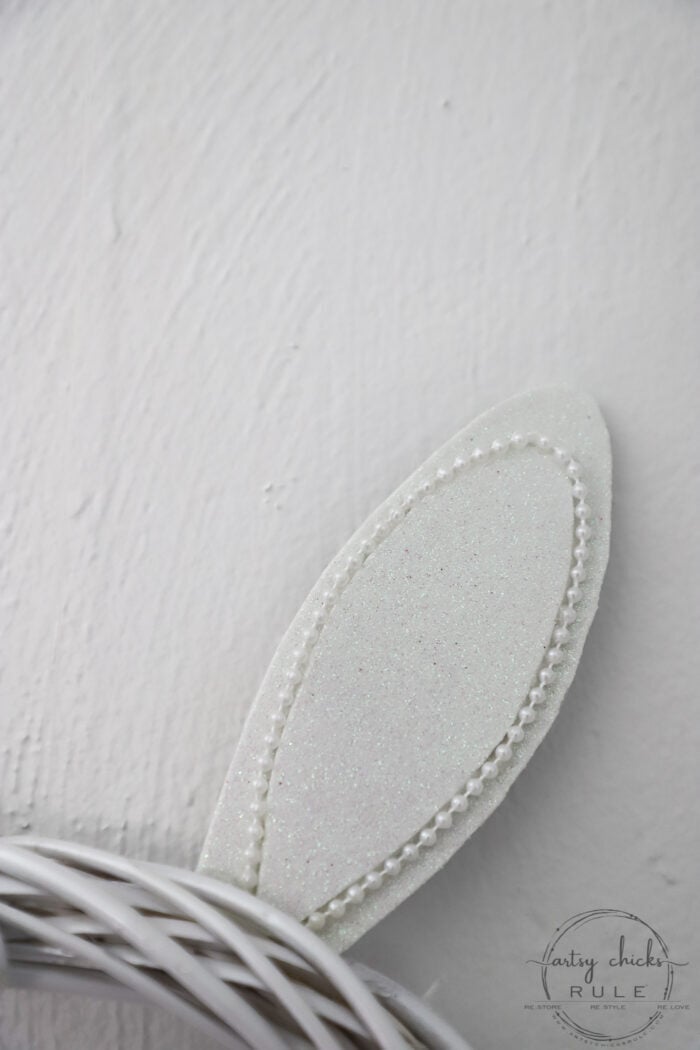
For the ears, I printed these out as a guide and colored the backside (like I show how in this post) and then transferred it to the sparkly foam sheet.
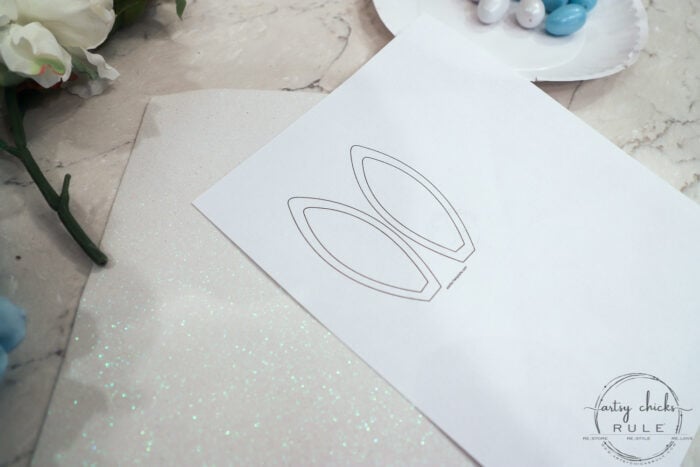
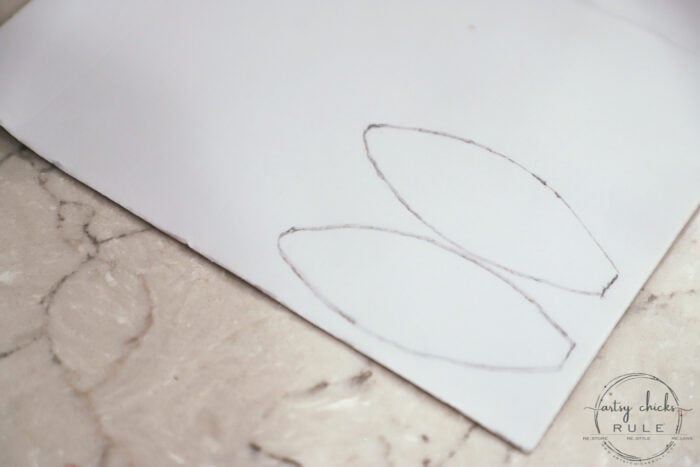
I cut them out and then decided they were too small. So I just drew by freehand two more that were larger.
I decided to use these as the inside of the ears as so…
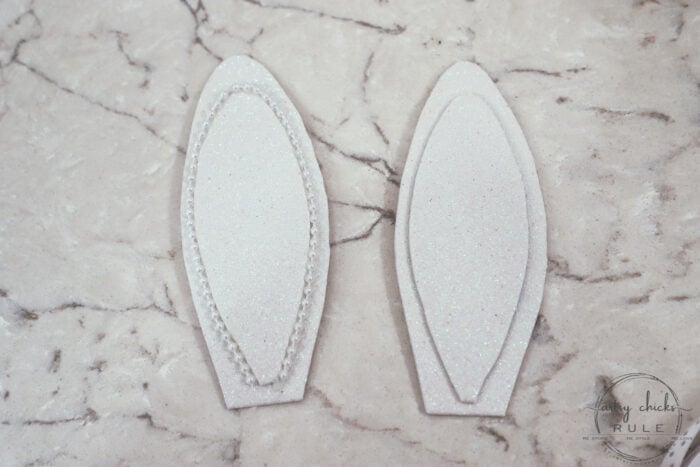
I had considered using that wrapping paper for the insides but liked this better.
Then I used some of this pearl trim from the ribbon container to wrap around the inside.
I did all of this with the glue gun. (as well as attaching the ears on the top of the wreath)
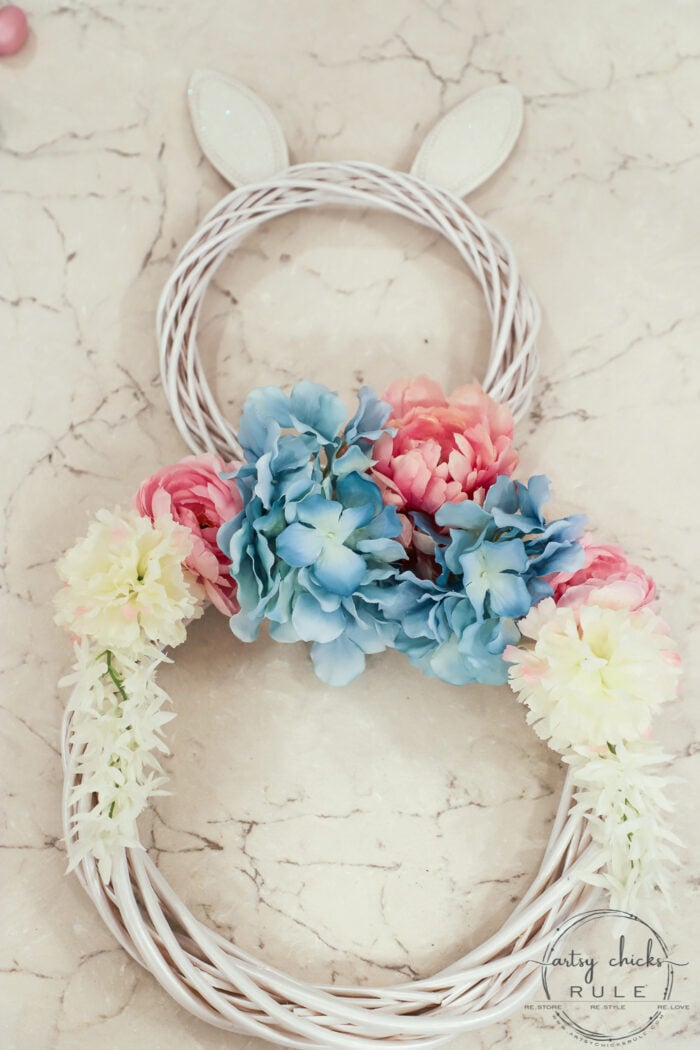
Then I had the little wooden eggs, remember??
I painted them in the same colors of the flowers along with a little spray of that same lustrous topcoat and evenly placed them on the wreaths.
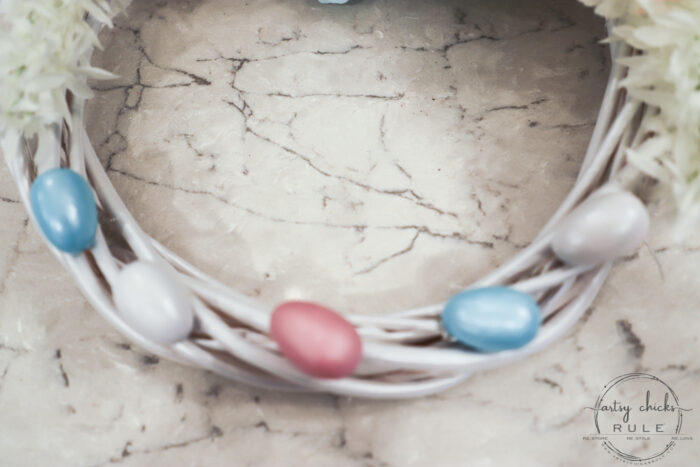
I laid them out before I hot glued them to make sure I liked the bunny wreath with the eggs.
I wasn’t so sure.
I sort of like it just as well, or maybe more, without the eggs. BUT…I thought what the heck, I’m gonna put em on cause this is already a “cutesy” little project anyway. Let’s just do her up! ;)
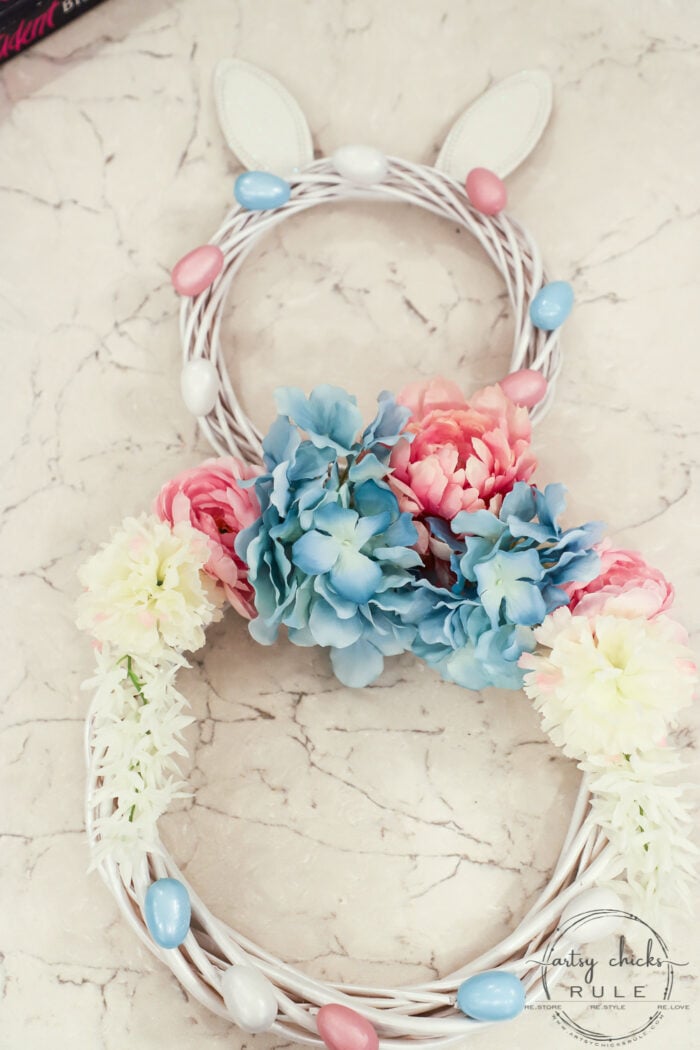
So I hot glued them right on.
And….decided to go one step further and create a little “bunny tail” out of that pom-pom trim. ( you can find some similar, here)
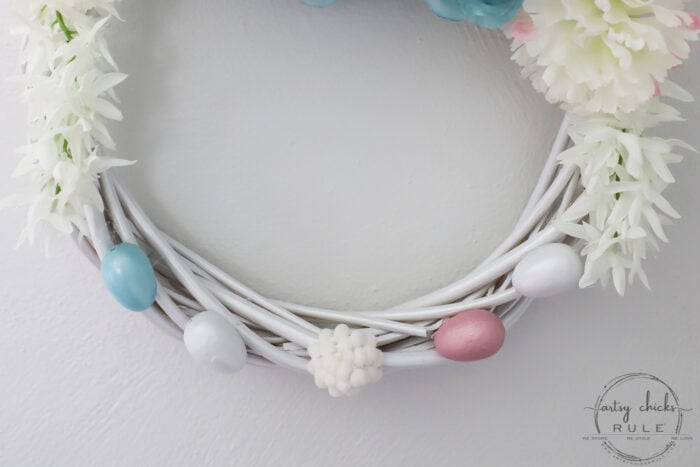
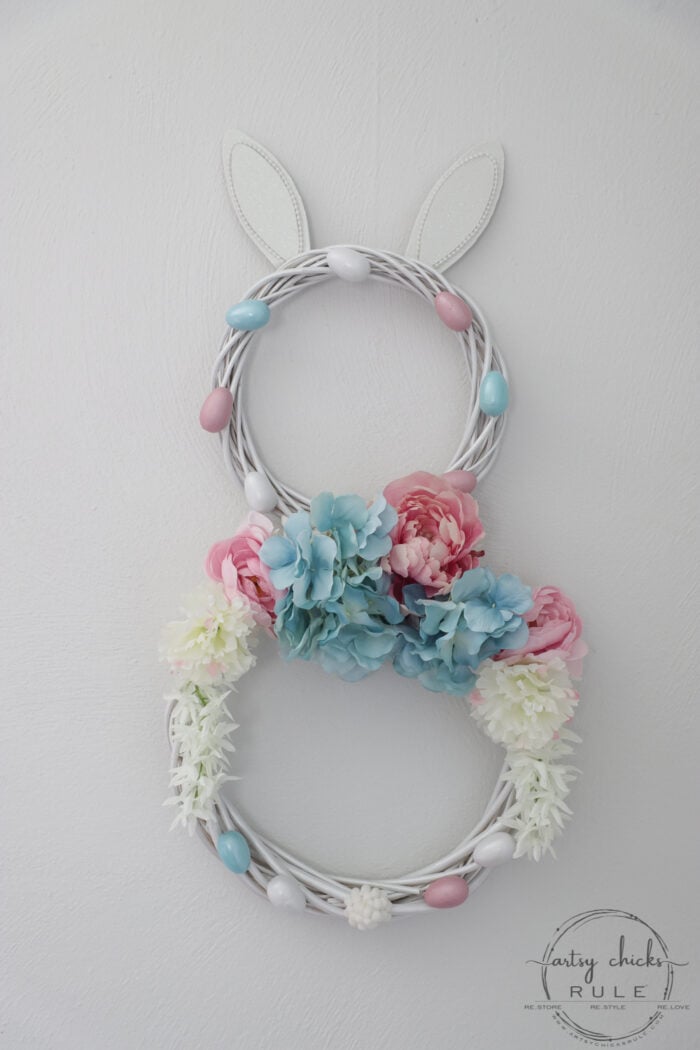
So darn cute.
Up close of the ear…
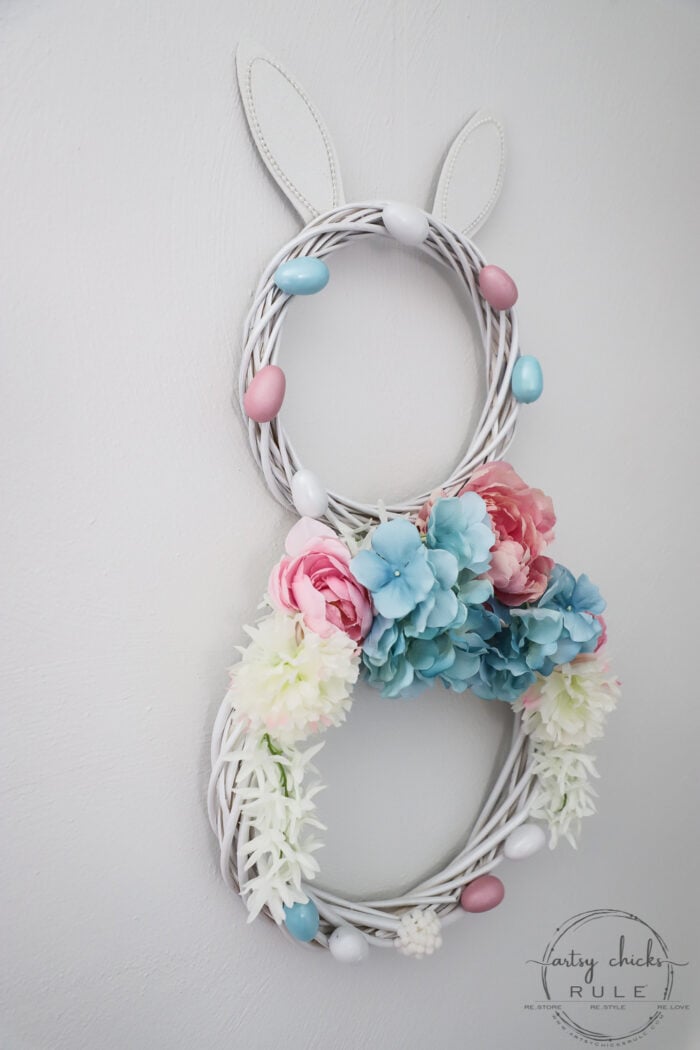
Have you ever made a bunny wreath before??
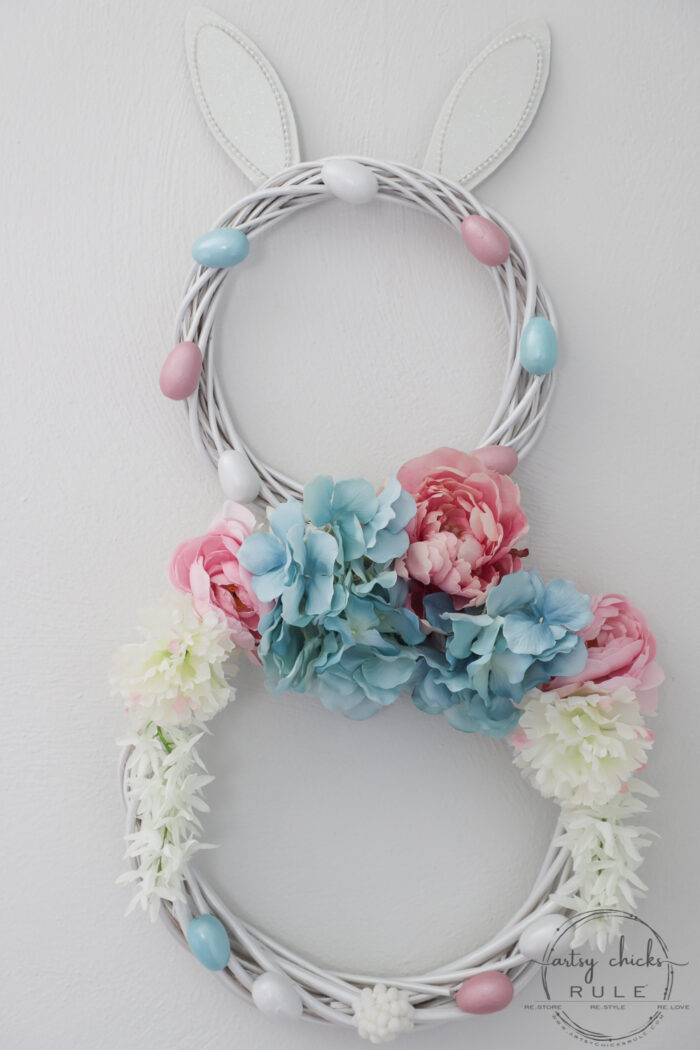
If you have two different sized wreaths laying around (or embroidery hoops…those will work too), give it a go!
PIN it to save it!
Like that wreath?? You might like this one too!
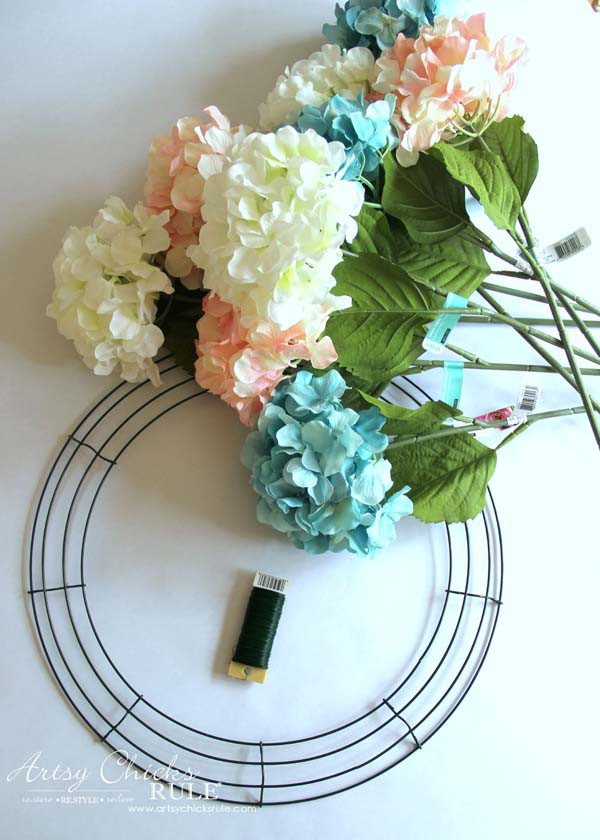
See it, here.
I hope you have a blessed weekend. Stay safe!!
xoxo





Love it
Thanks, Barbara! :) xo
Nancy, this is so clever and cute! I love how it exudes cheer and Spring! Way to go using the wreaths. :) Love the pearl trim on the ears! :)
Thank you, Christina!! It was a little more “cutesy” than I normally do but it was fun to create! Would be a great project for kids :) xoxo
She is so cute! Love her ears! Maybe there could be an Easter Bonnet challenge with things already at home!
Aw, thanks, Cecilia! Yes, wouldn’t that be fun?! :) xo
I LOVE this bunny wreath!! BUT – pink inside the ears would give it more punch. Just my thought.
I think we are looking at the back of the bunny. His tail is right in the middle of the bottom wreath.
Thanks so much, Jean! :) Yes, that would have been cute! xoxo
Your wreath is adorable. It makes me smile.
Thank you, Marie! I’m so happy to hear that. :) xoxo
Love it! I think one of the good things that can come out of all of this is learning to be more resourceful, which crafty people are generally already good at! But when we are forced to make do with what we have instead of running to the store for supplies, and have time on our hands, it really gets the creative wheels turning. I’m finding myself getting that way with the food in the freezer and pantry, lol! Stay safe and thanks for sharing!
Thanks, Vicki! And yes, so very true. I know my creative wheels are really turning…in both food and crafts, etc, just like you! lol xoxo
I love your cute rabbit wreath. I think I will try and make one just like this to. Thanks for sharing. Stay safe and healthy.
Thank you, Ivory! :) Yes, I hope you do!! And you as well, my friend. xoxo