
God Knew My Heart Needed You Sign (thrifted redo!)
This “God knew I needed you” sign was so simple to create out of a thrifted find and a simple transfer method!
Hello beautiful friends! How are you?
August is upon us; gosh, does time fly fast for you these days like it seems to for me?
Hope you enjoyed my little “dip” into fall with my last project. I haven’t made signs in a while, and here I am doing two in a row.
AND I haven’t made signs without using my Silhouette machine often either. It’s just so easy to create a stencil using it or even the lettered cutouts, too. But I did both of these signs the good old-fashioned way! lol
I made a sign…out of a sign. I just did not love the original. I do, however, love how the new one turned out.
God Knew My Heart Needed You Sign
This was such a simple redo. And it just goes to show you, if you find something you sort of like at the thrift store, you can always bring it home and change it up a bit…to your liking.
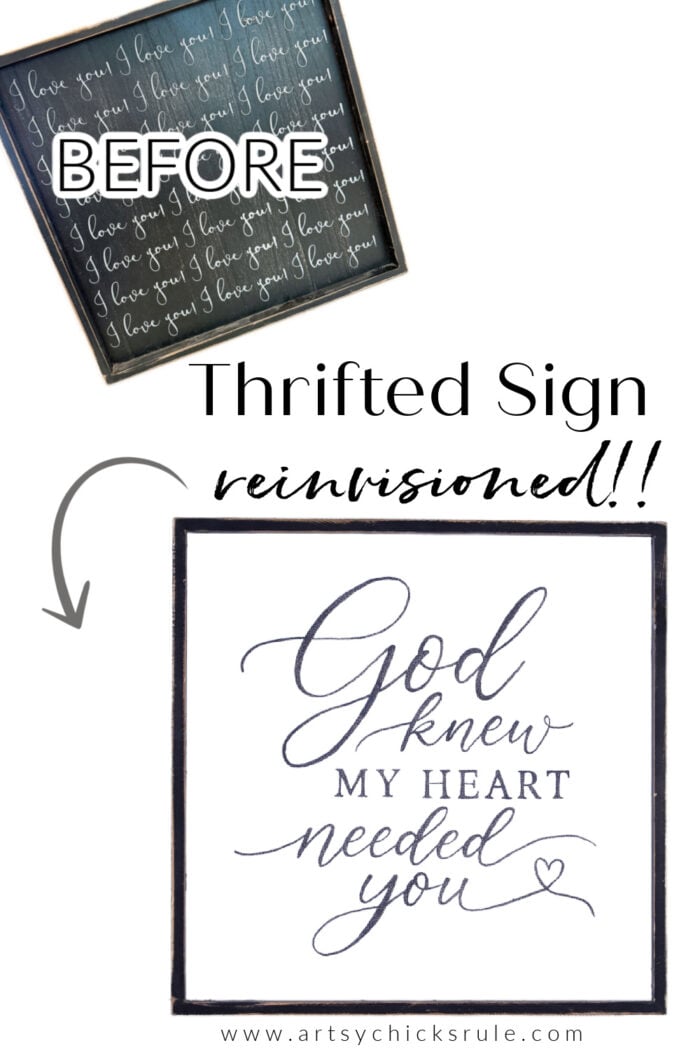
Here it is “before”…
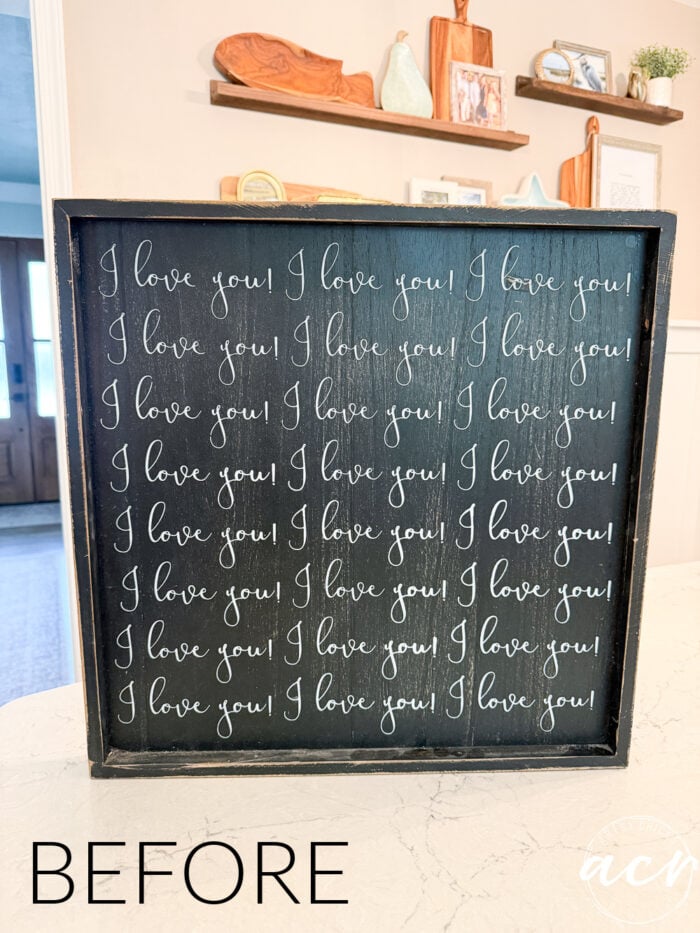
Nice, big, wood-framed sign. But eh, a little much with the “I love yous”!! Don’t you think?
So I brought it home and restyled it.
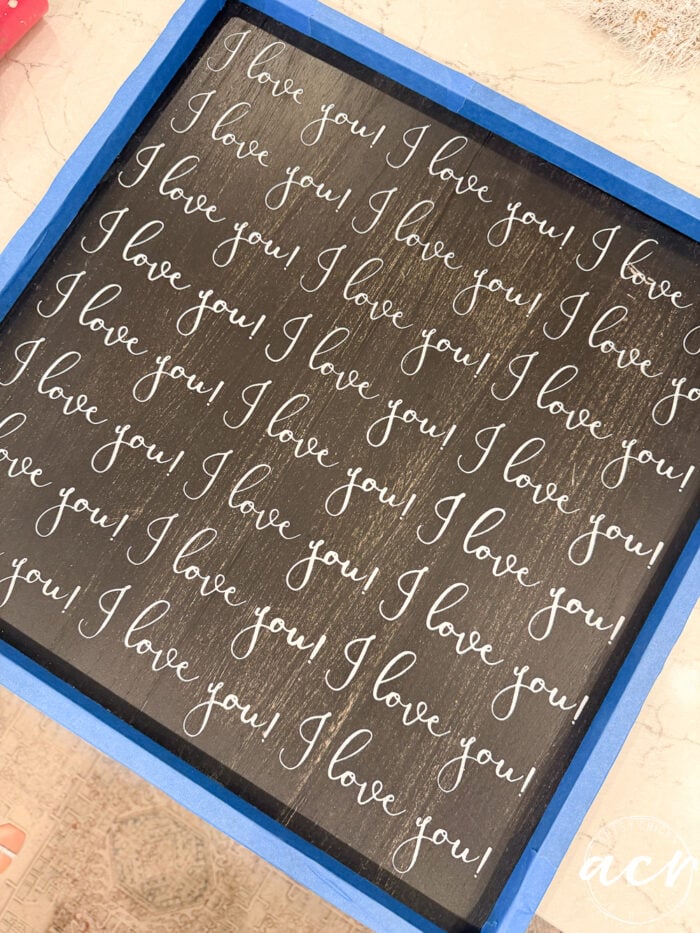
Honestly, it didn’t need that much. I really liked the frame as-is, so I taped that up to protect it from primer spray.
Which I did next. One good coat of primer.
Then I rolled it, oh, probably 3-4 good coats of white paint.
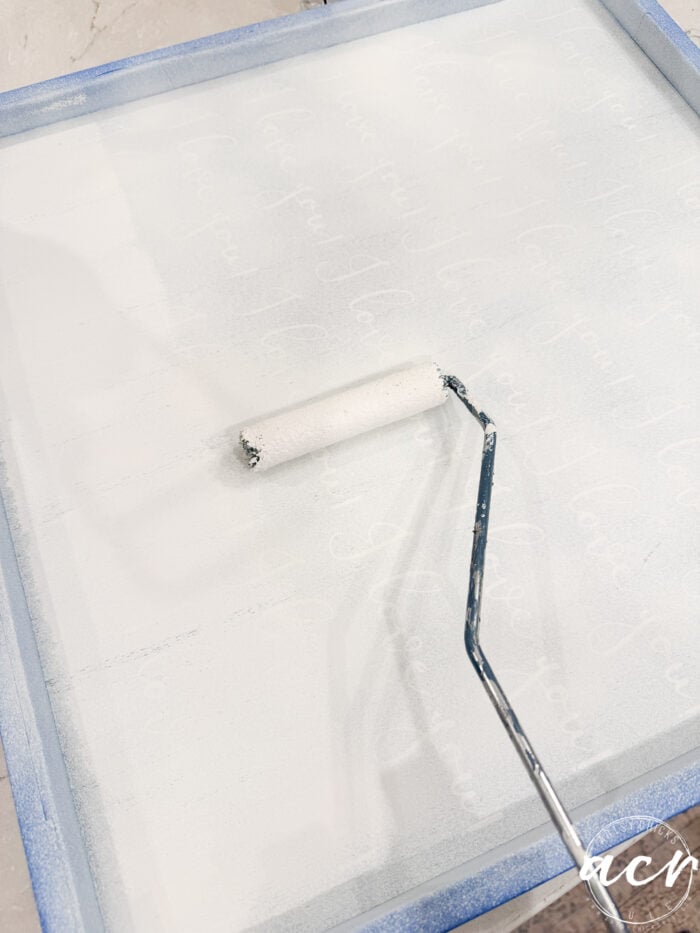
I wanted to make sure I covered it well.
MATERIALS SOURCE LIST
Next, I created this graphics image of “God knew my heart needed you” and printed it out using this site. (I’ve used this site for years for my sign making) www (dot) blockposters (dot) com.
It’s a great way to make large signs. Just print it out to the size you need, and it will print out in sheets like shown.
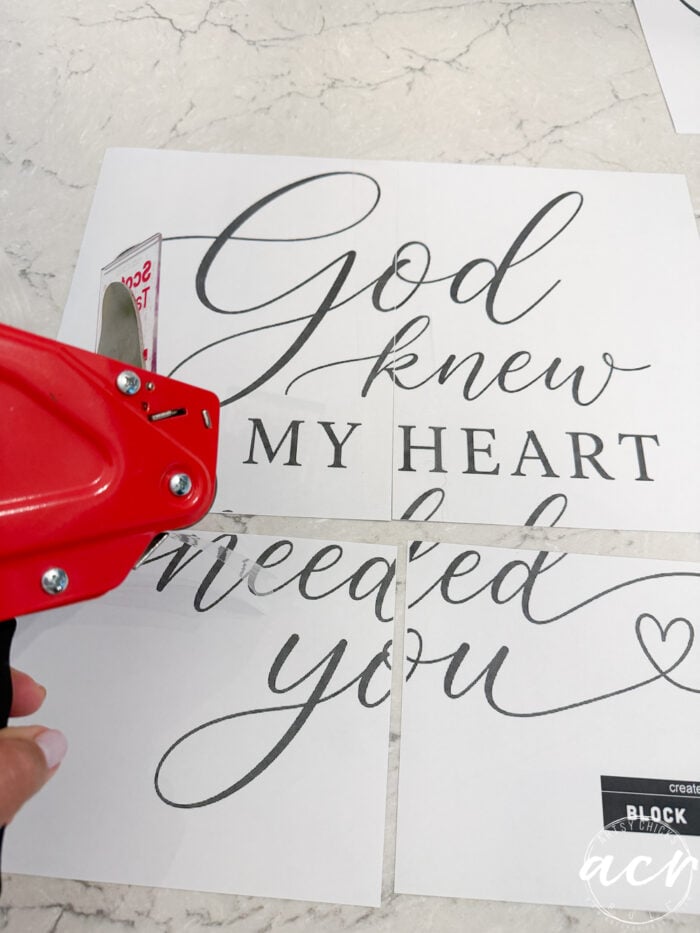
Then just tape them together to transfer the image.
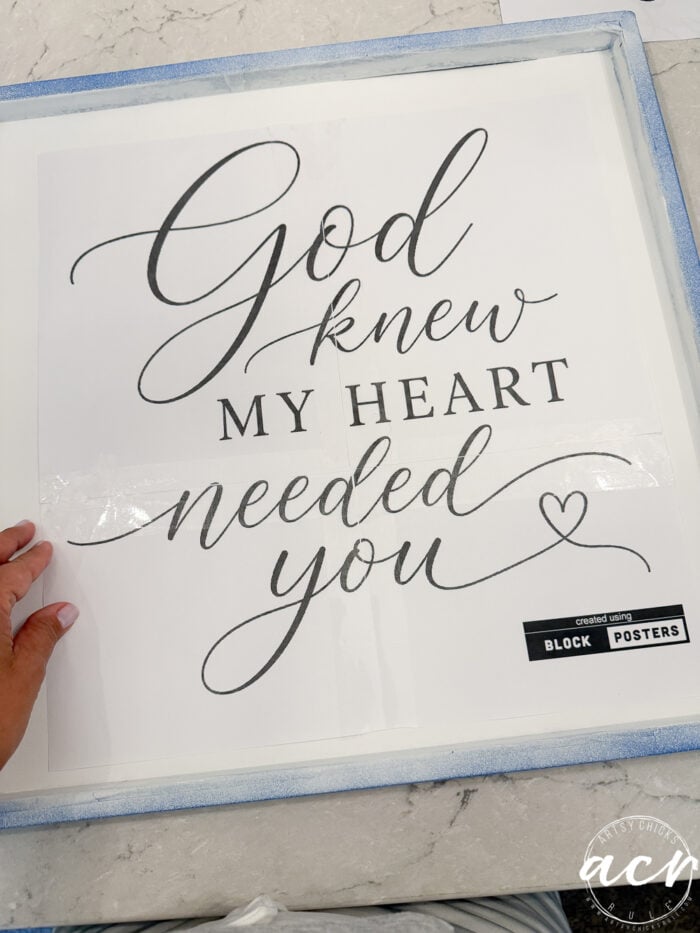
I used the transfer paper again for this one.
And gosh, I’ve had this paper for SO long! Look what was still in here, among others…
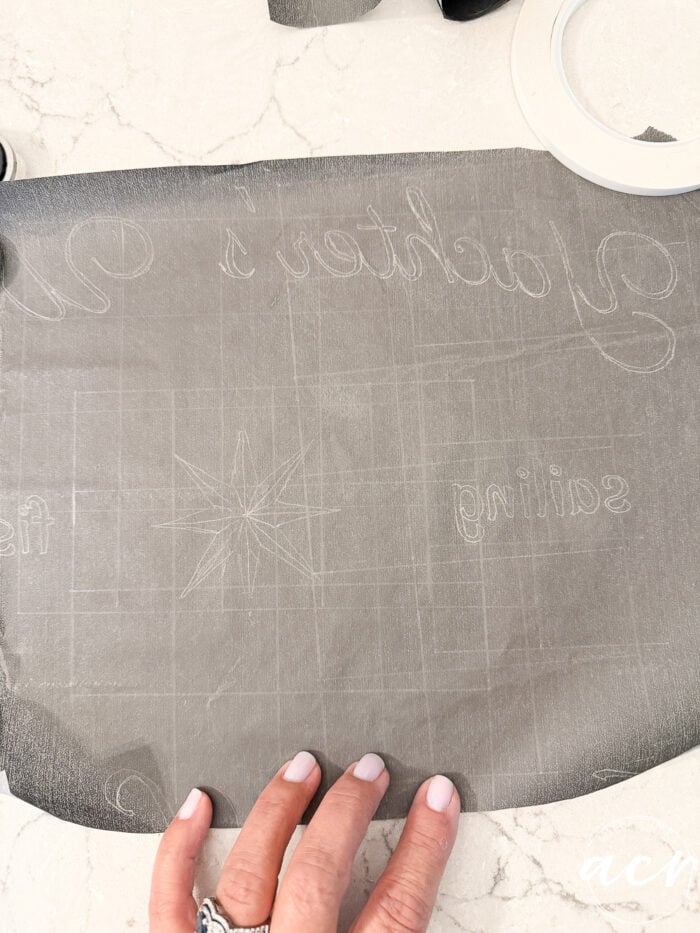
Can you see it??
It’s this project…
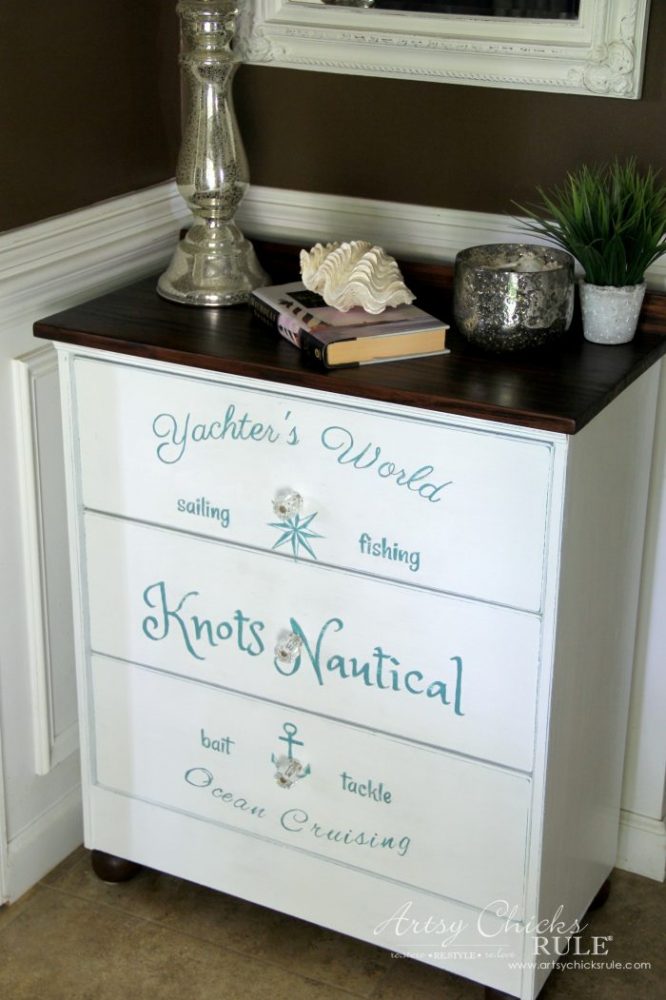
…from 2017. Wow.
But that project was inspired by this one…
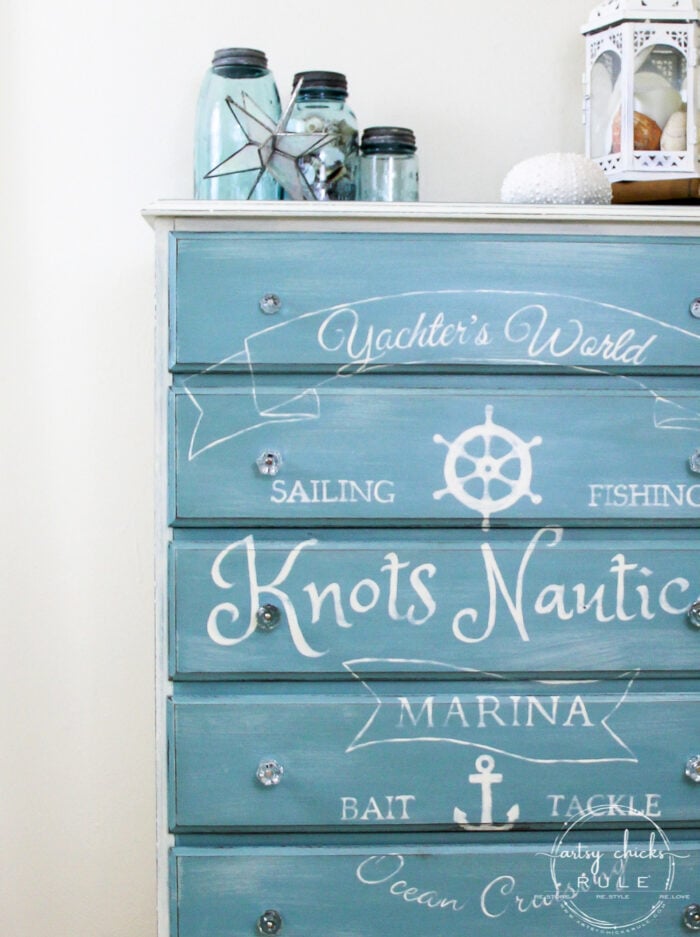
…from 2014!! Gosh, this one goes way back, huh??
And that’s our little trip down memory lane, lol.
But it just goes to show how great this transfer paper is. You can use it over and over.
Since I had so many smaller pieces, I used this double-sided tape I had to hold them in place.
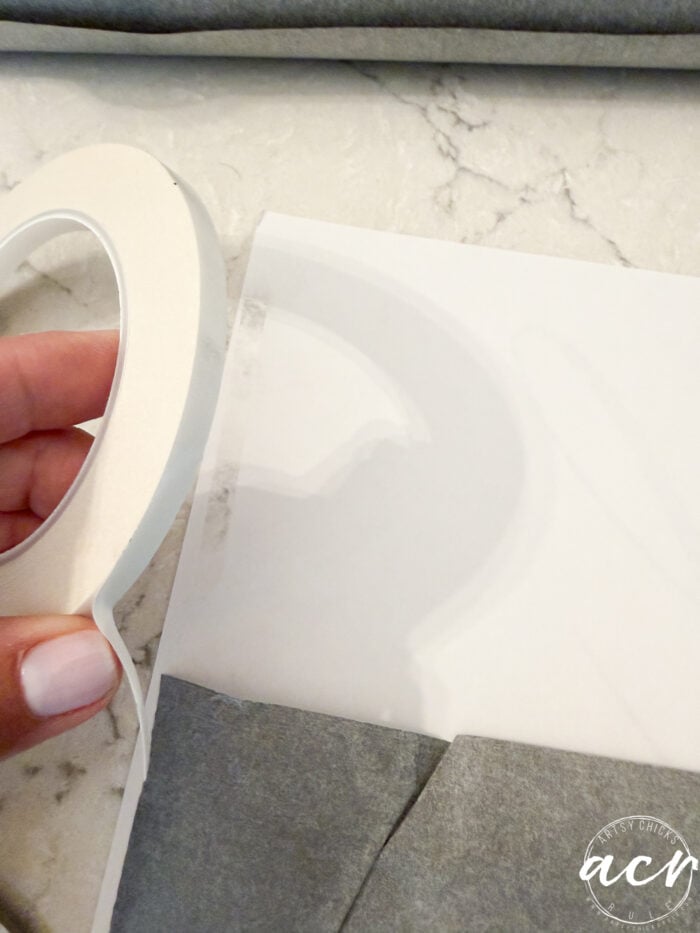
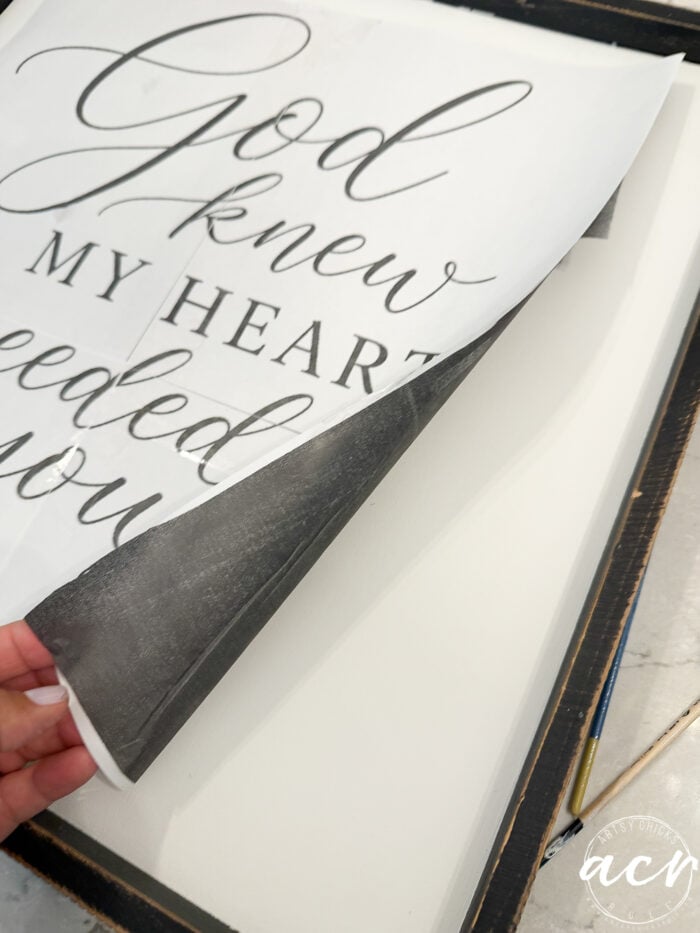
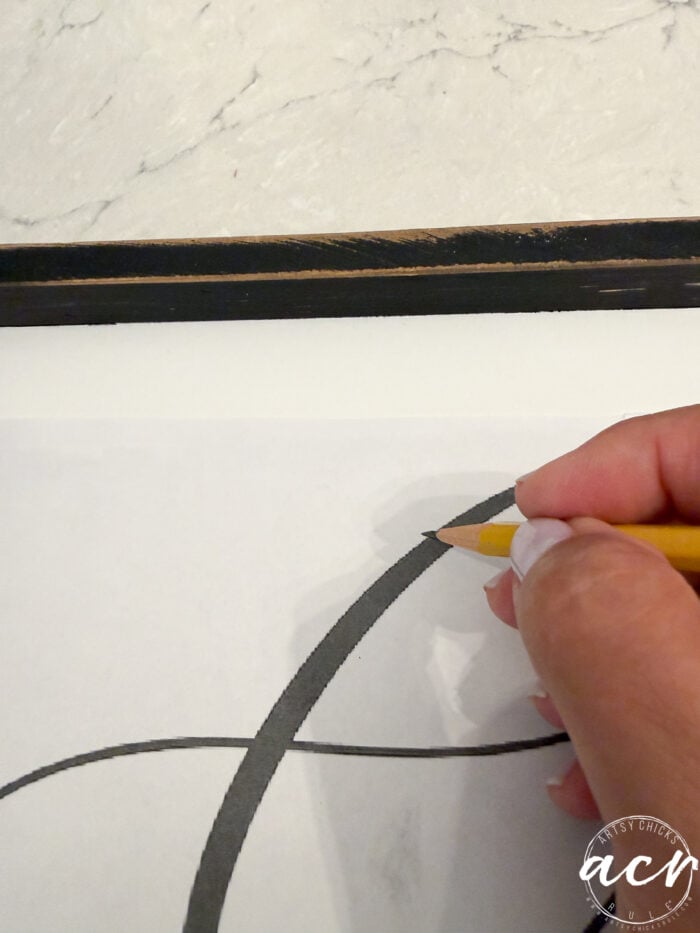
Then just use a sharp pencil to trace the letters to transfer the image…
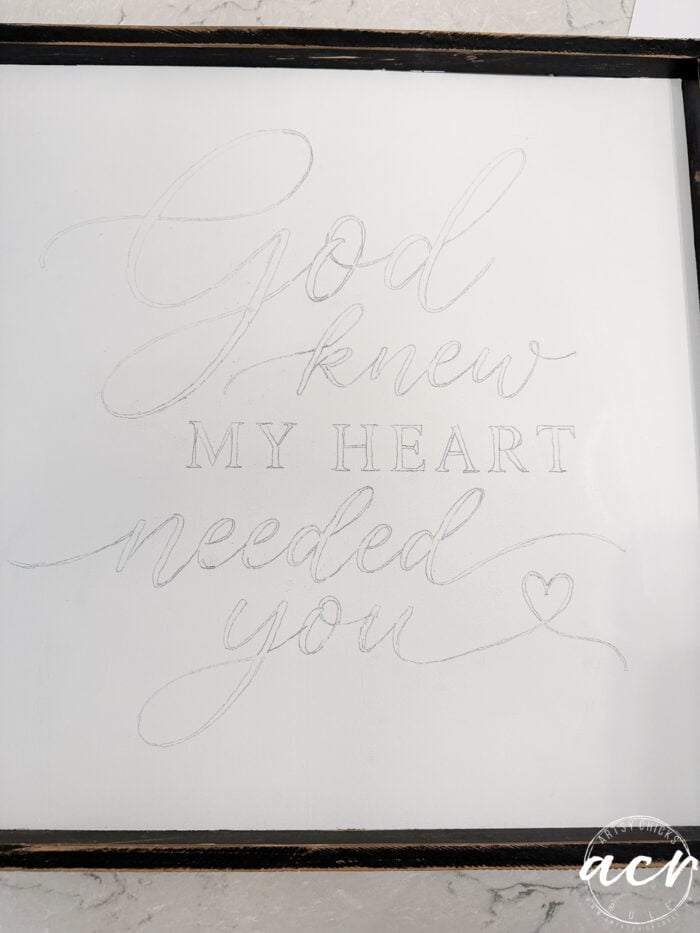
Now it’s just “painting in the lines”. Get some good artist’s brushes for this.
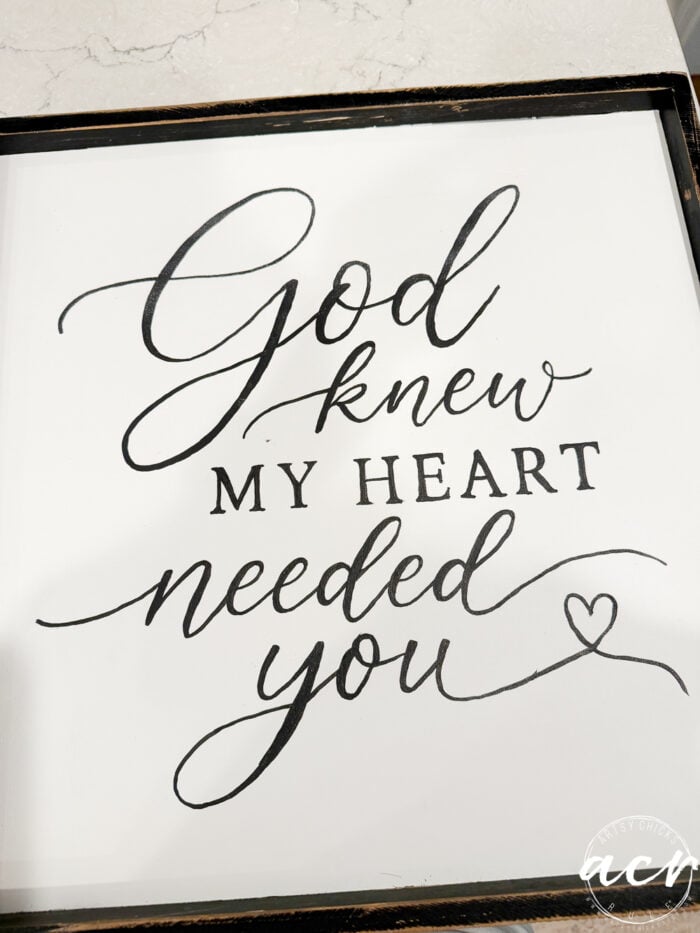
I almost always do a light sanding after I’m done. I like the softer look better.
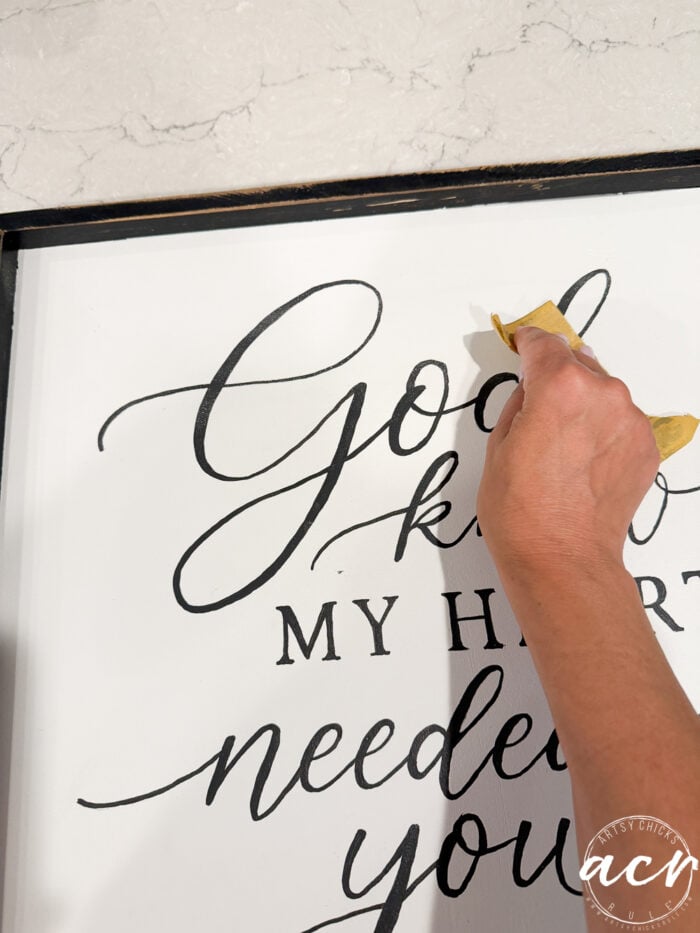
See?
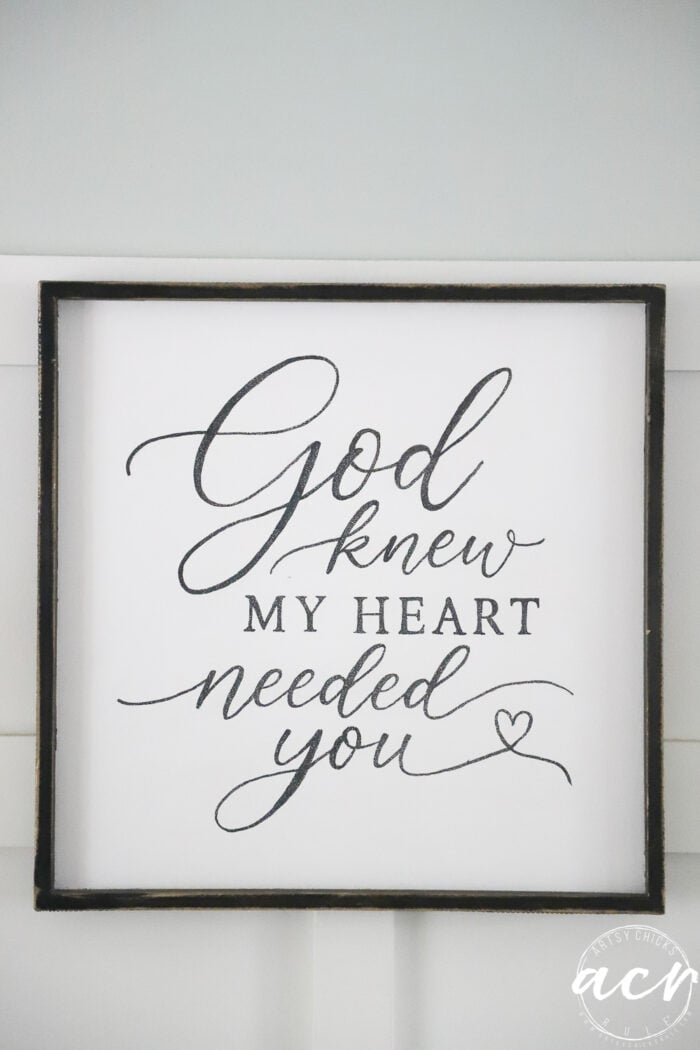
And isn’t that frame that it came with just perfect??
Such an easy project, but now with a completely new look.
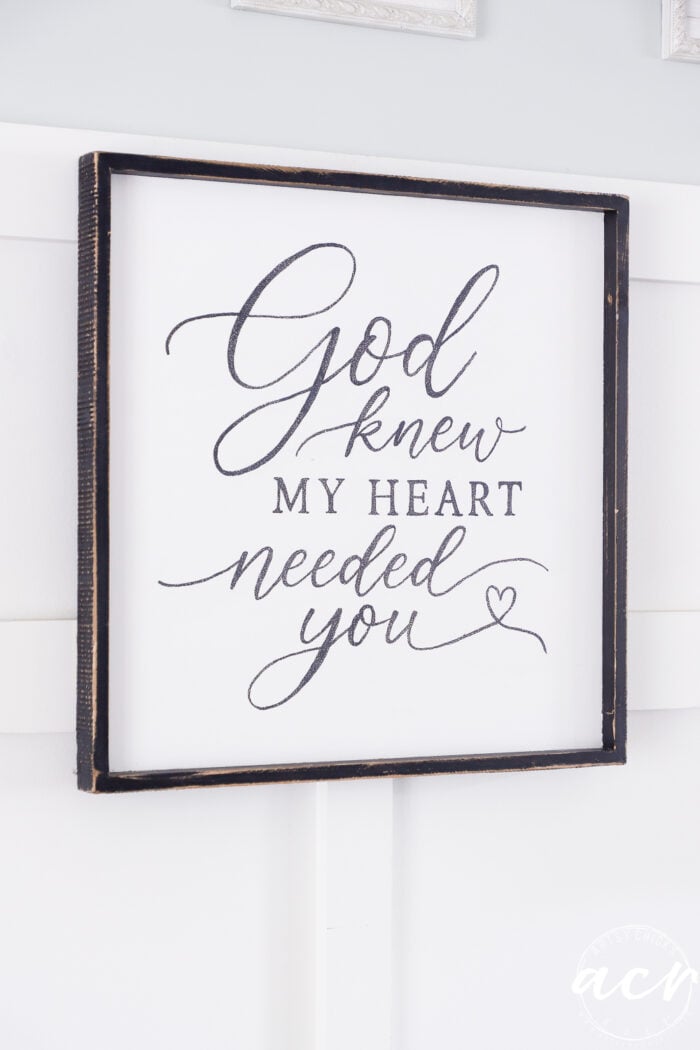
Wouldn’t this be perfect over your bed??
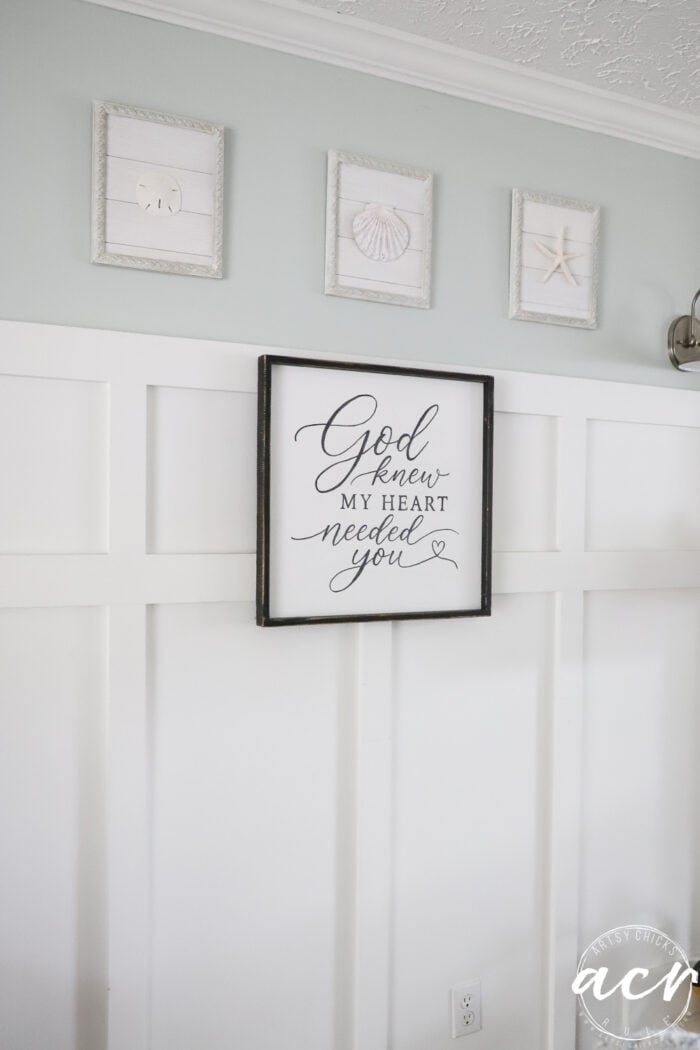
What a sweet reminder every day of that special loved one you share your life with.
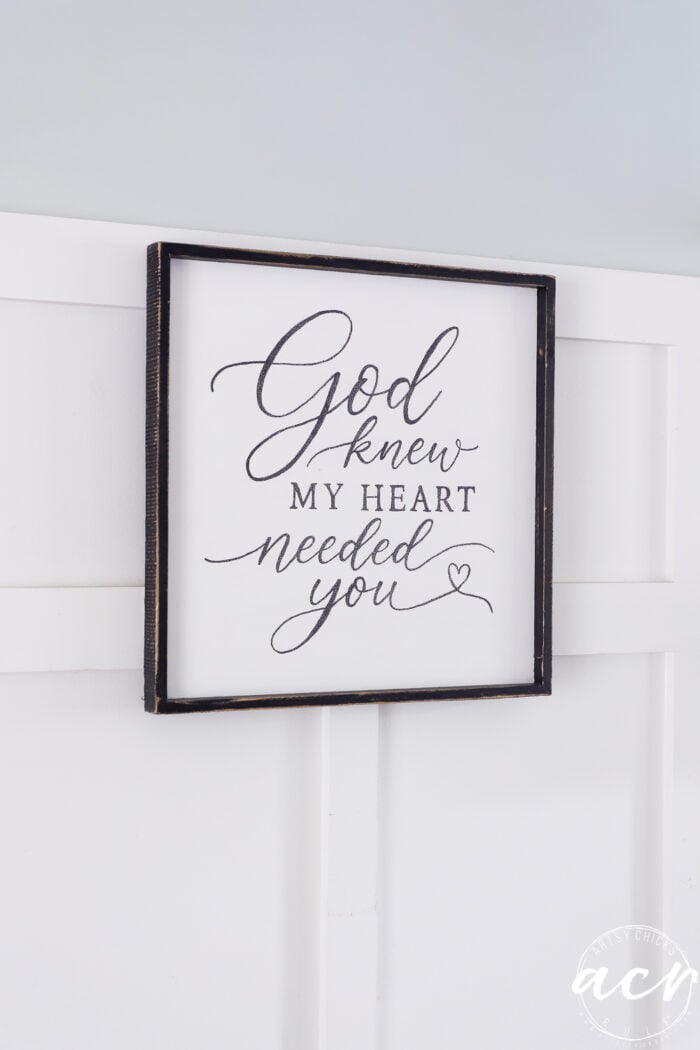
I just love it.
Hope you enjoyed this one!!
PIN it to save it!!
Have a blessed weekend, friends!!
xoxo
This is perfect and what an easy way to make a sign look so professional. We often need a little reminder of how much our loved ones mean to us. Have a good weekend.
Thanks, Kathy!! Yes, so true!! xo
So beautiful, Nancy!! Good work!
Thanks, Darlene!! xo
Oh that is positively awesome, Nancy. I love it, too.
Thanks, Michele!! It was fun to recreate! xo