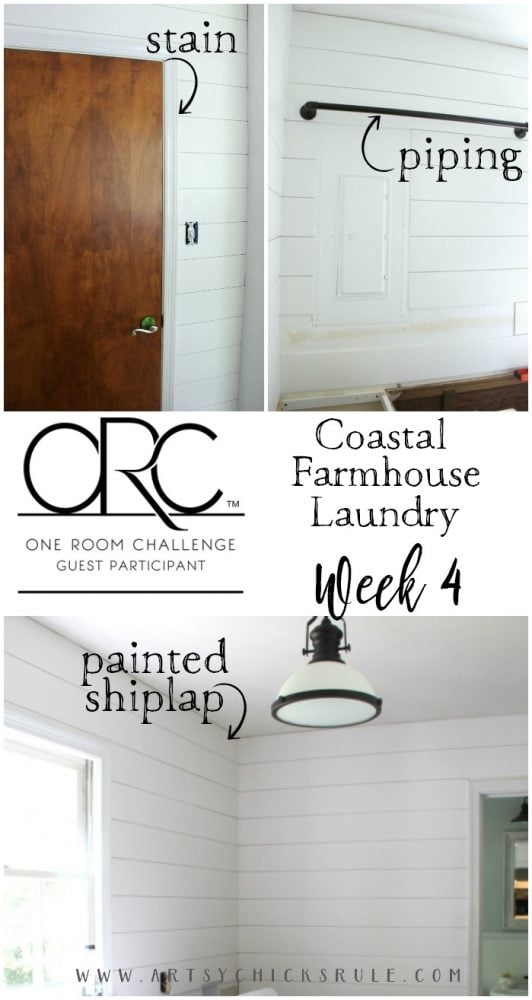
Coastal Farmhouse Laundry Progress – One Room Challenge Week 4
Hey Friends!
It’s time for another update on the One Room Challenge & the Coastal Farmhouse Laundry. :)
It’s Week 4 and time is short to get it completed.
We are trying hard to get everything done…but we’ll see! ;)
You can see Week 1, here and Week 2, here and Week 3, here.
We are still working on the shiplap. It’s mostly completed minus a a few pieces. (and some trim here and there)
That has been a job, y’all. I don’t think I want to see a piece of shiplap again for a long time!! ha!
Except for those pretty white boards already up in my laundry room, of course.
Anyway, let’s pick up where we left off on the farmhouse laundry last week…..

….this piece had a lot of cuts.
And here it is in place….

And here we are now…..
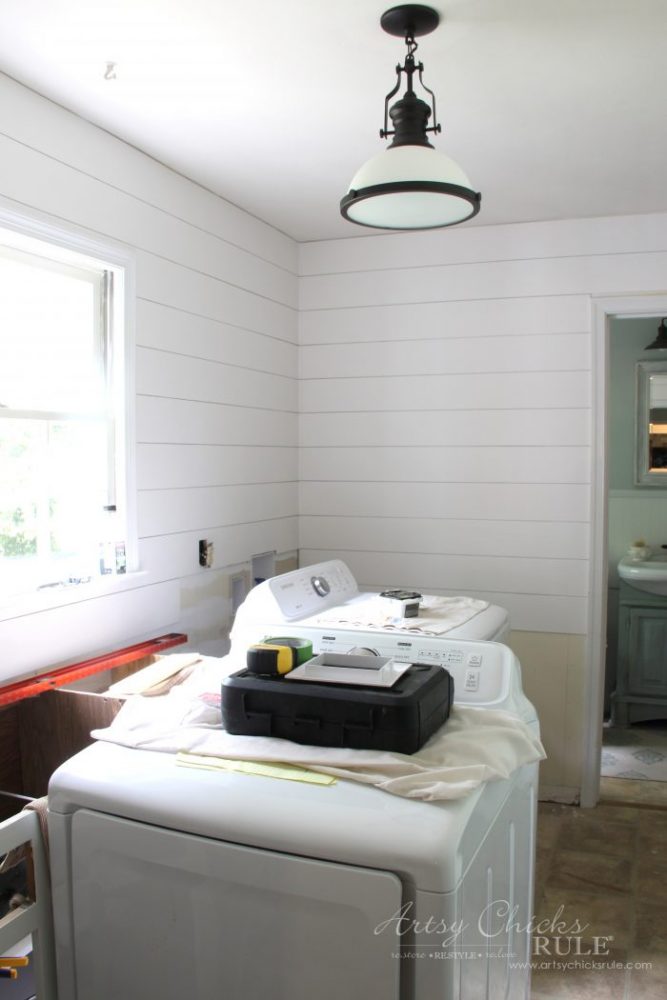
Yay! Painted and pretty.
A few more pieces behind the washer/dryer and on the far wall. And then DONE!
As always, I’ll try to include a few affiliate links to products I’ve used. See disclosure, here.
And remember this necessary eyesore?

Here’s what I decided to do with it…..
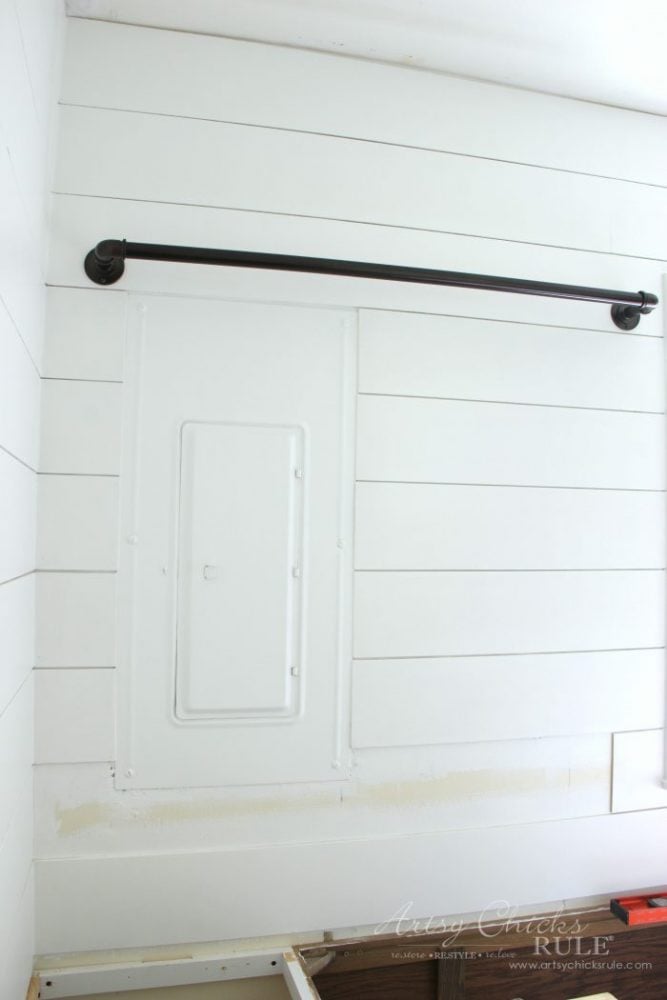
Fancy, huh? ;)
In the end, I just didn’t want to mess with trying to cover it.
We came up with several plans that would have worked okay but I’m totally happy with this.
It is a laundry room, after all.
That dandy little pipe thing on the wall is actually a curtain rod….and it was only $22!
I was so happy to come up with this idea. :)
Until I put it up and actually hung something on it…..
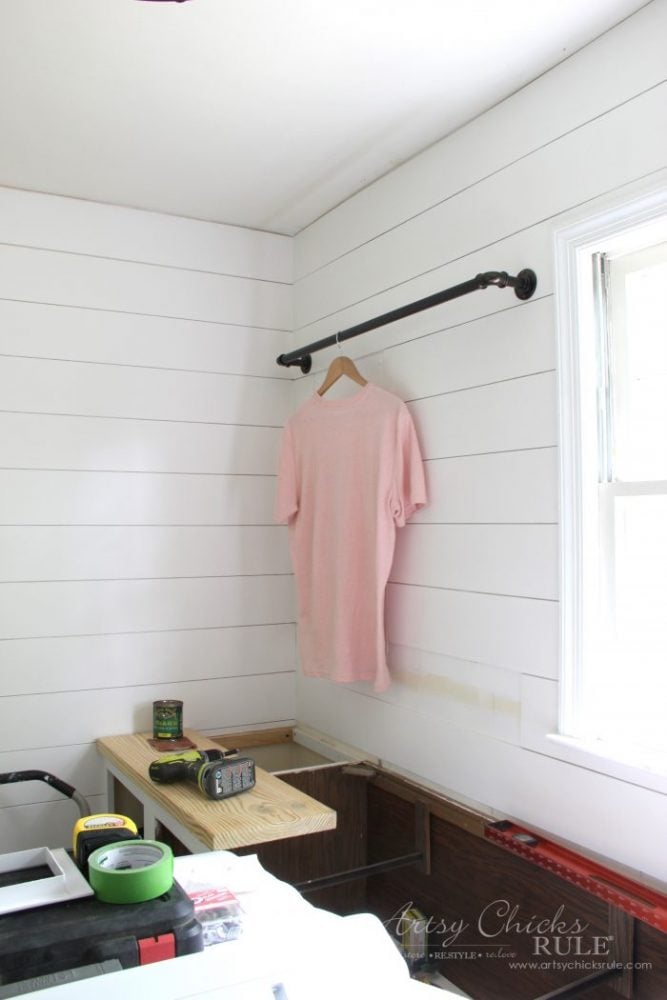
Hahaha!! Dingy me.
Um, that’s not going to work too well Nancy. ;)
I sent a photo to my hubby after I put it up (he was out of town on work) and said “yea, it was a good thought anyway”. haha
I never thought for a second about the depth of it when I found it.
Oh well, back to the drawing board.
And not too big of a deal. I already have something else worked out….and yes, it’s really going to work this time. ;)
Do you like how I strategically covered up that electrical panel with the shirt? ;)
Anyway, let’s move on to this…..
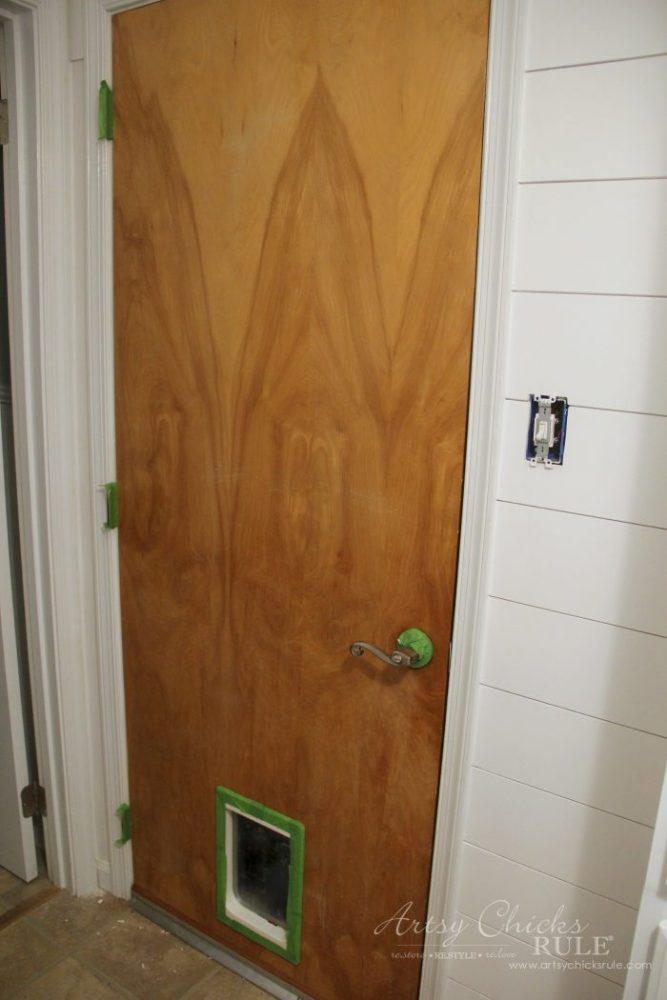
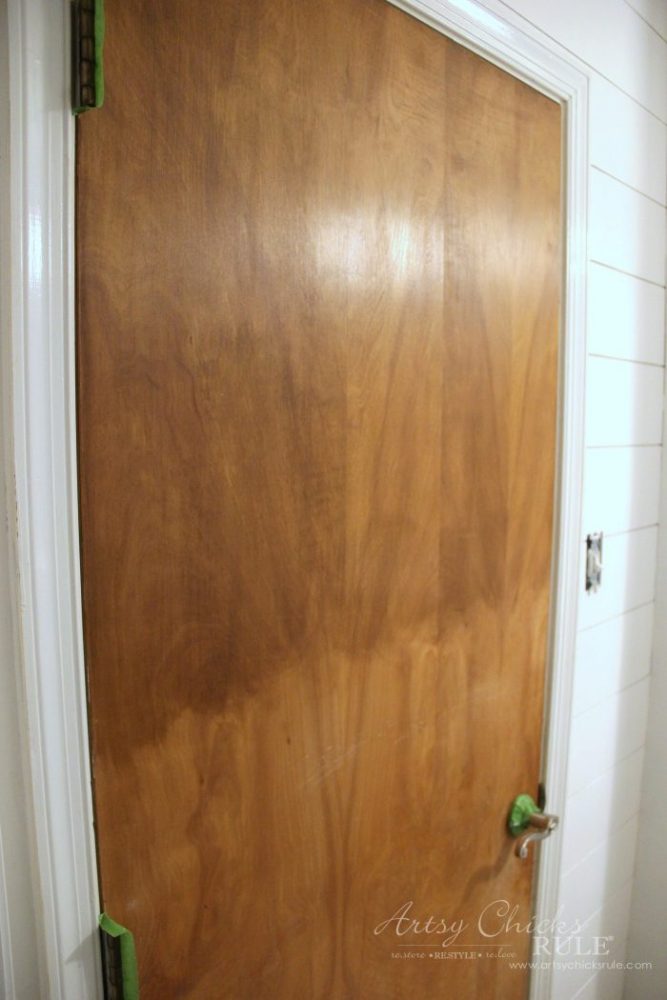
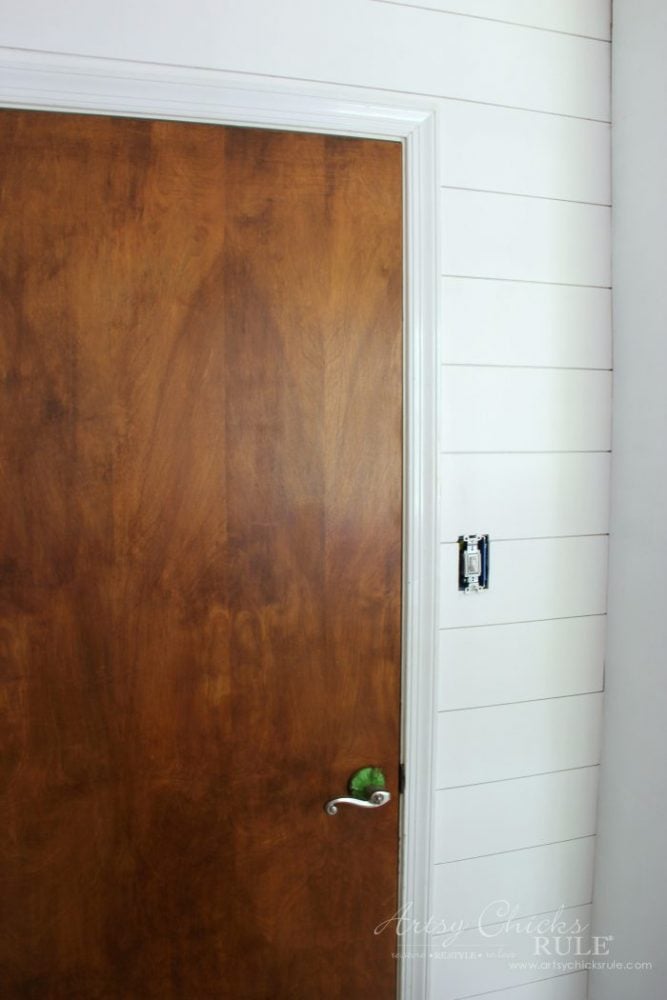
Remember this door from the earlier ORC posts?
It’s solid wood…and kind of an orangey wood. (and very 70’s)
Since it’s a nice solid, heavy door we didn’t really want to replace it.
Plus, we didn’t want to have to cut a kitty door in a brand new door either. ;)
So I thought I’d paint it white to blend in with the walls like I did with the electrical box.
But just as I was getting ready to paint that first stroke, it hit me. Why not just stain it darker….prettier?
So that’s exactly what I did.
I love contrast and the white would have just been too much in here.
There is already plenty of white.
I didn’t want it too dark so went with an Antique Walnut Get Stain.
Love the gel stain, it’s so easy.
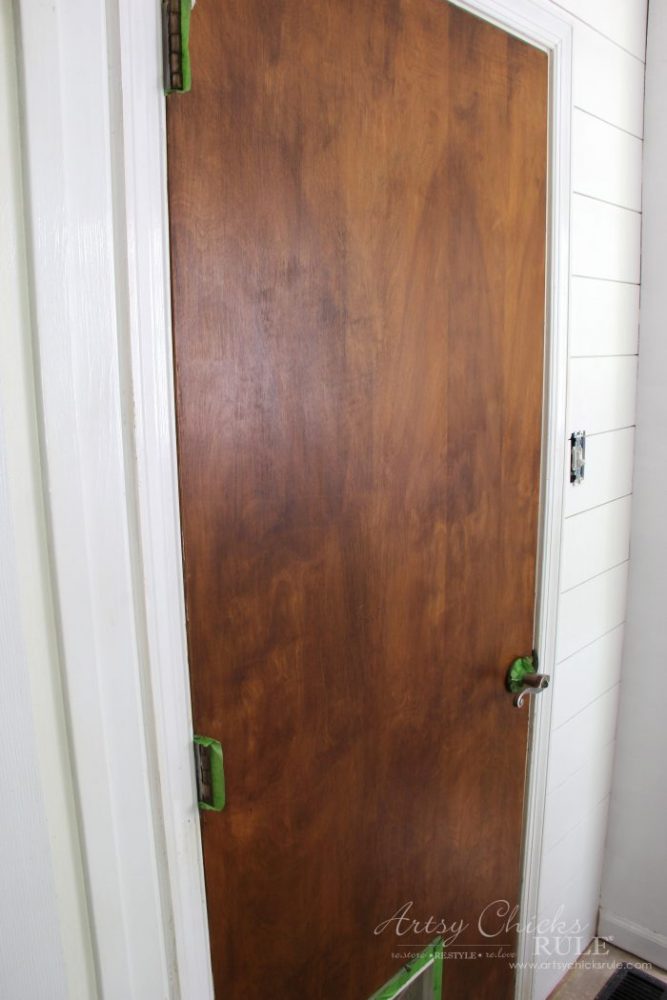
I’m about half way down the door here…..
And here is a better shot to show the difference it makes….
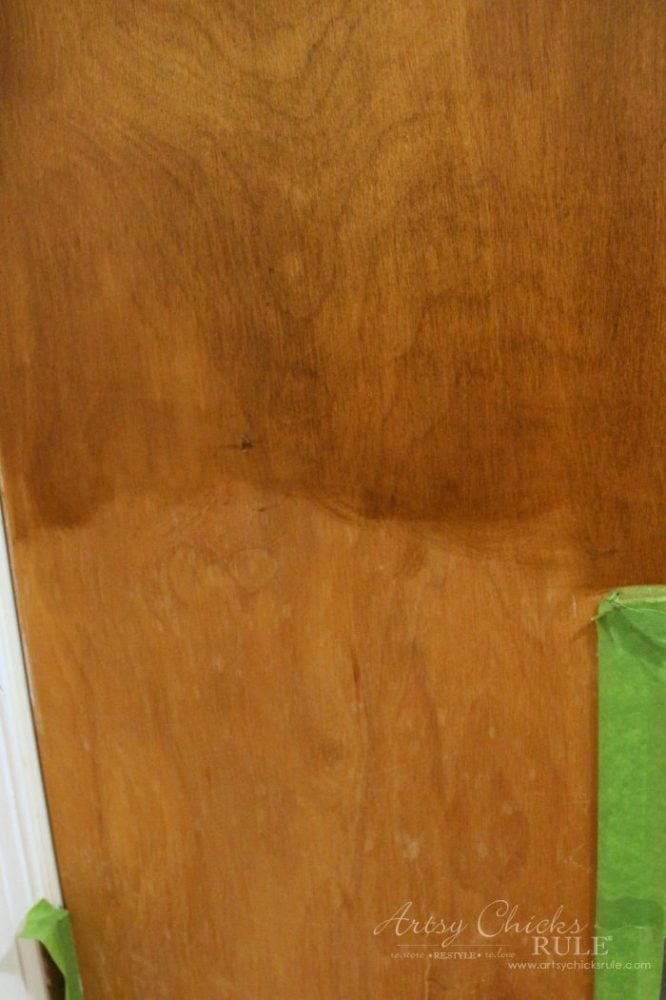
It really brought this old door to life!
I’m so glad I thought to do this. I just love natural wood and am loving the contrast between it and all the white in here.
And here it is, 2 coats…..
SO MUCH BETTER.
Don’t you think so too?
Loving it!
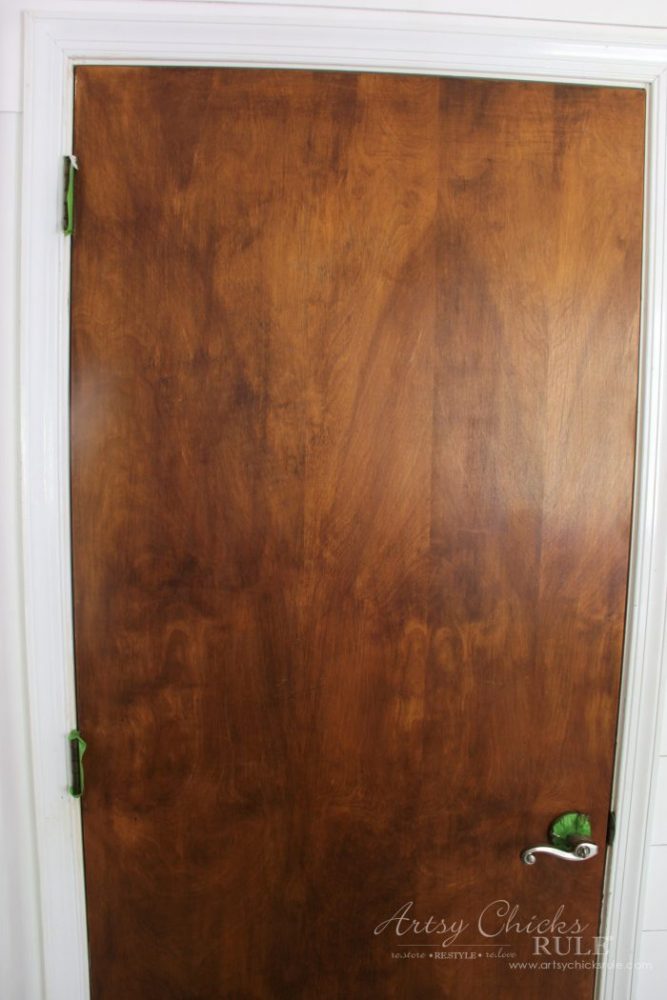
I still need to give it a coat or 2 of poly. I think I’m going to use this top coat.
And one more…along with that pretty shiplap.
We still need to put a small piece of trim there by the cabinet.
Isn’t my brand “new” door so pretty? :)
And one last photo of our tight work space.
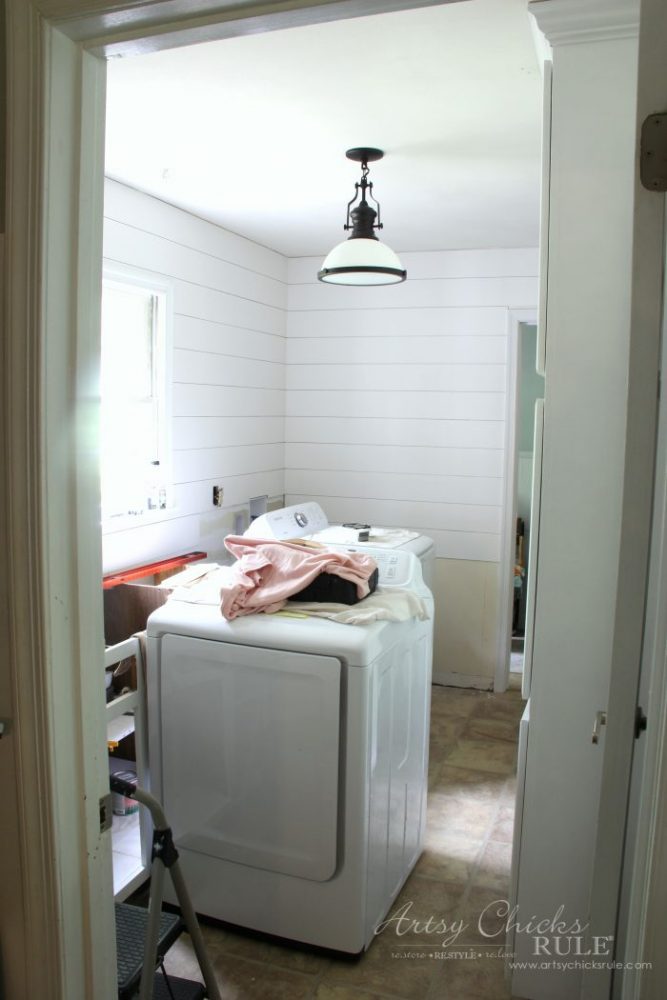
We were going to move the washer/dryer out of the room but too much trouble really.
So we are working around them. :)
I’ll be SO glad to get them back in place. Hopefully this weekend after we do the floors.
(of which we still haven’t pinned down just yet)
My husband took Friday off so we are going to be weekend warriors this weekend. :)
I hope you have a wonderful weekend! Go have some fun for me. :)
The weather is calling for in the 90’s on Saturday here.
That’s just crazy but I’ll take it over cold any day!
Don’t forget to hop over and see all the other One Room Challenges going on.
And PIN this coastal farmhouse laundry progress, week 4, for later!
I’ll see you back here next week with that decadent Mother’s Day gift I mentioned in Tuesday’s post. (Mother’s Day Gift Ideas, see it, here)
And the last progress report on Thursday before reveal day. Eek!! We have our work cut out for us.
Follow along on Instagram as I’ll be posting sneak peek stories along the way this weekend. :) (hopefully flooring and shelves)
Updated to add: See other posts in this challenge here.
Week 1 Style Plans
Week 2 Painting Cabinets
Week 3 Shiplap Progress and New Lighting
Week 4 You are here!
Week 5 Vinyl Plank Flooring
Week 6 The Big Reveal!!
xoxo


")


")
")
")

Your laundry room is really starting to look great, and I think that staining the door darker was a stroke of genius!
Thanks Julie! :) I’m so glad it hit me before I started painting it!!
The room is coming together beautifully- love all of the shiplap and the door stain. Can’t wait to see your reveal in two weeks!
Thanks Ashley! I’m hoping we get finished in time!! ;)
I love the painted shiplap! It’s turning out beautifully. While the pipe may not be the right depth, it’s certainly pretty to look at it :)
Thanks so much Brittany! I think so too… I hate to take it down. We’ll see! :)
OMG Your door is Gorgeous and makes for a very good contrast . Sometimes there is a such a thing as having too much white in a room, especially for a small room. Giving some sort of contrast like that makes the whole room. Very good choice.
With your beautiful door; in my mind; I see a nice wood slat flooring.
Have a wonderful and enjoyable weekend.
Thanks Colleen! I am so pleased with how it turned out. (and pleased with myself that I thought it before I painted! ;) ) I totally agree about too much white. I love that nice dark contrast. The flooring I had chosen is a little too gray now so I’m still on the lookout for something a bit “washed” looking, wood look, but a bit warmer. I think I may have found the perfect one but it is special order, 7-10 days, which won’t give us enough time to get it in before the reveal. Not sure what we will do just yet! Have a great weekend too! xoxo
My fuse box is in my kitchen (ugh!). I found a beautiful picture with my colors at the local thrift shop for $6.00 (had the original price on the back – $65.00) and hung it over the box. It fits exactly, perfectly hiding that ugly thing.
I love how creative you are and look forward to your postings.
Oh, I love that idea Mary! So smart. :) (and it was thrifty, even better!) Thank you for the sweet words. I hope you have a wonderful weekend! xoxo
This room is going to be gorgeous! I’m considering doing something similar to my laundry room with the curtain rod! I love how the door turned out too. The stain color is perfect!
Thanks Amanda! I hope so! :) xo
Hi Nancy. I always love reading your blog and seeing your latest projects! Thanks so much posting them.
I really love the direction you’ve taken with your ORC laundry room. The stain on the wood door adds warmth. I think it would have been a little sterile if it were painted white. Looks amazing! I like both of your flooring samples, too. I think either would look great with your laundry room, so I would suggest whichever ties best with adjacent flooring. Can’t wait to see it finished!
Thanks you so much Carolyn! Very kind of you! And yes, I am in total agreement with you about the white and being too sterile. I’m still struggling a bit on the flooring. I am afraid those two may be a bit too gray. I think I may have found another that is a little lighter but has more warmth in the colors. (which would look better with the door and the flooring adjacent). But…it is special order, 7-10 days, which doesn’t really leave enough time for the reveal. I may have to reveal and then reveal again once the flooring is in! ;) We’ll see how it goes! xoxo
What a difference shiplap makes, it’s beautiful! I love that curtain rod too!
Thank you Roxanne! I know, doesn’t it? It’s crazy how different this room looks. And with the upper cabinets gone it’s so open and airy. :)
Nancy, I am LOVING the shiplap! Its so worth all the hard work you guys put into it. And I love that you chose to stain the door, great contrast against the white walls. Looking forward to seeing more!
Thanks Deb! :) I’m thrilled that I didn’t paint the door too! (and thrilled I thought of staining before I put that first slop of paint on! ;) )xo
Loving all the changes! That door might be my favorite thing… Good thing you were smart to think of staining it instead! And that pipe still totally works if you just have a few things to hang on it. I wouldn’t stress over it! Looking good, girl! XOXO
Thanks Christy! Oh YAY!! Maybe it’ll stay! I do like it there. I’m thinking it might stay through the reveal anyway, we’ll see! xoxo
Love the door! I’ve been trying to convince my sister to use gel stain on her kitchen cabinets. Maybe I’ll send her this post to convince her.
Thanks so much! :) Yes, the gel stain makes it so easy.
Darn, I guess I must be getting dense! I look at that picture of your solution to cover your fuse box, and cannot see the problem. The box has disappeared, there is a cute little shirt bringing some needed accent color to the room, and that color and or pattern can easily be changed out, and the problem with it is……..?? If it is the depth, would a swivel top hanger solve the problem? I am really not enjoying getting old!
Hi Linda! Nope, not dense at all. The fuse box it all good. I was just thinking the rod that I hung is not really deep enough to hold a hanger side to side. BUT I won’t be hanging much on there at a time so this one just may work. I haven’t fully decided if I will leave it or replace it with something a bit deeper. :) And you and me both!!! ;) xo
Hi Nancy, Love how your laundry room is shaping up. Since we all have to do laundry you may as well have a beautiful space to do it in :) I like the clothing rod idea you have! Seems to me the only issue is the depth so here’s my two cents; why not go to the hardware store and buy some piping, elbow joins and mounting brackets and make your own. That way you could make it the depth you need and I don’t think it would cost very much. Just a thought :)
Thanks Annie! I’m so ready to get it done (and get my house back in order)! :) And I like the way you think, I so agree! Yep, the depth is the problem and what you suggested is one of the thoughts I had too! That or either adding a shelf and then turning this rod and placing it up towards the edge of the underside of the board. That would solve the depth issue, still be able to use the rod plus have another shelf to store things. (or put pretty decor things ;) ) xo
Great idea staining that wood door! My fixer upper is filled to the brim with that 70s wood I like to call “orange.” :/
Thanks Becky! I’m so happy with it! :) And yep, every single door in this house was that flat panel orange. We’ve replaced them all except this garage one (this one’s solid, the interior ones were hollow)
I LOVE the stained door! Brilliant idea you had! And I can’t wait to see what you have come up with to cover the breaker box. You are so creative!
However, the creme de la creme is that gorgeous shiplap! I love it! Anxious to see it all finished! xo
Hey Karen! Thanks!! :) I’m loving it! And the breaker box is all set. Paint is all it’s getting! We had a few other ideas but in the end, paint won! ;) xo
the shiplap looks great! it’s really coming along!
Thank you Lianna! :)
A cute sign or piece of art would cover the electrical box. Just a thought. Everything looks great!
Thank you Lynn! :)
Hang the rod from the ceiling instead!!!
Hi Jessica, I think I’m going to hang another shelf there and hand it from that. :)
Hang the pipe from the ceiling. It will work great then.
Hi Donna, I’ve decided to add another shelf on the side and hang it from that. :) I think!
Only change I would recommend is not putting the shiplap over any of the exposed metal from the electrical panel. I noticed some of the pieces of your shiplap extended over the edges of the metal. If an electrician ever needs to pull that panel off, which they frequently do if a breaker goes bad, you’ll have a problem.
Otherwise, it looks lovely!
Oh yes, we have already run into that! There were only a few boards that slightly overlapped so thankfully, it wasn’t too much of a big deal to remove the panel cover. Boards are all under now. A little paint touch-up and caulk and we are good to go again! :) And thank you!!