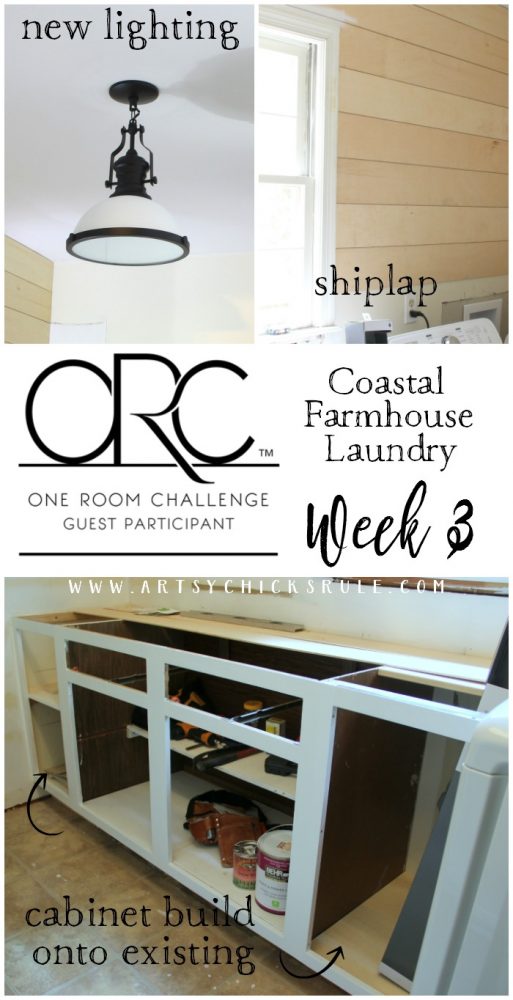
Shiplap Progress and New Lighting (One Room Challenge Week 3)
Oh you guys, I don’t have a lot to show this week because we didn’t get to work on things as much as we’d like to have.
Easter weekend was busy and we were on the go-go-go!
But we did get a little bit done so I’ll share that. :)
I’ll also share any affiliate links of products, etc, so you can find/see the exact product I used. See disclosure here.
If you missed my earlier posts on the One Room Challenge, you can catch them here:
Week 1 – Style board with plan and products
Week 2 – Painted Wall Cabinets

Alright here’s our shiplap progress (and other progress) for this week…..
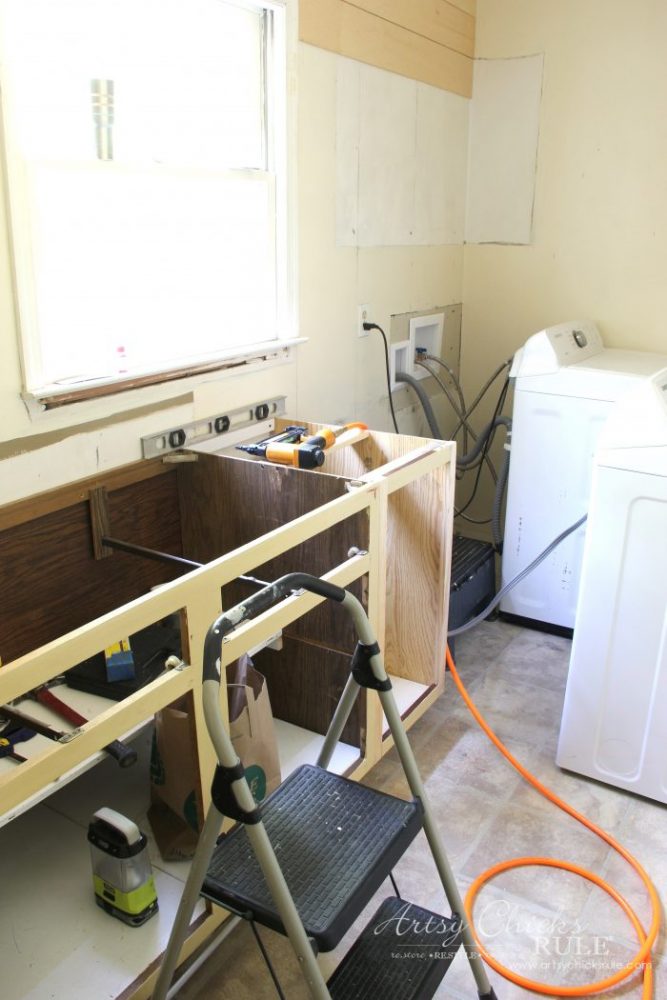
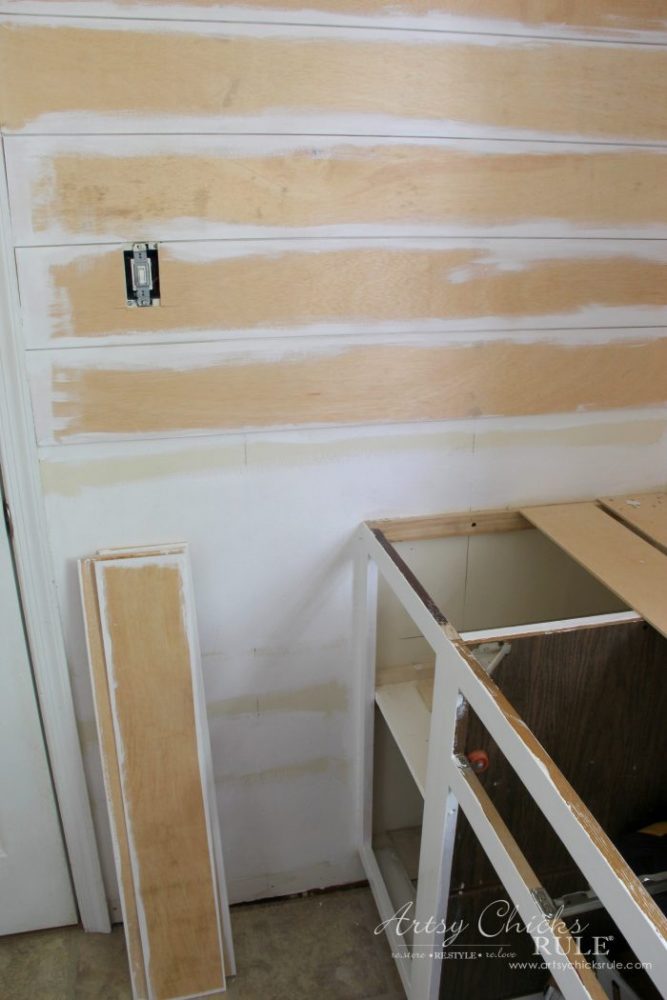
My husband finished up adding onto the existing cabinet.
So just to recap, the cabinet in the middle was there but there was wasted space on each side of it.
We built a new cabinet on each side where there had only been empty, unused space.
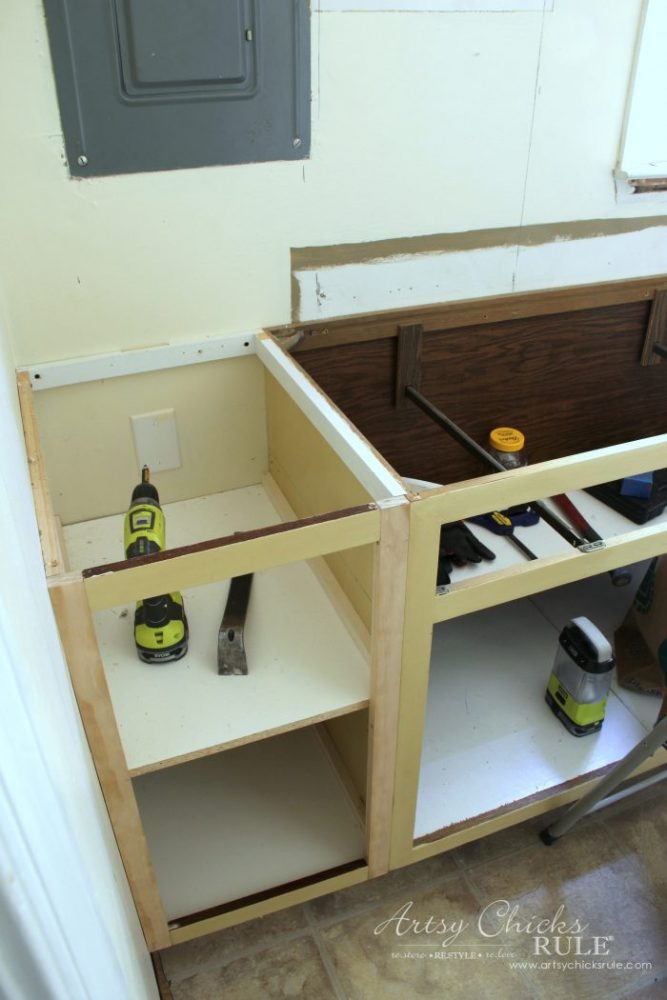
He reused some of the wood from the old cabinets we took down from the wall.
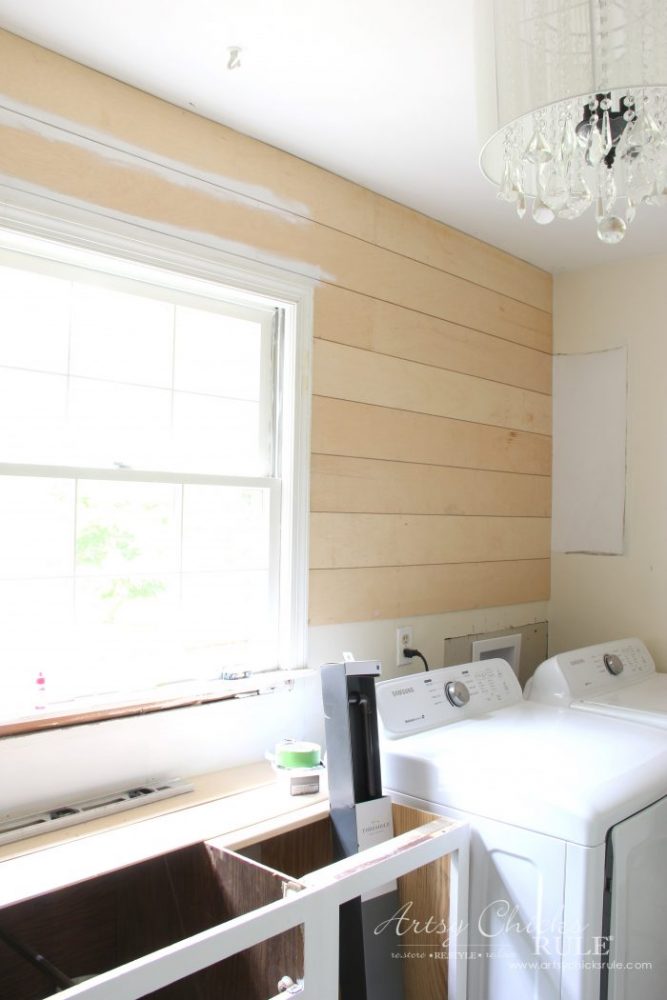
And we started adding the shiplap….yay!
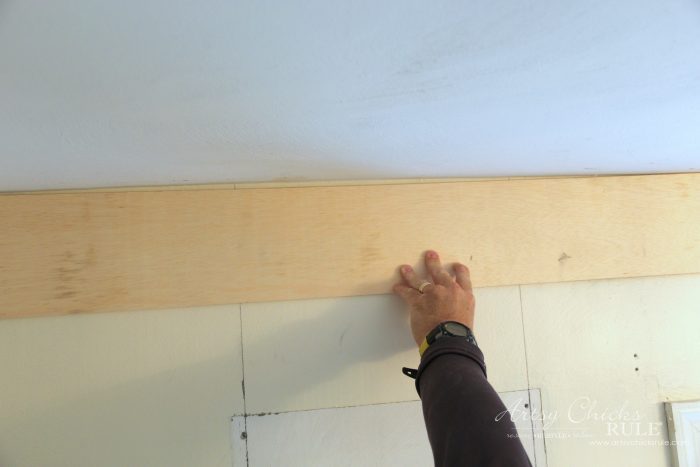
Whomp, whomp, whomppp. This is what you get in 40 year old homes. ;)
I mean, how crooked is that ceiling. Oh my gosh.
Anyway, more shiplap progress….
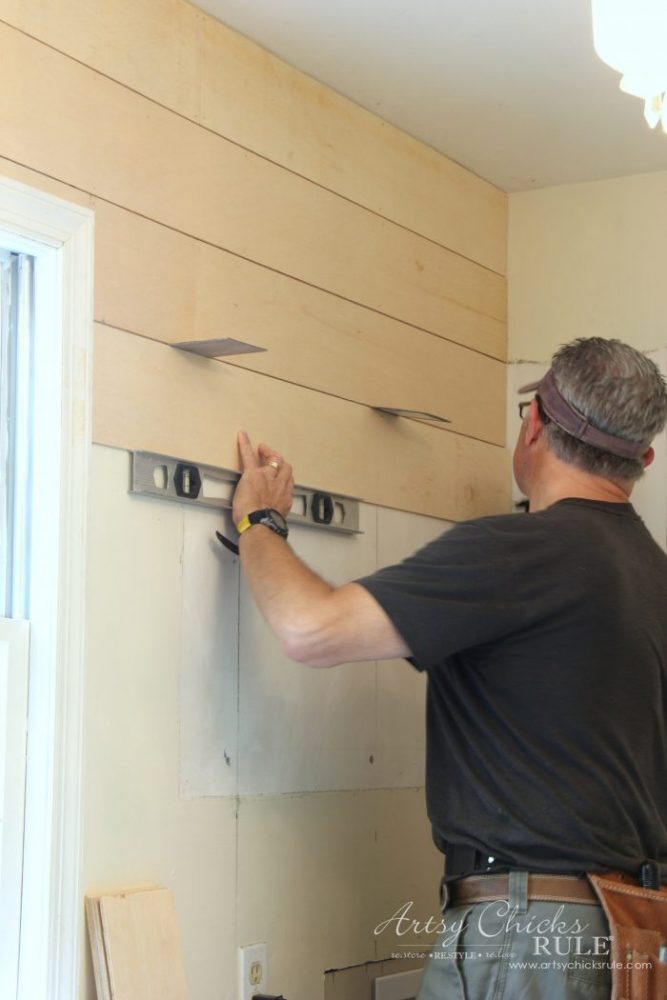
We actually used 2 of the flooring samples as our “spacers” because we are fancy. ;)
They were just the right size and a little easier to deal with than nickels and other things I’ve read about.
(I’ll have a full tutorial on this and what we used, etc, at a later date)
Once you get going on this, it goes pretty fast.
Sort of. :)
But painting in between those boards?
Yeah, not so much.
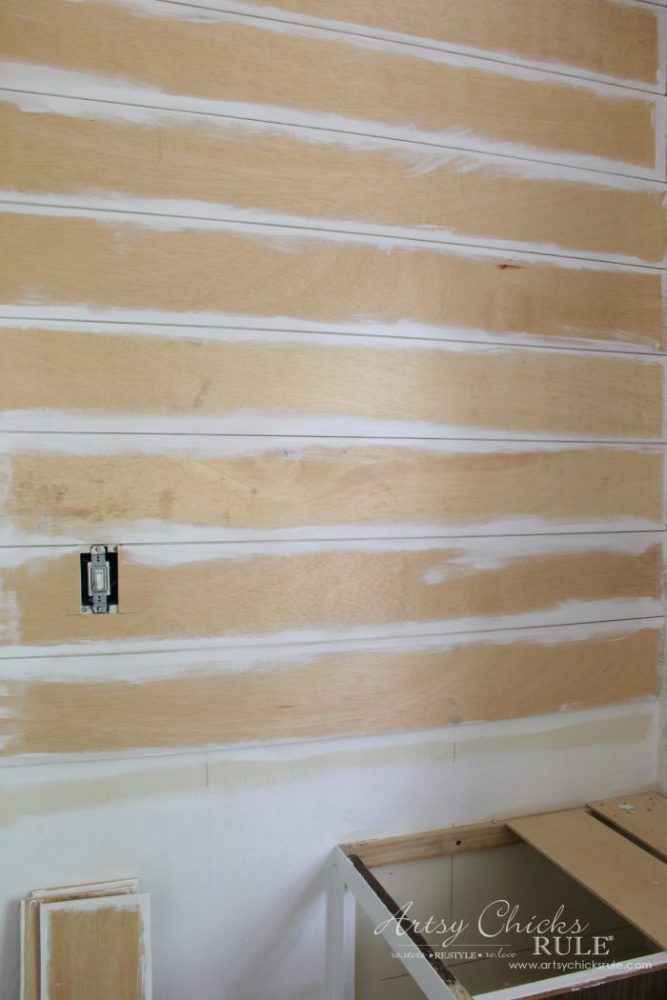
I had considered spraying them before they went up but decided against that.
I had also considered painting the edges before they went up.
But decided against it thinking it would be fine.
Mistake.
It was fine but it was a pain in the you know what!
Not a job for the weary, I tell ya.
So, as you can see in the bottom of the photo, I’ve started painting them before the rest go up! ;)
This is the shiplap progress on the wall behind the laundry room door. (that I painted after it was up…me no likey that job, and I love to paint!)
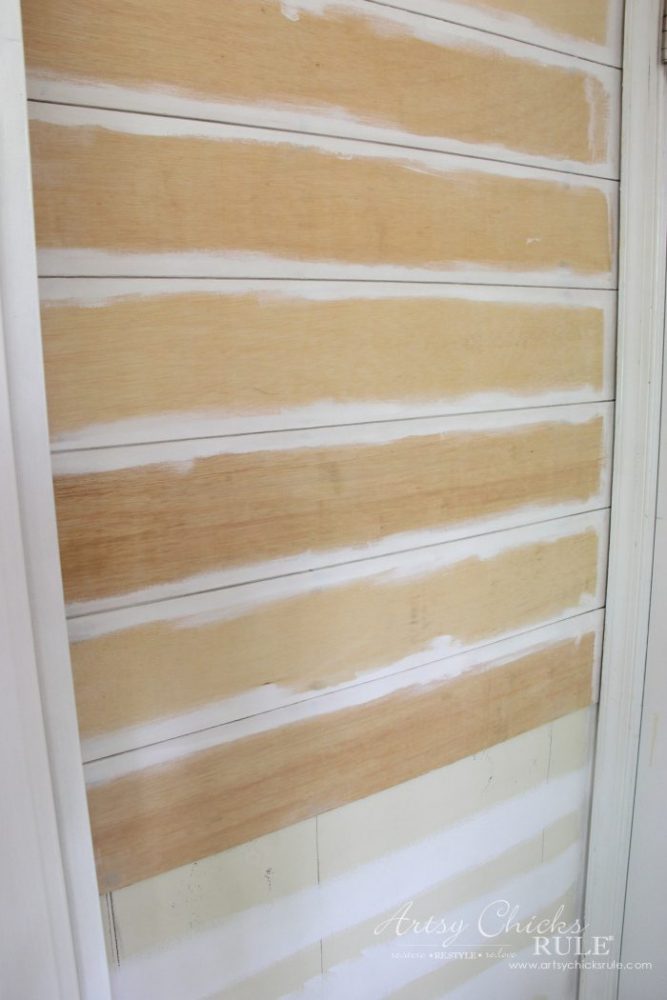
So, all of you soon to be shiplap diy’ers out there, learn a lesson from me…..paint the edges FIRST.
Save yourself some frustration and time and just listen to me on that! :)
You can see I also decided to paint the wall where the seams will be.
And a recap, our paint color is Nano White by Behr.
I didn’t think that creamy color already on the wall would be that big of a deal but it kind of is.
So now we can just pop these on up, I can fill the nail holes and paint …. and done!
So much easier than standing there trying feverishly to get paint in that tiny little seam.
You can see I have a bit of that seam painting still to do yet. Urgh.
But after that it will be smooth sailing! :)
And you might have noticed in the last few photos, I painted the base cabinet.
A recap there, I used General Finishes Snow White and my fave Top Coat.
It’s all sealed and ready to go.
I didn’t want to put the doors on just yet since this is a major work space.
Plus, as you can see, the inside of the cabinets are our “drop all” space right now too.


The other new cabinet. (and those newly painted shiplap boards ready to go up! ;) )
So that’s it, this week’s shiplap progress.
Oh, wait, there is one more thing. :)
How about some new lighting?
A really cool, industrial/farmhouse/coastal cottage light fixture…..
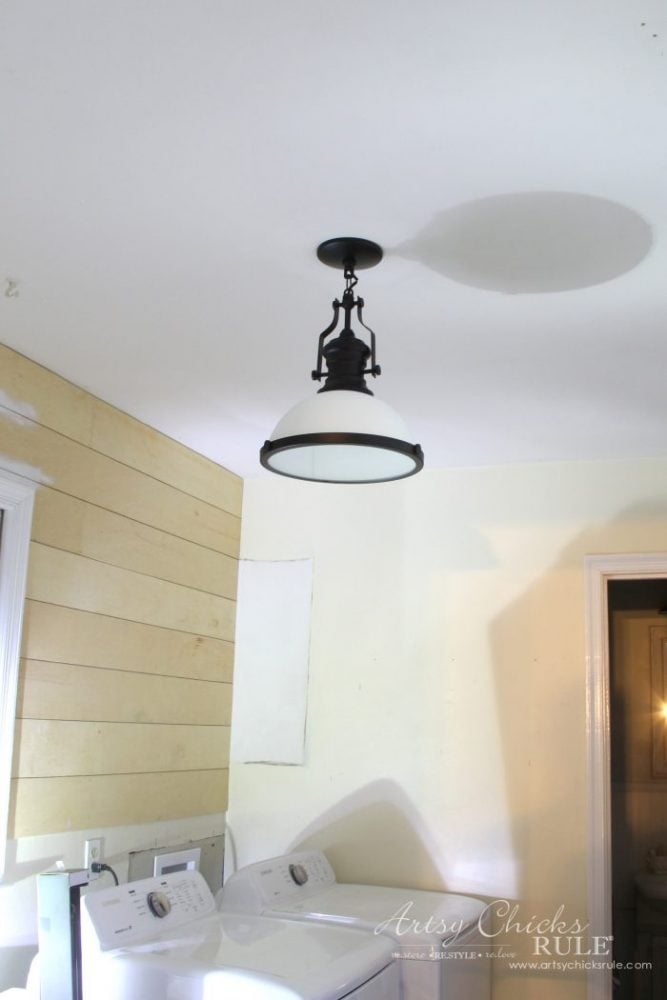
… I love it!
And it was pitch dark outside once we got finished with this one tonight.
So, no day photos til next week!
If you remember from Week 1’s post, this was a deal at $31 on clearance.
BUT, it was a pendant style light and had a long metal bar which would have been much too long here.
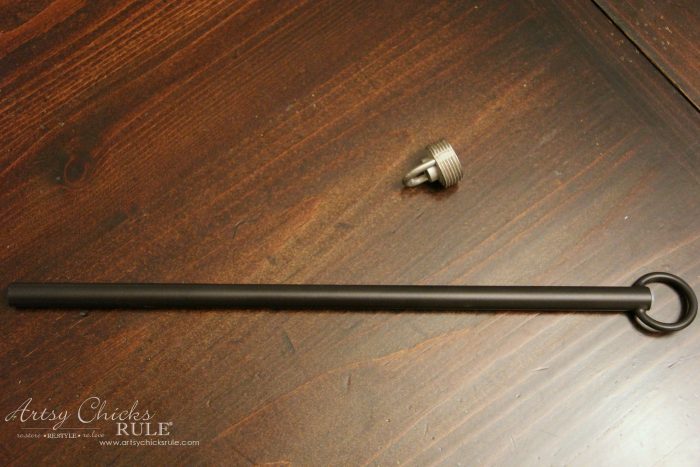
My husband pulled the shorter metal piece off of an old light we still had in the garage to make it work.
I sprayed it to match and done!
And here it is in action. :)
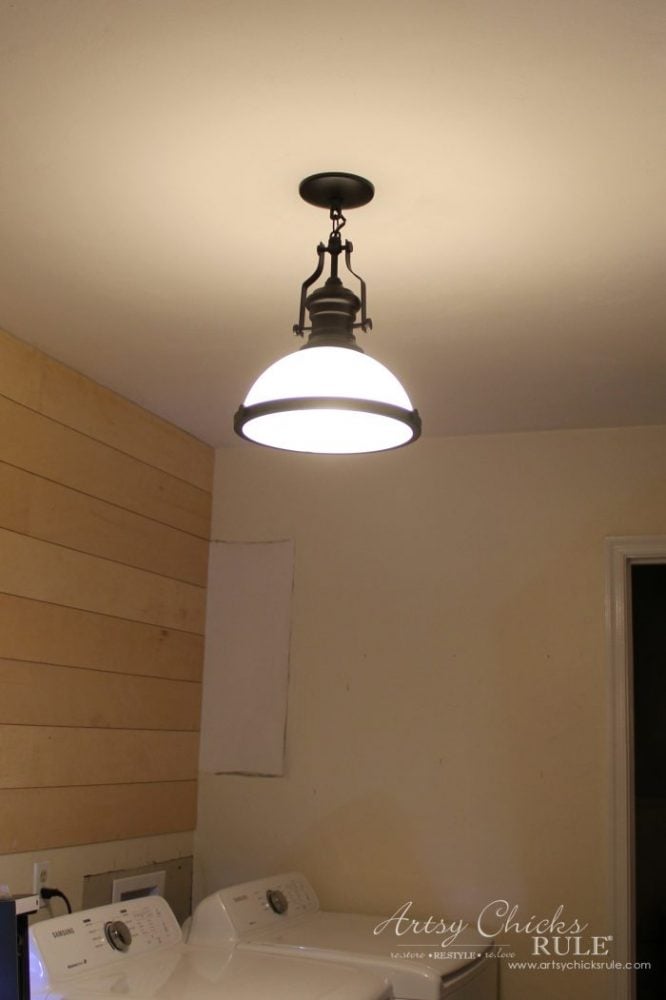
Isn’t it perfect?
And I love a deal!! ;)
I’m so excited to get the room done. I can really see it coming together now.
But we still have much to do.
Here’s what’s left :
Finish the shiplap
Paint the shiplap
Shelves over the washer/dryer
Attach (or make, more on that later) the pipe clothes hanger to the other side of the wall
Wood counter top
Flooring
So we really have our work cut out for us in the next 2-3 weeks!
Want to see more ORC? Visit the linkup for this week’s posts, here.
Updated to add: See other posts in this challenge here.
Week 1 Style Plans
Week 2 Painting Cabinets
Week 3 You are here!
Week 4 Painting Shiplap and Room Progress
Week 5 Vinyl Plank Flooring
Week 6 The Big Reveal!!
See you next week. Hope you all have a wonderful weekend, friends!
xoxo


")


")


This area is coming along nicely. I know it is hard work to get a big project like this one completed in a short period of time. It’s looking great!
Hi Paula, thank you! It really is! A bit harder than expected with a few things. :) Hopefully we will finish on time! xo
That is going to look great!!!! Oh Nancy, you make it look so easy…and I know it’s hard work!!
Oh Jayne, I’m so glad it looks easy! :) Some of it is, but some of it has thrown us for a loop! Such is life with an older home. I just can’t wait to get to the decorating part! ;) And thank you!! xoxo
I LOVE the pendant light! I think that is the coolest one I’ve ever seen! :-) And thanks for that tip on the shiplap. :-)
Thanks again Julie! :) I’m so glad we found that one when we did. They only had a few left and I love a bargain! Especially one that I also love the item! ;) xo
Nancy, this is the first I have had a chance to really catch up on your laundry room… and it is going to look fabulous!! I can’t wait to see it all finished!! It’s looking so great! xo
Thanks Karen! I can’t wait to see it all finished too! Wish it was! ;) We are getting there. Hope you are doing well! xoxo
It looks fantastic so far! It seems to me like you’ve gotten a lot done. The wall was a big project and I love the new light fixture! XOXO
Thanks Christy! :) Yes, that shiplap is a bit more of a project than I envisioned! ;) But we are getting it done! xoxo
Good morning Nancy your laundry room is coming along so nice, love shiplap walls! Its going to look so pretty when you are finished it. Hey we were in Virginia in March and I got the same lights as you, we have been updating our kitchen and got them for over our island. They were on clearance for us as well I am so pleased with them. It looks great in your laundry room.
Hi Sandra! Thank you so much! That shiplap was a bit more tedious than I imagined. ;) But it’s coming along and I’m loving how it looks! And oh, how neat!! Yes, that was a bargain, wasn’t it?! Can’t wait to see your kitchen. :) xoxo