DIY Faux Concrete Planters

| |
This post may contain affiliate links. Please see disclosures here.

These DIY faux concrete planters are such a simple makeover!! Fun and easy!!

Hello, sweet friends!

It’s Trashy Treasure Tuesday, and I’m sharing a fun fall makeover today. Well, I’m using this makeover in my fall porch decor, anyway.
New here? A few friends and I get together every second Tuesday of the month to share our latest trash-to-treasures.

A banner with a pink checkered background reads Trashy Treasures Tuesday. The word Trashy is in pink script above TREASURES TUESDAY in black, with a black silhouette of a lamp—perfect inspiration if you’re learning how to paint laminate furniture.

Be sure to scroll all the way to the bottom to see what my friends are sharing this month!

DIY Faux Concrete Planters

I found these at Goodwill several months ago and thought I’d do something with them. I wasn’t sure what to do with them, but I decided on a faux concrete look.
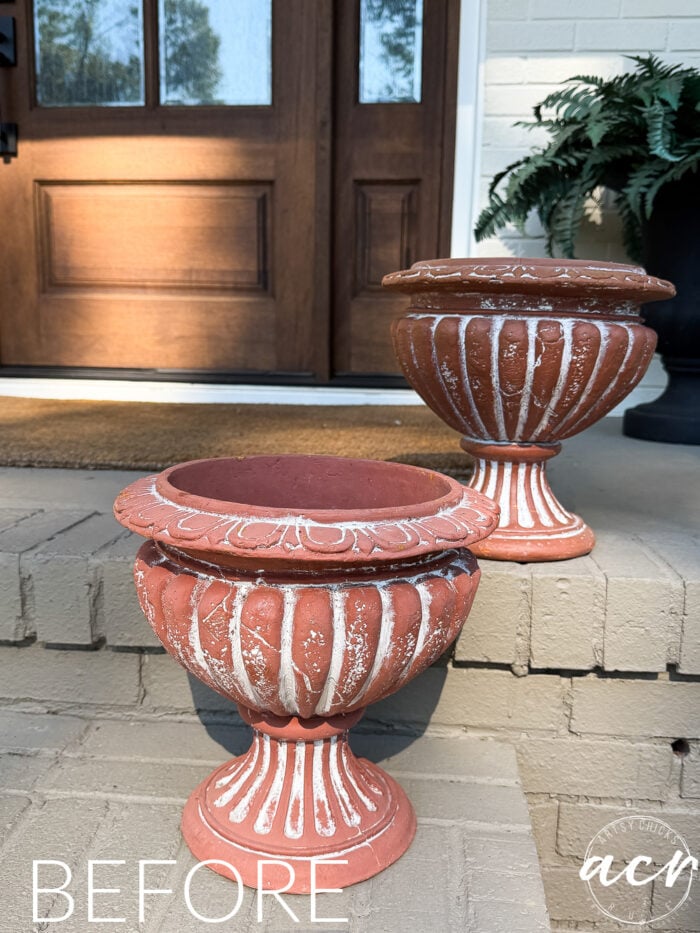
Two terracotta-colored decorative urn planters with white distressed detailing, styled like DIY concrete planters, sitting on front porch steps.

They looked like they had been used and loved…
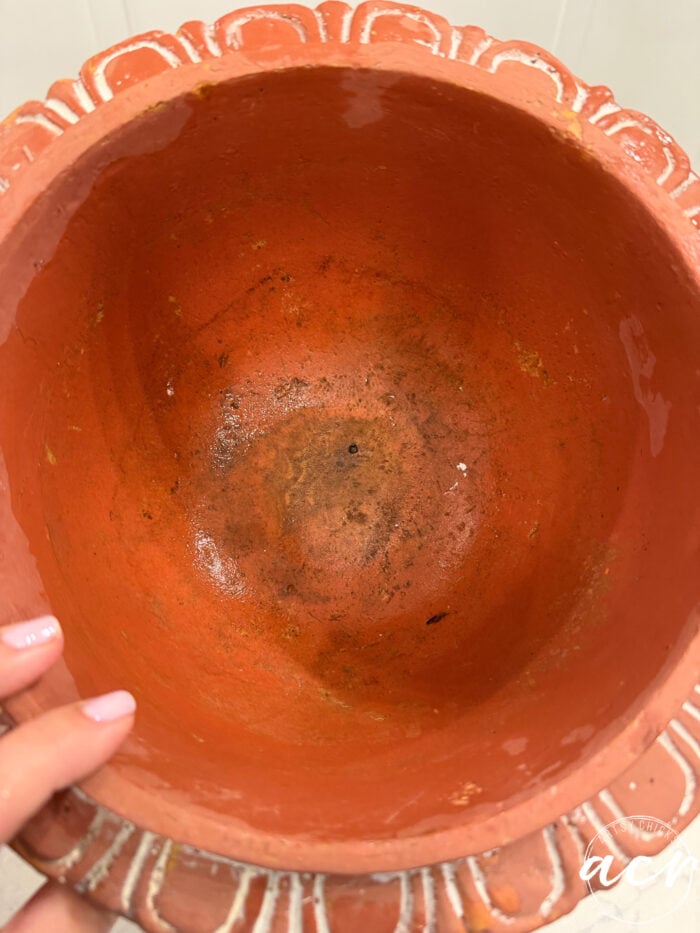
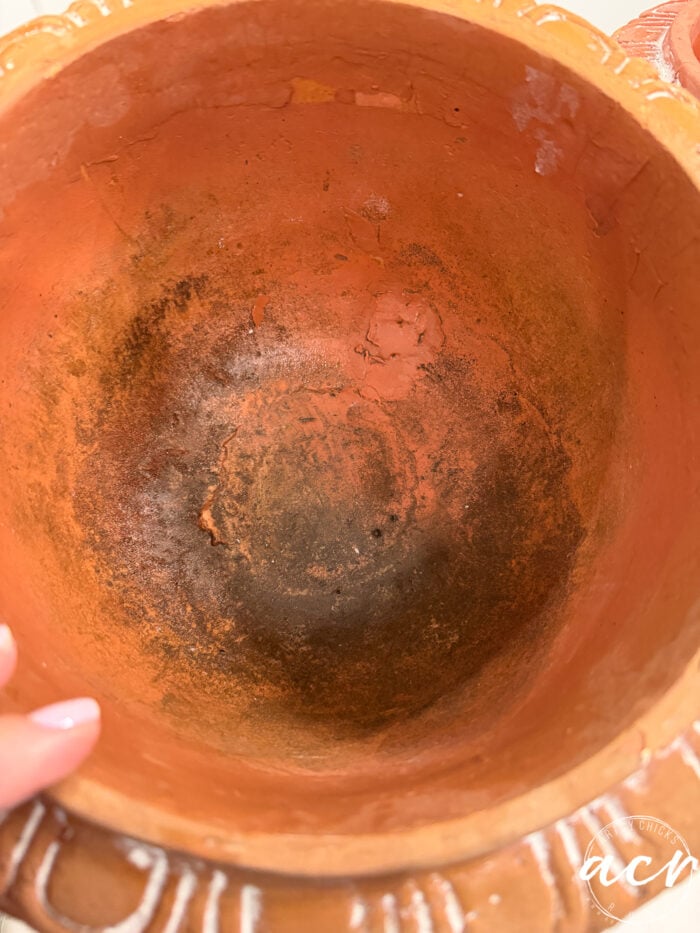
Top-down view of an empty, round, terracotta-style pot with a decorative scalloped rim, perfect for DIY concrete planters. Inside a weathered terracotta pot, the DIY concrete planter tutorial aesthetic is captured through stained, textured walls.

But surely needed a new look. The orange had to go.
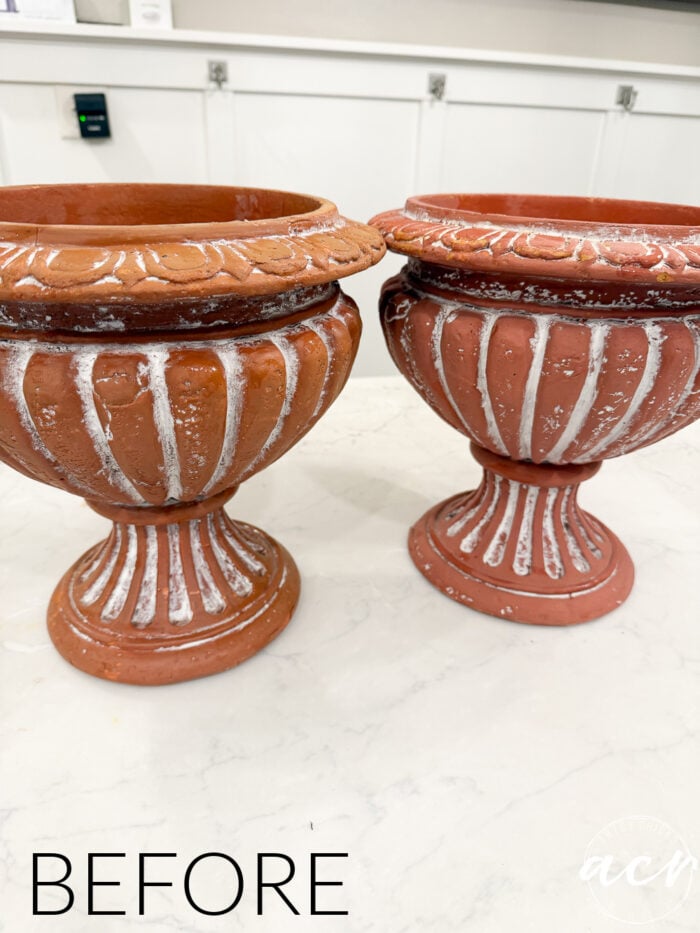
Two terracotta-colored DIY concrete planters with a decorative rim and fluted base, featuring white distressed paint accents that create a faux concrete look.

By the way, they look like terra cotta, but they are super lightweight, foam-ish. So I suppose they are “faux terra cotta”, haha!
And I’m going to make them faux concrete. Funny.

I did a similar project a while back. Not really a “concrete” look, but more of a textured look.
You can check it out here if you like: How To Create Texture (vase makeover)

MATERIALS SOURCE LIST

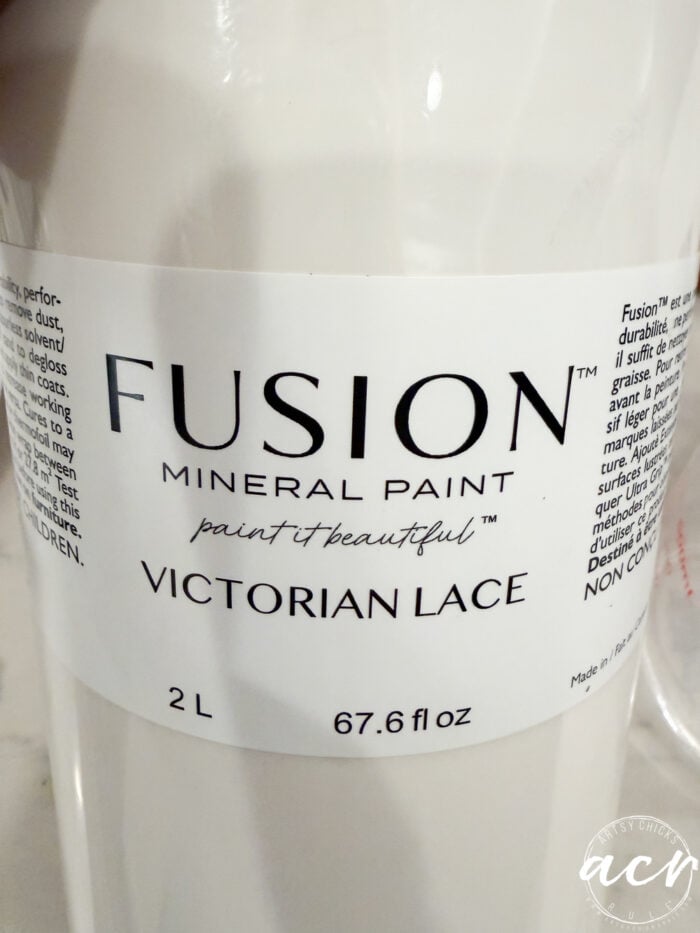
  • Off White Paint (I used Victorian Lace)
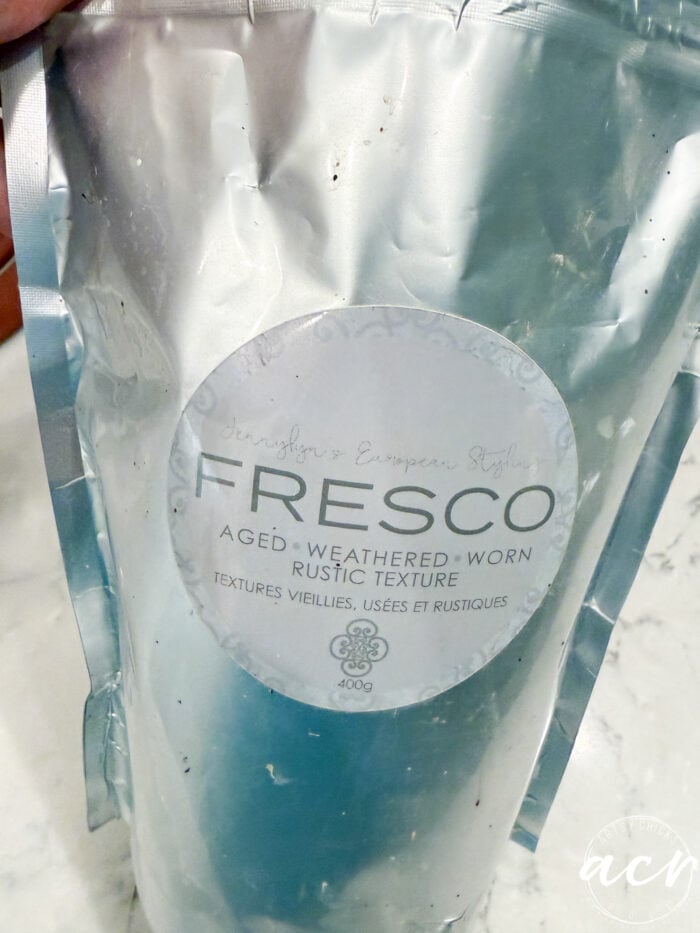
  • Fresco (for texture)
  • Tan Paint (I used Cobblestone)
  • Black Paint (I used Ash)
  • Chip brush
  • Silicone Mat

A 2-liter container of Victorian Lace Fusion Mineral Paint, perfect for creating a faux concrete look on DIY concrete planters.

A 400g foil pouch of JenniLyns European Styling FRESCO aged, weathered, worn rustic texture paint for creating concrete decor.

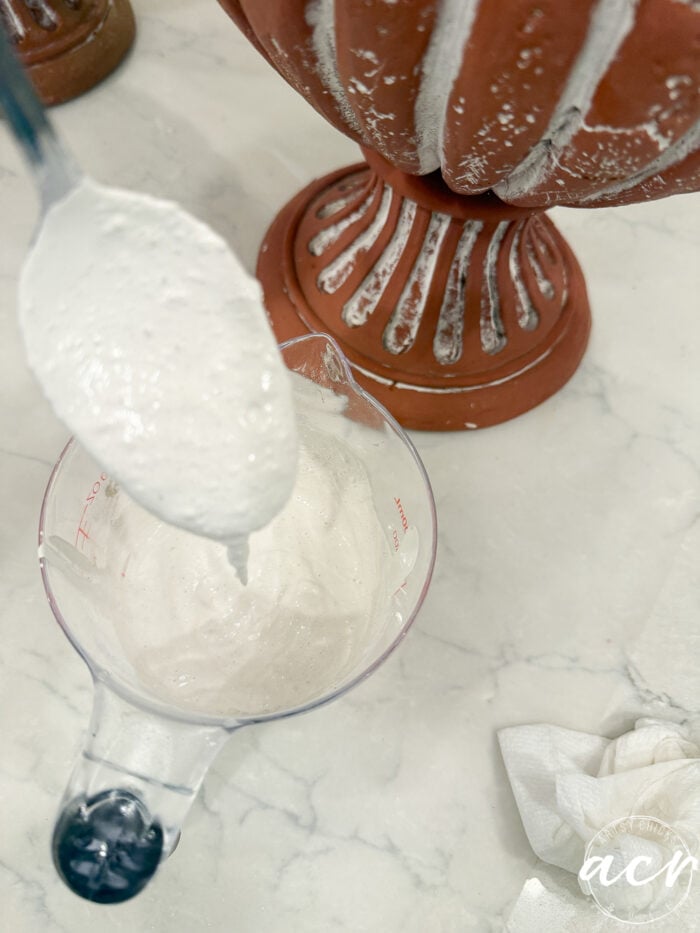
I mixed the white paint and the Fresco, 2 (paint) to 1 (paint).
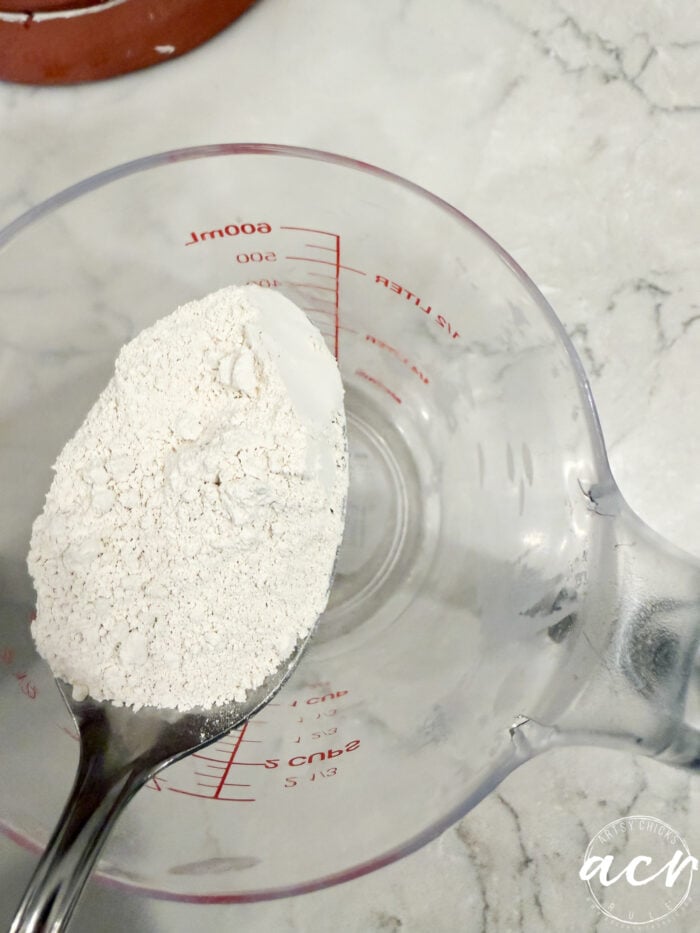
A metal spoon filled with white flour for a faux concrete project held over a plastic measuring cup.

A metal spoon drips white paint into a clear measuring cup next to a weathered terracotta urn being transformed into a DIY planter.

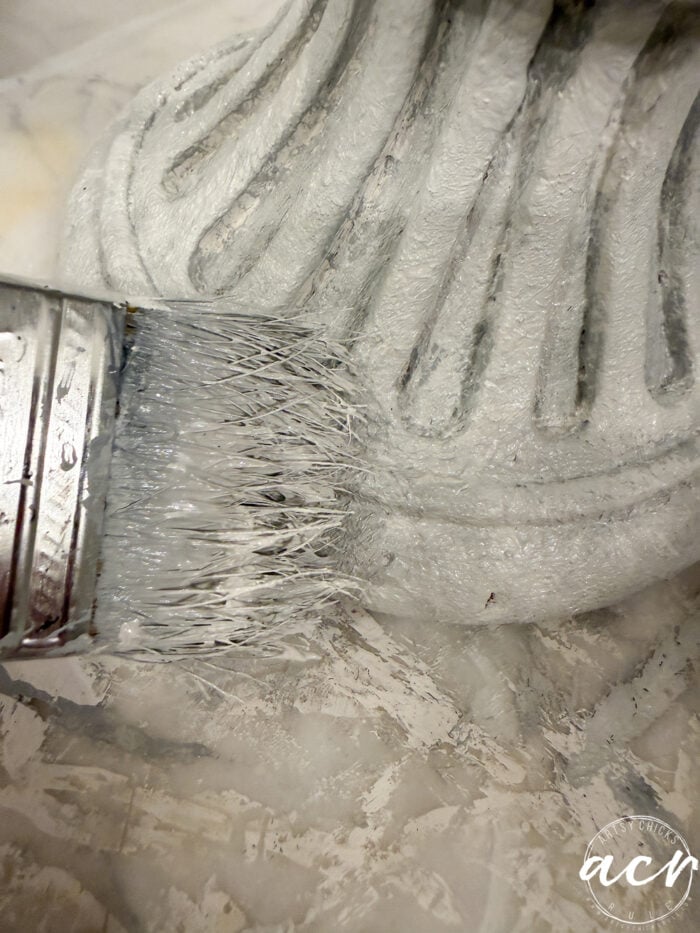
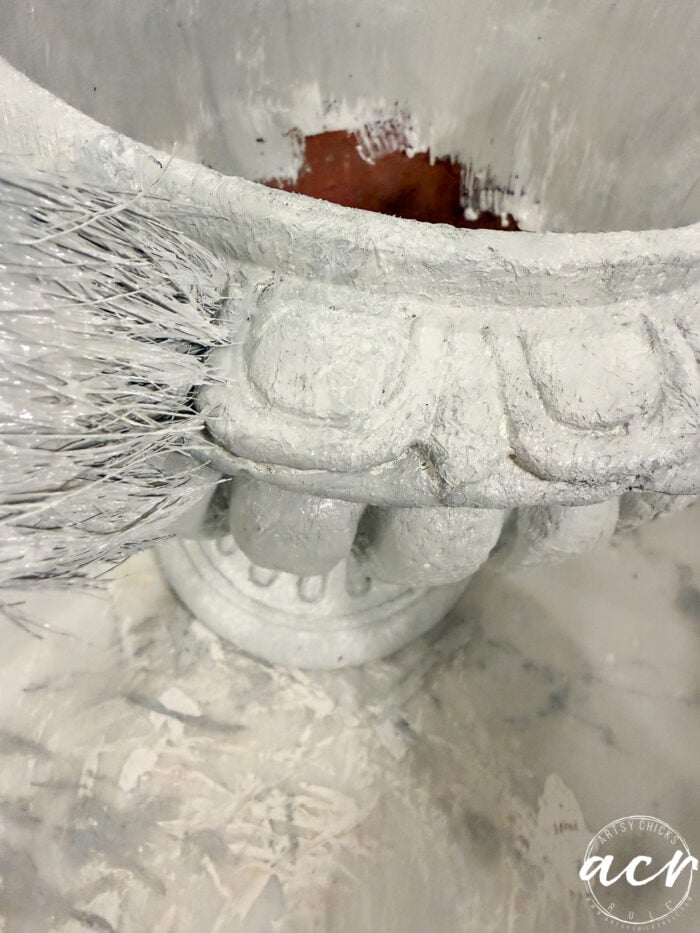
Then I brushed it lightly all over.
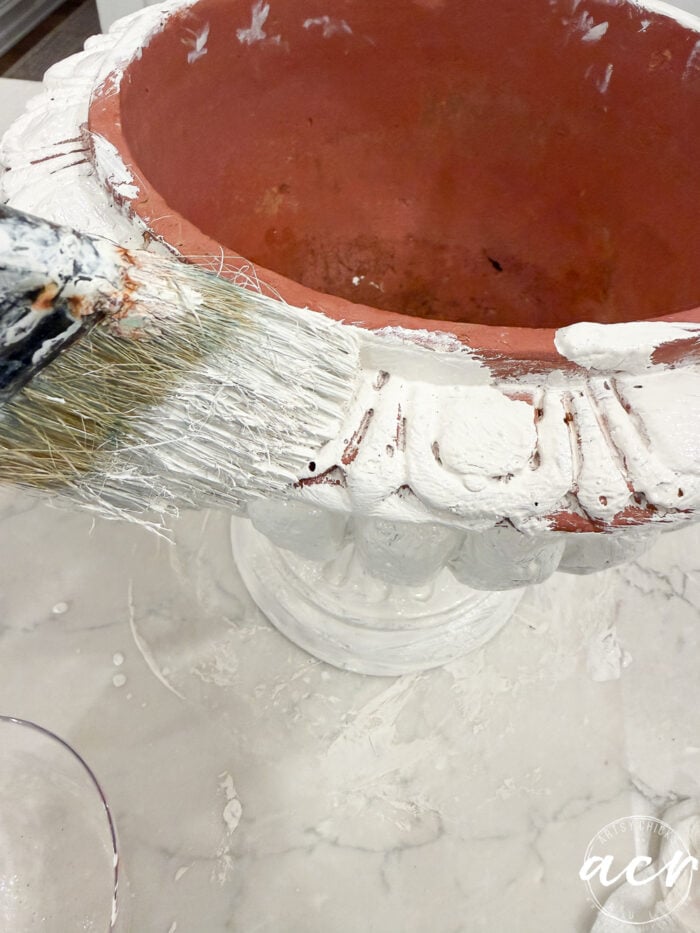
A paintbrush applying white paint to the decorative rim of a terracotta urn during a DIY concrete planter tutorial.

And once they were covered, I went back over and patted the brush to “stipple” it a bit for texture.
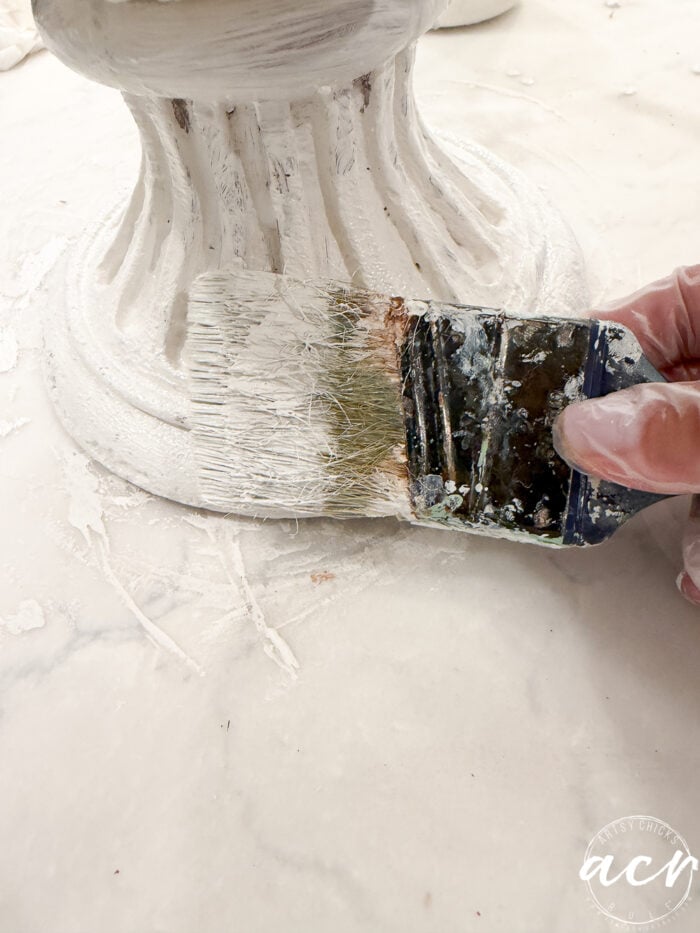
A gloved hand uses a brush to apply white paint to the base of a decorative pedestal for a DIY concrete planter project.

Let it dry.

Or blow-dry it if you are impatient like me, lol.
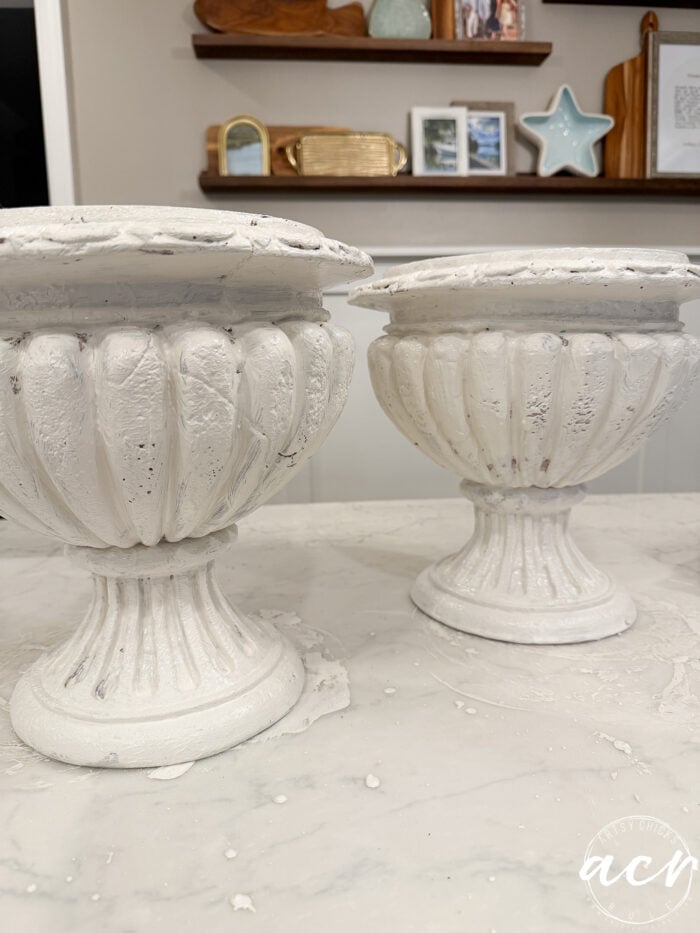
Two white pedestal urns with a distressed, faux concrete finish sit on a marble surface.

As you can see, I wasn’t looking for full paint coverage. No need.

Once they dried, I poured some black and tan paint onto a paper plate.
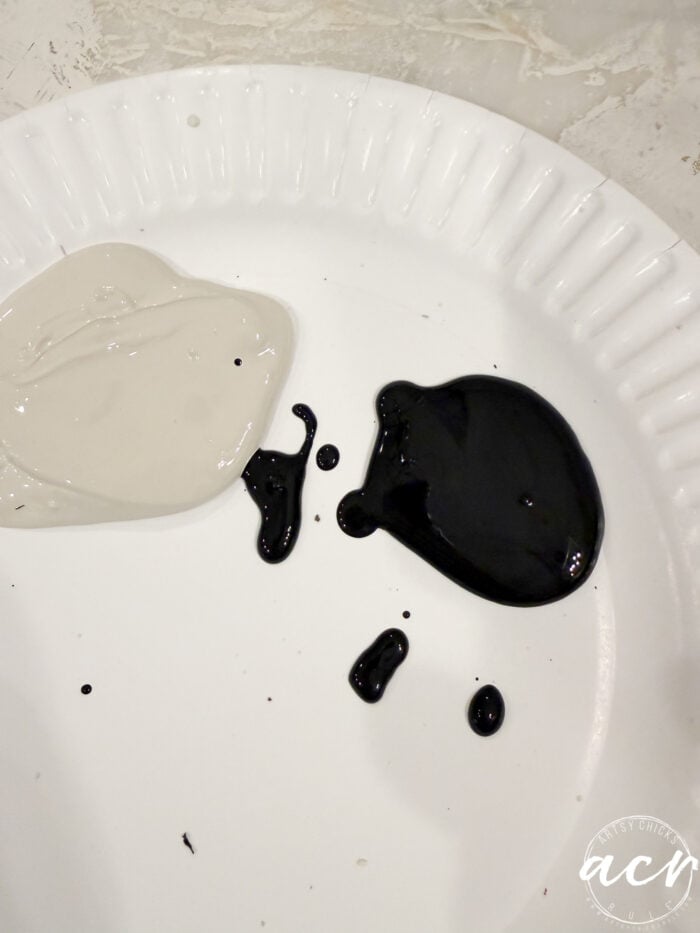
A dollop of beige paint and a dollop of black paint on a white paper plate, ready to be mixed for a faux concrete project.

And the white textured paint, too. (I didn’t photograph that, but I poured it onto the empty space at the bottom)
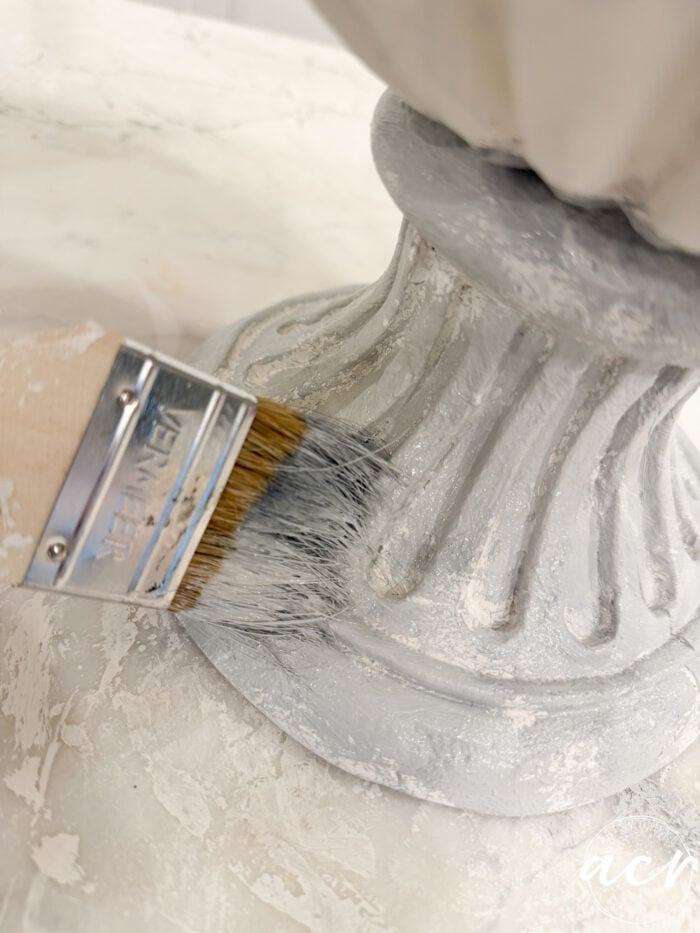
A paintbrush applying light grey paint to the base of a fluted decorative urn for DIY concrete planters.

I began lightly brushing and dabbing it over the white. Again, I wasn’t worried about full coverage. You want some of the other colors to show through.
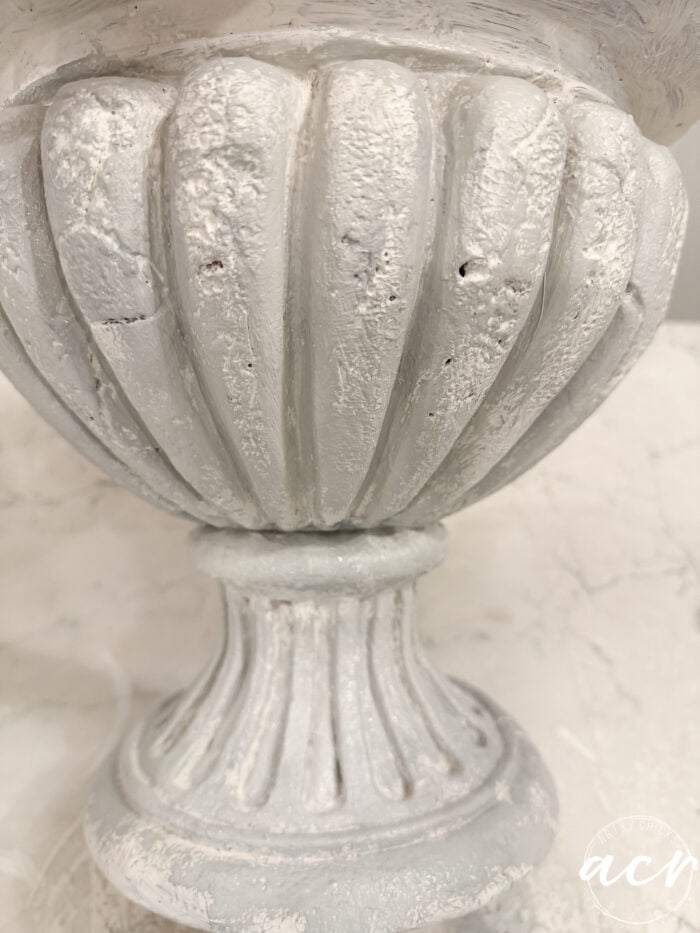
White pedestal urn with a fluted, distressed finish, styled as a DIY concrete planter.

See how the white is showing through?

This is what the paint looks like after that. I sort of organically mixed as I went. A little of this and a little of that. A little different each time, which is perfect.
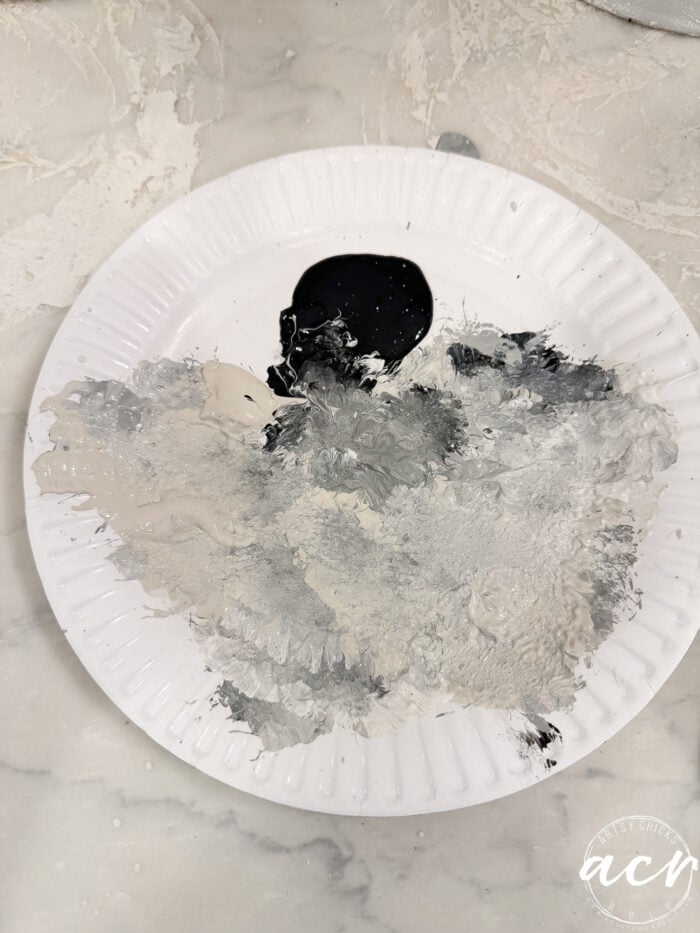
A paper plate used as a palette, containing swirls of black, white, and various shades of gray acrylic paint for DIY concrete planters.

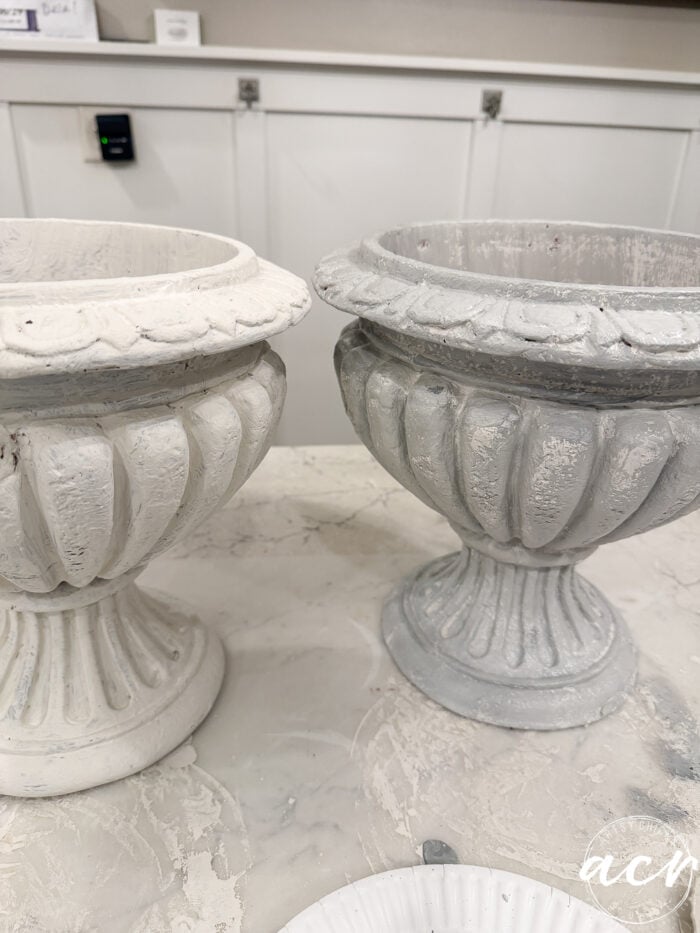
Two decorative pedestal urns sitting on a counter, one painted matte white and the other finished with a DIY concrete planter effect in weathered gray.

The first coat is on the right, which still isn’t done. I’ll go over it again with more of the light. Not done yet on the left.
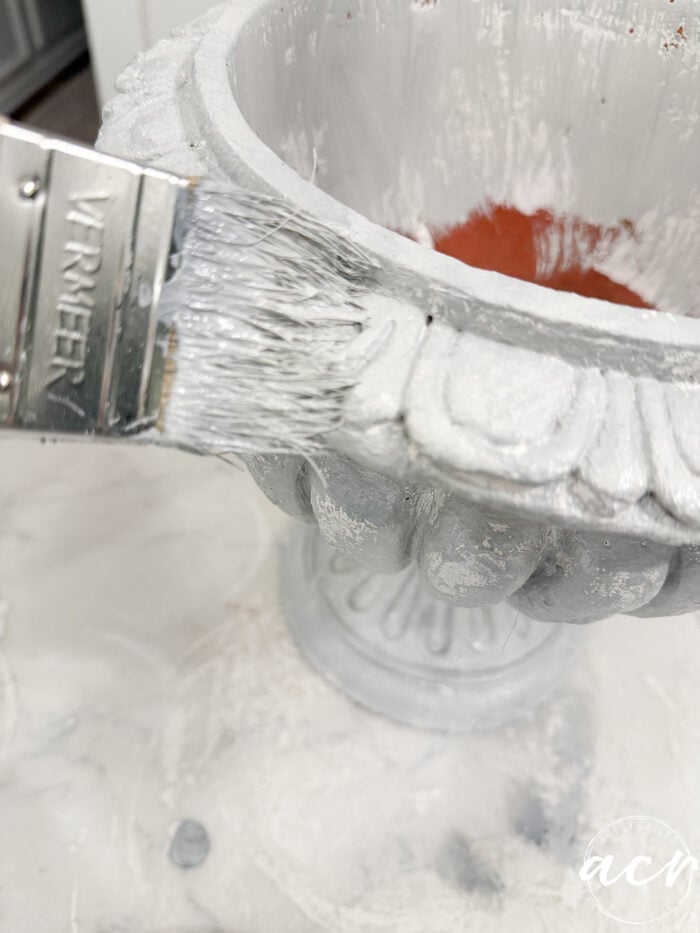
A paintbrush applying light grey faux concrete paint to a decorative terracotta urn for DIY concrete planters.

Okay, now looking from the other side, the left is the one I did first and already has the 3rd coat (which is going back over to lighten in spots). The right has the first coat of the darker shade over the white base.
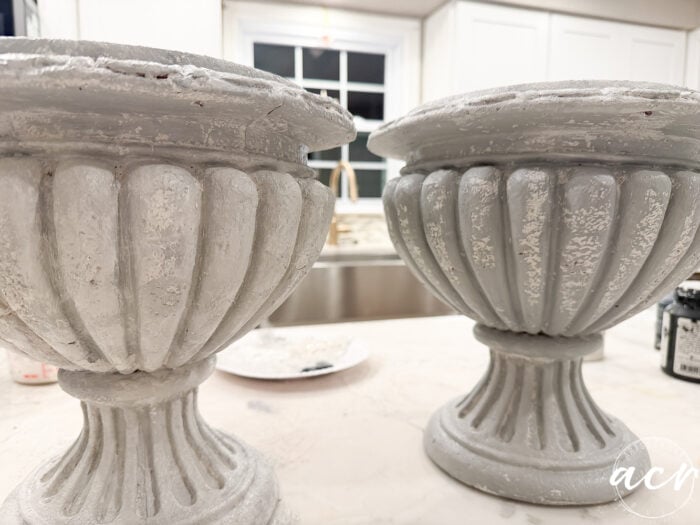
Two fluted, grey faux concrete urn-shaped planters with a distressed finish sitting on a countertop.

See how adding a light layer on top makes it look much more like real concrete? Especially compared to the right.
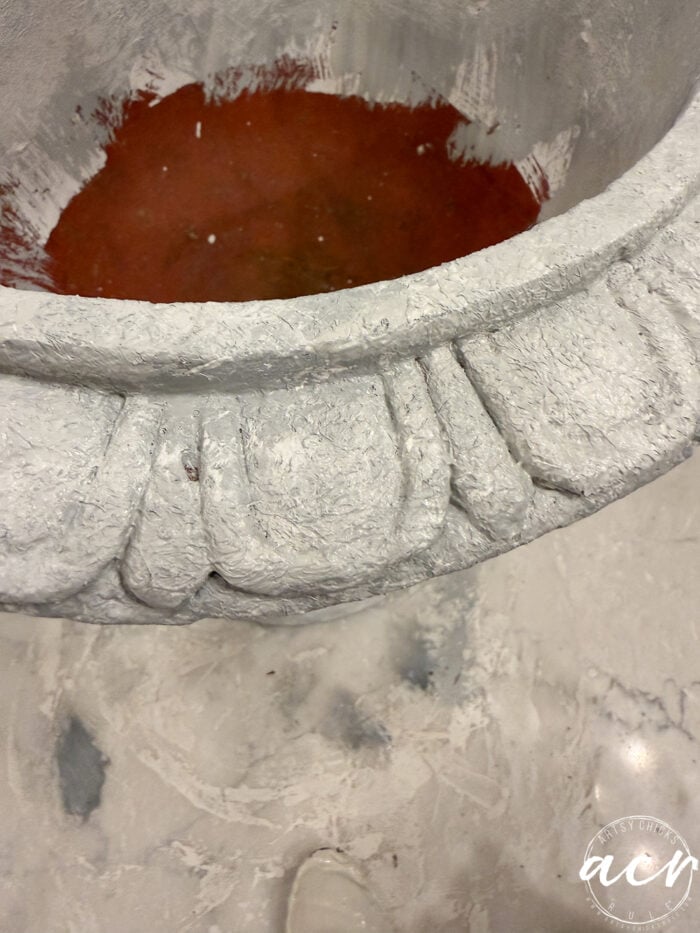
The key is adding layers of varying shades, not covering it in full strokes of paint. Brush here and there lightly, stipple, etc.
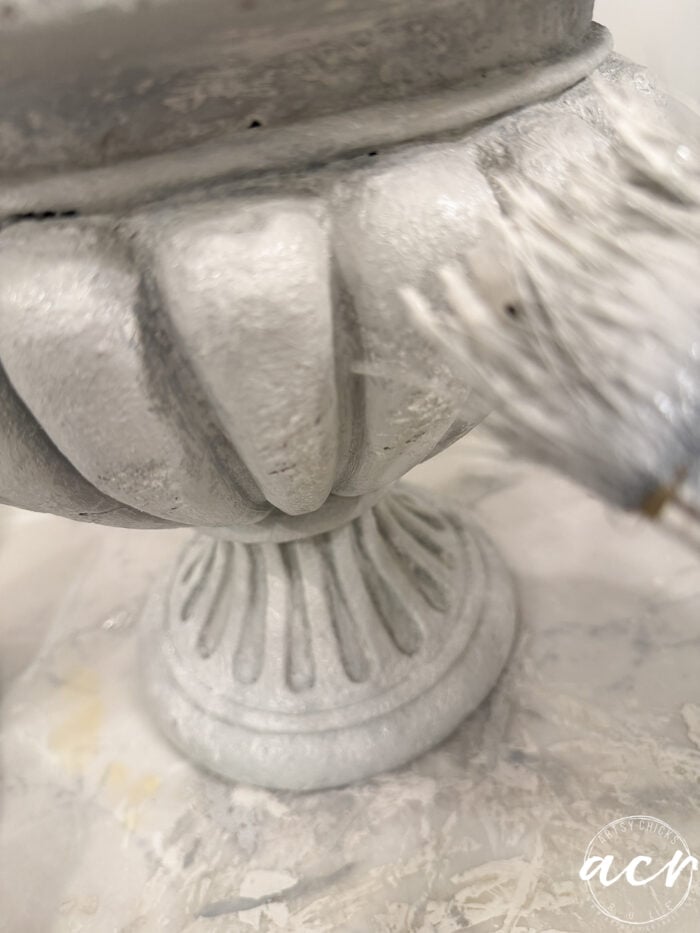
A paintbrush applying white paint to a fluted decorative urn to create a faux concrete finish.

A close-up view of a large, decorative urn being painted with a thick layer of white textured paint to create DIY planters, revealing a reddish-brown interior.

A paintbrush applying white paint to a textured, fluted object for DIY concrete planters.

A paintbrush applying white paint to an ornate faux concrete garden urn during a DIY concrete planter tutorial.

It’s actually very easy!! And you know I love an easy project.

Don’t they look heavy??
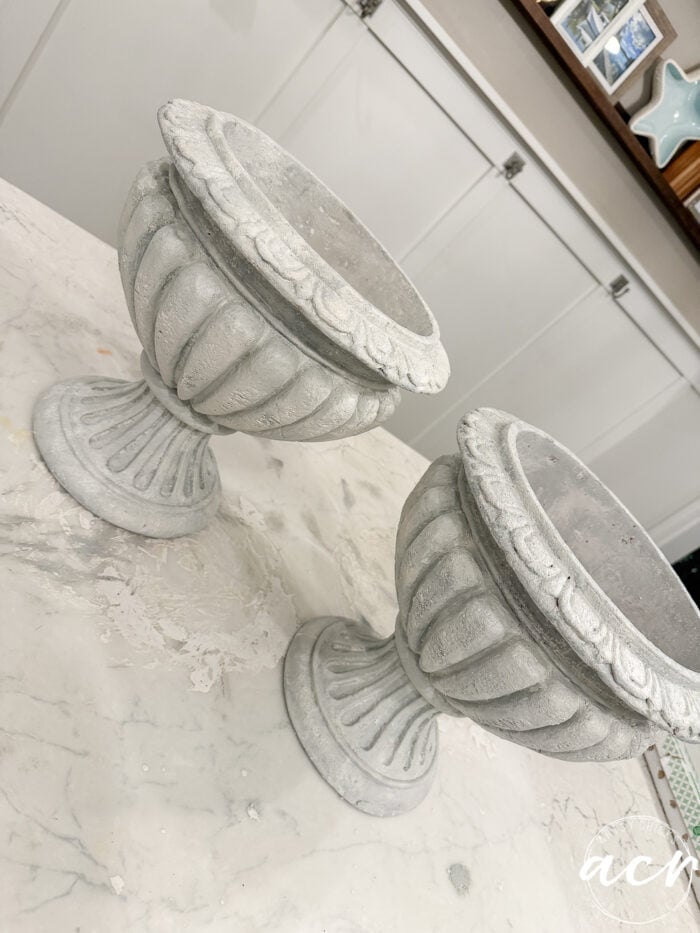
Two grey, faux concrete pedestal urns with a weathered look sitting on a white marbled surface.

Yep, until you pick one up thinking it is and it flies up to the ceiling! haha!

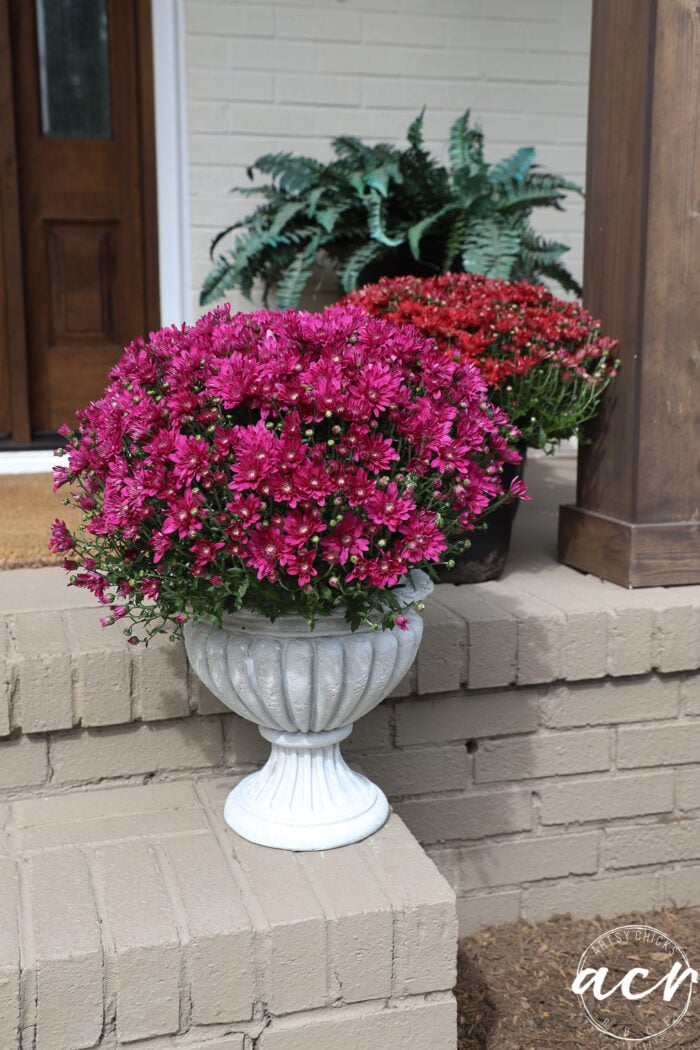
I did a little fall decorating with my new concrete planters. I still have a few more things to do/add, but I’ll share once it’s done. I typically don’t decorate for Halloween, so it’s fall…then Christmas! And wow, that will be here before we know it.
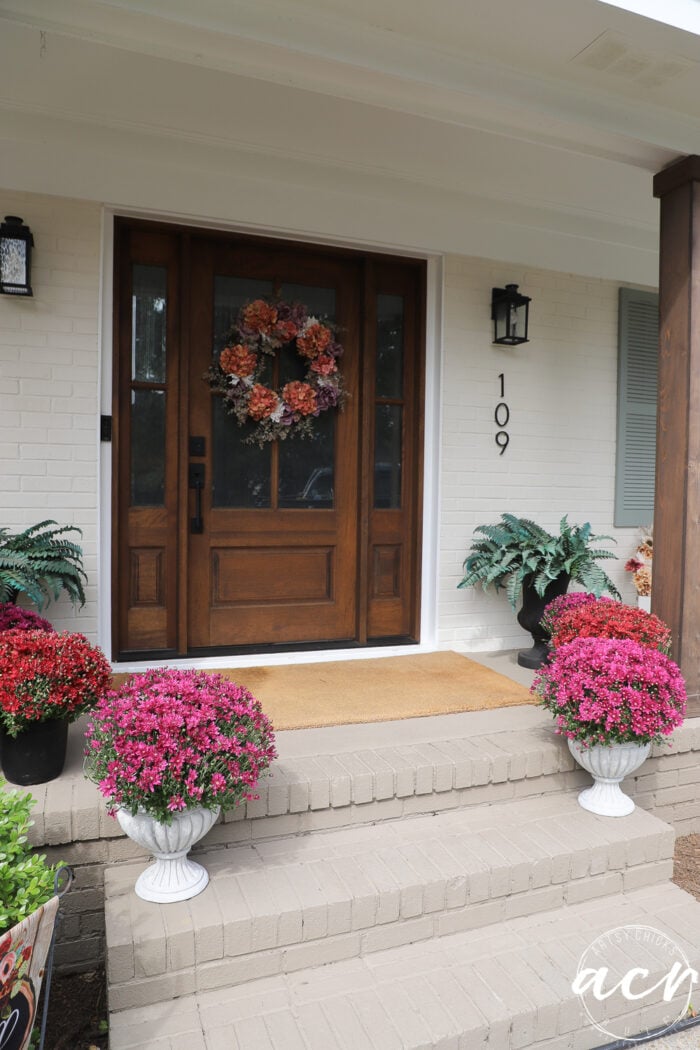
Front porch with a dark wood front door, a floral wreath, the house number 109, and several DIY concrete planters filled with pink and red chrysanthemums on the brick steps.

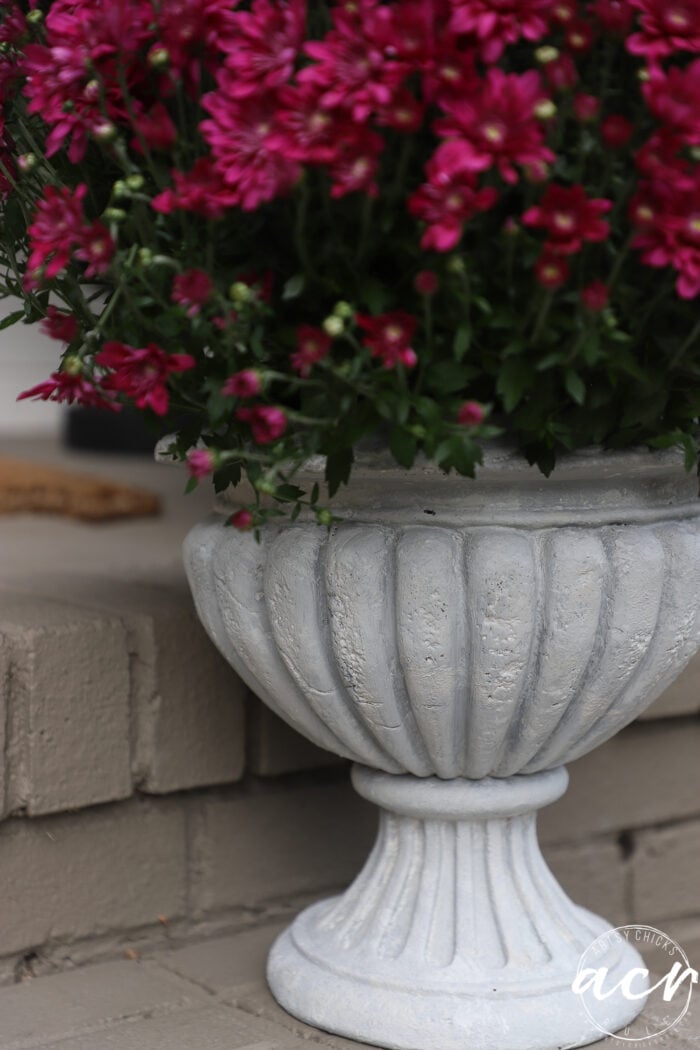
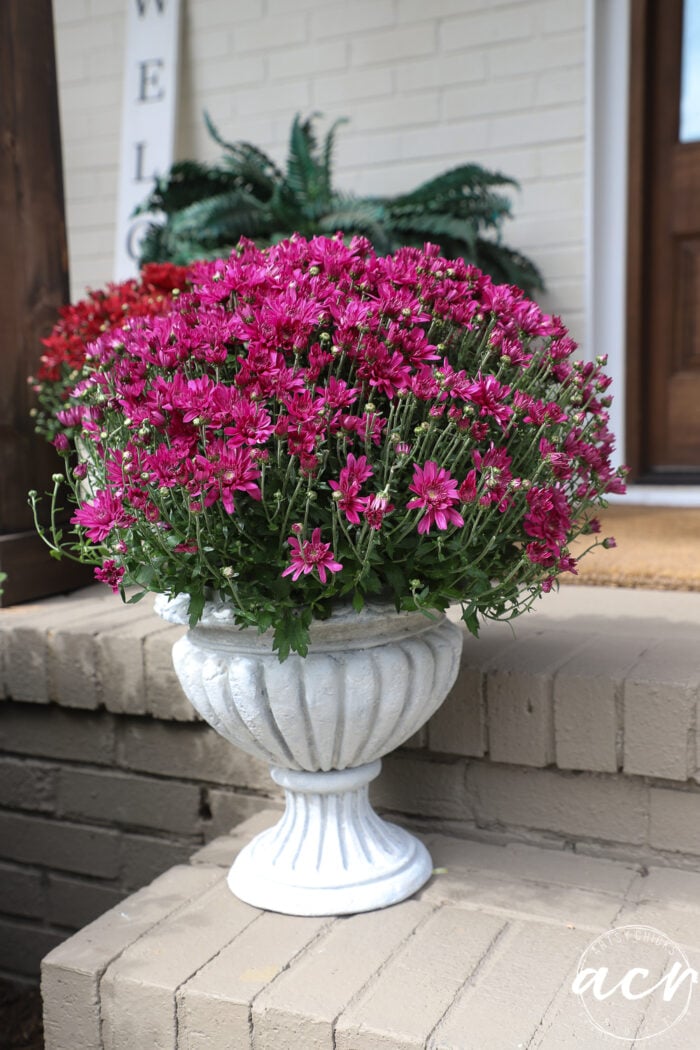
A large, white faux concrete decorative urn filled with vibrant magenta chrysanthemum flowers sitting on a brick porch.

A vibrant magenta mum sits in a DIY concrete craft planter on a brick porch step, with a red mum and a fern behind it.

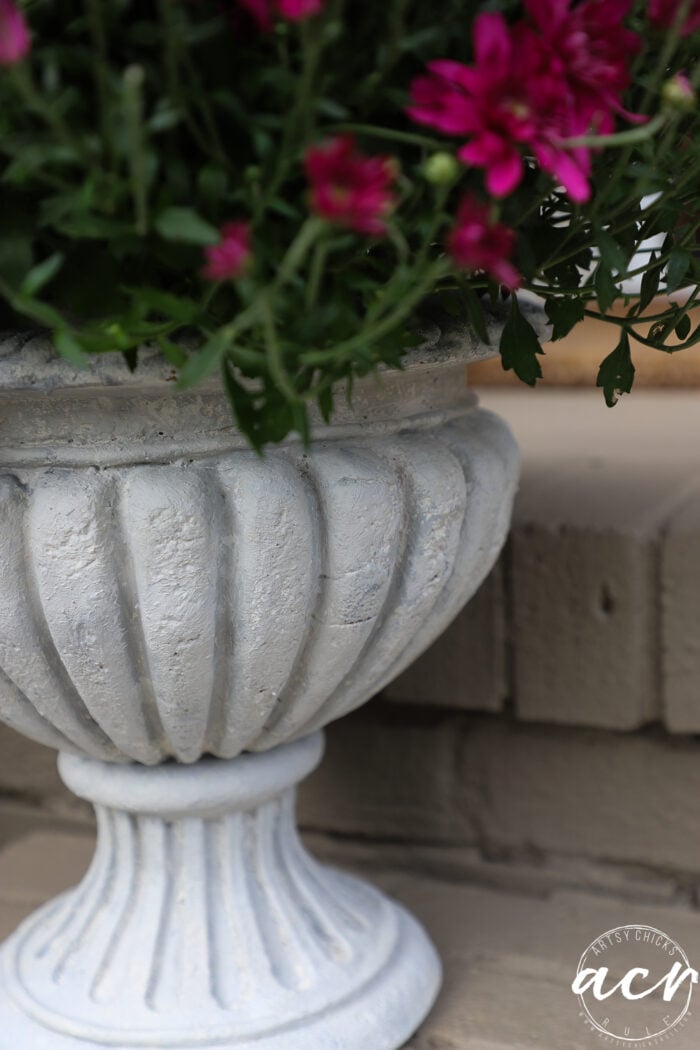
The sun is kind of washing them out. But they really do look like concrete.
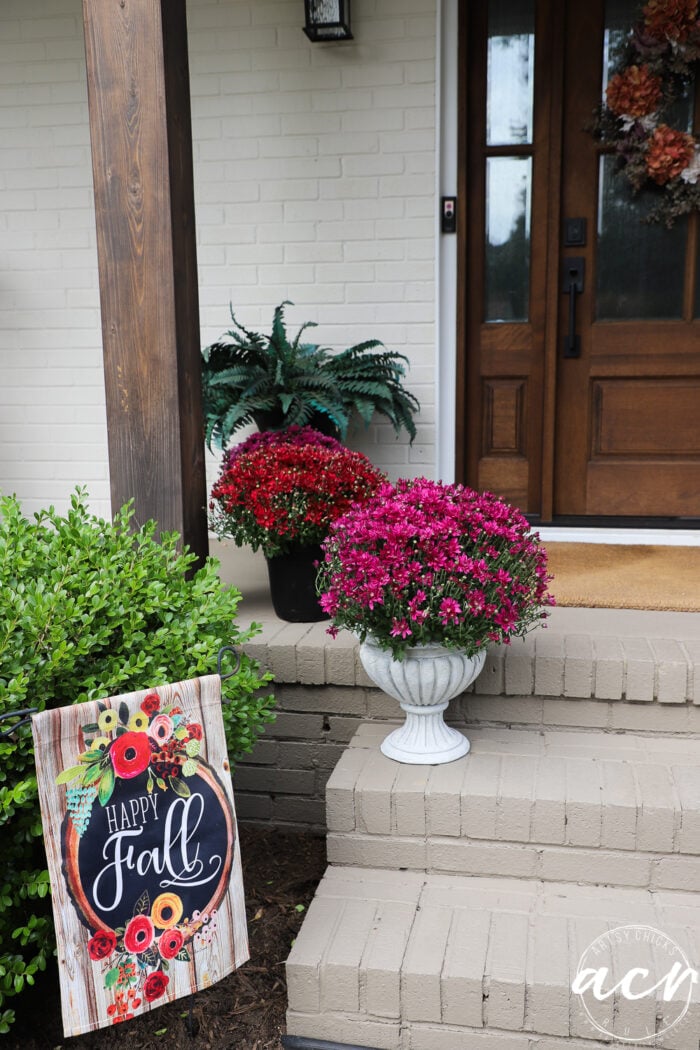
A front porch featuring a Happy Fall garden flag, potted pink and red mums in DIY concrete planters, and a wooden front door with a wreath.

A decorative, pale gray DIY concrete planter filled with magenta flowers.

A potted plant with deep pink flowers sits in a textured, light gray faux concrete pedestal planter.

Front door with a floral wreath, flanked by pink and red chrysanthemums in DIY concrete planters on brick steps, with the house number 109 on the wall.

Have you tried this before? It’s easy; give it a go!

PIN it to save it!
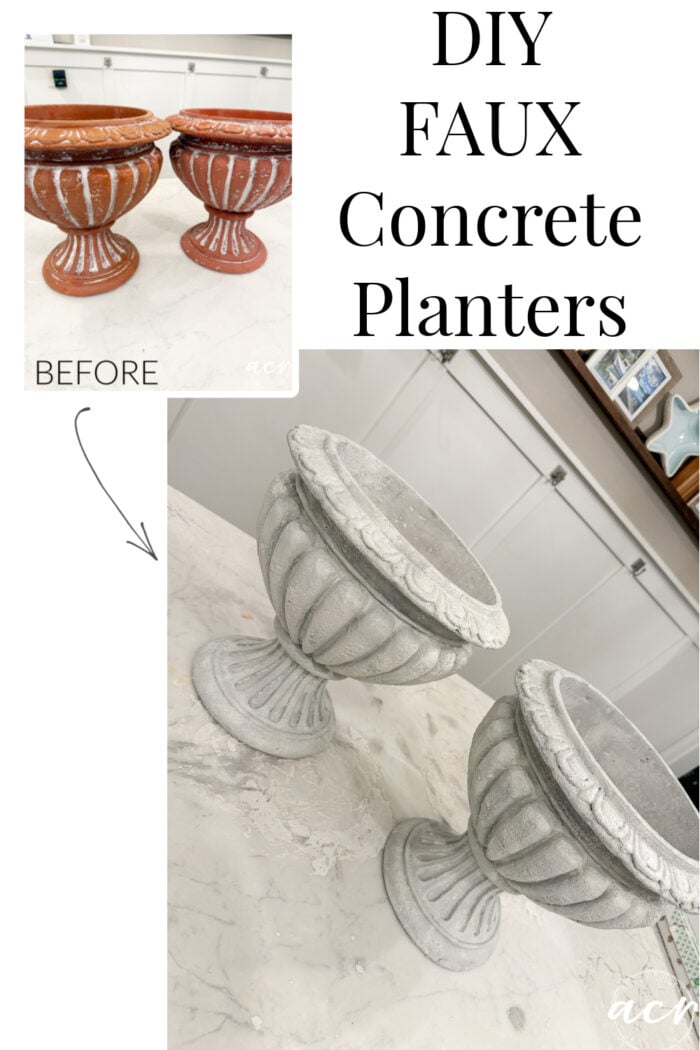
Before and after photos of two terracotta urn-style planters transformed with a DIY faux concrete finish.

Don’t forget to hop over and visit my friends!

A graphic with a pink diamond pattern background reads: Trashy Treasures Tuesday with a black lamp silhouette. Below are the names: Salvaged Inspirations, Artsy Chicks Rule, Confessions of a Serial DIYer, Petticoat Junktion—plus diy holiday decor with thrifted frames.

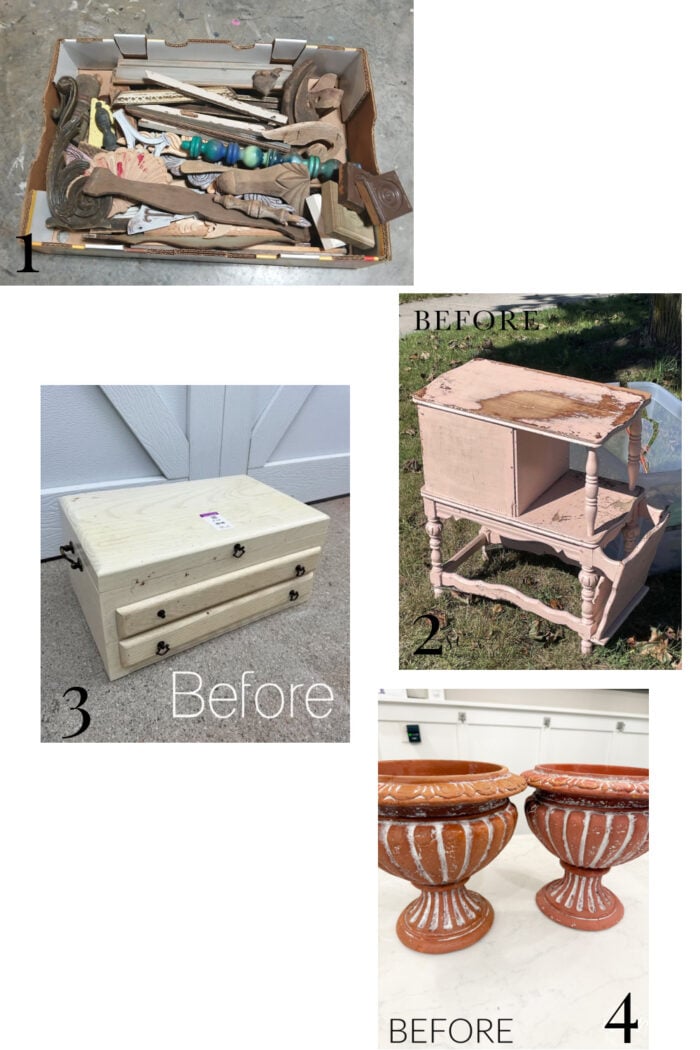
A numbered collage of four items before restoration: a box of wooden furniture parts, a two-tiered pink side table, a light-colored wooden chest, and two terracotta urns, some of which are suitable for DIY concrete planters.

  1. Petticoat Junktion
  2. Salvaged Inspirations
  3. Confessions of a Serial DIYer
  4. You are here!

…………………………………………………………………………………………………………………

Don’t forget to pop over and let me know if you’re interested in my new venture!
In addition to that, I’ve got something extra special planned for the holidays, you won’t want to miss it!

A festive red bow with pine branches and berries above a red button for DIY faux concrete planters info: Click Here For The Artsy Botanical Society Box Info! (and something very special you won’t want to miss!).

I’ll only have a limited number available, so be sure to sign up for my interest list! Those on the list will get first dibs and will be the very first to hear all about it!
You can check it out and sign up right here!

Have a wonderful week, friends!

xoxo

The word Nancy is written in elegant, flowing black script, reminiscent of Chalk Style Paint For Furniture, with a heart shape used to form the dot above the letter i. The background is plain white.

Leave a Reply

Your email address will not be published. Required fields are marked *

This site uses Akismet to reduce spam. Learn how your comment data is processed.