DIY Chalkboards From Old Pictures…Easy!
Chalkboards are so easy to make. I have them all over my house.
I just love writing messages to my kids, hubby, whoever…
…quirky fun, little sayings, the menu, anything really.
They’re just fun.
Any can be made so easily….and cheaply too.
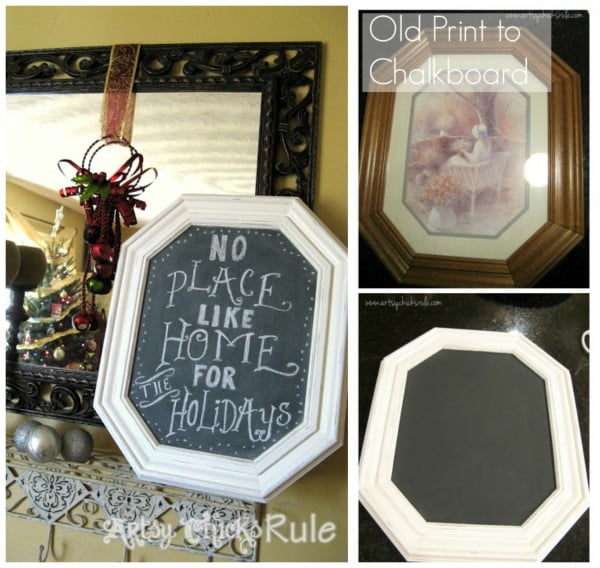
That cool writing I did on this one was found at Nest of Posies.
So here’s what you need to do……
You drive straight down to your local thrift store and buy an old picture.
Doesn’t matter what it looks like because you are going to cover it up.
Any one will do.
I’ve come across some gorgeous frames with some really awful prints in them.
They make GREAT chalkboards.
Or even mirrors if you’d like to get one cut for it.
~Or another trick I’ll show you on my “Family Room Gallery Wall” post, coming soon!~
So, if you’ve got your picture w/frame….
and you like the color of the frame whether it’s gold, silver, black, green, whatever, then making a chalkboard just got even easier for you.
You can skip this next part.
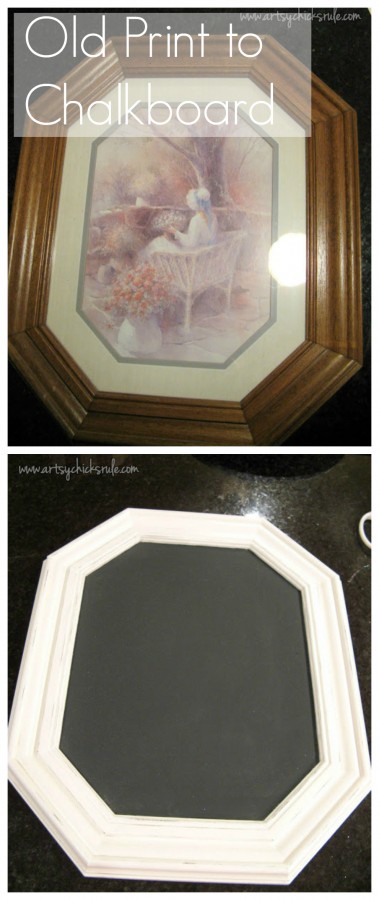
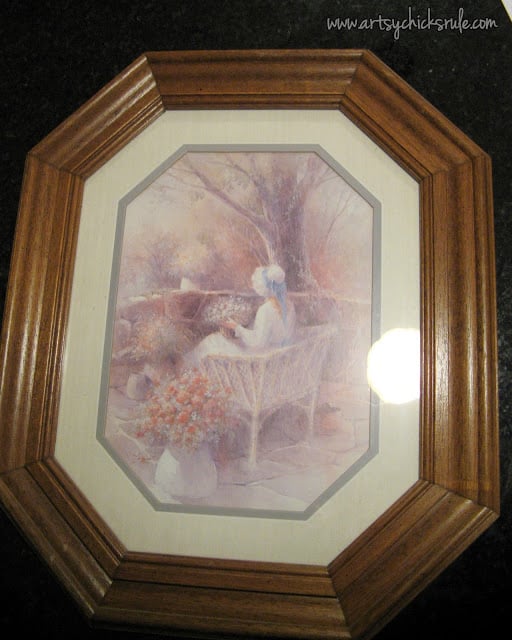
Here is my most recent “old picture to chalkboard”….
I loved the shape of the frame.
The print, no so much. The color of the wood, not so much.
SO, I painted the frame first.
You don’t have to be super careful painting the frame
because you’re going to be painting over top of the glass later anyway.
For the frame, I used Chalk Paint in the color Pure White. (Annie Sloan)
I wanted this one to stay crisp and white….
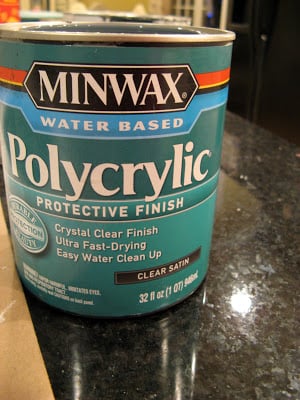
…so I distressed it just a bit and put a coat of Minwax Polycrylic over it.
Let that dry completely.
(Note: You can also use wax to seal the paint on the frame, Minwax Polycrylic is just easier for this application)
Next, you will paint the black chalkboard directly onto the glass.
I used Graphite, again Annie Sloan.
(you can also most likely use Chalkboard paint found at your local hardware store — I’ve only used ASCP on glass so can’t say 100% if the other would stick as well to the glass surface)
You do need to be a bit careful around the edges where you painted white of the frame.
I like to do about 3-4 coats, depending on the thickness.
Let them dry completely in between coats.
After applying the first coat it will seem like it’s not going to stick well but trust me, it does.
On your second coat, use a light hand. After that you will have a good base and you’ll see that it does stick to the glass very well.
You don’t have to paint super careful with the strokes either.
It all settles out very nicely.
All finished and ready to do it’s chalkboard thing.
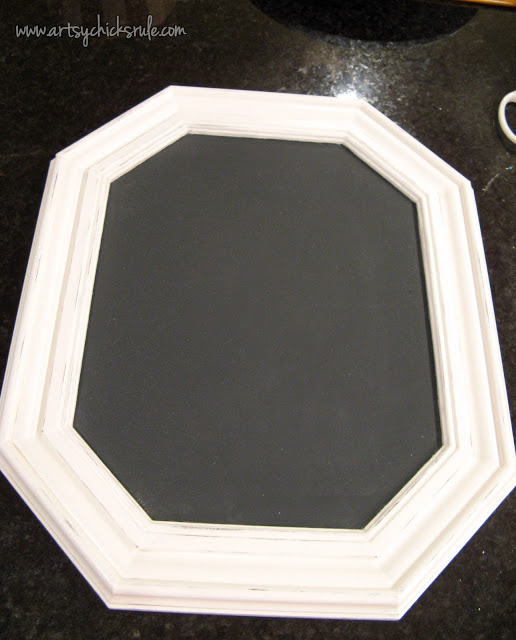
But first you need to prep the board.
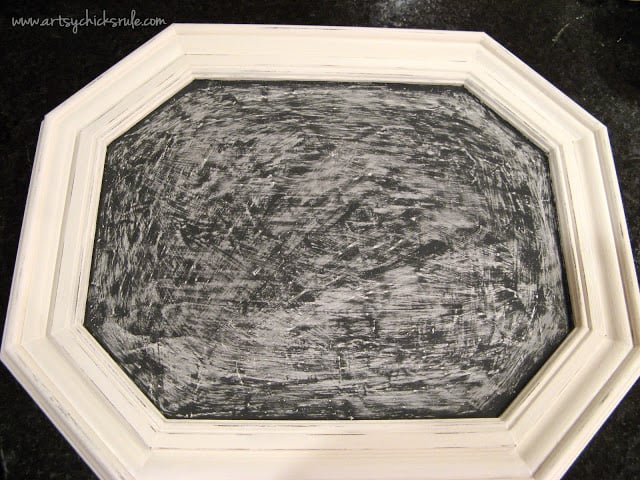
Rub a piece of chalk over the entire board surface and then wipe it well with a paper towel.
You can see below how it looked before I wiped it down with the towel.
After wiping, your board is ready to write on.
Now for the FUN part. :)
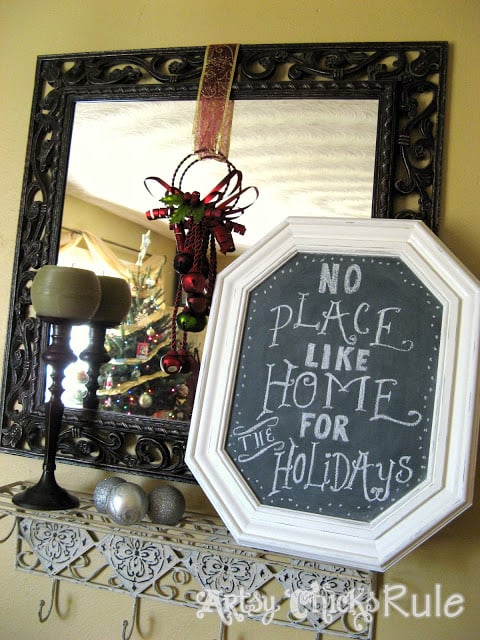
Here is my inspiration for what I wrote on this one….
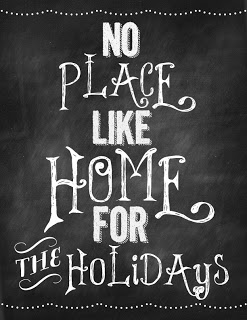
…from the Christmas printables over at Nest of Posies.
I looked at the picture on my screen and drew it by hand onto the chalk board.
My first attempt…not so good.
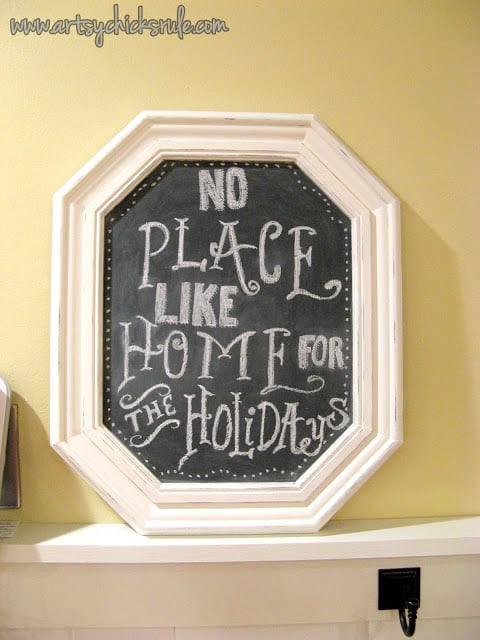
Clearly I do better with the squiggly, fancier writing than I do with the should-be-easier block lettering.
I left it that way for about a week until I could NO LONGER stand that awful mess.
I tried fixing the “NO”, “LIKE” and “FOR” so I wouldn’t have to do the whole thing over.
But it didn’t work. Ugh.
So, I wiped the entire thing down and started over!
It’s hard to draw precisely with chunky chalk, ya know…..but…
A 99 cent, ugly, old, outdated picture from the thrift store.
And look what it got transformed into–> a fun holiday message board.
Want to see even more ideas on simple updates with Chalk Paint (that aren’t furniture??)
Check out this post, here!
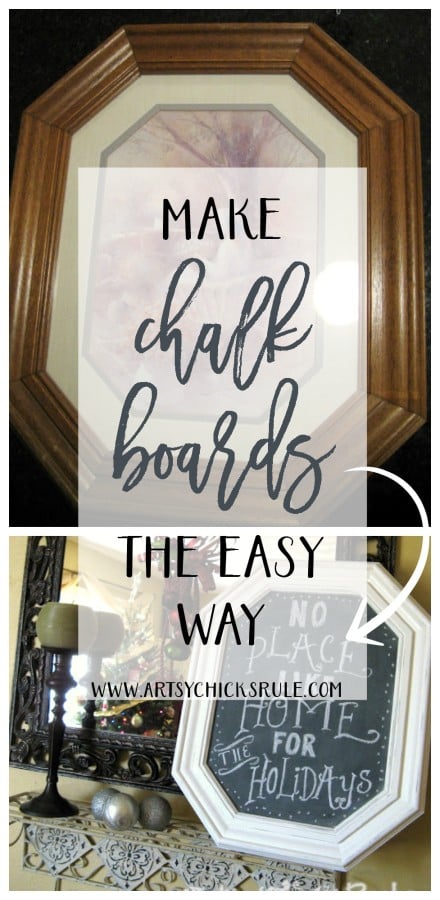
Be sure to PIN this to save for later! :)
Do you have chalkboards in and around your house?
Ever made one yourself?
Be sure to stop back in later to see how I use Chalk Paint on “all the things” besides furniture! ;)
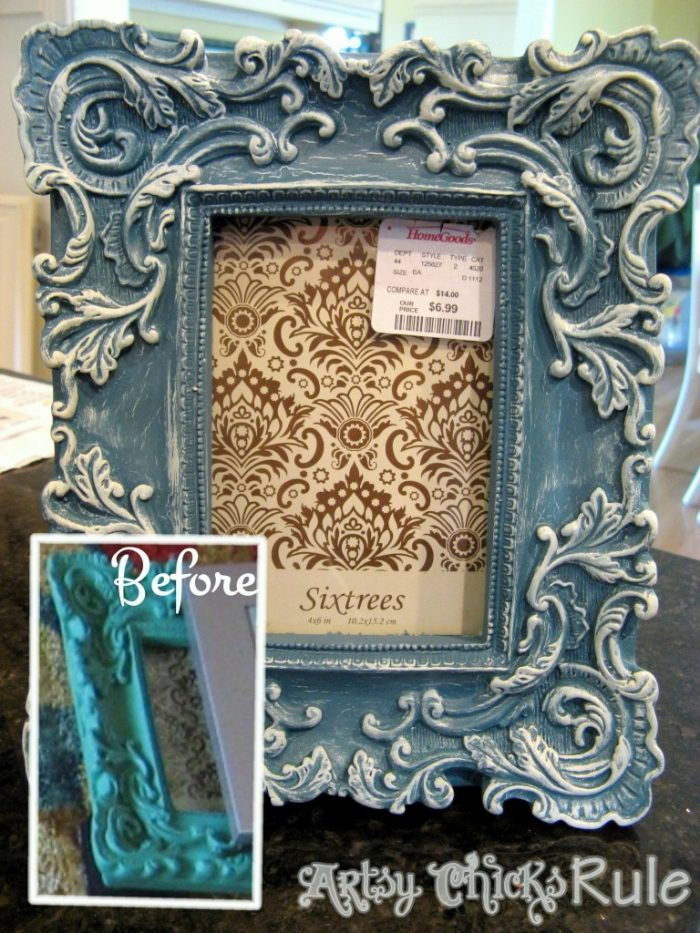
UPDATE!!! See all of them now, here!!
Get the “behind the scenes” and more when you follow along with me on Instagram!
PLUS be sure to sign up for our newsletter so you don’t miss any new projects or products I’m sharing!
Click here –> Yes, I’d like to join.






Thanks so much Nancy for sharing your creativity at It’s Party Time last week – I am featuring your gorgeous chalkboard on my blog today here! http://www.settingforfour.com/2012/12/features-its-party-time-12162012.html
Merry Christmas!!!
Thanks for the feature Heather! So excited! :)
Merry Christmas to you too!
Nancy
Hello, new follower here and I’d like to invite you to join me at my weekly Clever Chicks Blog Hop:
http://www.the-chicken-chick.com/2012/12/clever-chicks-blog-hop-14-baklava.html
I hope you can make it!
Cheers,
Kathy Shea Mormino
The Chicken Chick
Thanks for the invite Kathy! :) would love to!
Ooh I love a good chalkboard project! I just did my first one recently and now I’m addicted! :-D Such a great shape, too! Hope you’re having a great week, friend!
~Abby =)
Me too!! I’m addicted to anything I can put writing or graphics on! ;)
Hope you have a great weekend Abby!
xo
Nancy
Hi Nancy, love following you on Facebook. Had to tell you the craziest thing happened. I bought an old print at Goodwill with the intention of making a chalkboard with it. I was scrolling thru your posts when I came across the one on chalkboards. When I saw your print I had to dig mine out of the basement (haven’t gotten around to painting it yet) and it’s the very same one you used!!!! Wonder how many of those were made?? I have Annie Sloan graphite so I will be painting mine very soon. Thanks for all your great tips!
Oh that is too funny Renia!! :) I’m thinking they must have made a lot! ;)
Have fun!! I love chalkboards!
Nancy
Great idea to use the chalk paint for the chalk board! No chemical mess either!
Just adding a tip-the chalk can be sharpened with a pencil sharpener to be less “chunky” ,as you said. Cute project!
Thank you Gaylyn! :)
Great idea..thanks!!
Nancy
Can I use the chalk-pens on this? I hate the feeling of actual chalk, but I love the look of a chalk board… I am looking for one I can make and use with the chalk-pens.
Hi Kim!
That should work fine! :) I love the Chalk Paint pens and have used them several times on projects like this!
Nancy
Thanks for the great post! Just bought my first vintage frame and am getting ready to paint it. Just wondering if you sanded your frame first, or did you just paint directly onto the original finish? Thanks! :)
Hi Kristy!
Nope, I just painted directly on the finish. You can do that with Chalk Paint. (or really even spray paint if you choose to use that….just clean well first!)
Nancy
So, the other day I went to the thrift store looking for a frame to make a chalkboard out of. I hadn’t looked up any tutorials yet, but knew that it would be an easy diy. Today I was browsing Pinterest for this subject just to see what kinds of chalkboard paint people were using and stumbled upon your post. The hilarious thing is, that’s the exact frame with the exact tired old art in it that I picked up the other day. How funny that we both saw this frame and thought, “that would make a great chalkboard”???? Haha. Amazing.
Oh that’s too funny Drea! :) They must have made a bunch of these because you are not the first (or second) person to tell me they found one!
But it is a great shape for a chalkboard! Have fun!!
Nancy
I happened upon the same frame with the same picture in it at a Habitat for Humanity resale store I hope mine comes out as good as yours did.
Oh how fun! I am sure yours will! :) Have fun!
I would like to suggest you paint the glass while you have it out so you don’t make a mess while painting the frame! You don’t want white on the glass to scrape off and you certainly don’t want charcoal on your white. You can easily take the nasty print out and then paint the other two pieces separately.
Yes, you are right, can be done that way too!!
So you paint the chalk paint right on the glass?
Yep! I’ve painted mirrors too. :) Chalk Paint works great on both.