Coastal Christmas Home Tour – Part 2
Hey Friends!
I’m back today with Part 2 of my Coastal Christmas Home Tour. :)
Today it’s the kitchen, dining room and guest bath.
I don’t have a bunch to share in each because I really did keep things more simple this year.
I love an overly decorated home at Christmas, hee hee, but I just craved simplicity this year.
Just enough.
I can tend to go overboard some years. ;)
Before we get the show on the road, I’m going to leave a link to Part 1 of the tour in case you missed it.
Coastal Christmas Home Tour Part 1
I’ll also be linking all the projects I’ve done over the years in the text below.
So if something interests you, be sure to click the highlighted link to hop over and check it out. :)
I will also include a few affiliate links at the bottom so similar items in case you don’t want to make your own.
Or if there is something I found and loved. See my disclosure here.
Here’s what’s happening in my kitchen this year…..
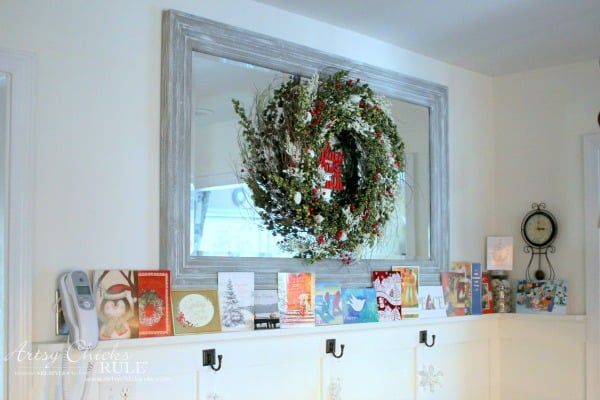
My mirror, that I painted and relocated recently, decorated with the wreath I made. (I’m sharing the wreath DIY in the new year :) )
I used the ledge for cards in previous years and I really love it for just that.
So, it got “decorated” with Christmas cards again this year.
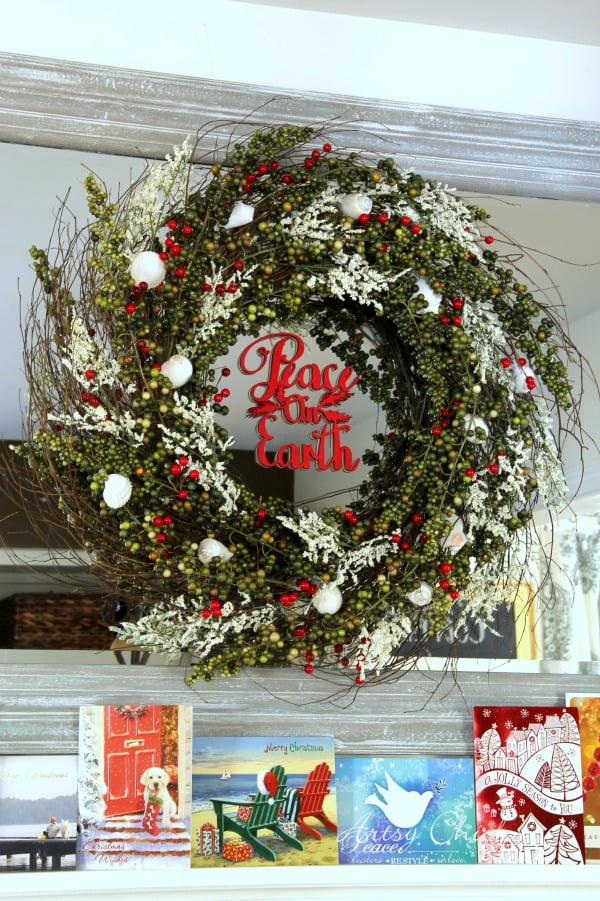
And like I mentioned in Part 1 of my Coastal Christmas Home Tour, I added red berries to the wreath.
Such an easy an inexpensive way to add Christmas cheer!
And I’m all about both of those….easy and inexpensive. Two words I love. ;)
The “Peace on Earth” came from Michael’s and is just one of their little wood cutouts.
I sprayed it with red paint and attached it to the mirror with double sided sticky tape.
Which lasted about a week! ha
So now it’s sitting on the inside of the wreath.
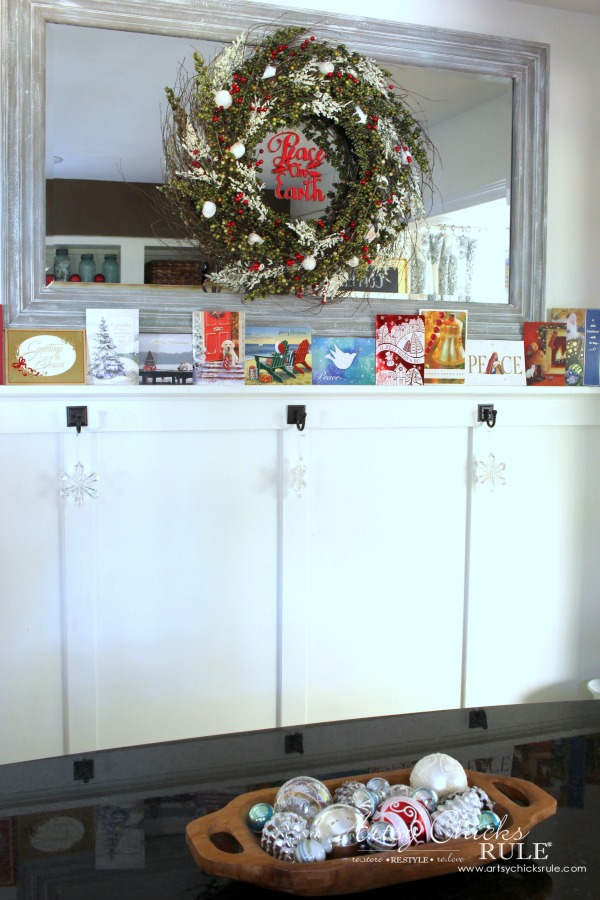
I filled my little wooden bowl with pretty ornaments.
That’s another inexpensive way to add some cheer around the house.
Like I said, I kept it simple.
I did also put this chalkboard (with these words still on it ;) ) from last year on top of the fridge but forgot to take a photo.
Oopsie

You can get the printable and and see more details here >>> “Eat, Drink & Be Merry”
My kitchen on the other side looks just like last year…
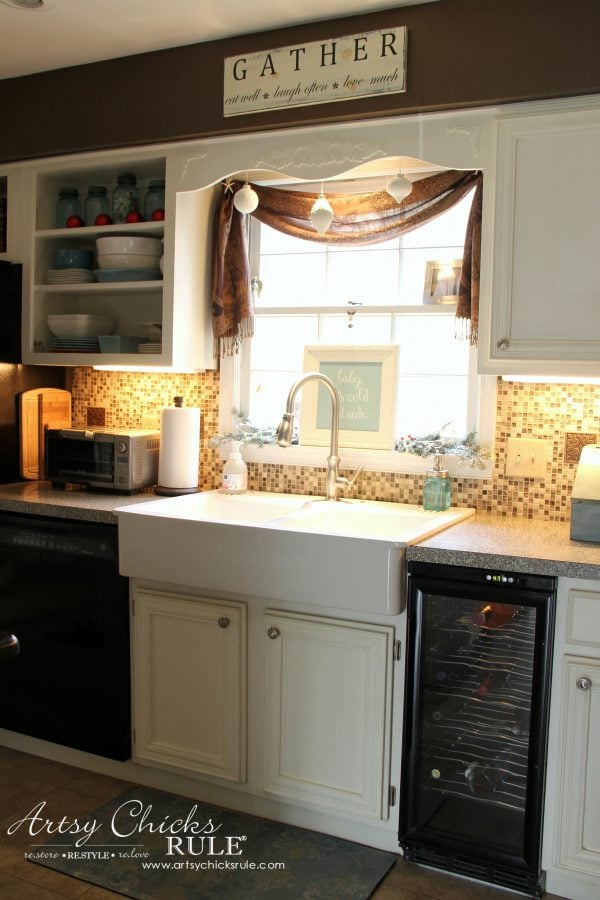
…. but not for long! ;)
The brown paint is getting painted over with the same Sea Salt I used in the family room.
And a new tile back splash, new counter top and bright, white paint on the cabinets is also in store.
I can NOT wait to get started!
The Dining Room….
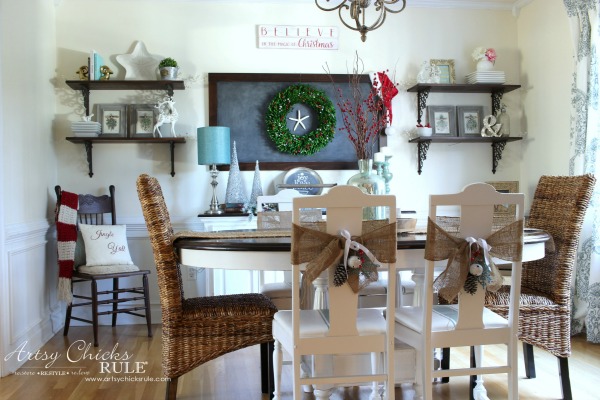
I moved my table around.
It used to be end to end with the natural, woven chairs on each end facing the kitchen.
I LOVE it this way. It feels SO roomy.
I’m also love, love, loving the newly painted dining room furniture and chairs…even the seats.
Details on all of that is here >>> “Easy Furniture Makeover”
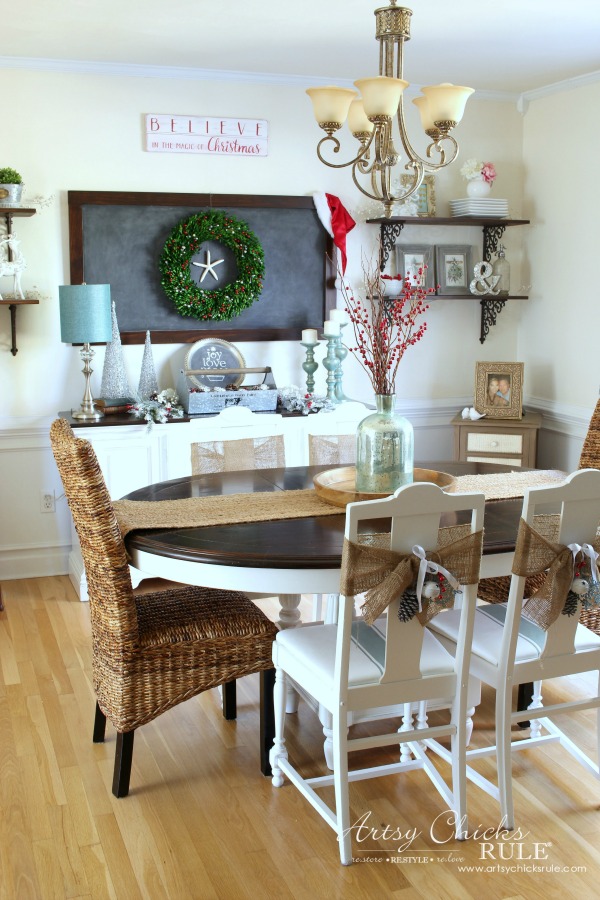
You may recognize some things from past years.
You can check them out here, Room Tours.
The chair decor is actually something I made 3 years ago now and have used every single year since!
I LOVE them. (obviously!)
And I added the little red berries to them last year y’all. ;)
You can find the “how-to” on them and a few other things I made that year, here >>> “Easy DIY Holiday Decor”
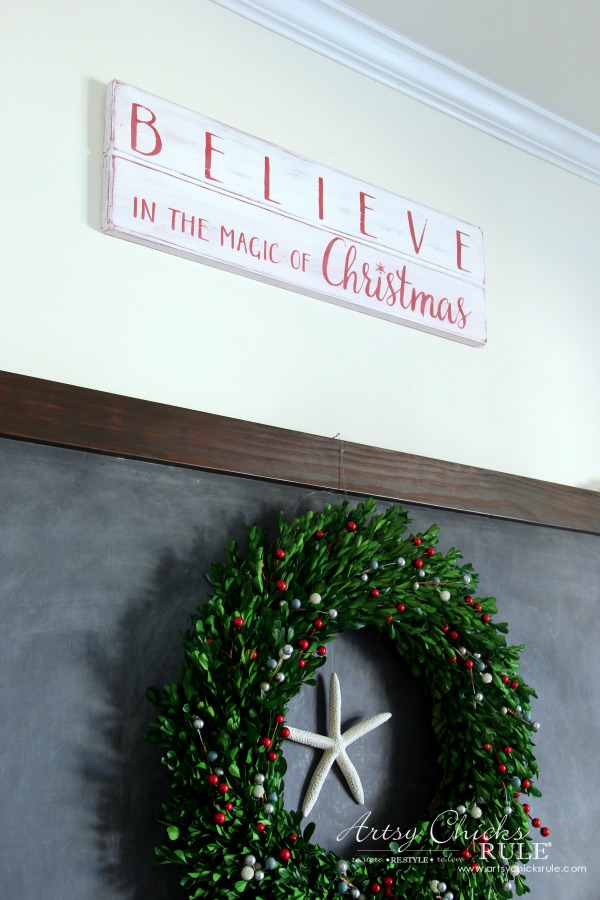
You may also notice I removed the “Grateful, Thankful, Blessed” sign and replaced it with the “Believe” sign I painted last year.
Here’s where I hung it last year…
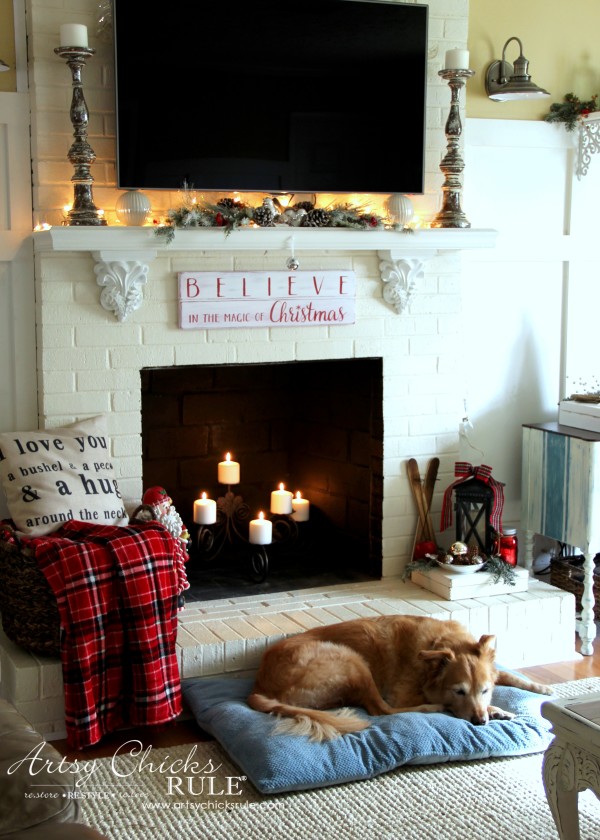
With my sweet, sweet Lexi. I miss her so. :(
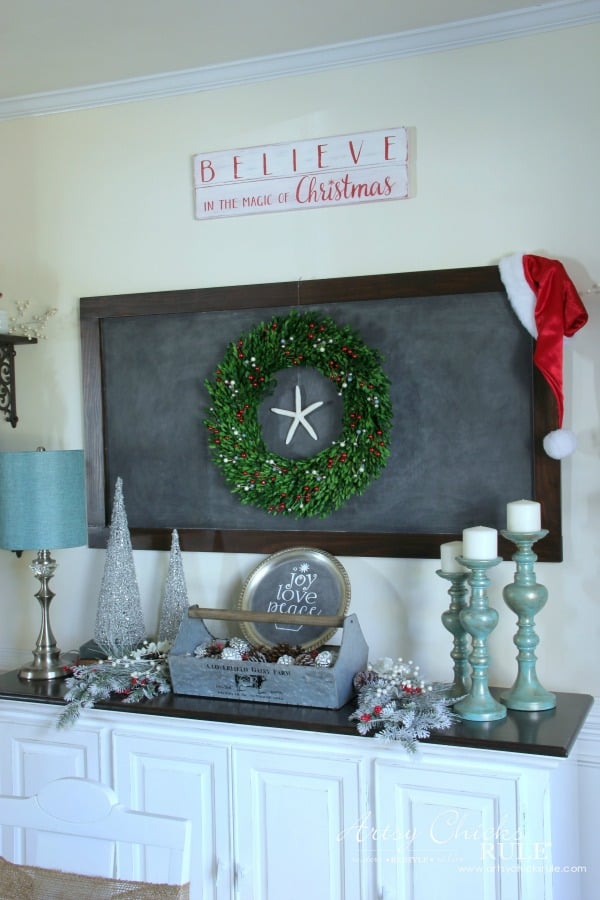
I really like it up here, front and center.
I’m actually going to be putting the “Grateful” sign in the kitchen were the “Gather” sign is now.
I have plans for an all new “Gather” sign in the new year. Much larger and a totally different design.
Can’t wait to get it made and share with y’all. :)
And again, I added some white and red berries to my year-round wreath.
Simple!
A little Santa hat on the side and done.
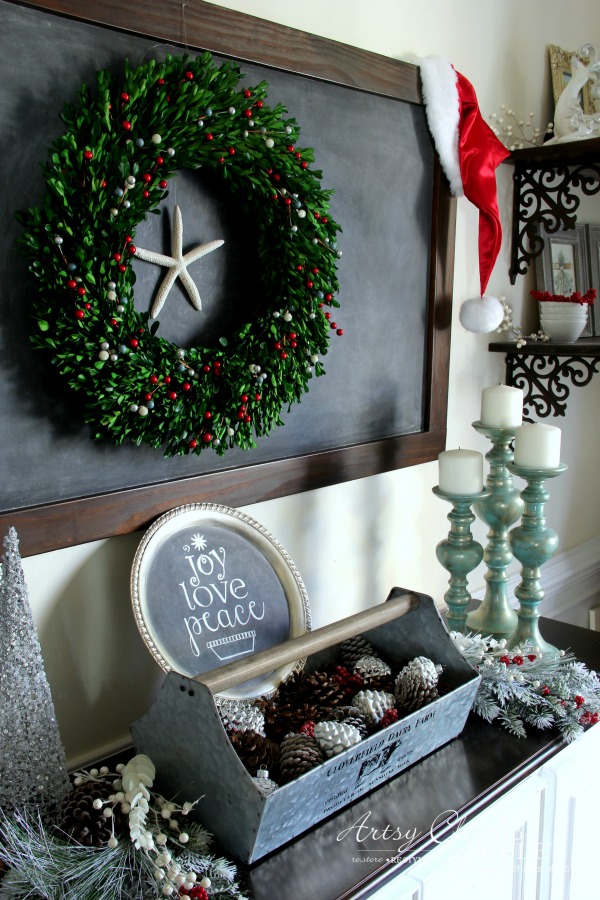
I simply filled the farmhouse tool box with pine cones, ornament pine cones and red berries (surprise, surprise!! ;) ).
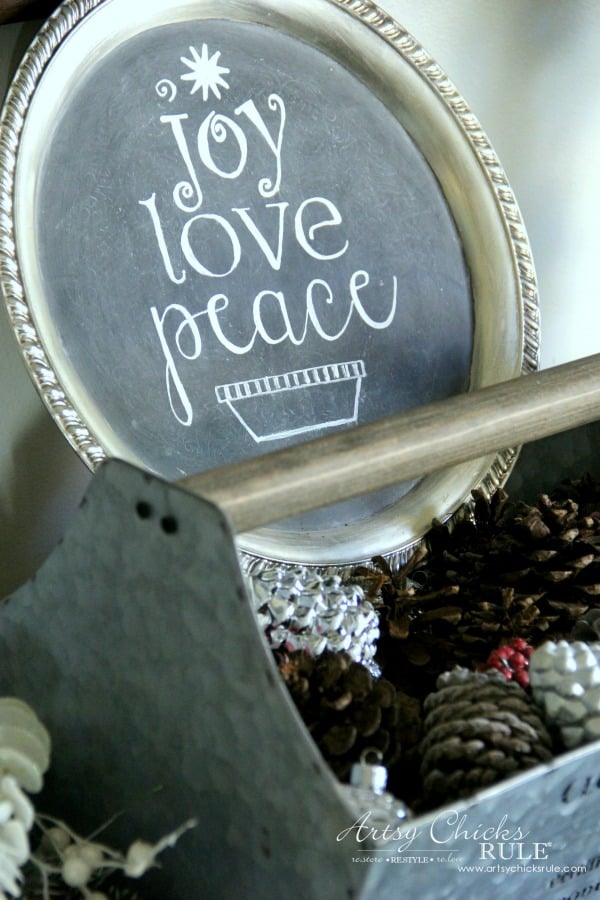
The “Joy, Love, Peace” chalkboard platter is one I made a few years ago.
You can find the printable and all the details here >>> “Easy Holiday Chalk Art”
My “DIY Farmhouse Shelves” also got a bit of cheer.
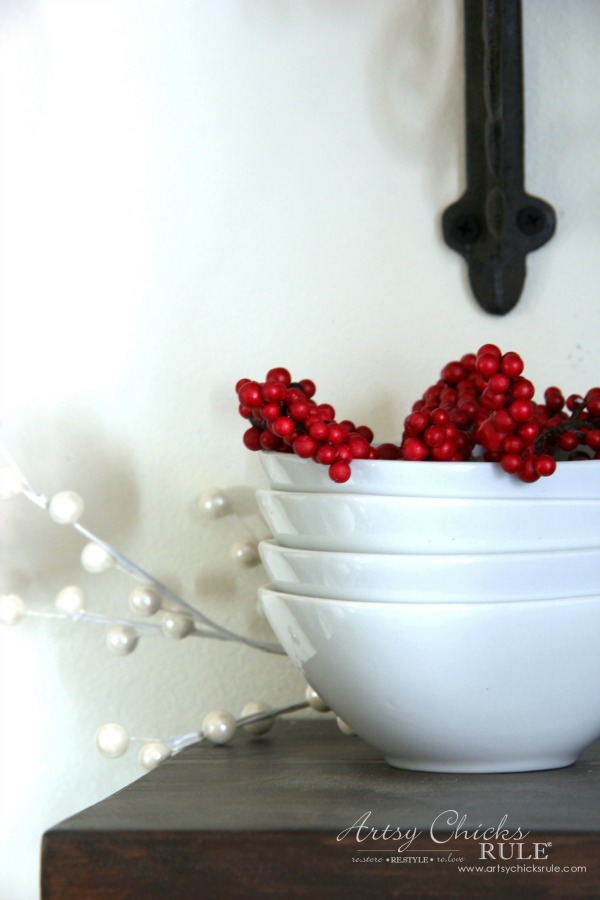
My fancy reindeer from last year and guess what else?? … red berries …and white berry stems too.
My little thrifty makeover sign, “Merry & Bright” got hung on my “Wine Rack Decor“.
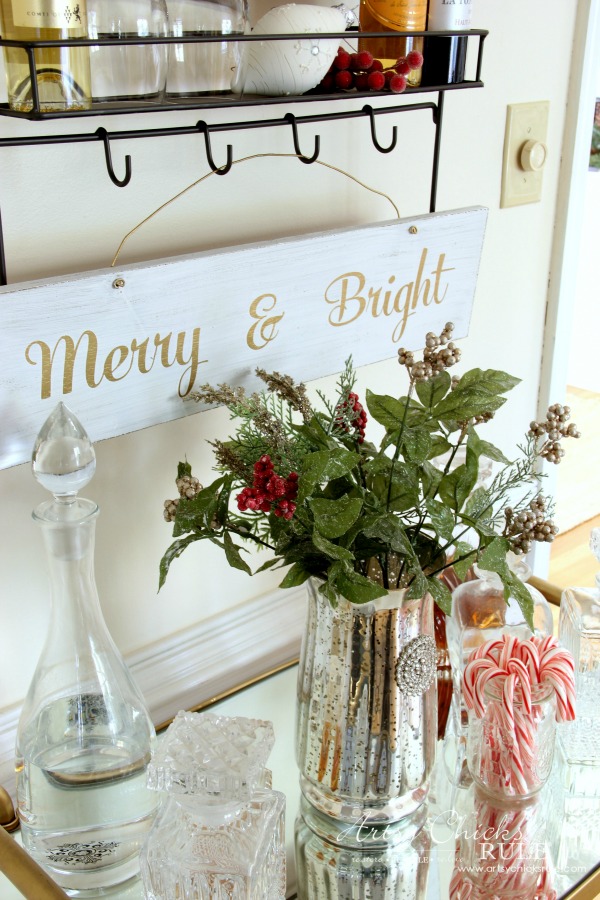
I added an ornament and a red berry swag to the shelf above.
I put one of my mercury glass vases in the middle below with some holiday greenery and candy canes.
The sign, with the gold lettering, seemed a perfect fit there.
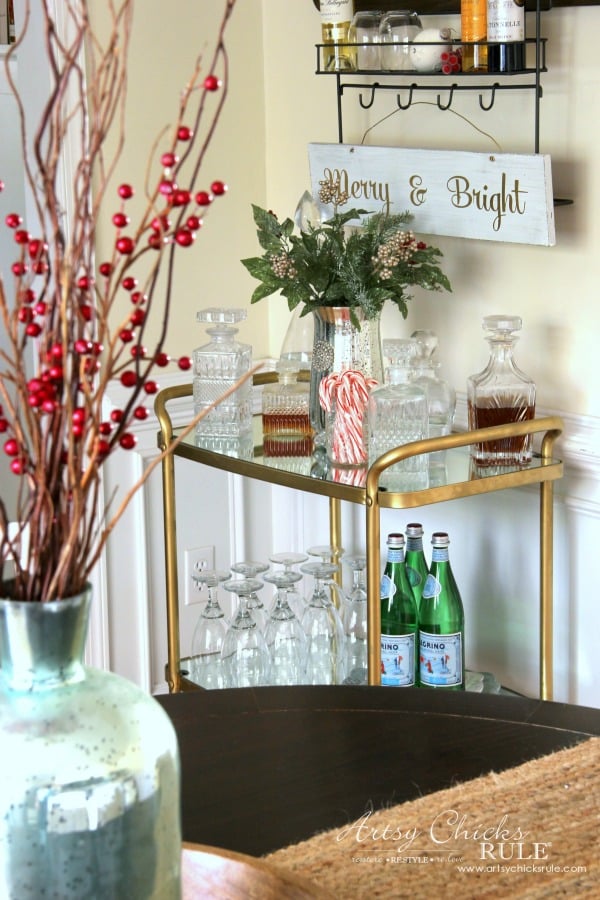
For the table centerpiece, I simply added a few red berry stems to the vase.
The Coffee Bar ….
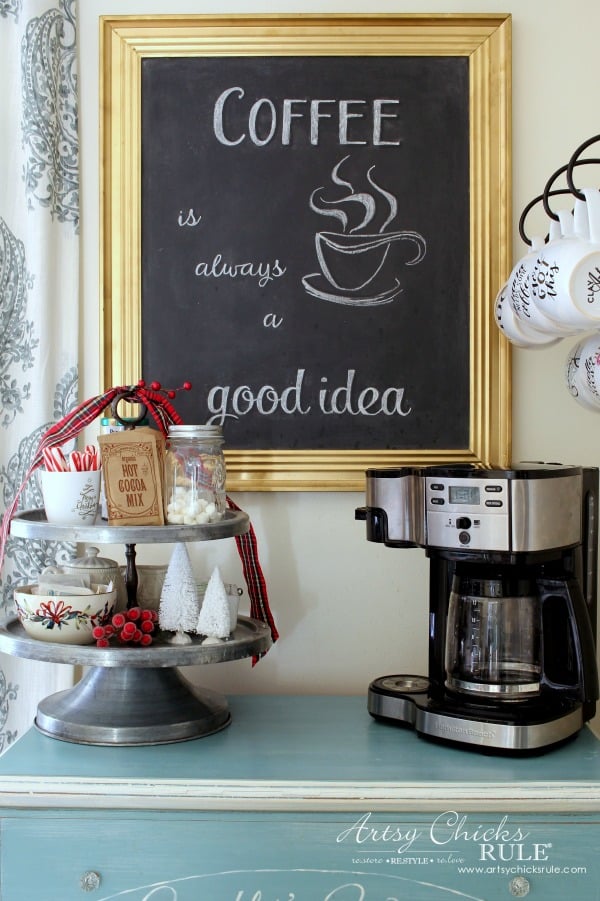
I added a plaid ribbon, a few berry swags and some candy canes (dollar store).
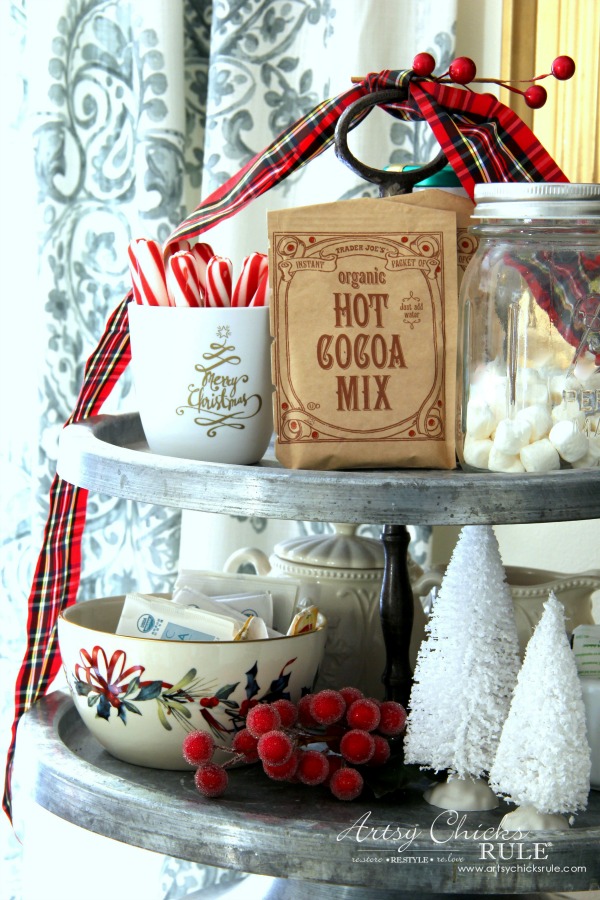
Oh and I also pulled out a holiday dish and filled it with tea bags.
Hot cocoa fixings are a necessity too.
I didn’t buy much new this year but did get a few things like the “Merry Christmas” candle holder that I filled with candy canes.
It and the little white trees came from Michael’s and were 50% plus I had a 25% off.
Can’t beat that!
The Guest Bath…
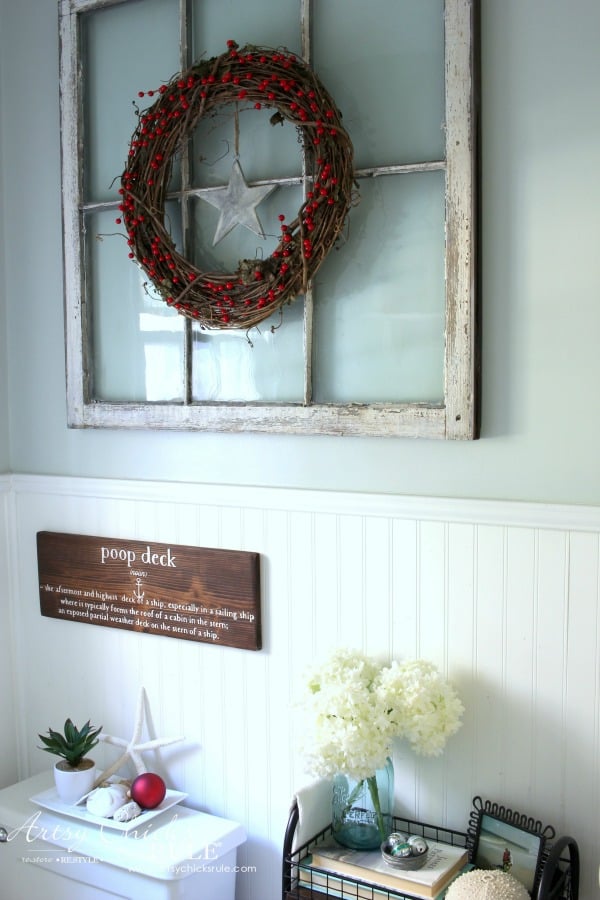
Again, simple was the name of the game this year.
I very simply added a few red berries to the grapevine wreath, a red ornament to the dish below and a few tiny Shiny Brites in the lid to the right.
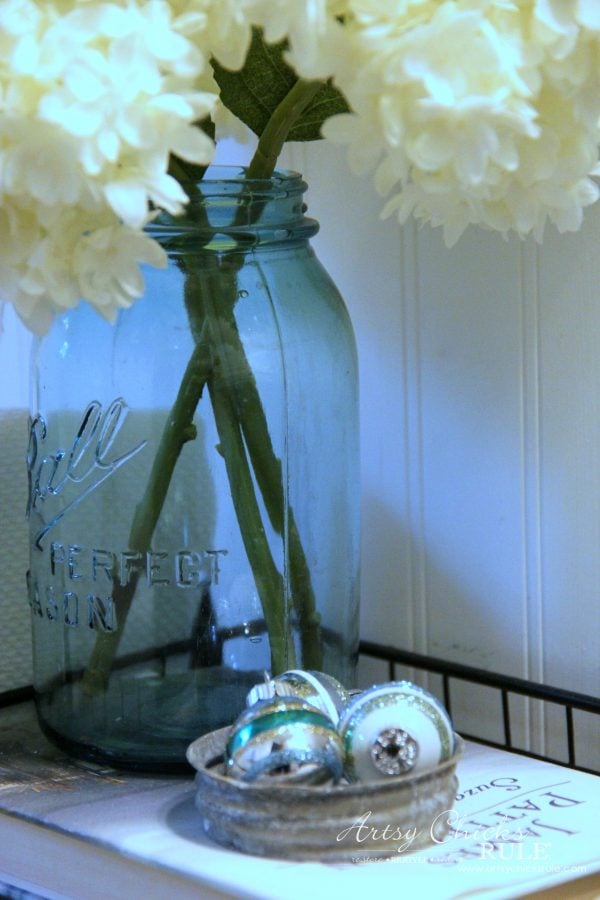
Small little touches here and there.
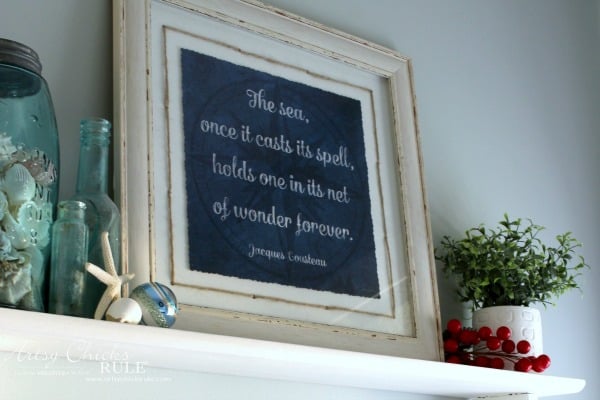
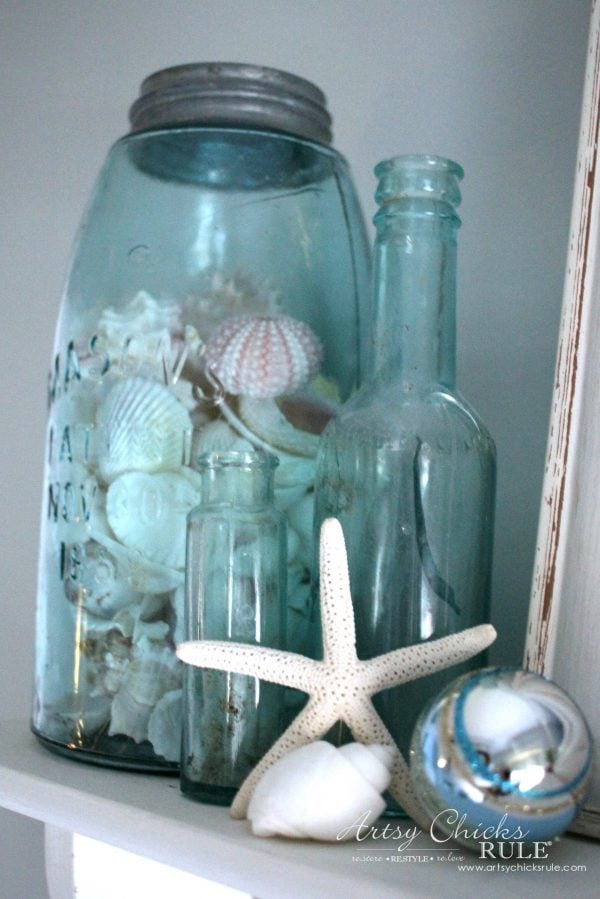
Another little Shiny Bright ornament and a red berry swag.
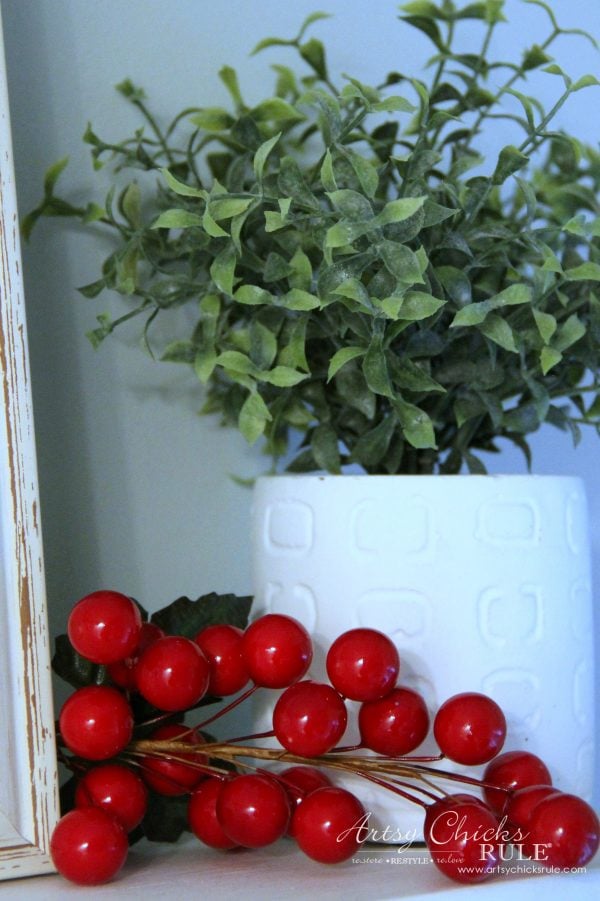
I grabbed a bunch of these little red berry swags at Micheal’s when they were 75% off.
Love putting them in and around the house.
I hope you enjoyed Part 2 of my Coastal Christmas Home Tour. :)
I love sharing how I use the same decor, year after year, in different ways or locations.
Plus, decorating shouldn’t cost you a fortune! You can definitely do it on a budget.
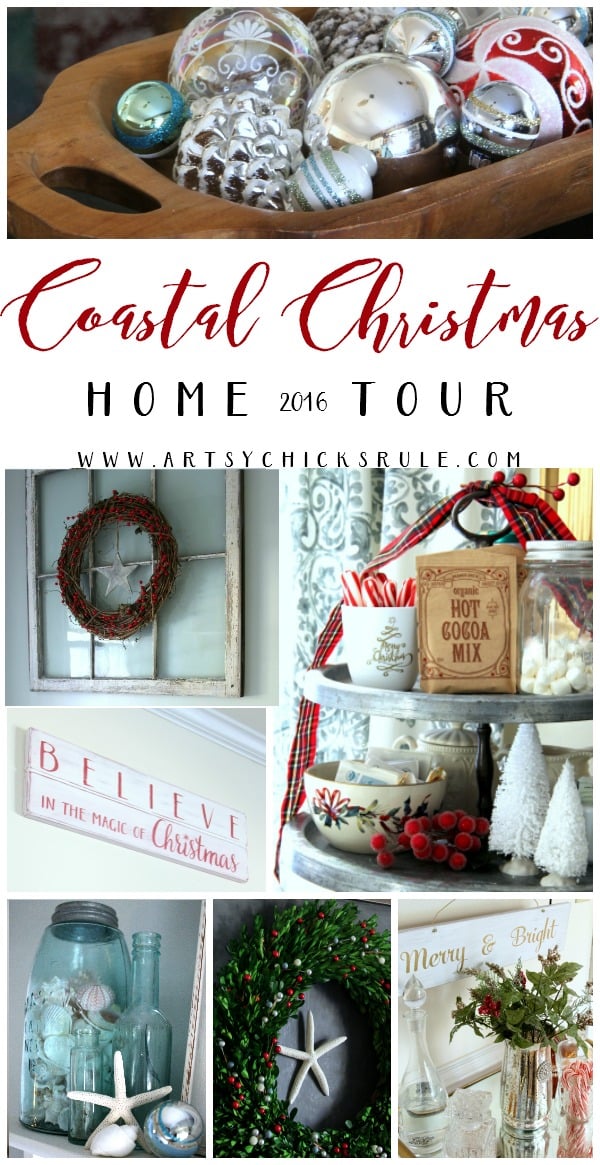
PIN this for later for more Coastal Christmas Home inspiration!
I’ll be back next week with a brand new furniture makeover that I just LOVE! (I used a brand new Chalk Paint color :) )
And I’ll also be sharing my foyer, study and porch in the last part of my coastal Christmas home tour. >>>> (UPDATED: You can see it now, here >>> Coastal Christmas Home Tour, part 3)
Don’t forget to visit my decorating friends below so see what they are sharing!

Christy @ Our Southern Home
Laura @ Duke Manor Farm
Debbie @ Refresh Restyle
Shanna @ Restoration Redoux
Want even more inspiration?? Hop on over and visit (or join) our >>> Facebook group for decorating enthusiasts!
It’s a wonderful group, see you there! :)
Have a wonderful weekend friends!
xoxo

Here are a few similar items…




It’s so fun to see all the projects of the past! Love your dining room table turned as well…can’t wait to see what changes you make in the kitchen! XO
It is! I didn’t even use them all since I decided to keep things simple this year. But they were fun to make. I didn’t make a thing new this year! I’m thinking next year I will get creative again. ;)
And yes, I cannot wait to get on that kitchen! xoxo
VERY PRETTY. WELL DONE.
IN SUMMER I GO TO A FEW FRENCH FLEA MARKETS AS I ONLY LIVE 10 MILES FROM FRANCE. I SOMETIMES BUY VERY UNUSUAL STUFF AND NEVER QUITE KNOW WHAT TO DO WITH IT. LOOKING AT SOME OF YOUR TRANSFORMATIONS IS QUITE AN EYE-OPENER. THANK YOUXXX
Thank you Elizabeth :)
Oh how lucky you are!! I bet you find all kinds of interesting and wonderful things there. xo
hey girl love the tour! So pretty!
Thanks Shawnna! :) Happy (almost) weekend to ya!! xo
i love all your signs nancy! i cant wait to see the changes to your kitchen. we are doing a huge reno next year to, to our bathroom. happy holidays sweet friend. Precious picture of Lexi. hugs
Aw thanks Laura! I can’t wait to get started. And I can’t wait to see what you guys have in store for your bathroom. I’m so ready for a few changes around here. :) And yes, thank you, my sweet girl Lexi. Happy Holidays to you and your family xoxo
Beautiful, Nancy! I love the Christmas cards visible to enjoy. That bar cart and coffee bar area are perfect! Your created such a magical Christmas home!
Thanks Christy! I thought that was the perfect place to display them! :) xoxo
Hi Nancy! Your tours are beautiful! Your tree is STUNNING, and your photography is over the top!! I hope you guys have a Merry Christmas! I’m going to check out the FB group!
Thanks so much Julie! :) And wow, thank you…I struggle with the photographing!;) So that is so nice to hear! Muah!!! xoxo
Beautiful! I love your collection of pretty holiday wreaths throughout the tour. Your coffee bar dressed up for the holidays is fabulous. Now about that wine fridge…look’n kind of empty there girl. ha ha
Haha!! Yep, I need to fix that!! ;)