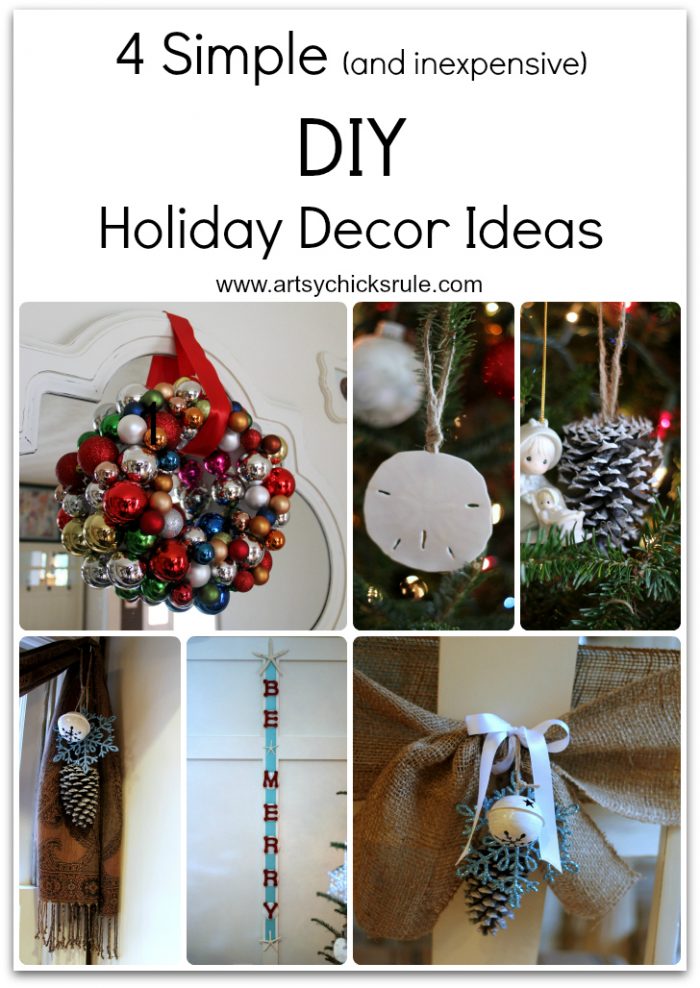
Easy DIY Holiday Decor Ideas {how-to}
If you guys caught my Holiday Home Tour Part 1 and Part 2, then you know I made quite a few of the DIY Holiday Decor items that I shared with you all.
These are all so super simple and basic I thought I’d combine them all here in one post. (the more detailed ones are in separate posts)
First up….
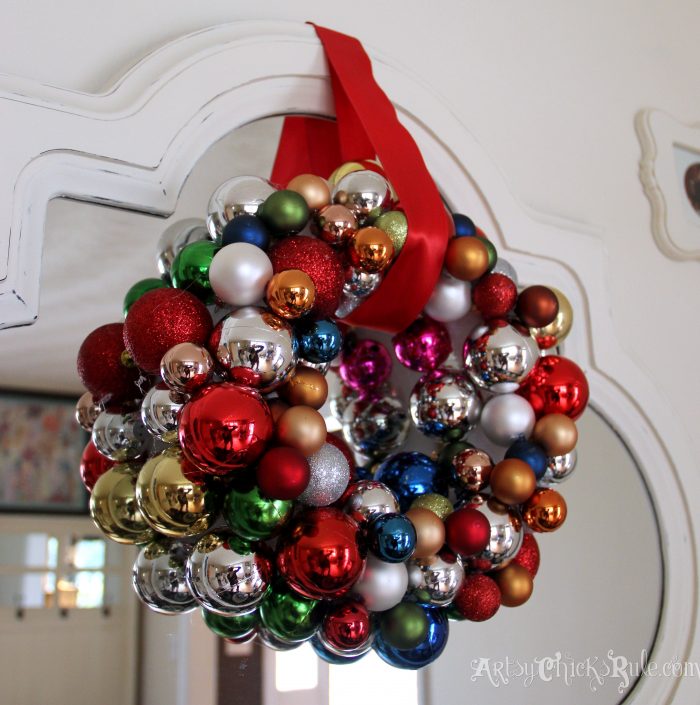
The Wreath:
Here’s what I started with…..(and some other random ornaments I got from the thrift store)
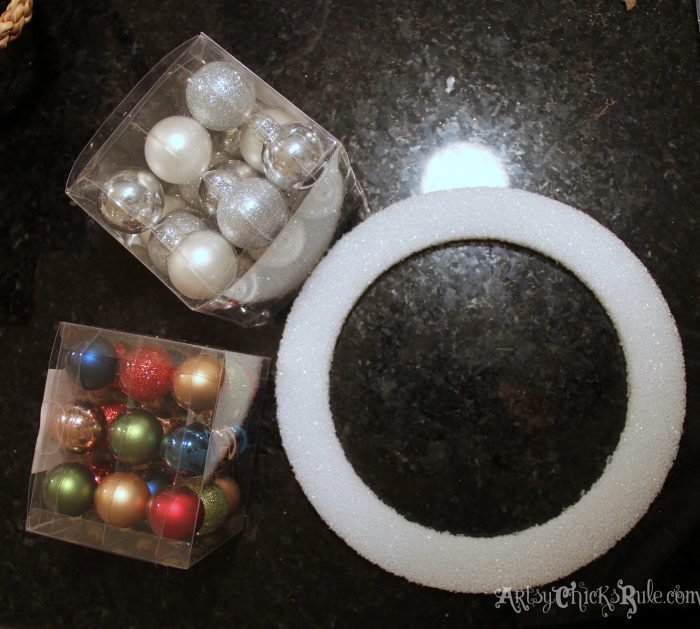
Now, I will tell you, I don’t have great pictures of the actual “doing” of most of these projects and that’s because I was racing to get done for my Holiday Home Tour.
BUT, I promise, they are all super simple or I wouldn’t even bother posting without a full pictured “how-to” post.
For the wreath I just used a hot glue gun to glue the ornaments around the sides (with bottoms down-hook side-) and filled in the rest. No rhyme or reason really.
Just where ever there were empty spots…I filled them in!
I chose random sizes, colors etc, as I went around. I don’t really think there is any way to really go wrong with this.
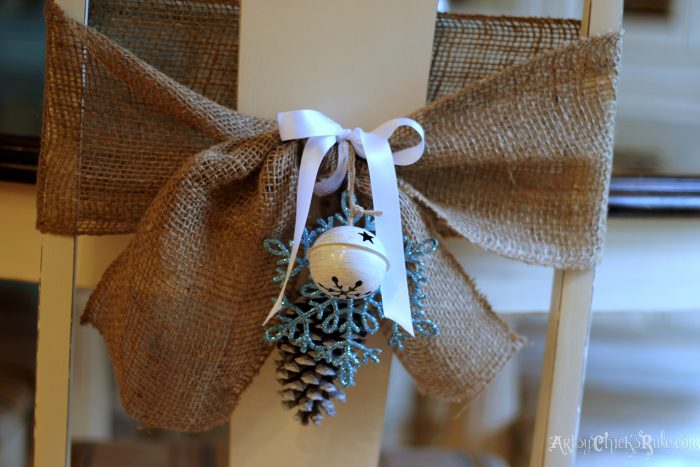
Window & Chair Decorations:
I started with this….
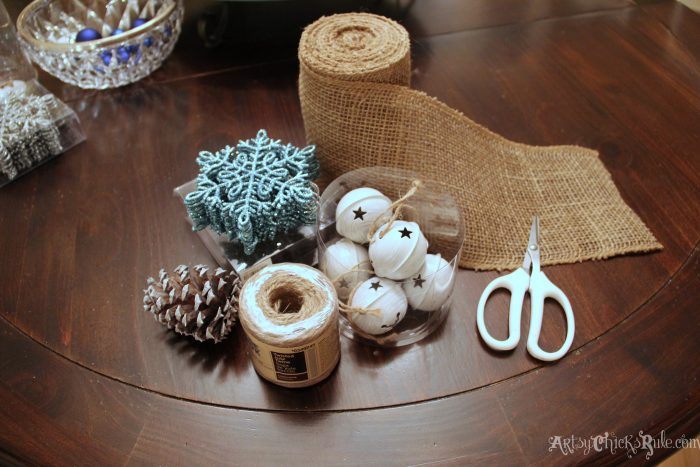
I cut a length of burlap to wrap around the chair and then tied it in a knot so I’d have a little length left on each side…like so….

Next I cut twine to loop the jingle bell and ornament through.
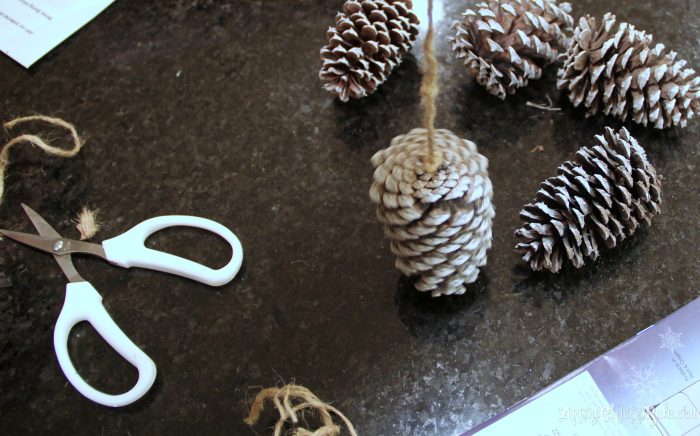
Then I hot glued a long length of twine to the center of the pine cone like this…..
I wrapped the pine cone around the middle of the knot in the chair and tied it. (hide the extra behind the knot in the burlap)
Then I took the jingle bell and ornament I had looped together and did the same with it, adjusting the length so they all staggered a bit.
I decided to add some white ribbon to dress it up a bit. I just wrapped it around the knot and tied the ribbon.
Super simple.
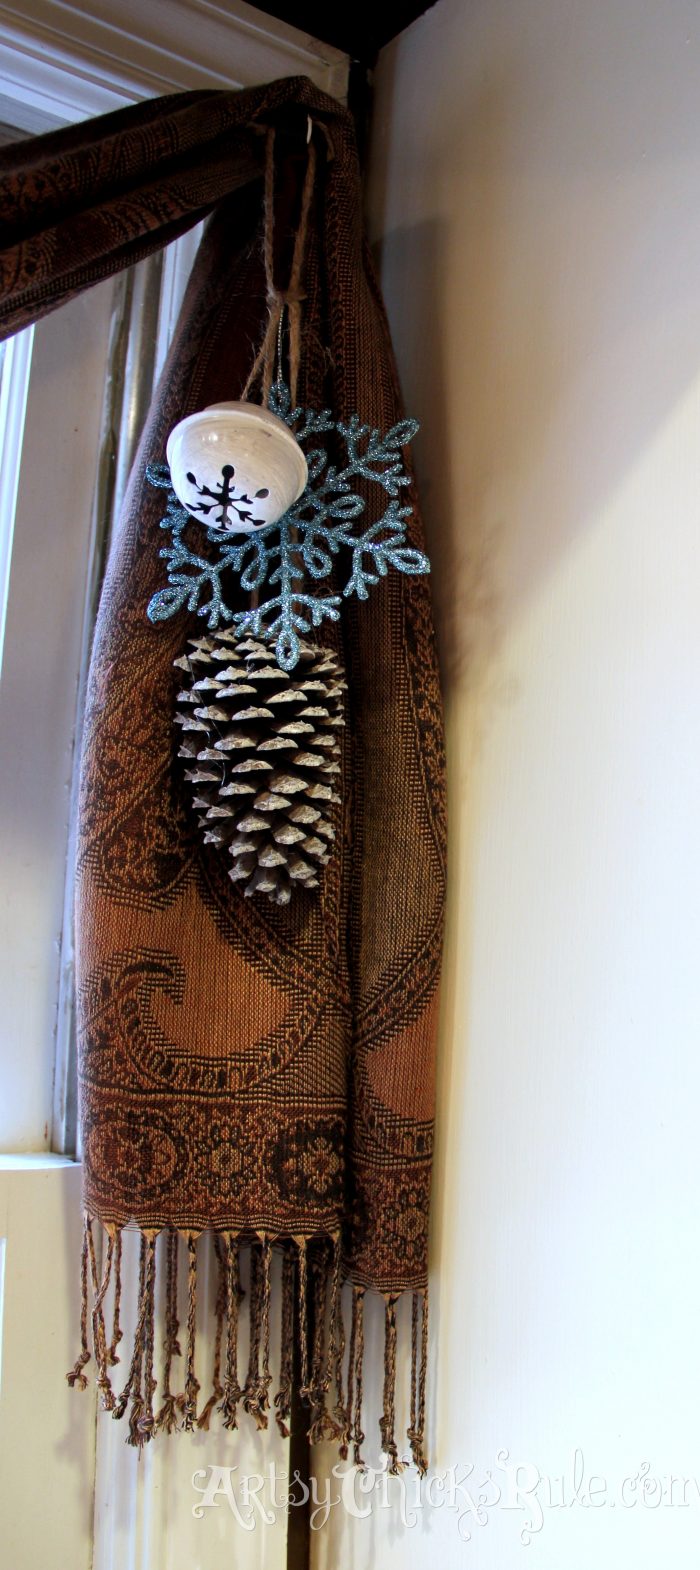
Did the same for the ones I did on my windows except no ribbon or burlap.
Easy Nautical & Pine Cone Ornaments:
I found the pine cones in the woods behind my house. Lots of them. ;)
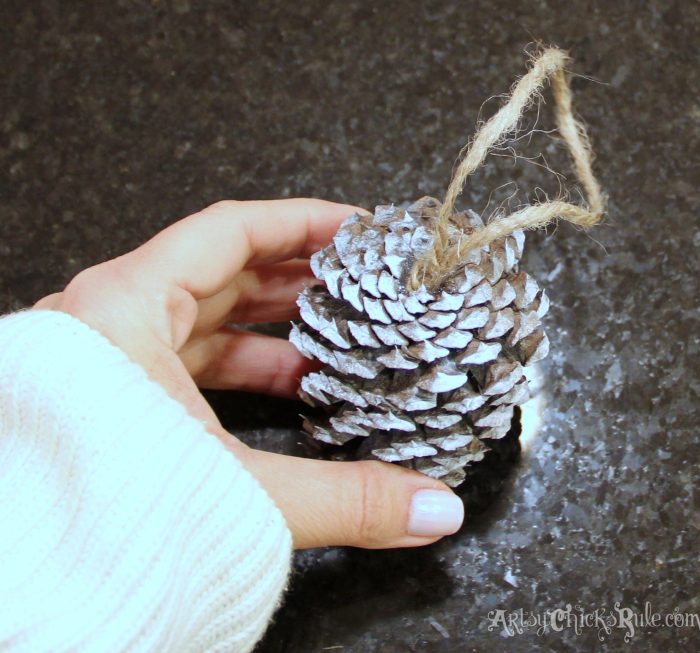
I sprayed them all lightly with white spray paint to give them a “snowy” look.
For the ornaments, I made a loop with the twine and knotted it as you see below. I used a hot glue gun to glue the knot to the center of the cone. And done.
For the seashells, starfish and sand dollars I did basically the same. Loop and knot. Hot glue to the back like so….

Which ended up looking like this from the front…..
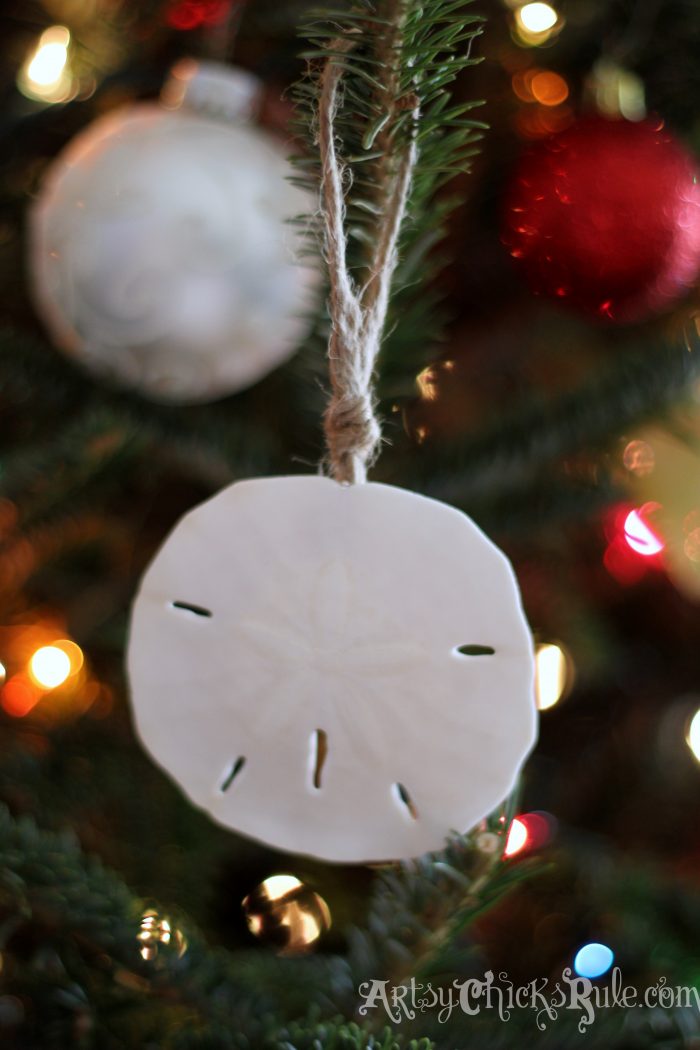
Can not get any easier than that!
“Be Merry” Wall Hanging:
Here’s what I started with…..
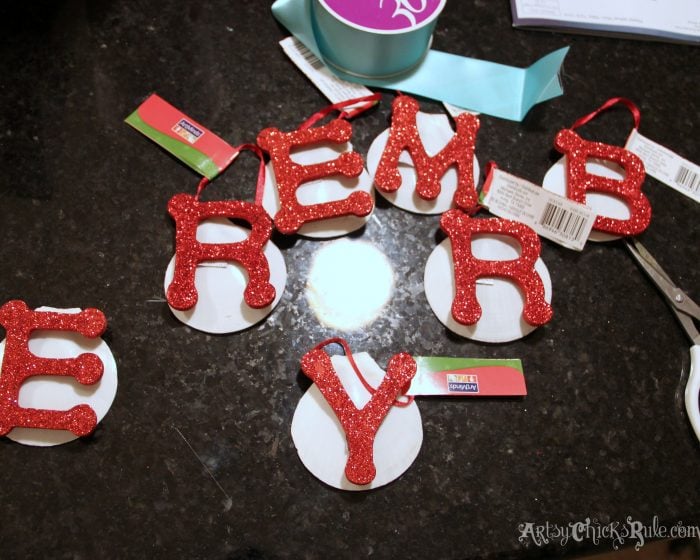
White seashells.
I have no idea what kind they are but they were more flat-ish so I used them.
Red, sparkly letters I got at Michael’s….60% off. And pretty teal colored ribbon.
Hot glue the letter to the front of the shell as shown. (cut the strings off)
Then cut your length of ribbon (however far apart you want your letters to be)
Hot glue the shells/letters to the ribbon like below….
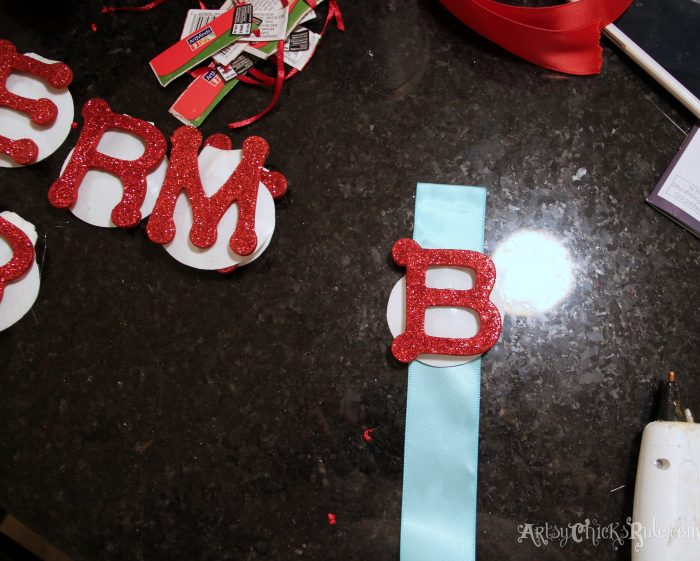
I folded over the top and bottom of the ribbon and hot glued it to itself so it would have a nice smooth edge.
Once I finished gluing the letters to the ribbon I glued the starfish to it. (top, middle and bottom)

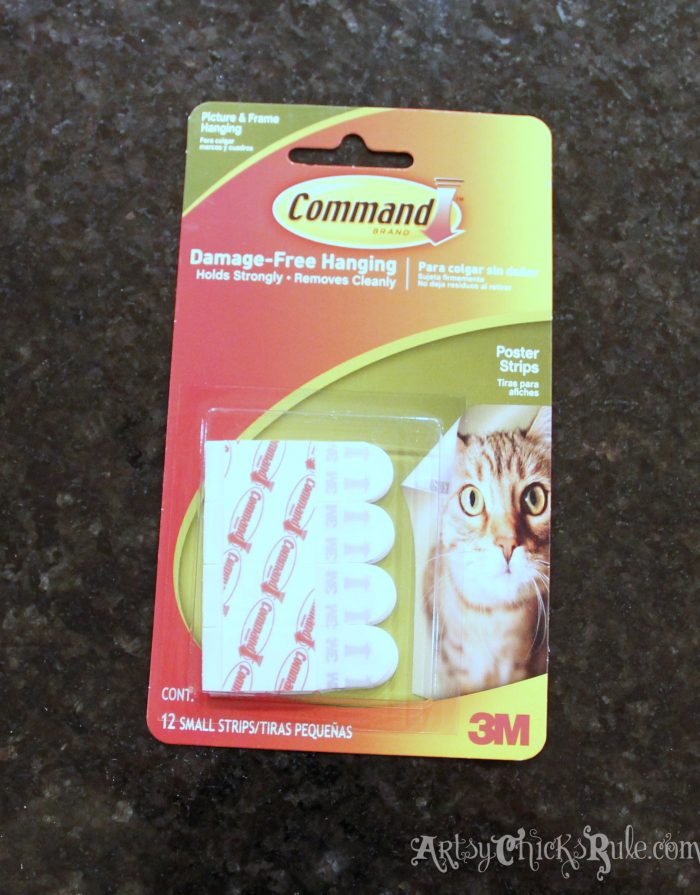
And then I used these to put it up on the wall…..
EASY.
Every single thing on this post. Promise! I completed all of it in one evening’s time.
Well, that could have been partly due to self induced stress and pressure to get it done. ;) But you get the idea….easy stuff.
I hope you try one or two of these! If you do, please let me know how it goes.
And if you have any questions about any of it, feel free to ask in the comments section.
Holiday home decor….simple and easy (and inexpensive too!)

Have you been keeping up with the fun 12 Days of Christmas Home Tour??!!!
Only a couple days left, don’t miss it! Tons of inspiration and Holiday Goodness!
Be sure to follow me on Instagram if you don’t already!
I always post projects and things I’m working on (like this one)
long before it hits the blog…..
….plus lots of fun random daily things too.


")

These are great Nancy! I just shared on my FB page. Love that they are quick and easy!
Thank you Karen! :) They really are simple!
And thank you for sharing on you FB page!!! xo
Nancy
Thanks, Nancy, for all the great ideas and tutorials! I have been wanting to make one of those ornament wreaths. Yours is gorgeous! I also love the burlap around your chairs. I think I will do that, too… if I ever finish painting them, that is! XO :)
Hi Karen!
You are so very welcome. :) Oh yes, they are both super simple. I am so much loving the burlap dec on the chairs that I’m trying to figure out a way to have them there all year long!ha (without the ornaments of course..something else in their place)
xo
Nancy
Such simple pretty ideas Nancy – I love the embellishments on the back of your chairs!
Thanks Krista! I am trying to figure out a way to keep them all year! ;) The chairs are going to look so plain without them!!
Nancy
I loved these ideas! I live on the coast and a good friend of mine makes shell ornaments. Needless to say, I shared with her.
Thank you Nancy :) Oh yes, do share! These were super simple to make!
Nancy
I love all of these projects. It’s great to craft really nice thongs that don’t take forever to make.
Thanks so much Paula! :)
Nancy
These are all so cute! I can’t figure out why they have a picture of a cat on the box of those hanging things though. That kinda sends the wrong message….
I especially love the “Be Merry.” :)
-andi
LOL Andi! I read your comment from my phone and was like wha? Cats??? Hahaha……had to look at the post to see. But yes, the cats on the 3m strips, too funny. And I totally agree!!!!
Nancy
Talk about being busy! You’ve been crafting away! I love those chair ties! Pine cones are the bomb! ~Christy
Ha, yes, all crammed into a week or two’s time! ;) (or less!) I love pine cones too…so glad they are right in my back yard to decorate with! ;)
Nancy