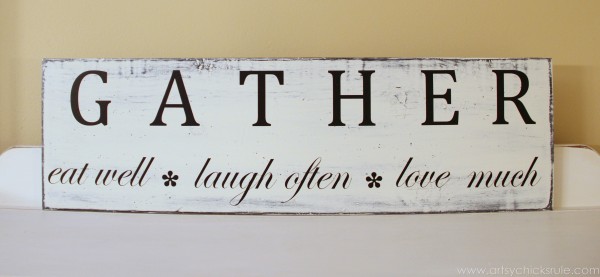
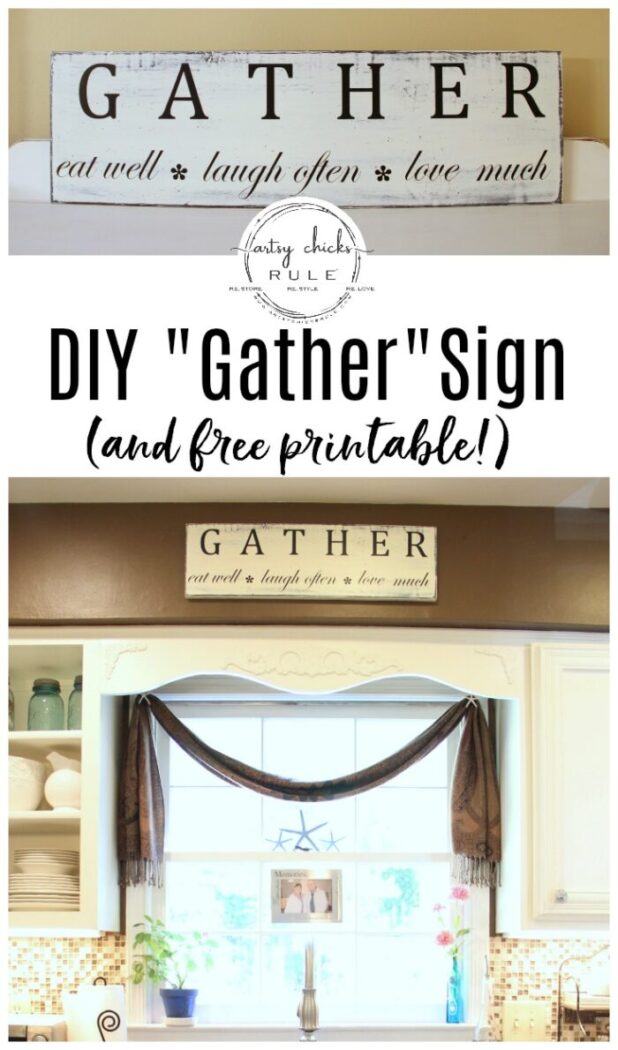
“Gather” Kitchen Sign (with Silhouette Cameo)
This sweet GATHER kitchen sign is made so simply using a Silhouette Cameo!
If you read my blog you guys know how much I love making signs or just about anything with graphics and lettering.
I’ve done so many and have so many that my husband has even said to me… “I don’t think we need anything else in the house with words on it“.
Ha! Silly man.
Anyway, I have various methods of doing this lettering as you can see by taking a look at a few of my projects.
Or this post of all my transfer methods, here.
But today….. I’m sharing with you a super simple way of making them.
And I’m also sharing with you the Silhouette Cameo that will do SO much more than that.
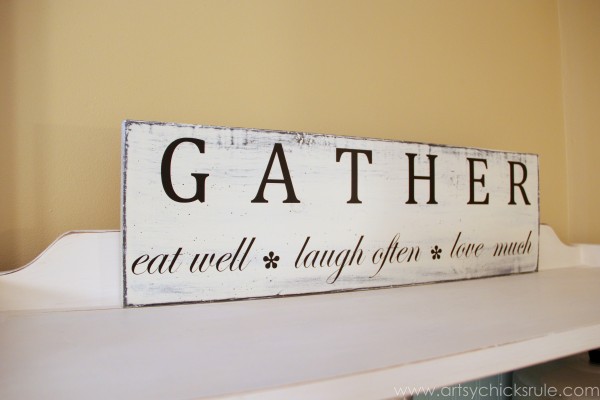
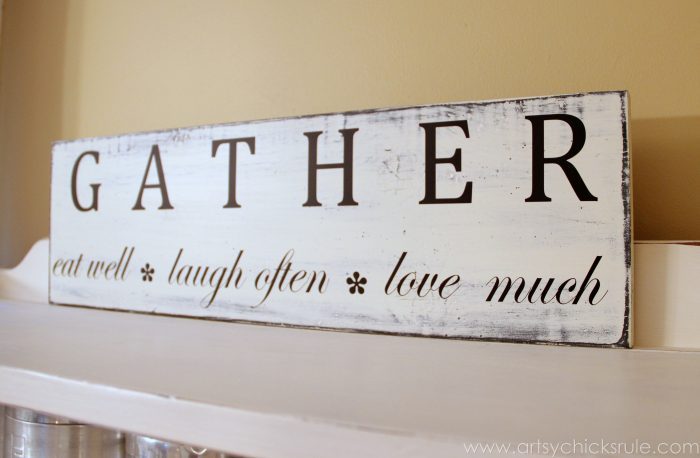
Here’s what I made:
I was originally planning to create a custom stencil but changed my mind mid-stream. (I never do that….ever …ha! )
I decided to use the vinyl kit for this project instead.
So I got busy and loaded the included software cd onto my laptop. Easy & painless.
Then I watched the instructional video that was also included. It’s very helpful with all of the things that are in this program.
Be sure to watch it. Just like with anything, there is a learning curve.
After that, I went into the program on my laptop and began “designing” my project.
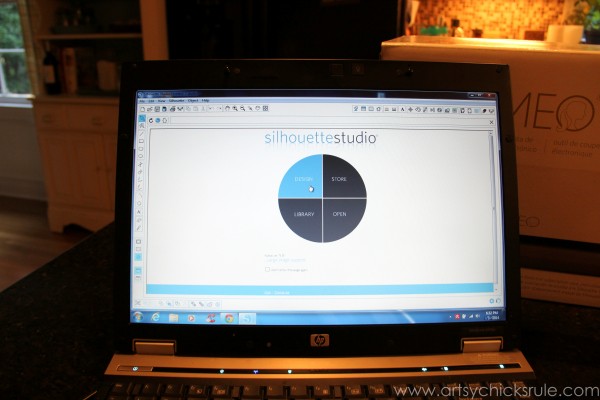
It comes loaded with all kinds of things already but there is also a store where you can purchase other things as well.
Gather Kitchen Sign Tutorial
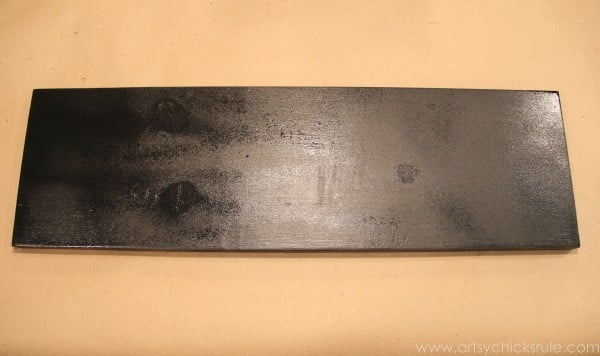
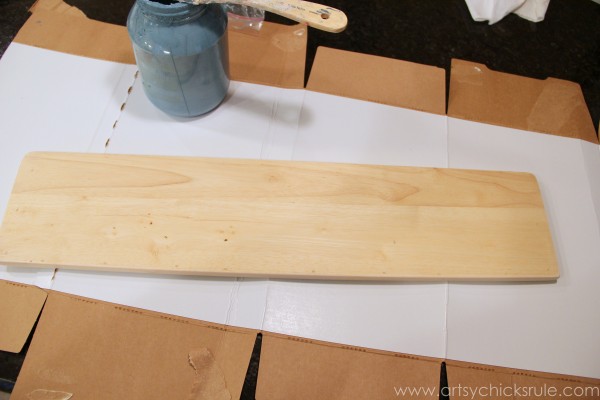
To start, I painted a board with black spray paint.
Then I painted over that (once dry) with Old White Chalk Paint.
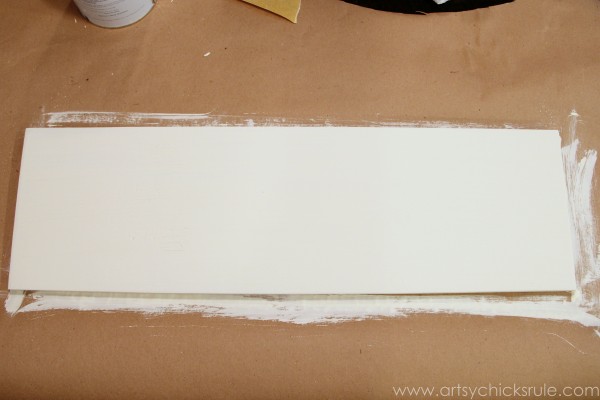
I sanded it heavily for a very distressed look. (I wanted to see a good amount of black underneath)
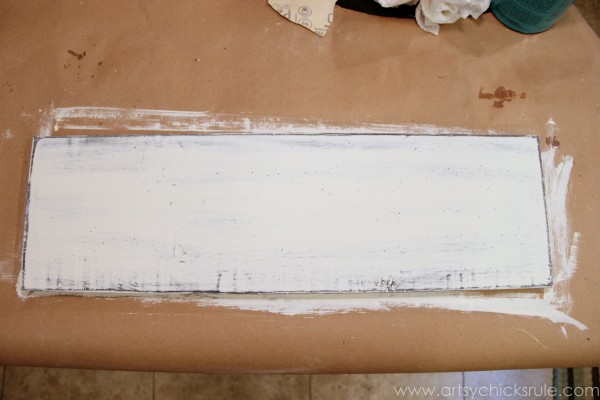
I finished that up with poly and let it dry completely.
Once I had my design finished I loaded my black vinyl into the Cameo. It’s really pretty simple.
It loads in, you press “start” and it starts cutting.
After it’s finished cutting you will unload the piece of vinyl.
Remove the excess vinyl from your piece (leaving the letters attached to the backing).
You will use these tools for this next step–>the ‘scraper’ and the ‘hook’.
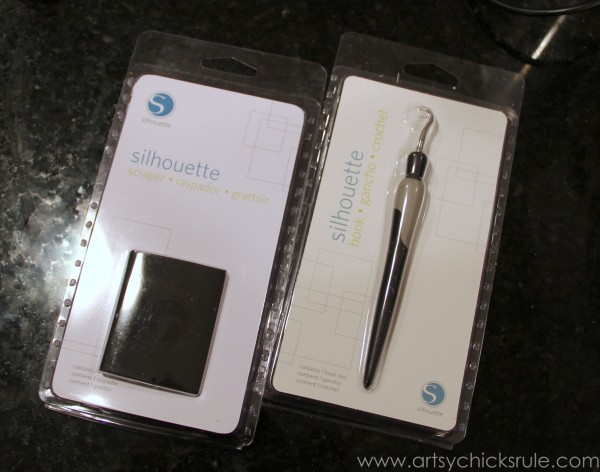
I used the hook to remove the tiny pieces of vinyl inside the lettering (like inside the ‘e’, for example)
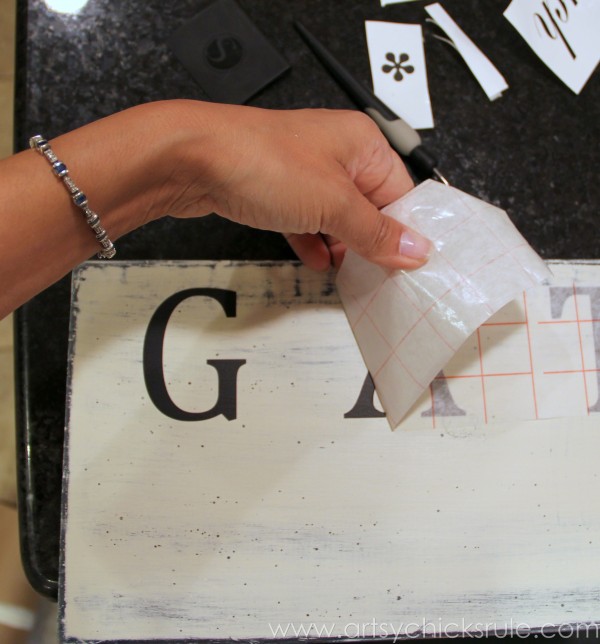
Apply the ‘transfer paper’ (it’s sticky) over the top of the lettering after you’ve removed all of the excess vinyl. (that’s the lined paper you see below).
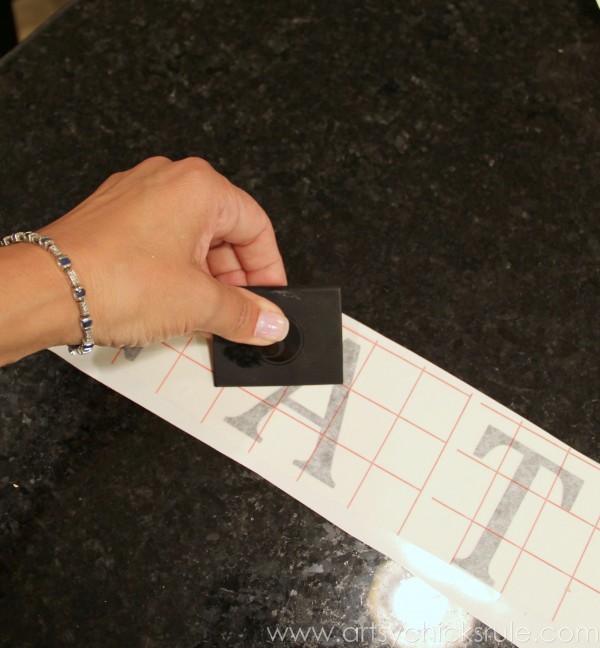
Rub the ‘scraper’ over that lightly so the letters stick to the transfer paper.
Then slowly lift the transfer paper. (the vinyl letters will be stuck to it)
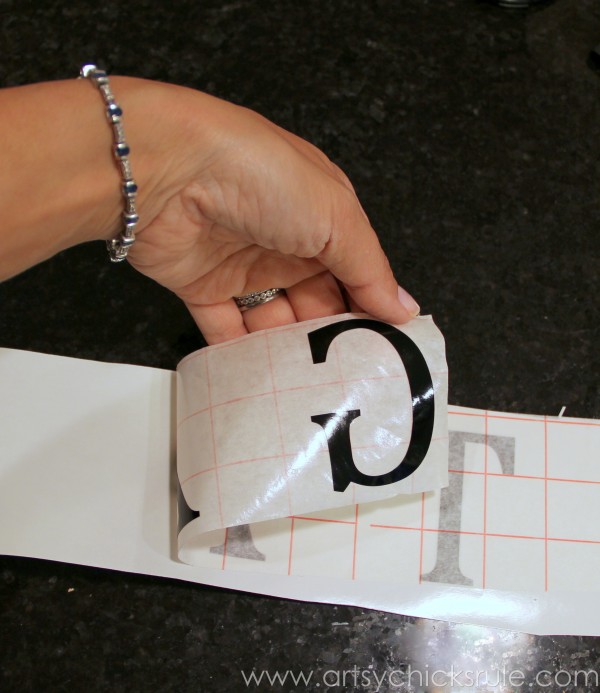
Then align it onto your project and use the scraper again to press the vinyl onto the board/project piece. Slowly lift the transfer paper away.
The vinyl letters stay attached to the board. (they are sticky so be sure you have them where you want them ;) )
How cool is that?
Pretty darn cool, I say.
Check that out…
I was totally loving how quick this was to do in comparison to my hand painting with a tiny artist’s brush.
It’s almost like instant gratification…once the design is complete.
Print, tape, align, “scrape”, peel and done.
Want the free printable?

I did the bottom row the same way as the top and here it is all finished…
I love it so much I didn’t even put it where I had originally intended for it to go. (above the china cabinet in the dining room)
I want everyone to see it as soon as they walk into the kitchen so I put it here instead.
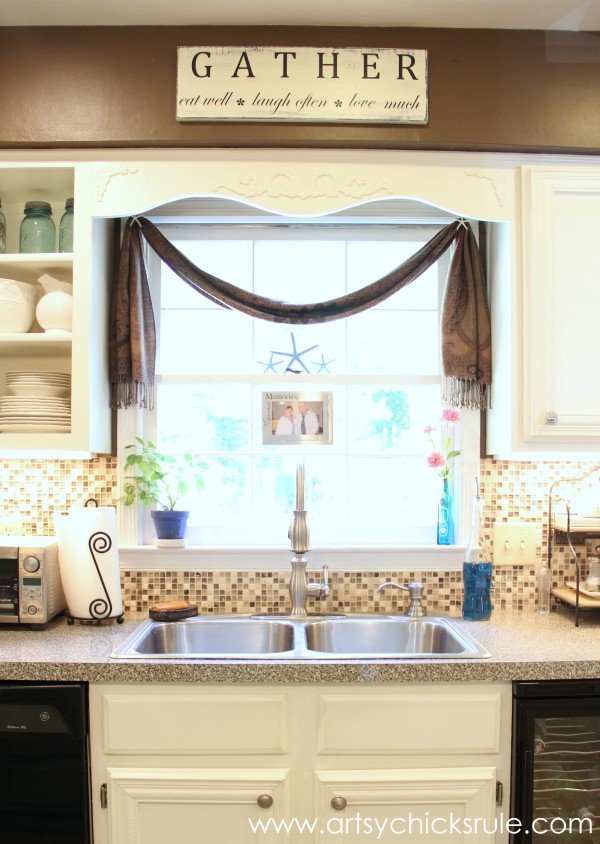
Actually, you can even see it as you are walking through the foyer, from the front door, going towards the kitchen.
I love that.
Perfect spot for it.
I have to say, this was a pretty simple sign project anyone can do.
PIN it to save it!
And I have not even scratched the surface on what this amazing machine can do.
It can cut vinyl, as you saw here, fabric, card stock, metallic foil paper and more.
You can create your own custom stencils, heat transfer items, and even custom stamps.
I’m eyeing the stamp and heat transfer material right now. I have all kinds of ideas rolling around in my head.
I hope you enjoyed reading about the Silhouette Cameo as much as I enjoyed playing with and talking about it.
I’m sure you will see many more projects created with it here very soon.
Here’s what I’m working on next!
UPDATE!! See it now, here!
xo

")


I am very excited for you! I love my Cameo and use it constantly!
Thanks so much!! Oh, I can see how you would! It’s a great little machine! :)
Nancy
Yes, it is very simple if you have the needed tools. I like the sign and you chose the perfect place for it so everyone will see it in the second they enter into your kitchen :)
Thank you Mia! I am really enjoying having it there! :)
Nancy
What a great project! I would love to try that! Thanks for the post!
Thanks Melissa :)
It was a lot of fun to create — and have it done it no time! That was great too! ;)
Nancy
Love your sign! I just cut some vinyl too! Love my silhouette cameo :)
Thanks Debbie!! Yay! I am loving it! :)
Nancy
What a sweet project. I love the font you used. Your sign turned out so pretty!!
Thank you so much Katja! :)
Nancy
Lucky you! I have wanted a Silhouette for a long time… I can’t wait to see all the great things you make with yours!
I love the GATHER sign! And you put it in the perfect spot! xo, K
Thanks Karen! :) I can’t wait to make more pretty stuff with it!
Hope you had a great 4th!
xo
Nancy
I have been debating about buying a silhouette, Nancy. Your tutorial has convinced me to go ahead and take the plunge.
Cute sign, too :)
Thank you Meegan! I had been eyeing for awhile myself! So happy to have it and can’t wait to make more great stuff with it! :)
xo
Nancy
I have a sign for my kitchen I’ve been putting off because I don’t have any kind of a cutting machine. It’s a fairly large design and I’ll need to hand paint it. One of these days! I love that you can do these so quickly. Perfect for the holidays!
Thanks Lani! I know, that was the best part! ;) Quick and easy! The design possibilities are endless.
Nancy
LOVE that sign! I haven’t tried the Silhouette transfers yet. sigh. One more thing. One more FUN thing, I should say. Ha! Great projects. Glad you love the Silhouette as much as I do! (I hate handlettering too) ;)
Thanks Colleen! :) I know, right?! Always one more thing!
Nancy
Nancy, love it! May have to get one of those, us girls like new toys too. :) And yes, do more and give us lots of ideas please. – Vicki
Thanks Vicki! :) Yes, we sure do!
Now just something else for me to play with and come up with all kinds of new “projects”! ;)
Nancy
Wow, that is so much easier than hand-painting! Love how your sign turned out! XO
Thanks Christy! It sure was!! ;)
xo
Nancy
That is so great! I love your sign – and I really would love to try a Cameo one day! :)
Thank you Jen :) It was fun and can do so much! I’ll be a busy girl coming up with new things to create with it!
Nancy
Beautiful wording and sign Nancy! I love my cameo too! You did a fantastic job on this sign I want one!
Thank you Dria! Isn’t it fun? I’m excited to do something else with it now!
Nancy
Nancy,
I love how your sign turned out! I need to try the vinyl! You make it look like a breeze! ~christy
Thank you Christy!Love the vinyl! :)
Nancy
I love your sign and I’m so inspired!
Thanks Sharon! :)
Nancy
oh this is great Nancy. I’ve had a Silhouette Cameo for a year and a half and haven’t used it yet. It scares me! Now I’m not scared. thanks for the tutorial.
Thank you Kathy :) Oh no, you must get it out! (I completely understand though..I was too! ;) ) But once you play around with it for a bit, you got it!
I still have a lot to learn though.
Nancy
Love that sign, it looks so good in your kitchen! And I’m so jealous of your Cameo. I have wanted one for years! :) ~Laura
Thank you Laura :) It’s fun…can’t wait to try some more things on it!
Nancy
Love your sign! Over your sink is the perfect place where you will see it all of the time and really enjoy it.
I really want a Silhouette. I could use it for so many things at home and also at school.
Thanks Paula! Yep, I bet you could! :)
Nancy
This is so awesome Nancy. I use my Cricut for lettering but I think the Silhouette is quickly becoming more popular. Maybe I’ll get one at some point. Thanks for the tips!!
Blessings,
Beth
Thank you Beth! :)
Nancy
Love, love, love the sign!!! I agree with you that you can never have too many things with words on it. I have the Portrait which is a little smaller. I’m going to make this sign which will look perfect in my kitchen. Love it!! Thanks so much for the tutorial and great idea!!
Thanks so much Crystal :) ha, yes, so glad you agree with me!
Oh yay!! It’s the perfect saying for the kitchen! Will be great!
Nancy
Hi Nancy! The sign is great! Can you tell me the name of the script font you used at the bottom? Love all your posts!
Hi Beth!
Thanks! The script is Edwardian and the “Gather” is Cambria Math. :)
Nancy
Nancy, are these fonts you bought or downloaded for free?
thanks so much. Love your sign!!
Hi Bonnie,
Thank you! I created this in Picmonkey. You can create one there with different fonts (they have a bunch to choose from) or you can download this one to use for your own personal use. :)
Nancy
Nancy,
Love the sign. It turned out great! I’ve not seen this machine before, is it similar to the Cricut Machines? I believe you can do this with them also. Thanks for the inspiration.
Kim Barker-Miller
Thank you Kim!
Yes, I do believe it is somewhat similar to that machine. Both are cutting machines. I don’t know much about the Cricut though. :)
Nancy
Hi Nancy, You are so very talented! I love your sign! Can you give me the measurement on the board? Thanks!
Hi Janice! Thank you so much! The sign I did measures 24×7. :)
Nancy
Thanks Nancy, I appreciate it.
Welcome to the Cameo club Nancy! You are gonna have fun! I love your sign – way to jump in with both feet!
I know Yay!!! :) It’s great fun…and so quick, love that! :)
Thank you!!!
Nancy
Nancy, I love the sign. You did a fabulous job!
Thanks so much Susan! It was fun…and fast! Love that. ;)
Nancy
Love the sign! I just received my Silhouette and am VERY confused. I get how to put the words on the sign, but trying to figure out how to create the words on vinyl using the software isn’t easy. Any tips?! Every online tutorial I find doesn’t really show you step by step what to click and choose! Thx!
Hi Suz,
Thanks!
I don’t have any particular tips per se, I mainly got in and clicked around and got a feel for things without really working on a specific project. Have you watched the cds that came with it? Those are pretty helpful too.
It can be confusing to learn at first but once you get the hang of it, you will be making all kinds of pretty things! :)
Nancy
I’ve been planning to make a gather sign but searching for the perfect font! Can you recommend any script fonts that have lines at the end and beginning of the word?… like in your logo. Thanks!
Hi Katie! I actually added those lines at the beginning and ends of the words to create that look. You can purchase fonts that have those extra flourishes to use with them (among other things). Try The Creative Market. You’ll pretty much be able to find anything you need there. :)