Aqua Plant Stand Makeover
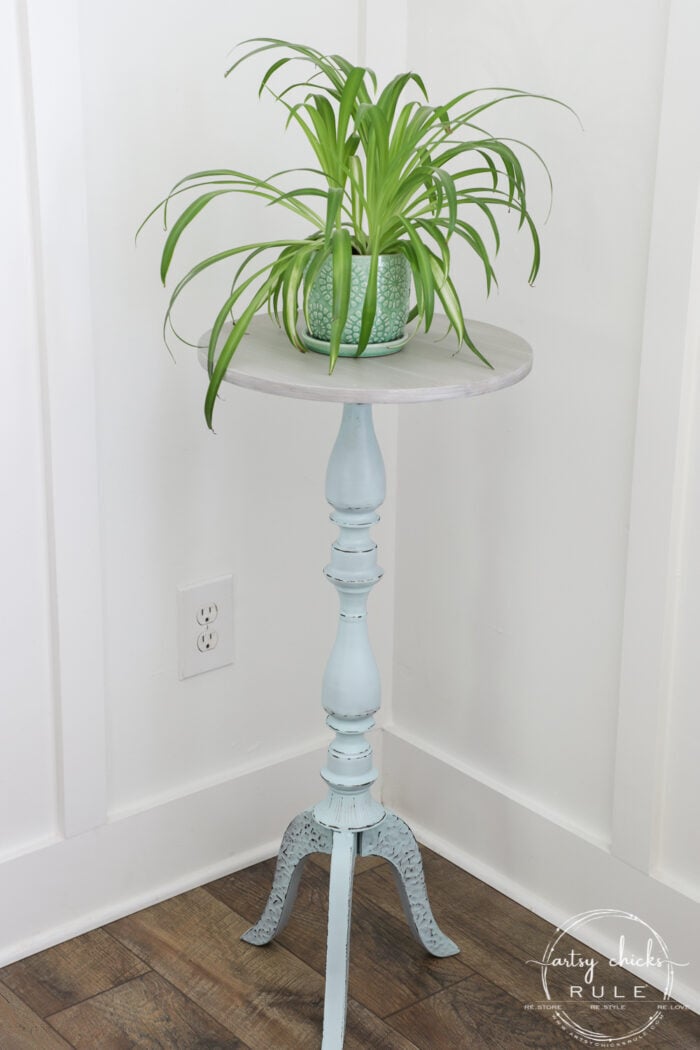
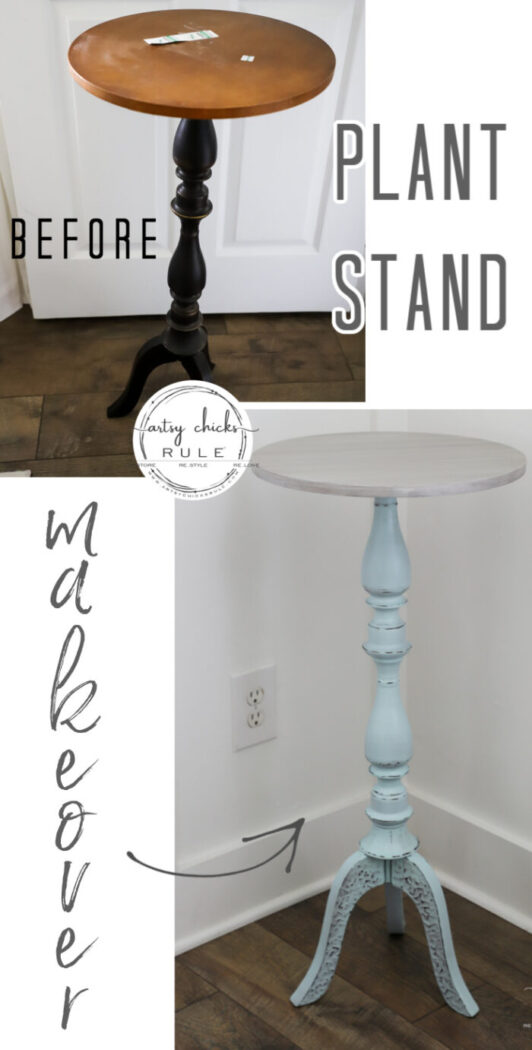
This $10 thrift store aqua plant stand got a brand new look in a really simple way! A small change in color with paint makes all the difference.
Hello beautiful friends!
I know, I know, that is not an oak table set. Sorry!! I tried, I really and truly tried. AND if you watched any of my Instagram stories over the last few days you know this. And you also know my sweet hubby came to the rescue and took over sanding for me. :) It was being a bear!
I knew there was no way I’d be able to get it done without totally rushing through it and I want to get it right. SO…I decided to hop on this other project while my sweet man sanded and got the table ready for me.
And about the table, I *think* I’m going to hold off on sharing it until I get my screened porch cleaned up with its new look. It’s so big and heavy I don’t really want to have to move it inside to photograph it if I can help it…but I may. We’ll see. (by the way, I’m keeping this one and it will stay on our screened porch)
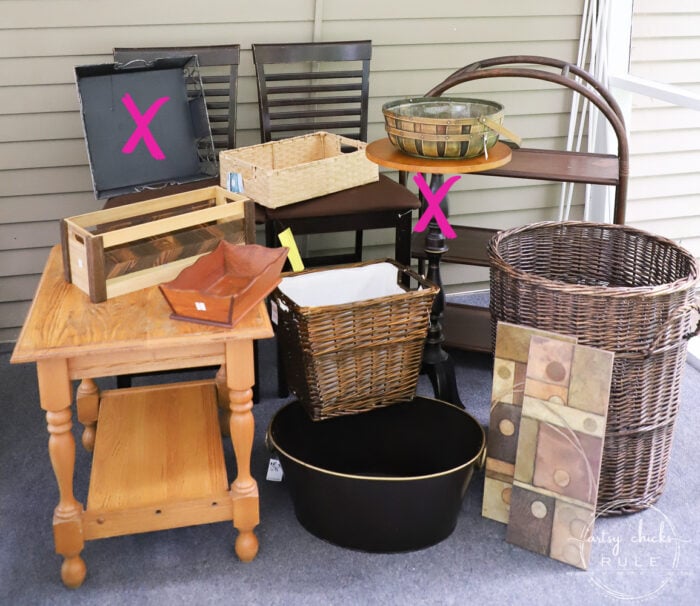
This is the other project that I got to work on…a plant stand I found on my latest thrifting trip.
Aqua Plant Stand Makeover
It was $10.
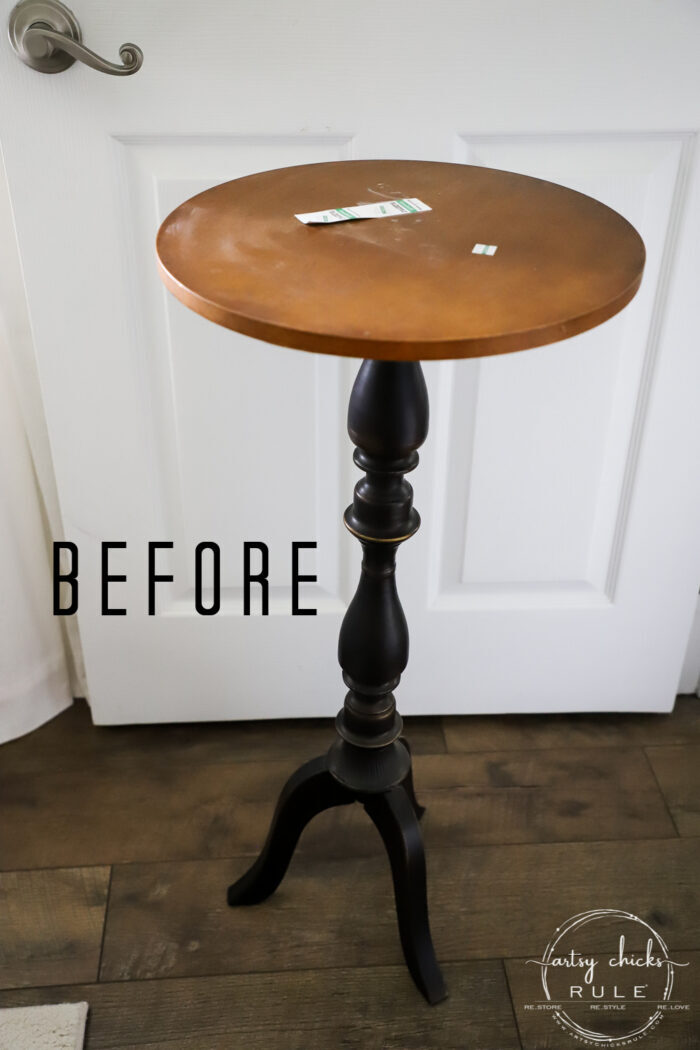
The base is a bronze metal which is pretty and could’ve been left as is. The top eh, not so much.
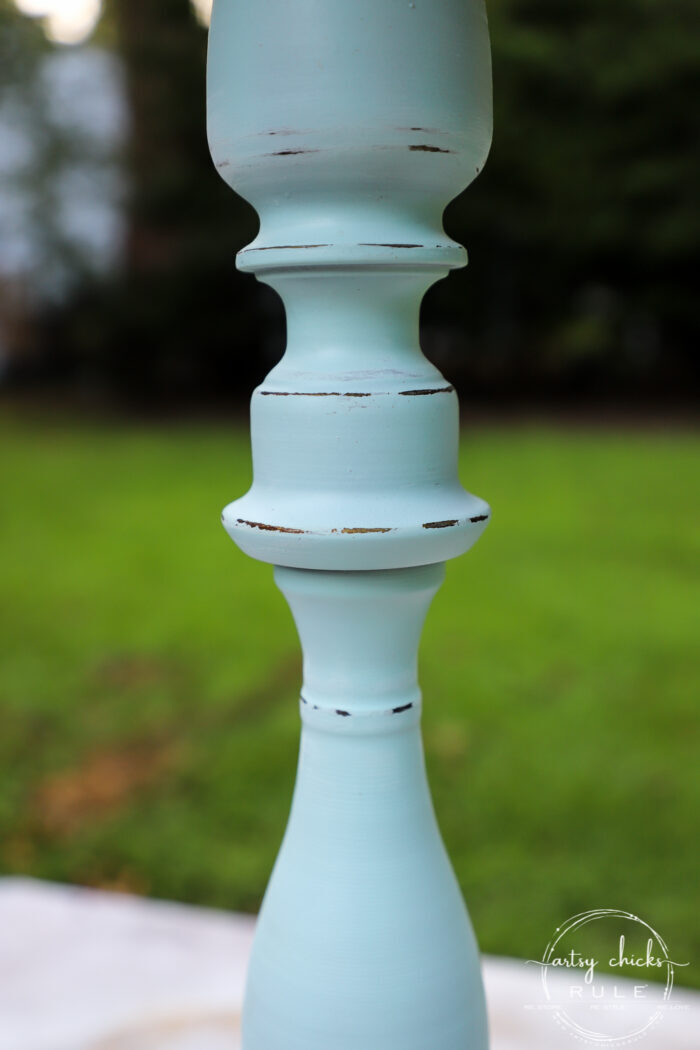
For the base, I thought a pale aqua would be really pretty. Especially with that dark bronze showing through.
And I just happened to have picked up a really pretty aqua spray paint last week. (it’s linked in the materials box below)
I sprayed two coats and then lightly sanded once it was dry.
For the top, I cleaned it (and cleaned and cleaned and the orange kept coming off)…
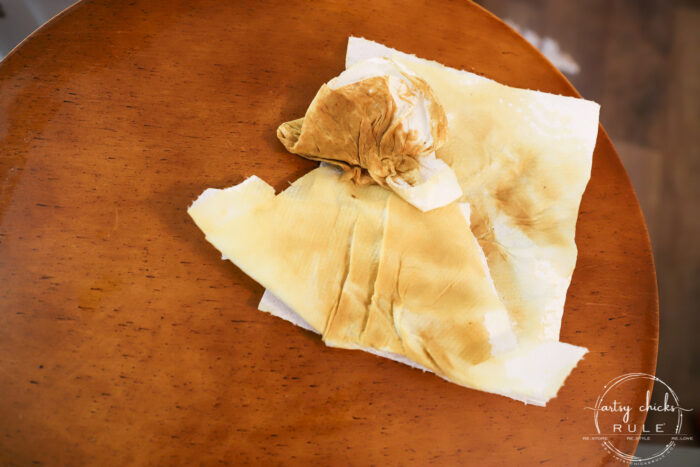
…yuck.
I sprayed it with a light coat of French Beige (it’s a good “faux wood” base).
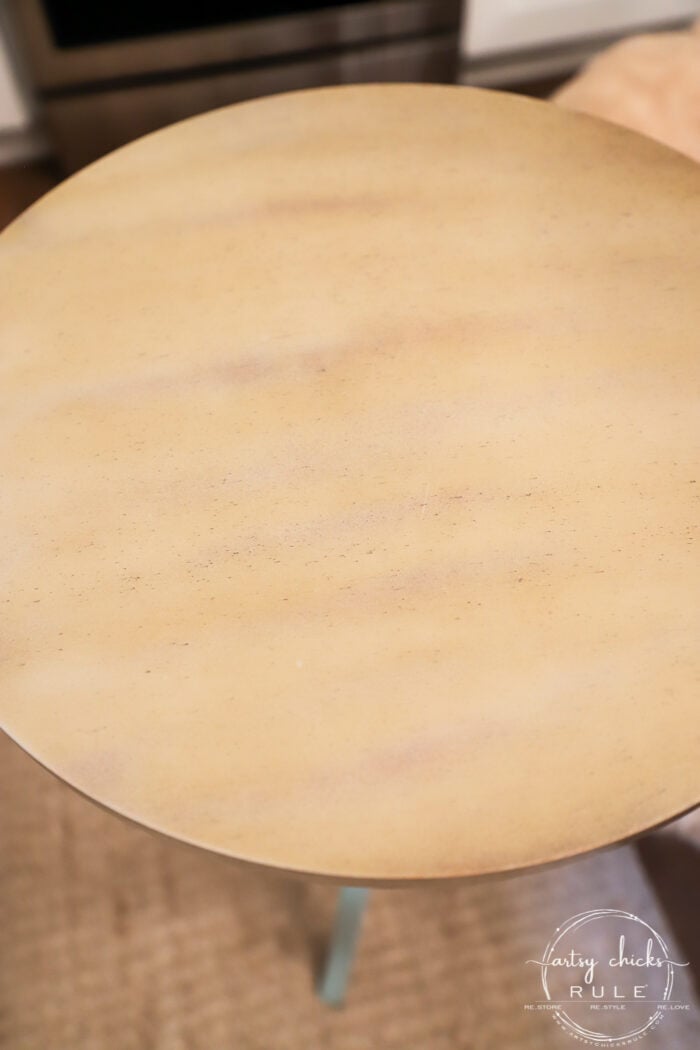
I ran out of that particular spray paint color but kind of liked the not “fully covered” look so went with it. (see above?)
I did, however, noticed the orange bled through a bit. Ugh I hoped it would be okay with more coats of paint that I planned.
So I continued on with my “faux weathered wood” look.
You can see more of how I do this technique in >>> this post.
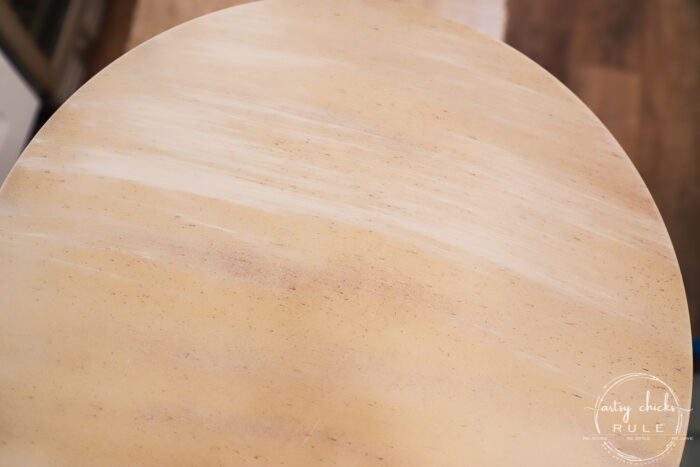
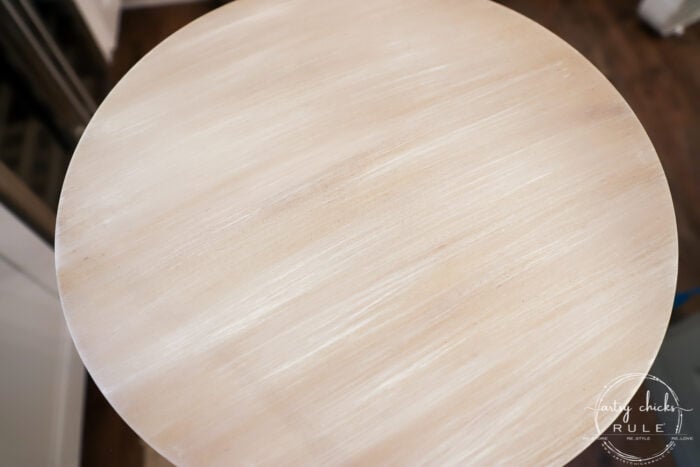
Looking pretty good…until I started spraying on the sealer topcoat.
It turned orange! What a mess.
So I sprayed it with white primer and started all over. Since I didn’t have any of the French Beige left, I used the color I mixed up to paint the cane backing on my table set I’ve been working on. It was the perfect color, sort of like a taupe shade.
MATERIALS LIST
- Base Coat Color (I mixed it but this color is similar)
- Drop Cloth Color
- White Color
- Charcoal Color
- Aqua Spray Paint
- Matte Sealer Topcoat
Now that it’s finally all done…again, I gave it a light spray of a matte topcoat. (that was a little more shiny than matte, in my opinion, but a nice sealer nonetheless)
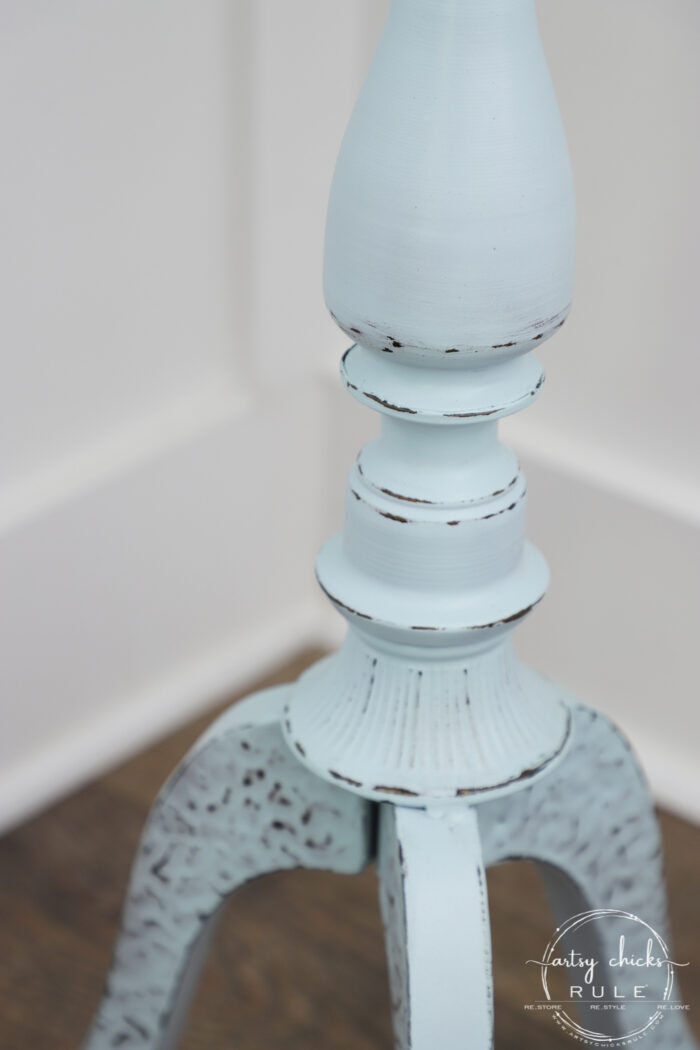
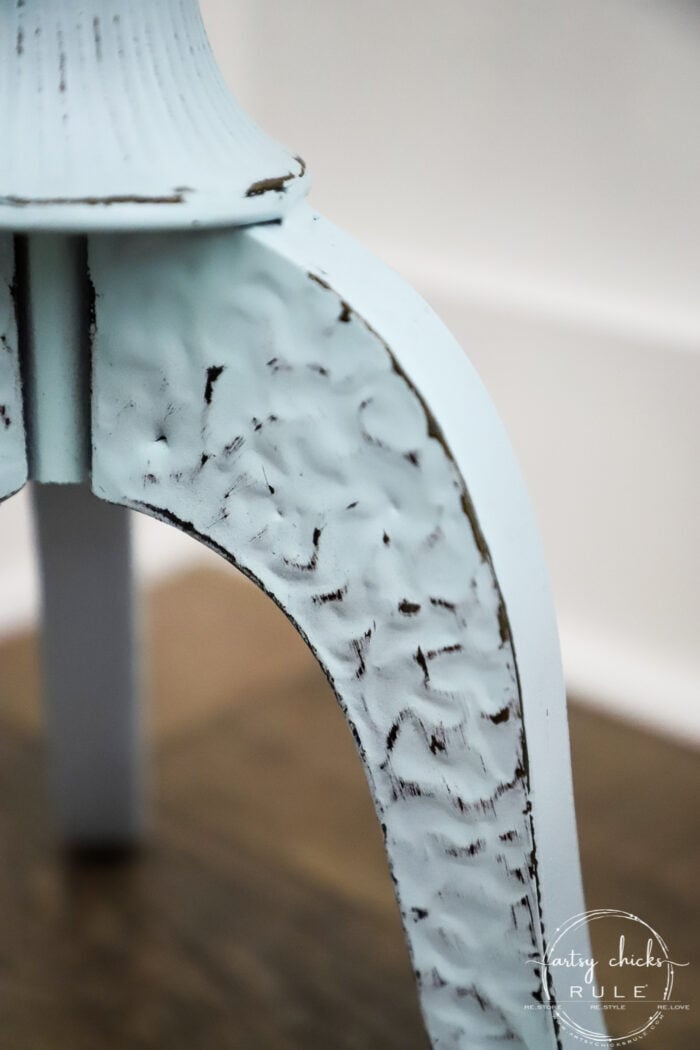
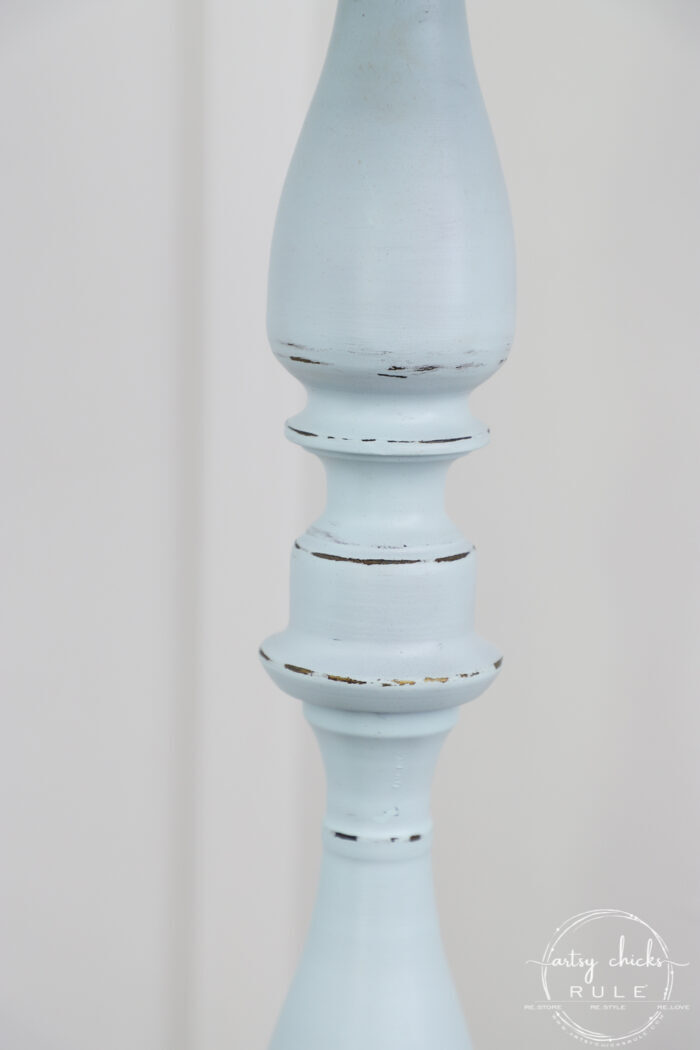
I love how painting and then sanding brought out all these hidden details.
I’m not sure where I’m going to use it but I think I’ll keep this one. I might take it to the beach to use there.
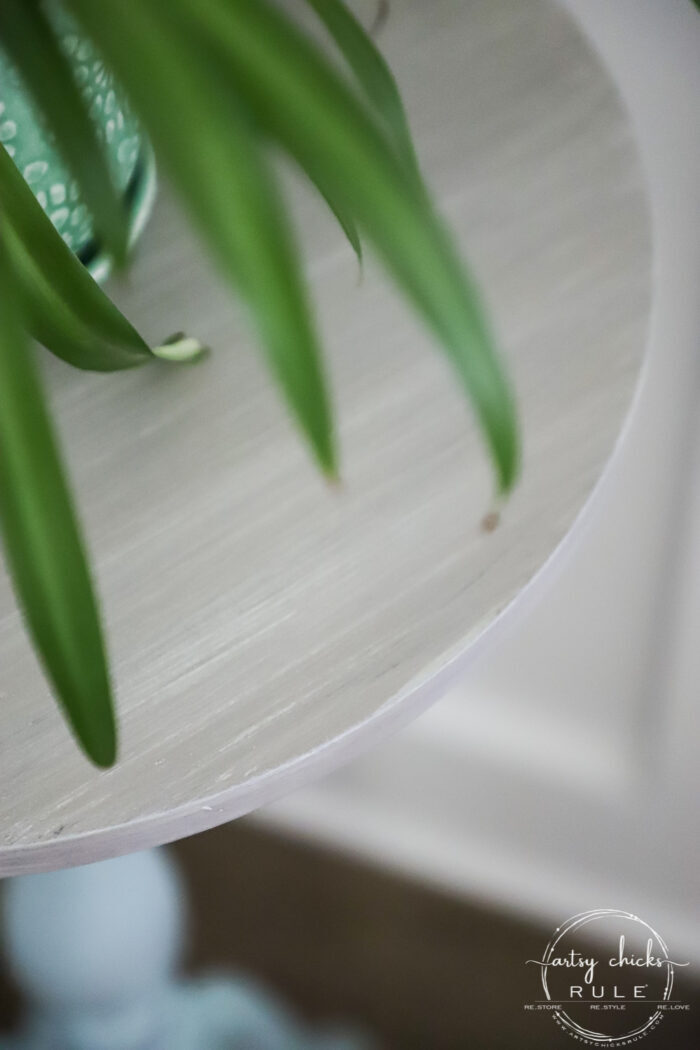
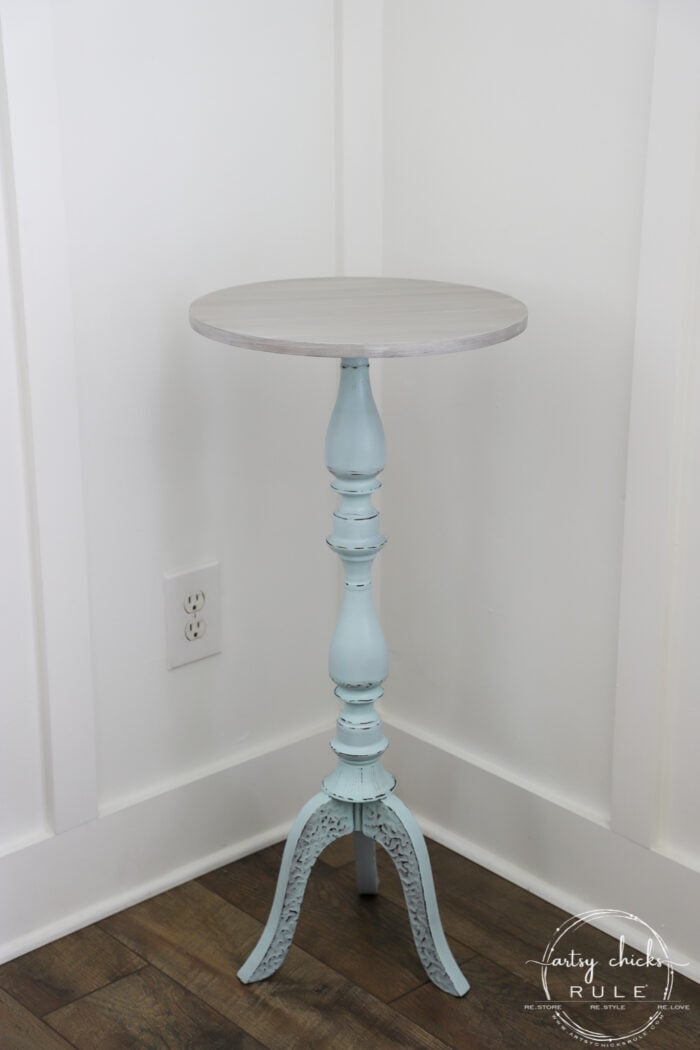
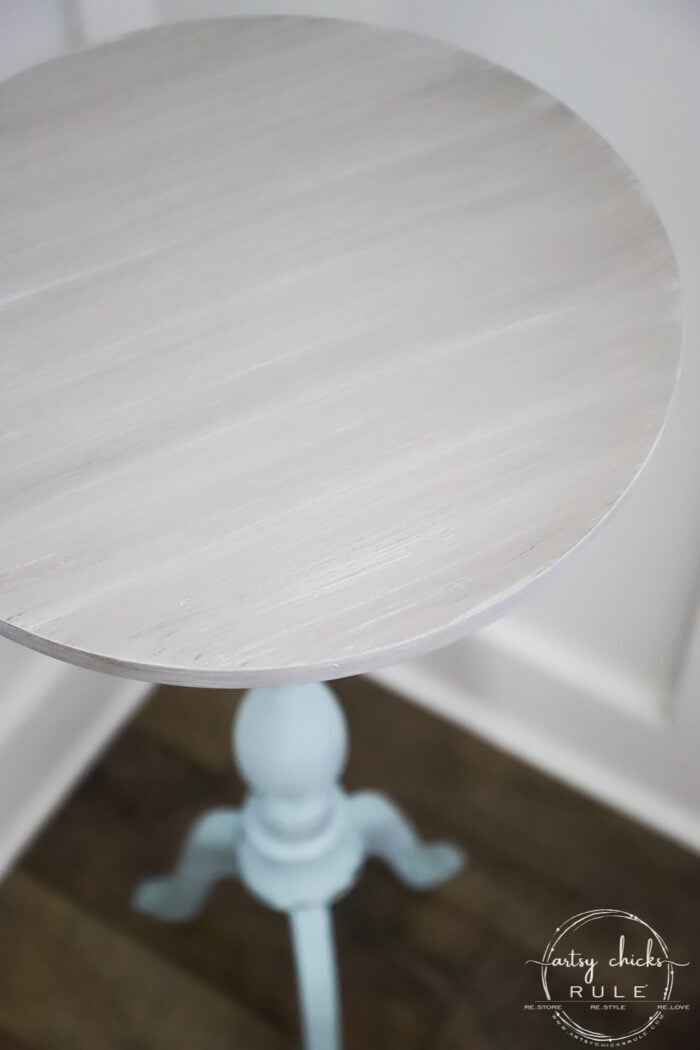
The newly done over top… two times the charm apparently. ;)
Kind of cute in this little corner…
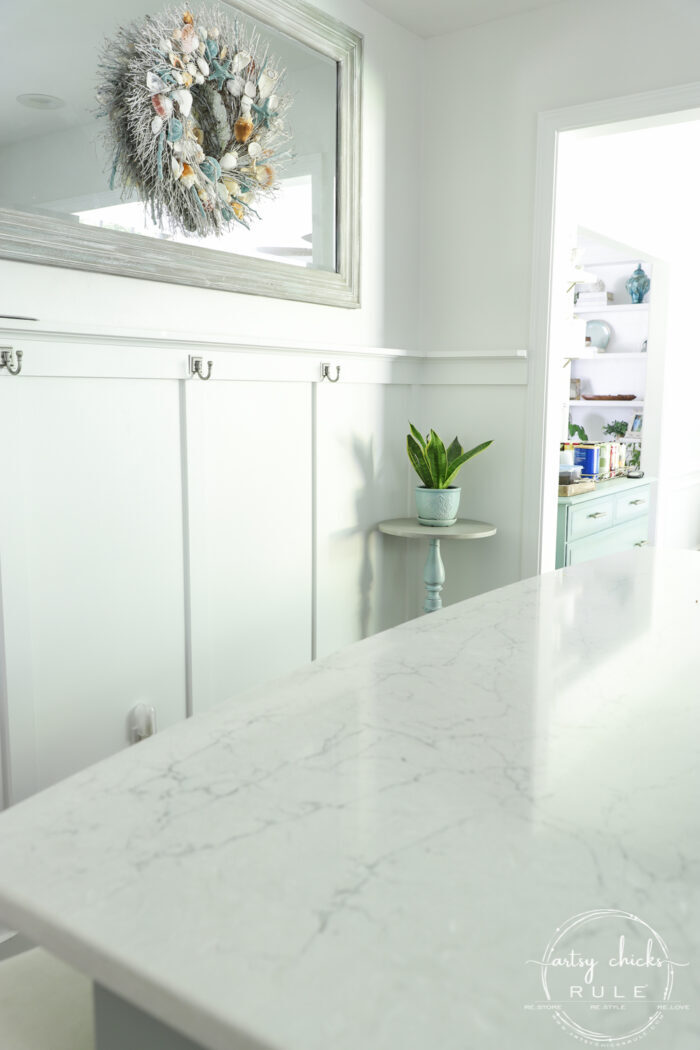
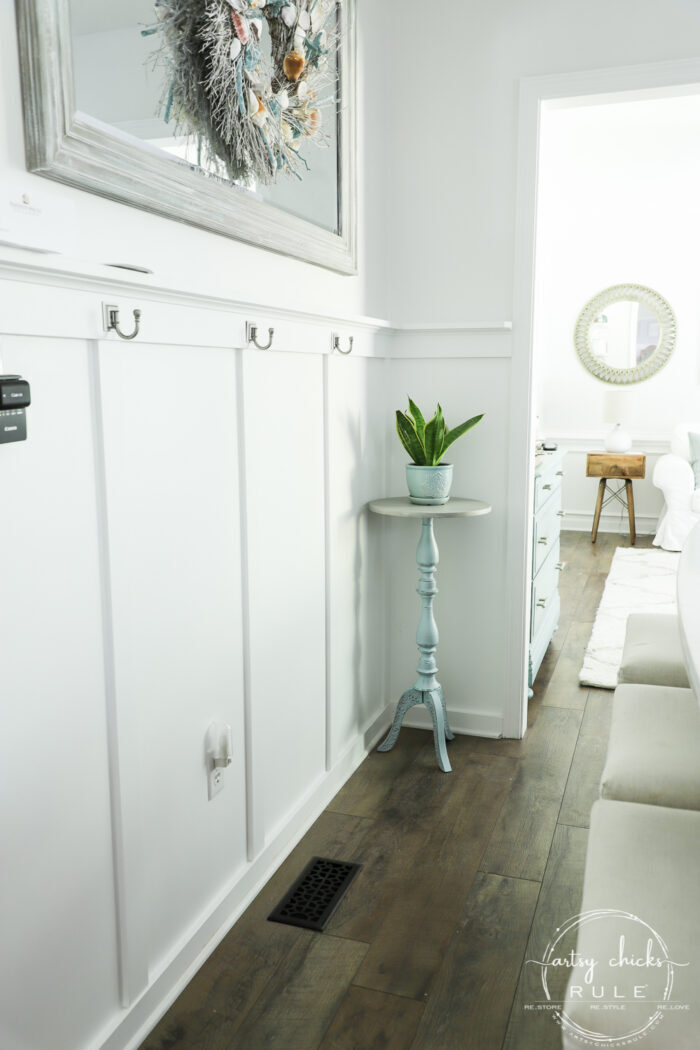
This was a simple makeover with spray paint and a little more paint for the top.
BUT when I sprayed the top white to begin again, I thought to myself that it also looked really nice that color. So if you don’t want to do the “faux” top, you could simply paint the top white and done!
PIN it to save it!
I hope you aren’t too disappointed about not seeing the oak table set yet. I promise it will be soon! It’s completely done except for the top. I’m very excited to get it done and that screened porch space as well.
Missed any of the rest of the haul’s makeovers? Check them out here:
- Pink Rose Tray Makeover (with Prima transfers)
- Aqua Plant Stand Makeover (you are here!)
- Dog Toy Basket (personalized)
- How To Make Orange Wood Look Bleached (end table)
I hope you have a wonderful and safe weekend!
xo







Wow, Nancy, that top sure gave you fits but you did it! This little stand looks rejuvenated and so fresh. :) I bet it will look great at your beach place.
Thank you, Christina! I hope so! :) Have a great weekend! xo
Very pretty!!! LOVE IT!!
Thanks so much, Lesley! xo
Ooh love this one! And it looks like take plan B on the top is even prettier than plan A! It looks great right where it is…def a keeper! XOXO
Thanks, Christy! And yes, round 2 did turn out a little better than round 1! lol xoxo
Love how you show us everything, even when things don’t go as planned. Makes me feel better about my own pieces that don’t turn out the way I expect them to! Love the colour you’ve used xxx
Aw, yep! I try to show all the failures and all the wins … because those things just happen to all of us. :) I have many that don’t turn out as I planned them to…sometimes better, sometimes not. lol But I push on and try again and it usually turns into a win! Have a wonderful weekend, Gina! xo
What a sweet little table.! I like how the base is metal with those details and what a nice aqua color to bring them out.
Thanks so much, Donna! And yes, exactly!! xo
love the color and what an improvement for the legs – distressing really brings out the details!
Hi Nancy. Bleed through doesn’t ever go away without a primer. When the orange keeps coming through it will be a bleeder.
Oh my gosh, don’t you know it, Cheryl!! It sure doesn’t! I had finally wiped it enough that it wasn’t really turning the paper towel orange anymore so thought I was good to go. Nope! lol Quick hit with some primer and I was all set though. Have a great weekend! :) xoxo
I would have never guessed the base was metal until after you painted it. I like the finished piece and it looks well in that corner. Great job!
Whenever we get to see the table – no problems – it’s all good!
Have a great weekend!
Thanks, Vicki!! I like it in that corner too. :) And thank you for that…I’m hoping it’s sooner than later because I’m SO ready to have my screened porch done (and back to being a place to relax, not work in! ;) ) Happy weekend to you! xo
It is adorable and love the color. I do not blame you for deciding to keep it!
Isn’t that the prettiest spray paint color? You’d never guess it was a spray out of a can…I just love it! Thanks, Rose! xo
One word…Darling!!!!
It would also work as a cute end table too
Aw, thanks much, Kimberly! Oh, yes, it really would. Happy weekend to you! xoxo
Love it! I have a similar looking orangey oak plant stand that needs some love, you’ve inspired me! I finally gave chalk painting a try and painted my orangey oak mirrored wall mounted jewelry cabinet a makeover in black Waverly chalk paint (I had bought at Walmart last year😬), and top coated it with some Minwax polycrylic (I found a can with a small amount left in it), and I love it! The mirror was a bit tricky, I taped it off, but then you could see the reflection of the oak around the edges in the mirror and some areas were too tight to get the brush into, but I finally got it lookin pretty good. So much better, and the chalk paint went on like a dream! Now I’m trying to figure out what else I can paint, as there is still a lot left in the small jar. Thanks for inspiring me!
Oh, I am so happy to hear that, Vicki! You’ll be hooked now! ;) I love using chalk style paint best, even after all these years. Have fun! xo
You recovered nicely from the orange monster! I’m always Team Aqua!! Love how it turned out!
Haha, yes I did!! Yes, I know it…aqua always wins! xoxo
Wow, beautiful! You took something so plain and simple, and turn it into something of great class. Thumbs up for a great makeover
Thank you, Ivory! :) xoxo