Travel Trunk Chalk Paint Makeover {Travel Themed Tour}
Every month my blogger friends and I get together to share a themed furniture makeover with you all.
I’m sharing a Travel Trunk Chalk Paint Makeover today.
Some of our recent themes are here –> Themed Furniture Tour
How’s that for variation?
Today’s theme is….. TRAVEL.
Perfect for summer, right? Since so many of us doing exactly that.
I had originally planned something else for this themed makeover but I couldn’t get it done. (it’s still coming at some point)
So I decided to makeover this old “travel” trunk instead. That’s what I’m calling it anyway. ;)
And voila!
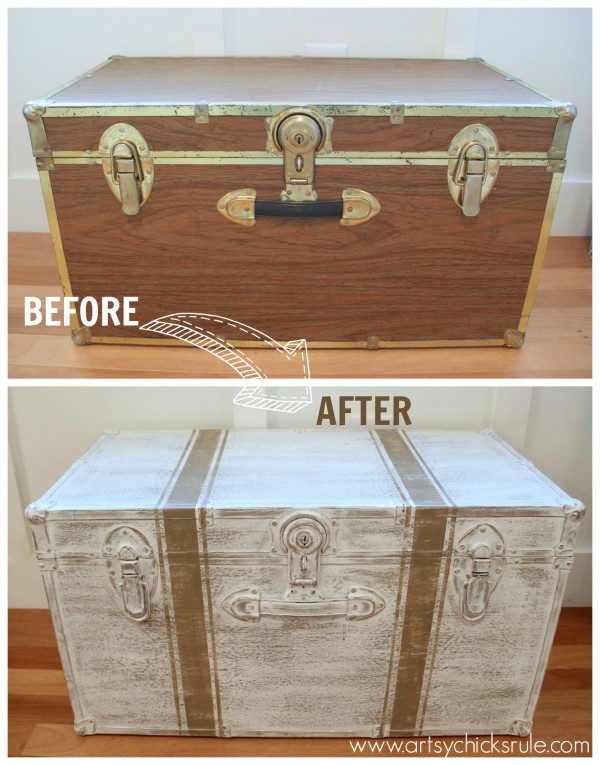
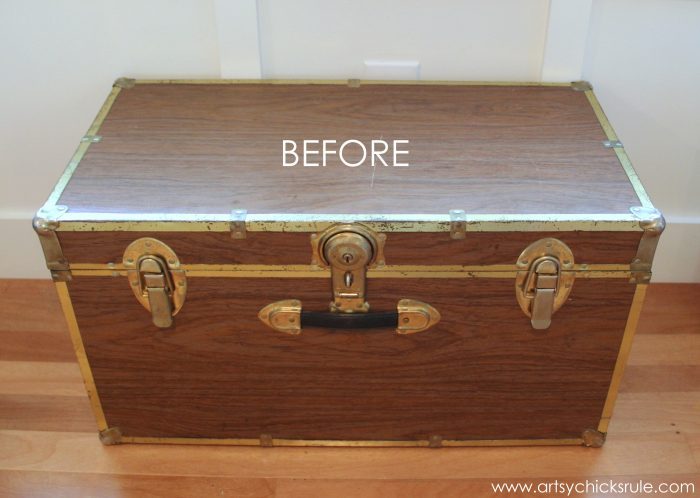
It was FREE, even better!! :) But not so pretty….before.
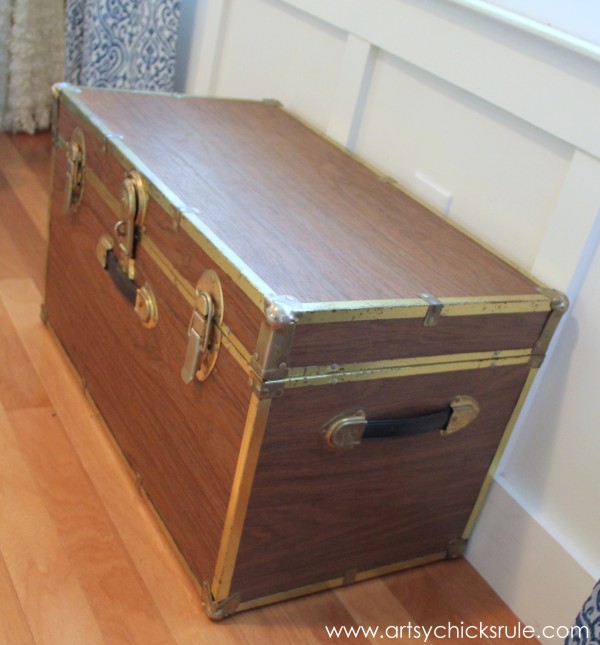
You get the idea. Rusty old trim, laminate “wood” and plastic black handles.
But I knew I could make it better with a little paint.
I painted the entire trunk with Sherwin Williams Adhesion Primer, metal and all.
(only because I had a different plan when I started this project (who me?) ..otherwise I’d have just started with the Chalk Paint®)
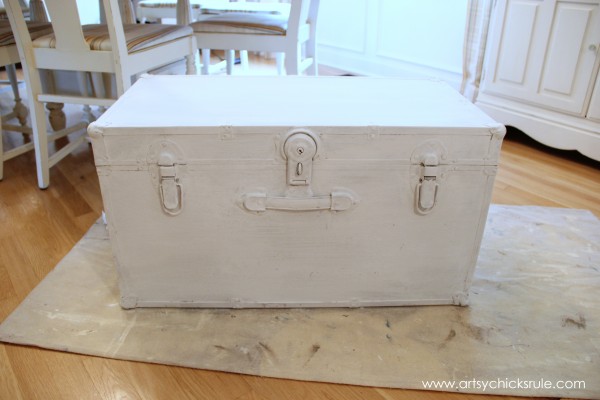
Next I put a layer of Coco Chalk Paint over that.
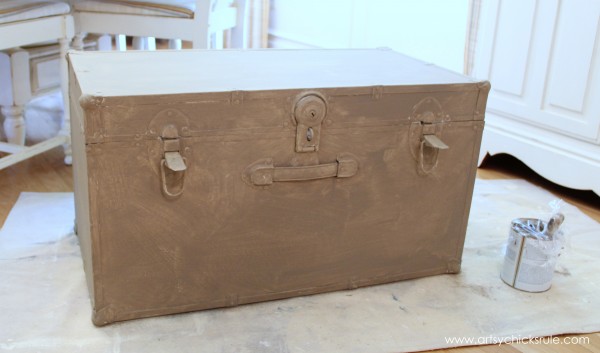
I didn’t worry too much about application because it was going to get covered with more paint.
….Pure White Chalk Paint (one coat) ….which got heavily distressed once dry.
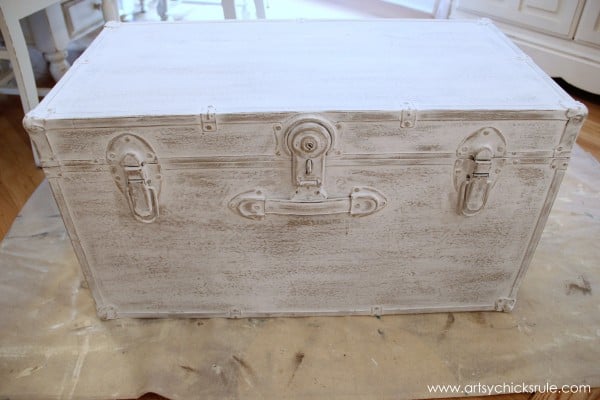
I wanted to really be able to see that Coco color underneath.
I just kept sanding until it had the look I was after.
Then came the measuring, tape and grain sack stripes.
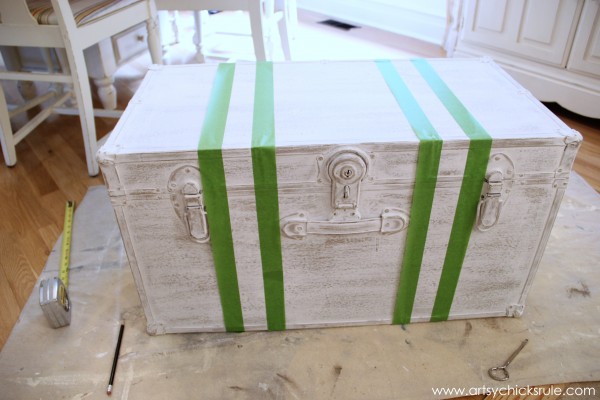
By the way, I sanded before applying the grain sack stripes because I wanted it heavily distressed.
I knew I’d end up sanding the entire stripe away to get the look I wanted if I waited to do it all afterwards.
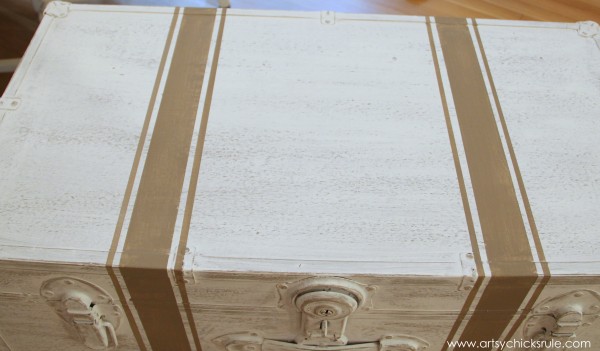
Six stripes…all taped and painted. (front to back)
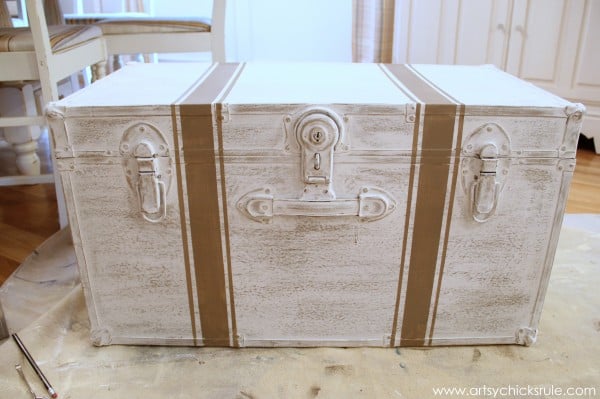
Those stripes just made it, didn’t it? I sure think so.
I distressed them up a bit and applied Annie Sloan Clear Wax.
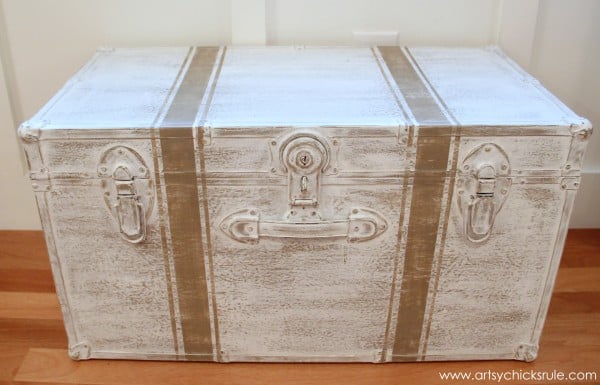
A few close ups….
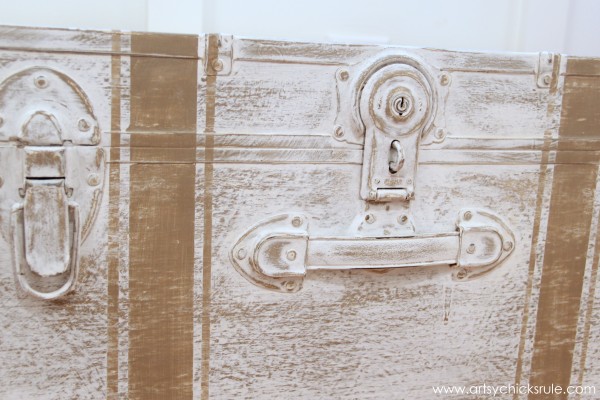
I just love all that Coco brown Chalk Paint peeking through everywhere.
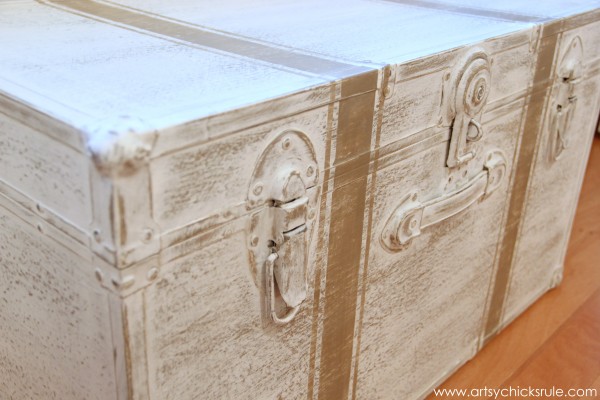
And one more….
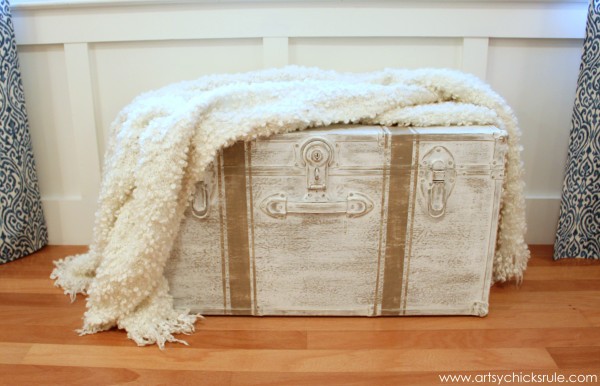
I’ll probably put this under the window of our Study or maybe even at the foot of our bed in the Master Bedroom.
Both rooms are “in the works” so we’ll see where it ends up! ;)
Either way, it’s a keeper.
Amazing the difference a little paint makes.
Want to know about 26 other chalk style paints?
I’ve got the low down for you right here! >>> 26 Types of Chalk Style Paint For Furniture
Love it? PIN it to save it!
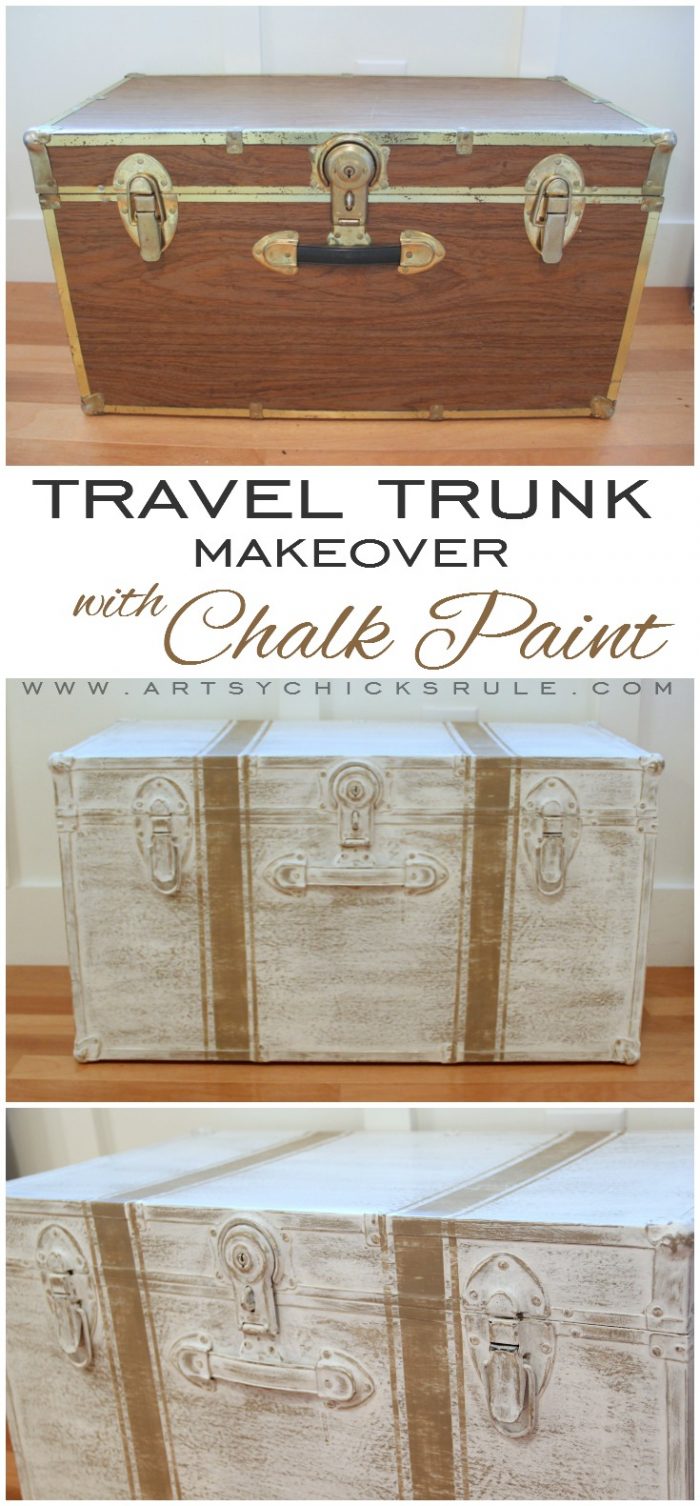
I painted it and I can hardly believe it’s the same trunk.
It is, promise. ;)
Loving this travel trunk Chalk Paint makeover!
Be sure to check in next week when I share this makeover!
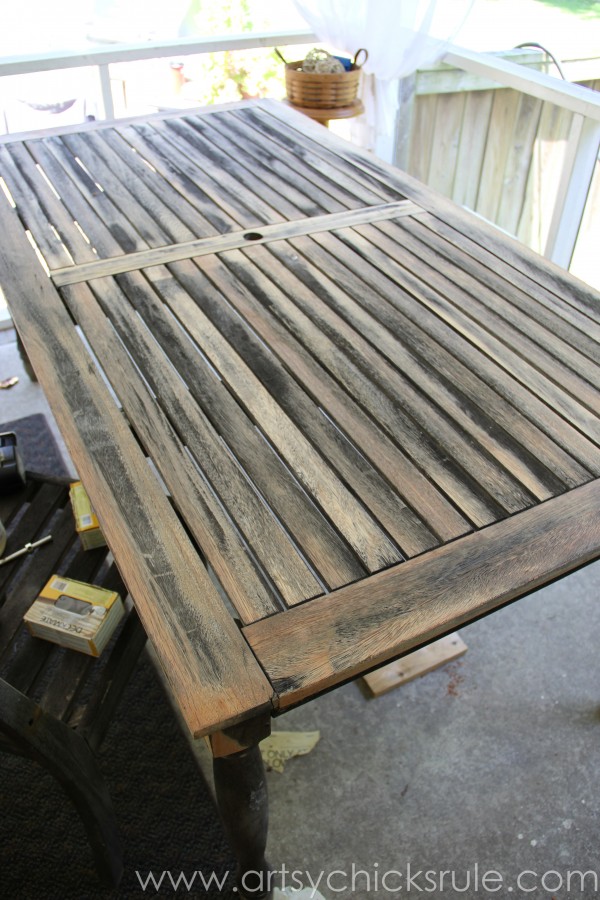
UPDATE!! See how we rescued this old patio table now, here!!
Don’t forget to take a look and visit my friend’s “travel” themed makeovers below!






oh, I really like the travel trunk Nancy. You’re right the stripes totally make it. Just the right amount of distressing too!
Oh, wow! That is fantastic!!!
Thanks Melissa! :)
Nancy
You are right the stripes really made it–it looks great and I can see why it’s a keeper now.
Hi Darrielle! :)
Yes…it just needed those stripes, or something! I’ve decided it’s going in the bedroom!
Nancy
I just love this ….you did a wonderful job on this!
Thank you Tammy :)
Nancy
Wow Nancy, I love what you did with this trunk! I have one almost identical in my basement storage room. It was my “hope chest” back in the 70’s. You may have inspired me to dust that old thing off, give it some chalkpaint and bring it upstairs in full view. Thanks for the inspiration!
Thanks Marie! :)
Oh yes, dust it off and paint it up!!
Nancy
This looks like a completely different piece! If I hadn’t seen the before picture, I would have thought you’d painted an old trunk. This will be great for storage.
I know, it’s crazy how different! Thanks Paula..yes, it will. I’ve decided it’s going in my bedroom and already have plans for what I’m storing inside! ;)
Nancy
Ok…I think this might be my favorite project of yours (besides the duck egg wingback)!! The before and after is incredible! I would have NEVER picked that old trunk up before, but I would pay good money for it now! I LOVE it!!! I will definitely be keeping my eyes peeled in the future! XO
Aw really?! It was one that I threw together last minute too! lol Isn’t that always the way? ;)
xo
Nancy
What a beautiful job you did on this trunk. You’ve completely transformed it! Just goes to show what a paint brush and some sandpaper can do with hard work. ;)
Thank you so much! :)
That’s exactly right…It is crazy how different something can look!
Have a great weekend!
Nancy
Nancy,
This turned out crazy awesome! I just love the subtle color combo! You have inspired me to work on an old trunk that my mom gave me….really bad shape! ~Christy
Aw thank you Christy! :) Oh yes, make it pretty!!
Have a great weekend friend!
xo
Nancy
Wow, Nancy! That trunk looks amazing! I wish I had it here in my house! I’ve been looking for a bench or something to put at the foot of our bed… maybe now I’ll look for a trunk!
I really wish I had your vision! <3 xo, K
Thanks Karen! :) Yes, it was really pretty easy to do. And you can find these kinds of trunks all day long! ;)
Hope you had a great weekend! xo
Nancy
Hi there – I love this, but I have to ask a really dumb question…
How do u do the stripes?? I’ve gone over it many times, still can’t figure it out. Sorry, told ya it was dumb.
Thanx….
Hi Wendy!!
Not dumb at all. I didn’t do a thorough tutorial on the stripes, sorry! Basically you measure where you want them to be. (I marked with a pencil the edges of each line when I measured, front and back) Then I lay the tape across the trunk meeting the marks I made for each line and do the same for the other side of the stripe…and paint inside the tape. While it’s still wet I remove the tape. Let it dry. Then do the same for each little tiny line on each side. Much more simple than it seems! ;)
Hope that helps!!
Nancy
Well done, I love it.
Thanks so much Pauline! :)
Nancy
Nancy this is so cute. I LOVE a good trunk transformation, and the stripes completely put it over the top. Pinning and sharing on FB :)
Thank you Karen :) This is my first trunk transformation! It was fun to watch it change from completely UGLY to not so ugly!! ;)
Thanks for the pin and share!
xo
Nancy
It may be a good thing that your first idea didn’t turn out because this one turned out fabulous! No one would ever guess it’s not really a wood trunk- it looks so aged and beautiful. Great idea for adding the stripes too!
Thanks so much Jen! :) My room is in the middle of a diy project –> = mess! at the moment where the piece of furniture is that I was doing the map on. lol I wasn’t moving it so gave up on it for now. This was my second choice but I am pretty happy with how it turned out! :)
Nancy
I can’t believe it’s the same trunk! This project is a home run! Love it:) I might think twice before throwing some out we have in the garage now!
Aw thanks Wendi!! :)
Hope you have a happy 4th!!
xo
Nancy
Love it, I’m going to buy the next truck I see!
Debbie
Thanks Debbie! :)
Happy 4th to you!!
xo
Nancy