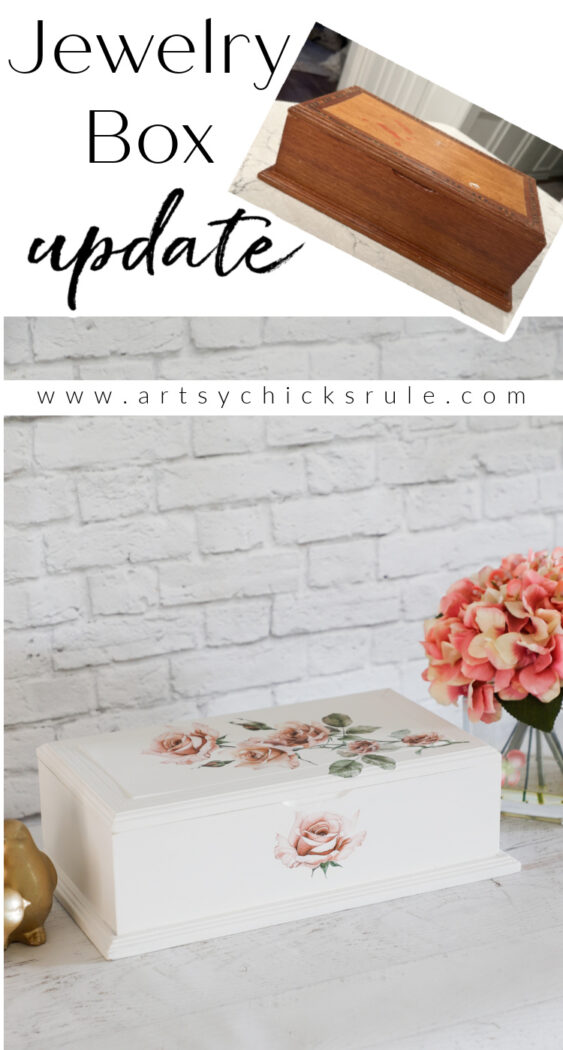
Thrifted Jewelry Box Update
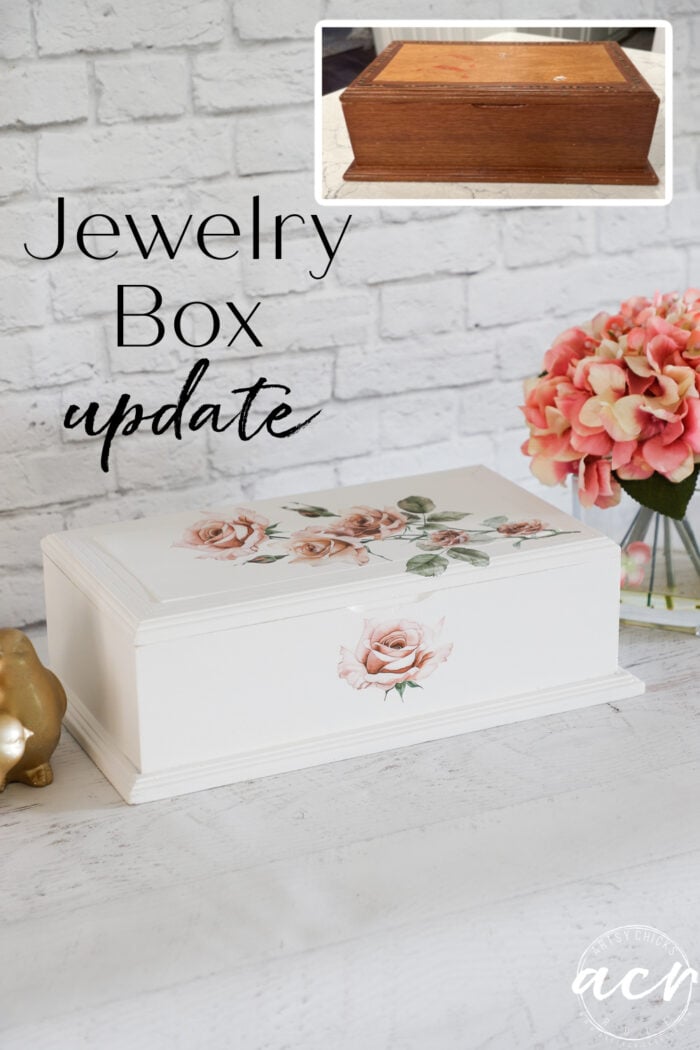
This jewelry box update was so quick and easy to do! The sweet rose transfers create a new and elegant look!
Hello friends!!
I’m sharing a sweet little makeover today that would be perfect for gift-giving. That’s what I love about so many of the small-ish things you can find at thrift stores, garage sales, etc. All they need is a refresh, and they are like new and even better!
Today’s project was a super quick and easy one. Love doing these smalls.
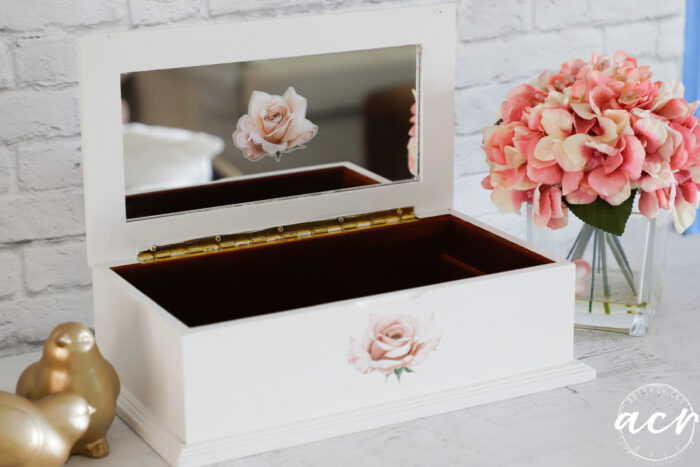
Thrifted Jewelry Box Update
Here it is…
(Before we continue, do you spy a little cutie in the photo above?? Ryder is over there lying with his baby bed “aka” paci, haha, in his mouth. That thing is 9 years old and he LOVES it! It’s his absolute favorite thing. So funny.)
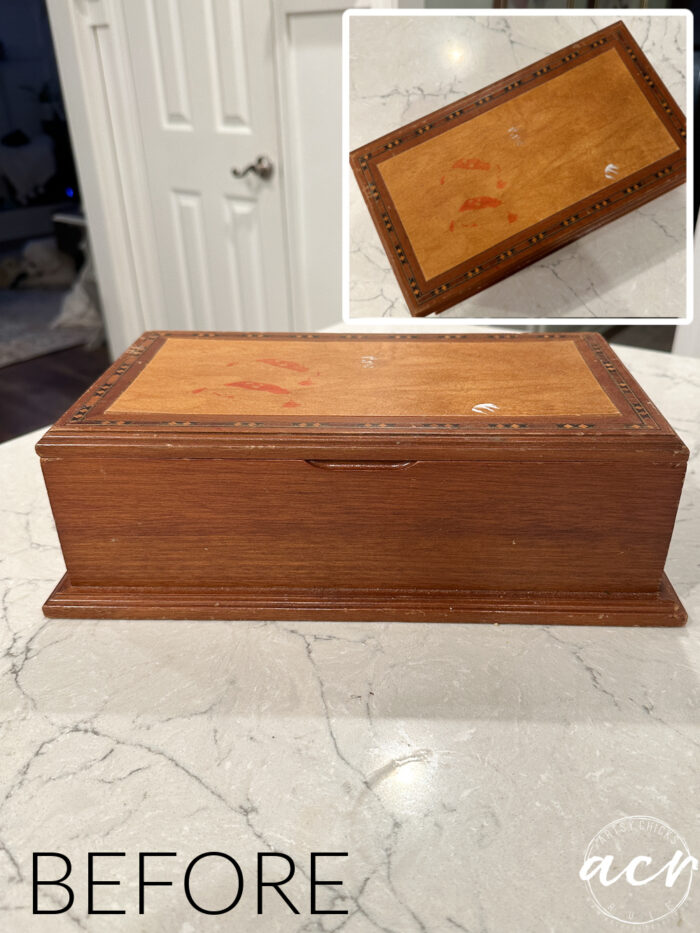
I’ve had this one in my stash for a pretty good while just waiting on me to make it pretty! lol
Poor little thing.
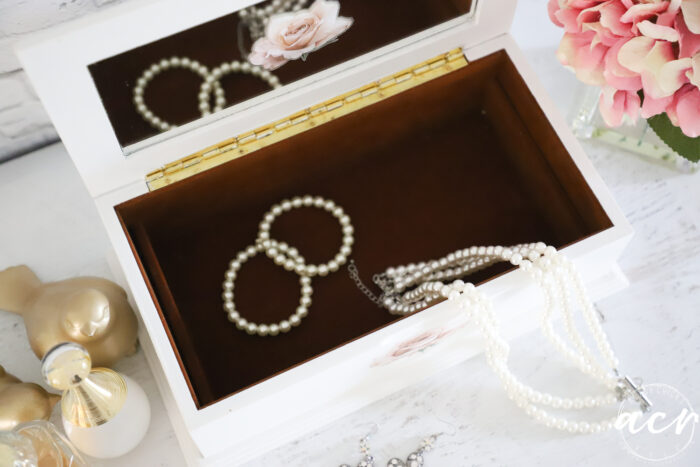
A little rough on the outside, but perfect condition inside. So as you might guess, I didn’t do much to that.
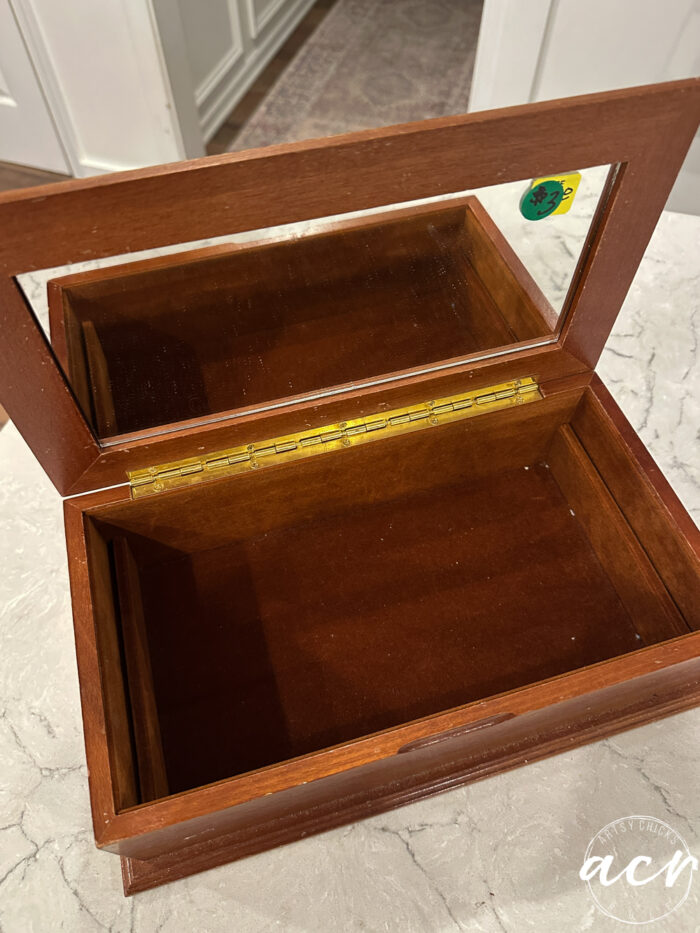
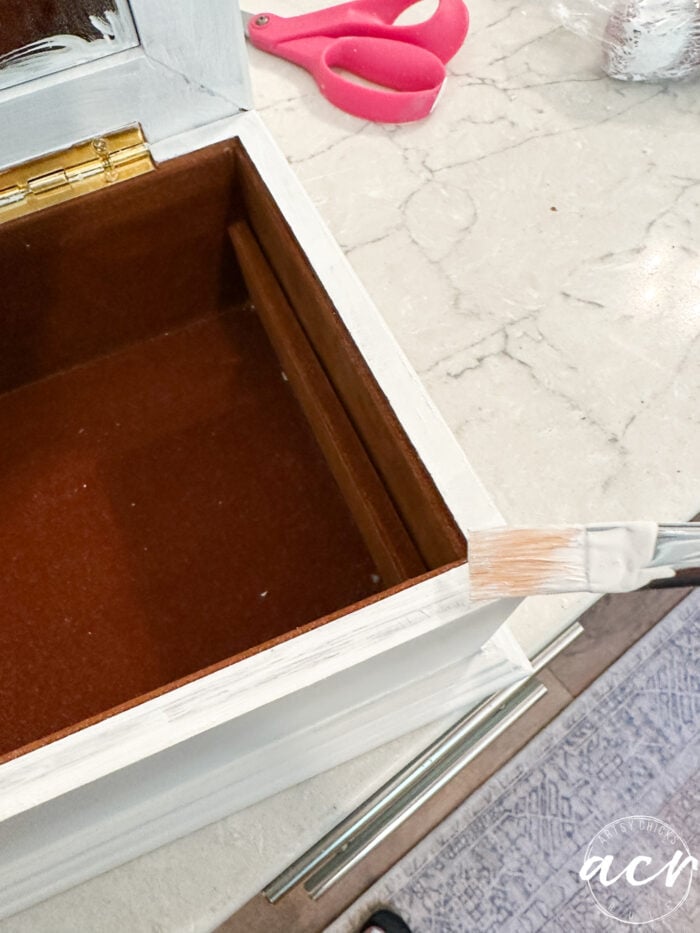
I used tape to get all the lint, etc., out of the velvet interior. Easy!
MATERIAL LIST – Jewelry Box Update
This is the plan.
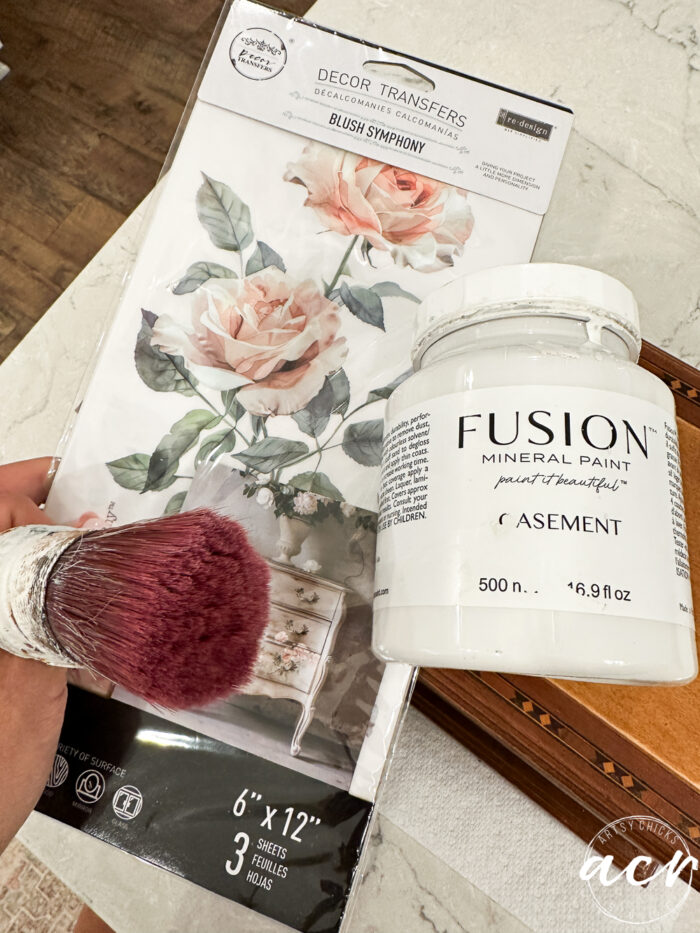
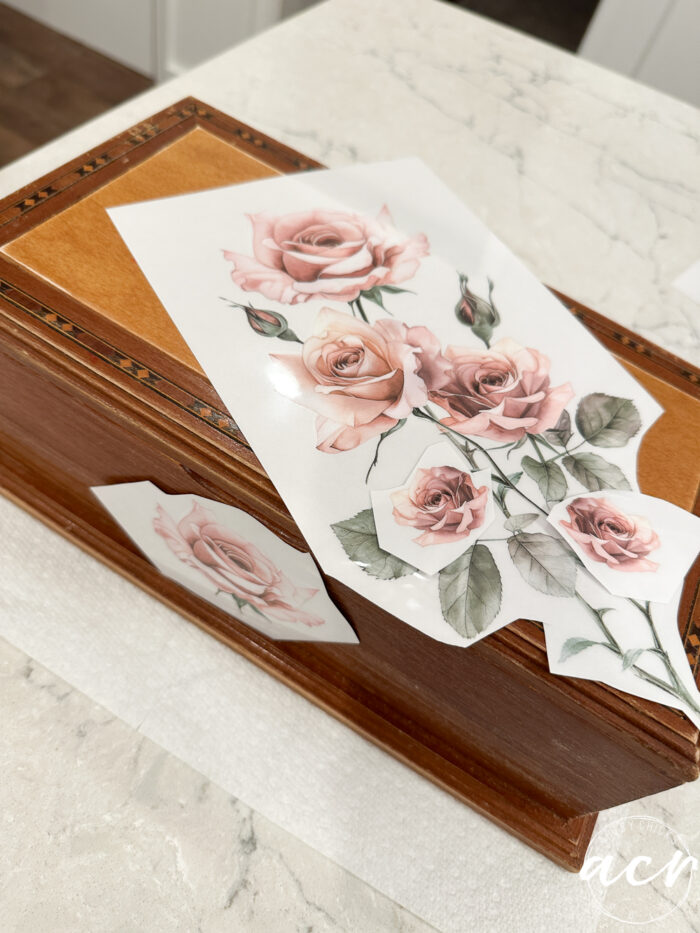
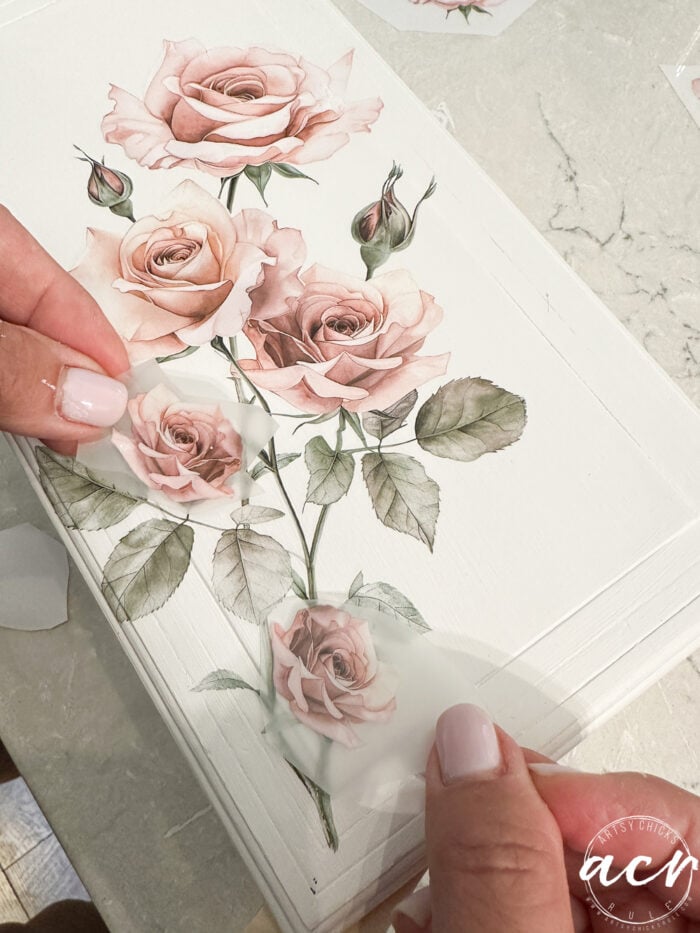
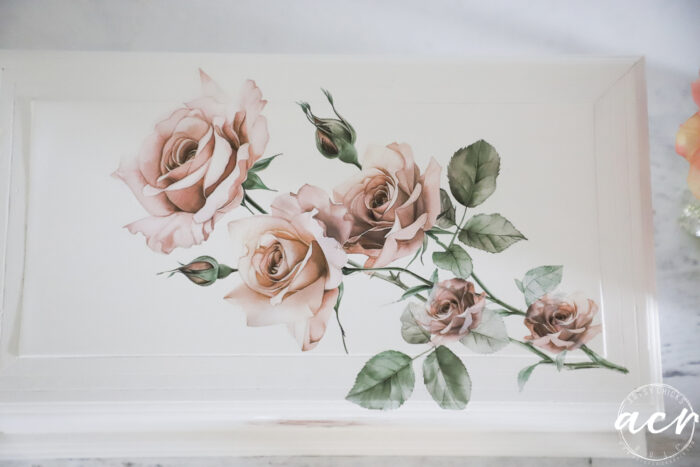
I love these small transfers. They are perfect for small things like this.
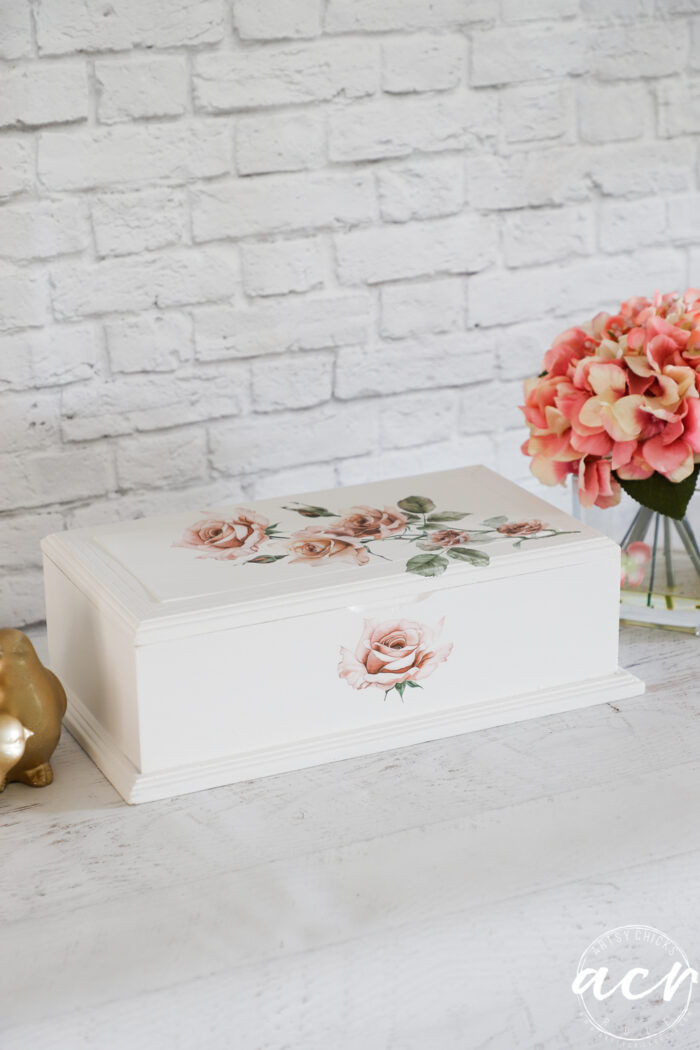
The roses will gently go across the top like so.
It took about two coats of Casement.
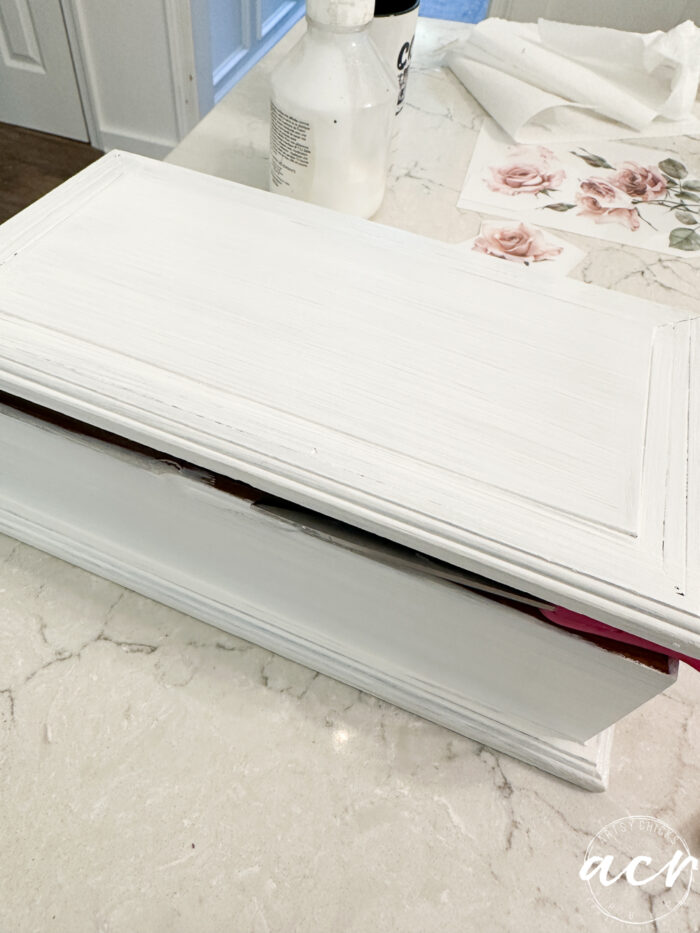
I did paint the inside areas, but left the interior as-is otherwise.
Applying the transfer. (are you new to transfers, check out this post if so, “How To Use Rub On Decor Transfers“)
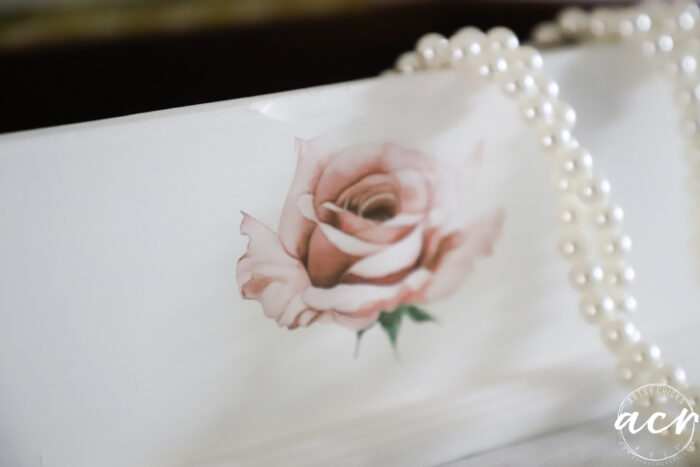
Isn’t this transfer so pretty?? I just love it.
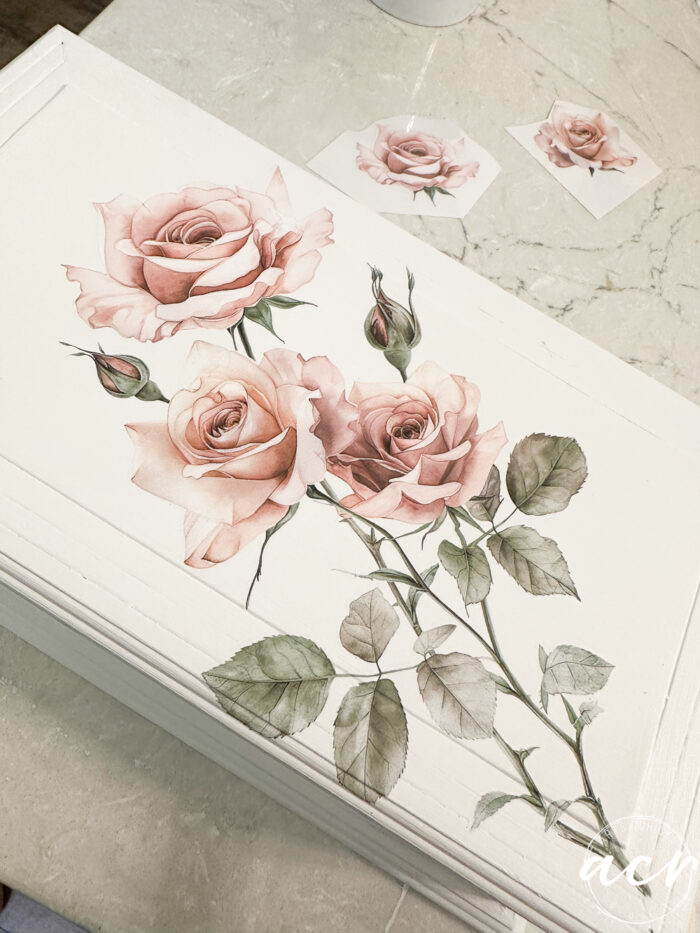
But I wanted a few more tiny roses on that stem.
So I added a few!
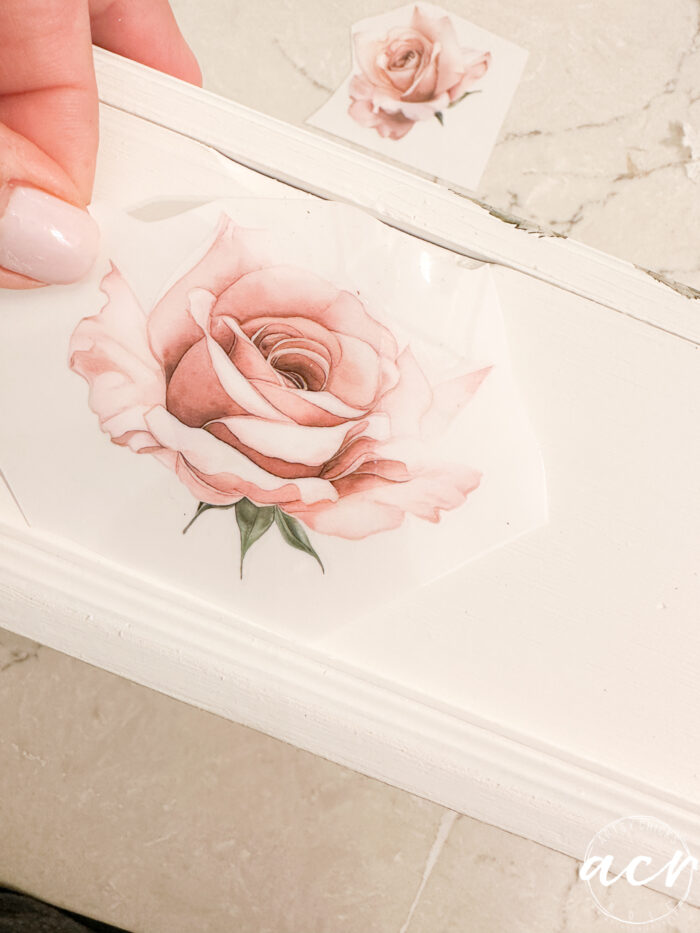
And I’m sure you know by now that I don’t stop there!
Yep, I put this little pretty on the front.
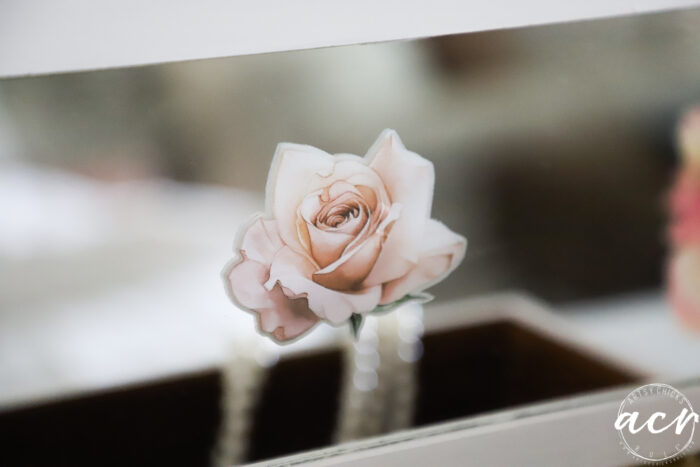
Then I cleaned up the paint from the mirror with a razor.
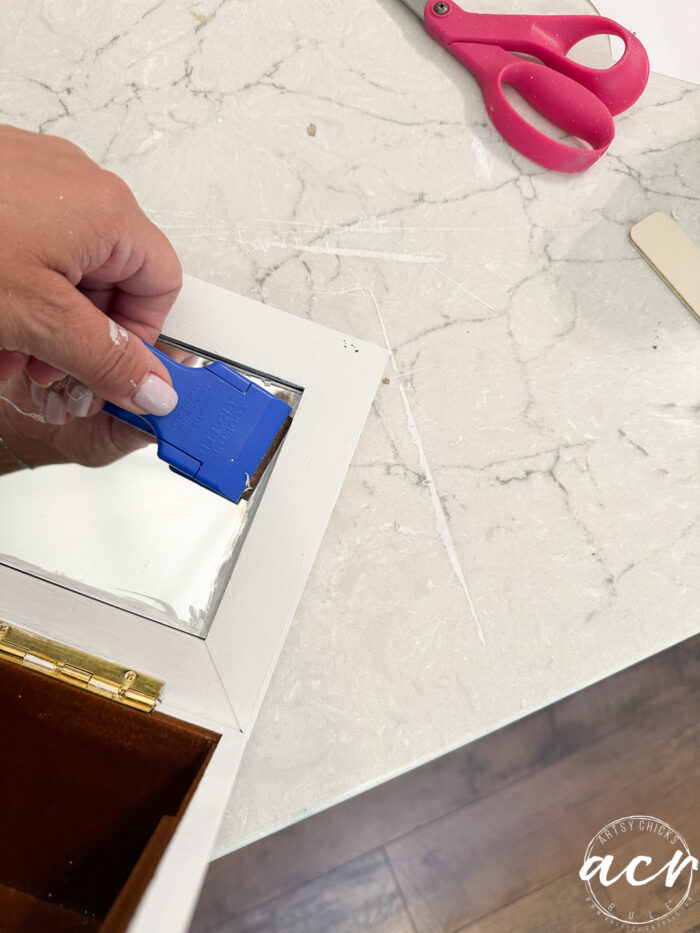
And added another pretty rose here on the mirror as a little “surprise” when you open the jewelry box.

I added a coat of Tough Coat to finish it up. (not on the mirror, the rest of the piece)
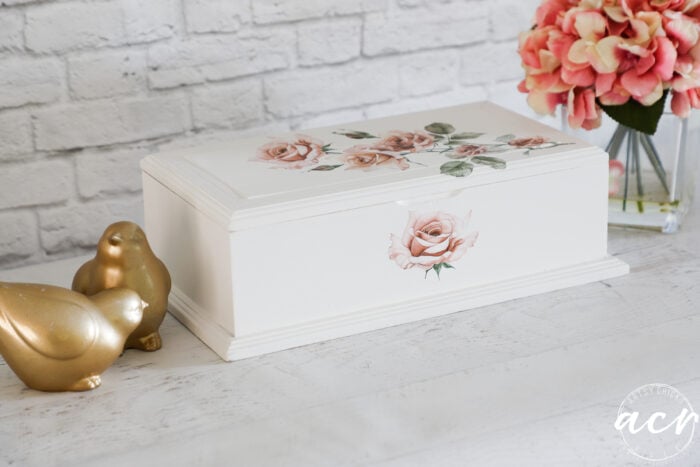
REVEAL
I considered putting little ‘feet’ on the bottom. I didn’t, but kind of wish I had.
I am glad I did a little surprise rose on the mirror inside, though.

Very simple and just enough.
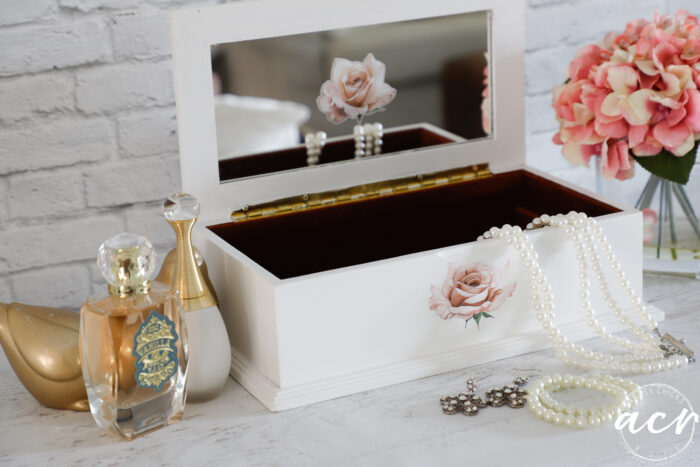
Inside looks good as new.
Hope you enjoyed this sweet jewelry box makeover! Easy to do!
And it certainly does not have to be used for jewelry. Little boxes like this can be used for so many things.
PIN it to save it!
Have a wonderful rest of your week, friends!
xoxo

")


")


Very nice result. I liked your feet idea. I’m imagining those wooden beads with a hole thru them…just glue them on.
Thanks, Lauri! Yes, exactly that!! xo
Very pretty makeover Nancy! xoxo Aunt Jo
Thank you, Aunt Jo!! xoxo
This is so lovely Nancy. I love the romantic, old world look of boxes like this. Great job as always.
Thank you, Sue! Me too, they are fun to makeover! xo
Great little box and it looks beautiful now!
Thanks, Cyndi!! xoxo
Super cute! Great work.
Thanks so much, Lizzy!! xo
It’s so pretty, Nancy!
Thank you, Michele!! Love making over these little ones! xo
I love the jewelry box makeover. The roses on that transfer are absolutely stunning.
Thanks so much, Renee! The roses really make it, for sure! xo
It looks brand new! It’s great that you didn’t have to tear out the “innards” and that they cleaned up so well. No feet? It’s never too late. I think it would add that little “something, something”. It’ll sell. With or without because it’ so pretty.
I know, I might just have to add some!! Definitely would add to it, for sure. I think I’ll do it. Thanks, Caye! xoxo
Hi there, beautiful box, well done.
I have a question about an old post about painting light fixtures. I have a ‘96 mobile home I’m updating. How did you prep the metal before painting them? I don’t want it peeling off in a years time. Thanks
Hi Teri! Thanks so much!
So, for the light fixtures, I didn’t really apply paint thickly so there weren’t any worries with that happening. As well as, I used Gilder’s paste also which is more of a “rub on” type of thing so won’t peel either. The types of paint I used is less likely to peel as well. Do you know what kind of paint/product you plan to use yet?
this box is so pretty. Well done. Personally I don’t think it needs feet with that nice ledge on the bottom. I think it finishes it and may make it look out of place with feet. I too have been making over some boxes and my jewelry box from 50 years ago for my granddaughter’s birthday. It was beautiful. You are such an inspiration
Thanks, Kris! You are probably right about that. I don’t think I’ll add them! I love that you are making over yours for your granddaughter, so special! Thank you for the kind words too, my sweet friend! xoxo