Master Bedroom Progress (How to Decorate on a Budget)
I thought I’d pop in today and get y’all up to date on what I’ve been up to.
And what I’ve gotten completed in the Master Bedroom Makeover so far.
For a refresher before going on….click the link above to see where I started. (and the BEFORE shot)
By the way, I’m doing this ALL on a major budget. Pretty much like I’ve done my entire home.
This room is no exception.
So I’ll be sharing how I did it all on a budget as I go along too.
It doesn’t have to (and shouldn’t) cost you a fortune to decorate your home in an elegant and pretty way.
Or however you like.
I’ll share how I decorate on a budget.
This antique headboard came from the thrift store about 2 years ago.
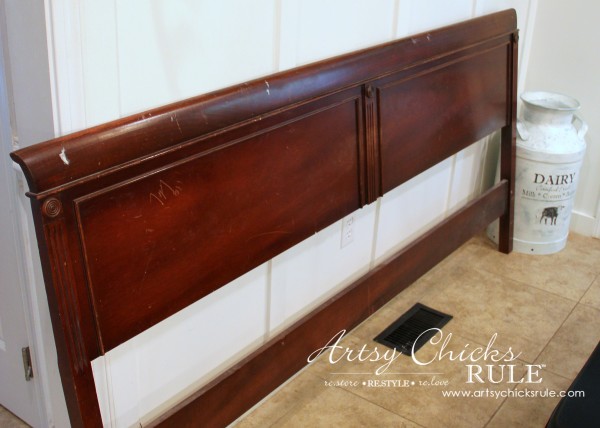
It was a bit beat up but still in good shape.
I decided to paint it white. I used BEHR Ultra Pure White (7750).
I had planned to sand and distress a bit to pull out those details…..
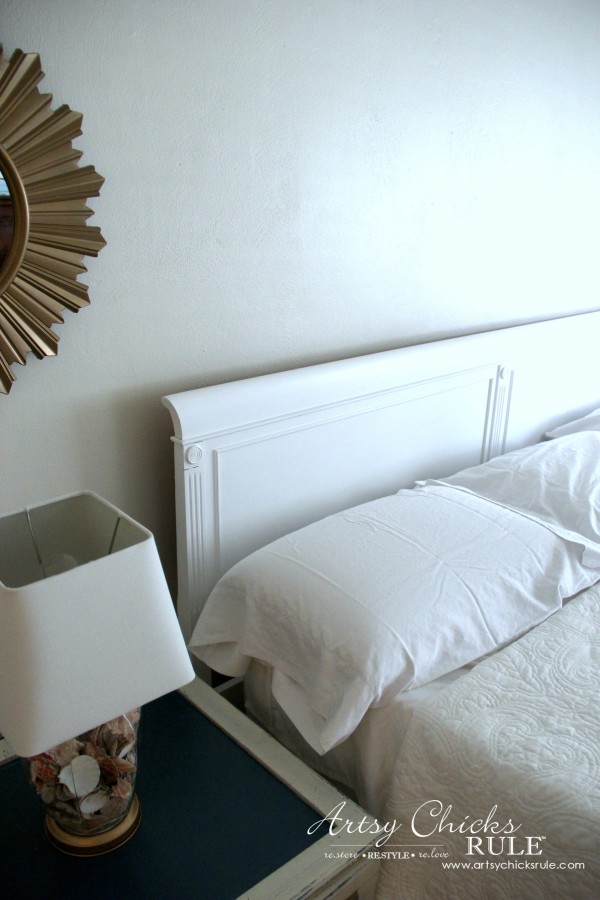
…… but it looked so crisp and clean I decided to leave it as is.
I LOVE it…….
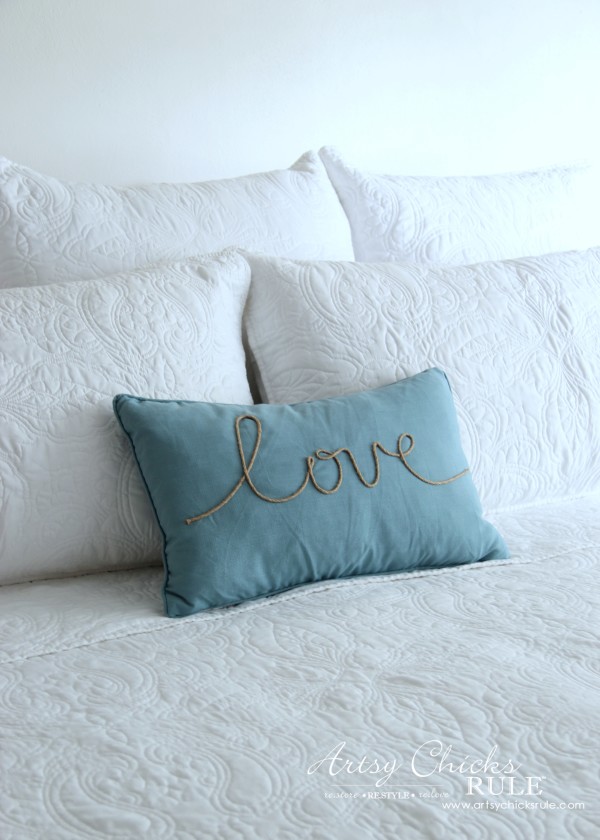
….but as you can see (or not see! ;) ) …it is all but invisible once the pillows are in place.
I need to remedy that.
Raise it perhaps? I haven’t told my husband yet and he’ll surely read it here first.
I know he’ll be thrilled that we need to un-attach and modify it and then re-attach. ;)
I love the new bedding though.
I went back and forth on what I should use.
I ended up with this beautiful quilted set from Stein Mart.
AND it didn’t break the bank at less than $115 for everything – King quilt, 3 Euro pillows, 2 King shams (minus the bed skirt, still need to get a white one)
Here is the bedding info: (affiliate links, full disclosure here)
Quilt
Euro Pillows
Pillow Shams
The LOVE pillow is from Marshall’s but I’m not sure I’m keeping that.
I’ll let ya know!
It was just $14.99.
The mirrors……. (and lamps below)
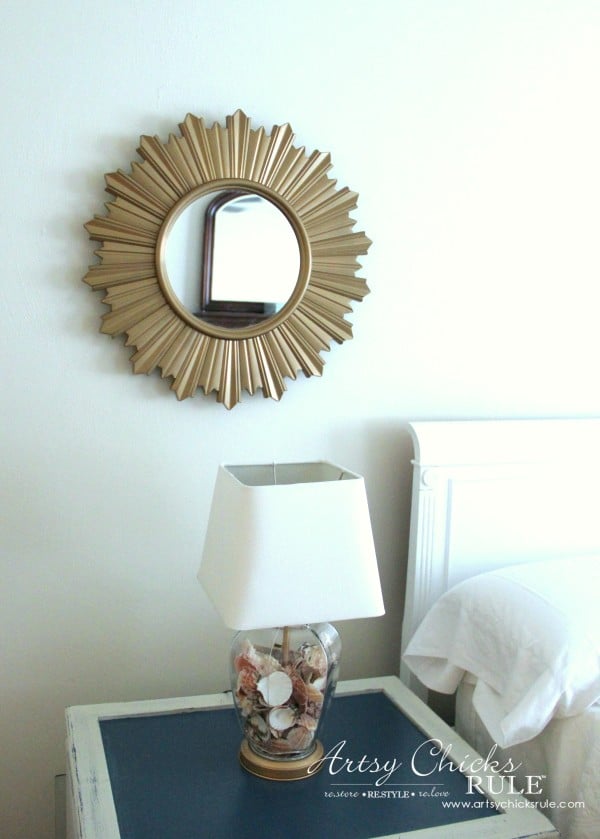
…I looked and looked and could not find a cost effective (or what I’d be willing to pay!) solution for either.
Until I found these mirrors at HomeGoods/TJ Maxx.
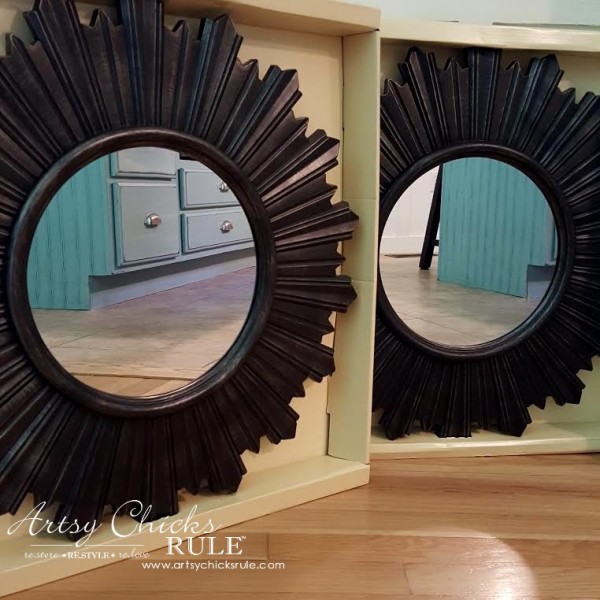
$19.99 each!
That’s so much better than $199.99 each. Wow, what a savings.
BUT they were the wrong color.
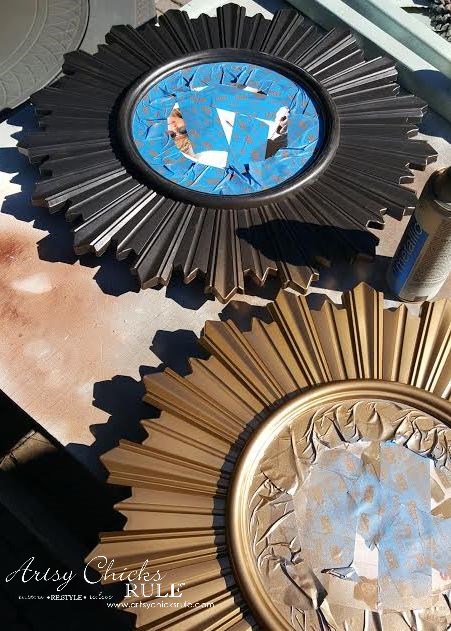
No worries.
Nothing a little spray paint can’t take care of, right?
And remember the seashell lamps?
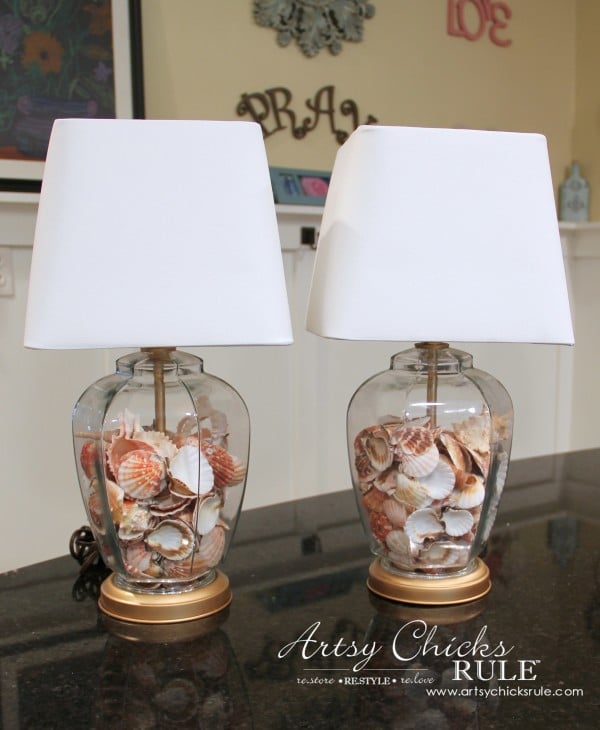
The ones I got for $5 each?
In case you missed that makeover, you can see it here — > Thrifty Coastal Lamp Makeover.
The night stand that it is sitting on….remember these?
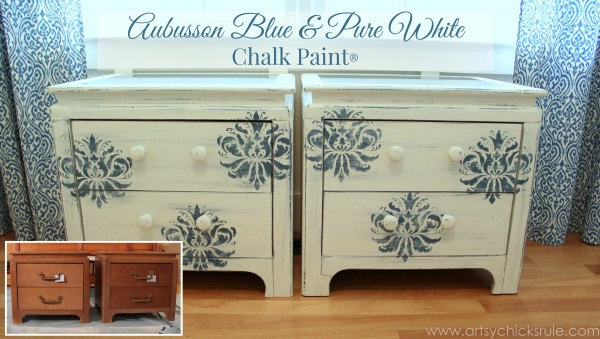
You can see more about them —> here.
I have just been unable to find suitable night stands so decided to just make these over a bit.
See the curved bottom area above?
Well, I wanted to change the look so I removed that board and had my husband cut a new one.
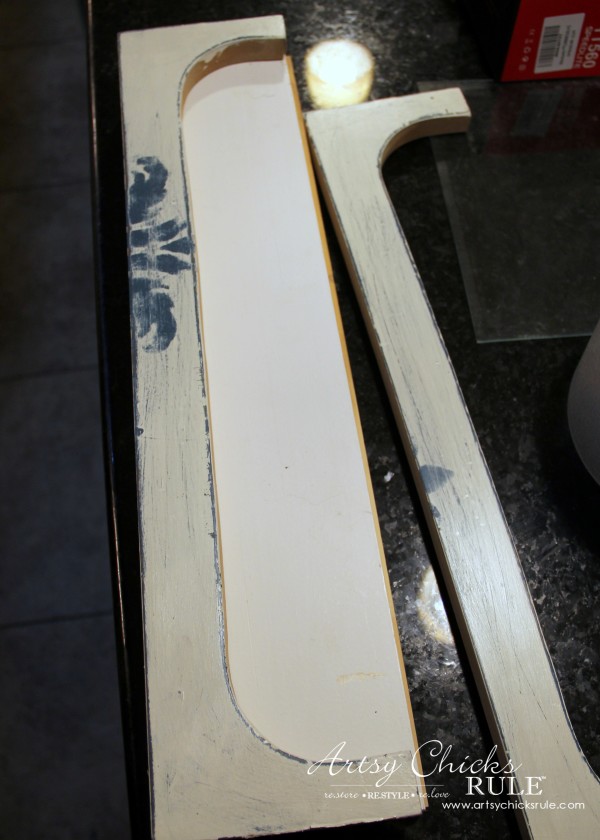
It got attached to the bottom in place of the curved one AND I added new wood ball feet too.
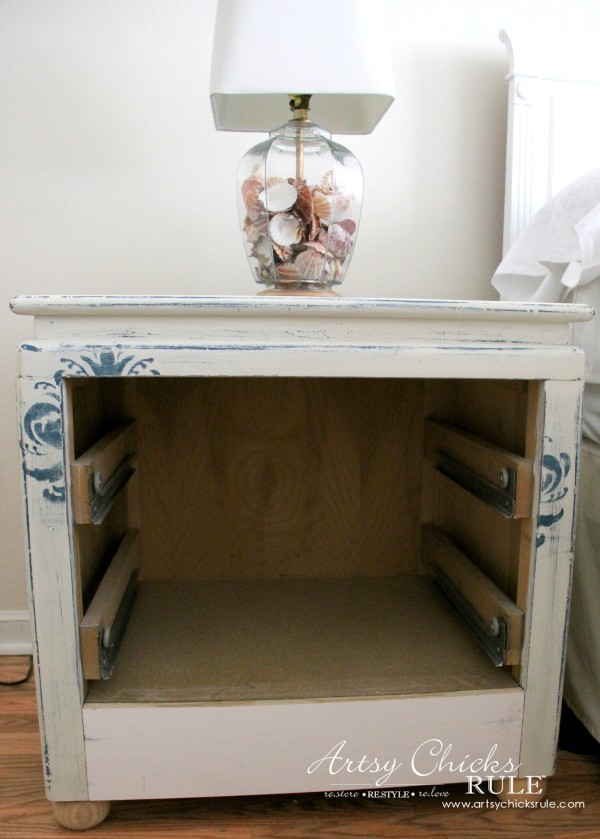
Totally new look.
I’m planning on painting them a similar color as the ones on my mood board for the Master plan.
You can see it –> here.
AND I’m putting new hardware on them too.
So, no cost night stands except the wood ball feet, $22.24/$2.78 ea.
(Original price for the nightstands/$15 for the pair)
How about window treatments? I have hemmed and hawed (haha ;) ) over this.
But in the end (and after I bought 3 sets of new curtains) I decided to move the ones from the Family Room up here.
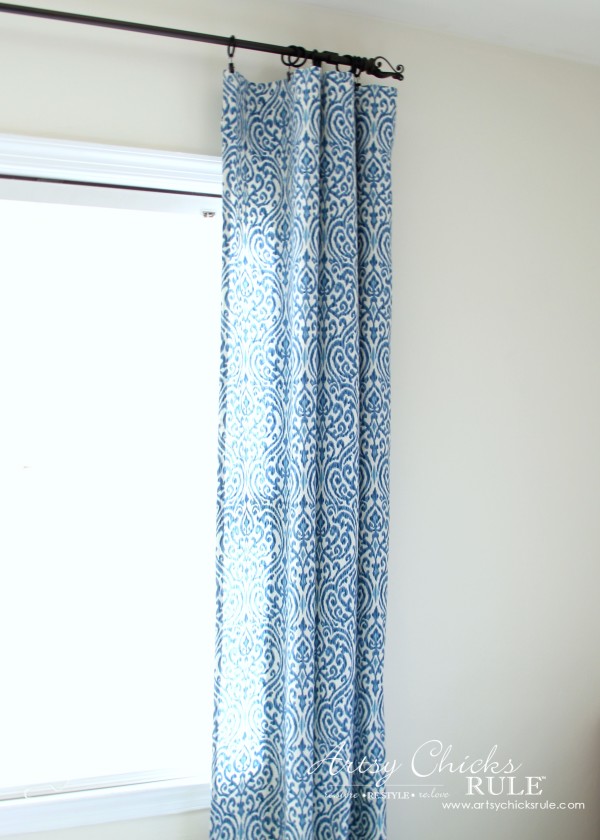
Remember these?
They are my “no sew” curtains. You can read about them here — > Easy, No Sew Curtain Panels.
(super inexpensive)
I thought they’d be perfect for the colors I plan in here.
They have that deep turquoise blue and a very pale teal blue also.
And so….these cost me nothing either for this room since I already had them.
BUT to be fair, let’s talk about the other 3 sets I bought recently.
This pair that I actually bought for the bedroom and I didn’t end up loving in there…..
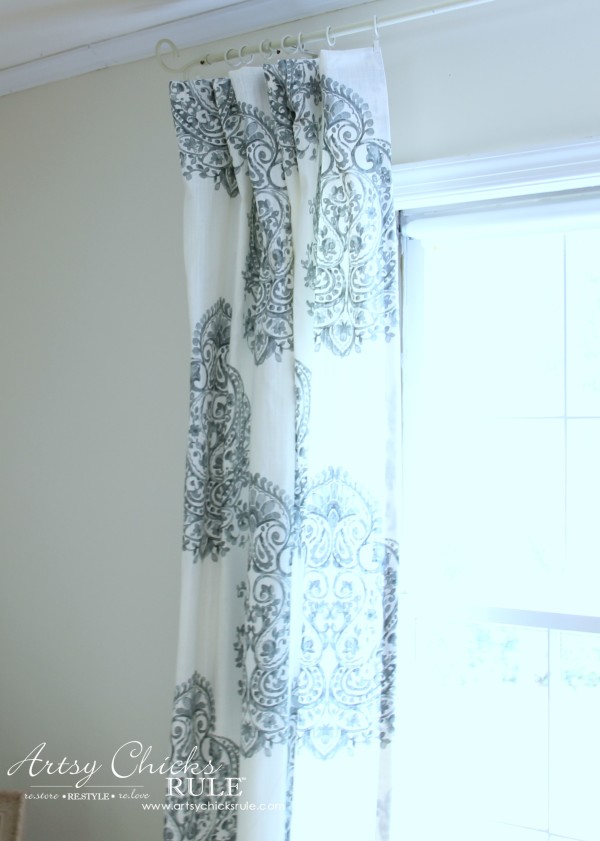
They ended up in the Dining Room instead. :)
They are so pretty, well made, long enough (that’s always an issue!) ….and were only $29.99 at TJ Maxx.
And these I put in the Family Room….
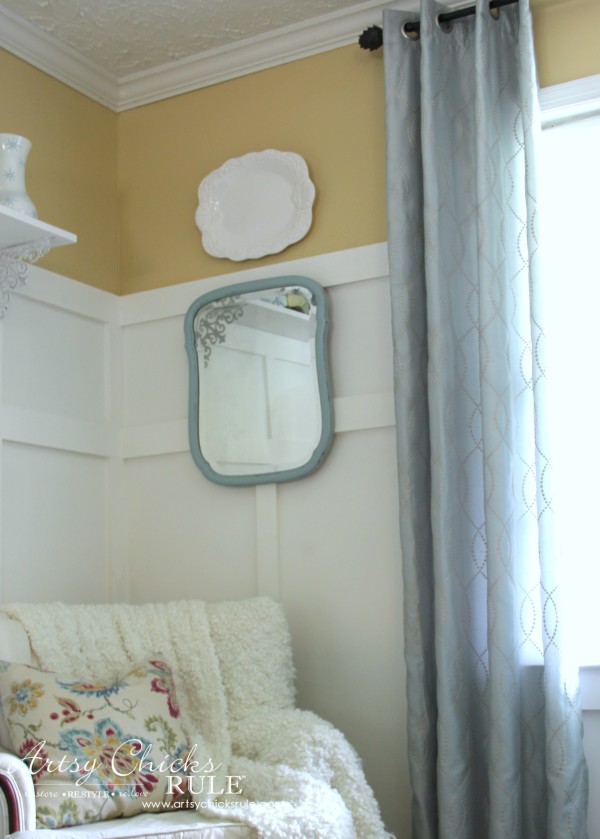
They are a pretty teal blue color which I cannot seem to capture well in the photos I took.
They also have a pretty silver stitched pattern on them that I love.
These are from Kohl’s and I had to order them to get the correct length. They were around $60 with my 30% discount.
Pay no attention to any of the rods, by the way. They were all just hung up quickly as I was trying them out in each room.
This is where they all ended up staying. I have plans to move some rods around, paint some, etc.
I’m also painting the yellow wall in the Family Room….not sure what yet since I do like the contrast between that and the white board and batten.
And finally these…..
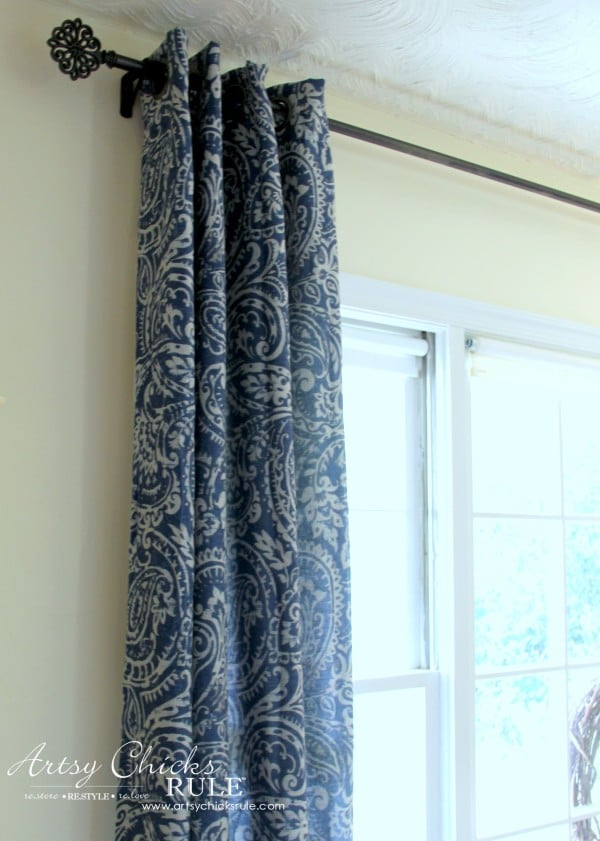
Also from Kohl’s and around the same price as the teal ones (with another 30% coupon…I got lucky with those 2 times in a row! ;) )
So, these are ALL super budget friendly and beautiful.
I think so anyway.
Just look at the color of these up close….
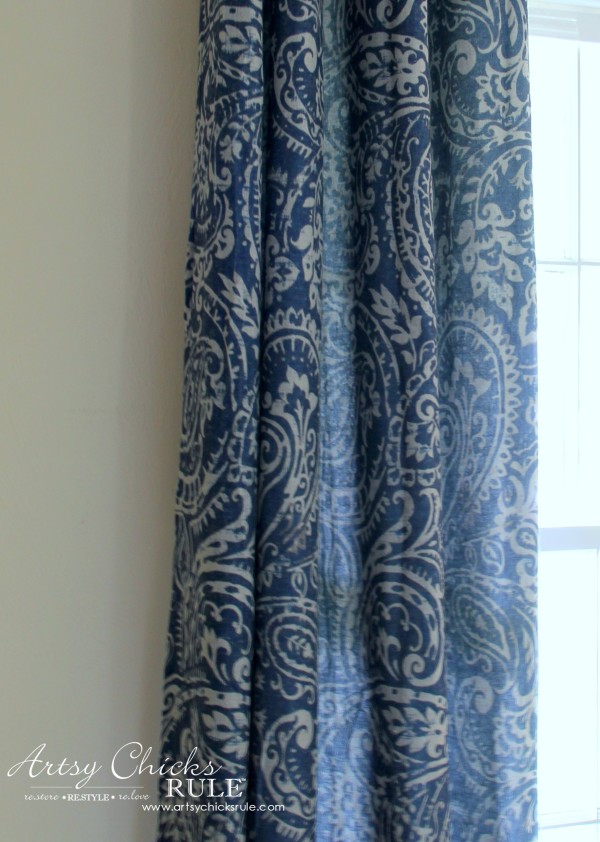
Gorgeous and perfect for the Study…and in the same room as my lovely Aubusson Blue dresser.
Sorry these last few photos are blurry. I broke my tripod just as I was finishing up another shoot.
Guess that’s next on the list to buy….again. ;)
I haven’t done the main picture over the bed but I did create these two lovely graphics that I’ll be making signs with.
They’ll go on either side of the photo project I have planned for the middle.

And this one…..

So that is how far I’ve gotten in the bedroom. I can NOT wait to finish.
Soon.
I hope this has maybe inspired you to see how you can decorate on a budget.
OH….and because this post is not already long enough… let me just share a sneak peek of the “never ending project”!
It is DONE (well, almost…just a few minor things). I’ll be sharing it soon….FINALLY.
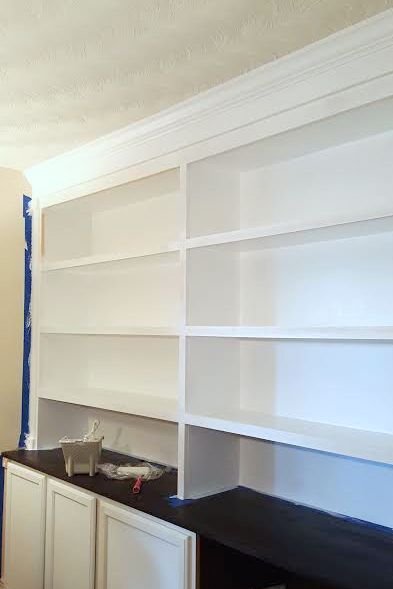
One thing I am unsure of is the wood top there.
I stained it much darker than I had planned….or envisioned.
Bummer.
I have considered painting it to look like a grayed/brown piece of weathered wood instead.
That would go great with my decor but I’m wondering what you all think?
I’d love to hear your thoughts on that!
Okay, and one last little thing to tell y’all (promise).
It’s Swap It Like It’s Hot week….what is that you ask?
Well, a bunch of bloggers send each other a thrifted item, or items, to makeover.
It’s so much fun and such awesome inspiration too.
It started yesterday and goes all week. I’ll be sharing mine on Thursday (and will also be sharing my Fall entry decor too)

Follow along! –> Instagram ~ Facebook ~ Pinterest ~ Bloglovin
*This post contains affiliate links. See here for full disclosure.





Nancy , It looks great¡¡ so bright and clean…I love it… cant wait to see the final result… I am waiting here with popcorn and coke :-)
Haha!! Thank you Victoria!! :) I can’t wait to finish!! (so I can work on my other rooms!! lol)
xo
Nancy
Good morning Nancy it looks so good , cant wait to see the finished reveal ! Amazing what some paint and some hard work can do :))
Hi Sandra! Thank you! :)
xo
Nancy
great progress. looking fantastic. not sure where you get all your energy. just a thought for your book case…how about a pretty graphic wallpaper background and leave it white. I just love that look and there’s lots of inspiration on Pinterest. So love your blog!
Thank you Mari! :) And I love that idea! I had considered painting the back but in the end went the simple route (all the same color ;) ) But paper might be fun!
Thanks for the sweet words too! xoxo
Nancy
Love it Nancy! I like the idea of the painted weathered wood…so creative AND so budget friendly!!! Blessings and hugs! :)
Thank you Jayne! I’m really considering doing it. But I think I’ll go ahead and decorate it and get the room done for now. We’ll see, I say that, but you never know with me!! ;)
xo
Nancy
I really like the patterns and pretty blues you’ve chosen for all your draperies, Nancy. I especially love the prices! As a certified Interior REdesign Specialist, I couldn’t agree more about how you can definitely create a beautiful home on a budget. Looking forward to seeing your night table makeovers – the tweaks you made are looking fabulous so far! As for the built-in, I’m quite liking the white painted cabinet with dark stained top.
Thank you Marie! I’m such a sucker for all blues! :) And yep, I so can’t wait to paint those things and see how different they are going to look!
So much fun…there’s just never enough time in a day to do all I need/want to do. :)
Oh..and thanks for the input on the top!
xo
Nancy
Great progress!! I like the tables better with the bun feet. Can’t wait to see how it all comes together! XO
Thanks Christy! I know, so much better! That and the new trim piece really changed up the look. :)
Nancy
wanted to just share an idea I have for making my own bed. I’m going to use a white fabric instead of print. I got tired of my dust ruffle and want a cleaner look. I have headboard already and just need rails. hope you like it.
OH Mari! I checked out the link you shared. How fabulous is that? I love it. I don’t think I’ve seen that before but I think it’s a fabulous idea! I’d love to see it when you finish!!! :)
xo
Nancy
http://www.bigboxdetox.com/diy-make-own-upholstered-bed
It looks so great! I LOVE the mirrors, what a great find!
Thank you Tania! :)
Nancy
I’ve never tried this but have seen on hgtv: wall paper foam core from the dollar store and fit into back of cabinets. it makes it easier to remove and update. your blog makes me want to start new projects! thanks for all your inspiration.
Oh my gosh, that is brilliant! I have never seen or heard of that but I like it!
I may just use that idea sometime! Thanks so much for sharing with me. :)
xo
Nancy
Your bedroom looks like it is coming along beautifully. I like the crisp white of the headboard, but I would probably raise it so that it would show a little, too. I know…a job for the hubby. I love the shelves, but I would prefer the top a little lighter, too.
Thank you Chloe! :)
Yep, it’s just got to be done! It’s one of those things that’s driving me a bit batty every day when I make the bed! lol
And thanks for the input on the top!
xo
Nancy
Hi its been a couple of years since you did this, but I was curious what you decided to do with the dark brown on top? I have used a walnut stain and then gone over it with a gray stain wiped away quickly to give it a weather gray look like driftwood. By the way LOVE your painting tutorial – doing that next!
Hi Nancy! That’s exactly what I had considered doing but …. haven’t done a thing with it yet! ;) I may still at some point. And thank you, that was really fun to do! I’d love to do another some day. Have fun with yours!! :) xo
I love how you made your bedroom look AWESOME!!
Thank you!