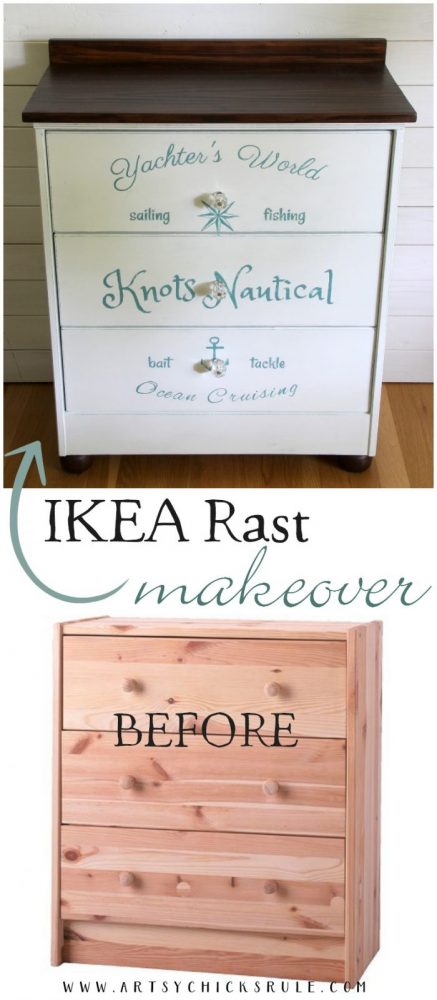
IKEA Rast Makeover – Nautical Style
Hey Friends! I’m sharing my IKEA Rast Makeover (again!) today with you.
But first, I want to say a big congratulations to Carol C!! She is the winner of my Craft Box Giveaway!!
Yay!! I hope you all enjoyed the giveaway. I’m planning on doing more.
And I might even do a little something special just for my subscribers. ;)
Not a subscriber yet? You can be! Just click, HERE to join!
I originally created this Rast Hack and shared it with you several years ago.
You can see what it looked like with the first makeover, here.
I totally loved this makeover…..but apparently not too many others did as I never ended up selling it. ;)
So it sat around in storage until I decided I’d go ahead and give it a brand new makeover.
That was probably a good thing because when I pulled it out of storage I noticed that the knots in the pine had come through the paint in places.
Not a very attractive look. ;)
So, to combat that on the next makeover, I sprayed every single knot with several coats of Shellac.
Then proceeded to paint it.
I’ll share affiliate links to the products I used below.
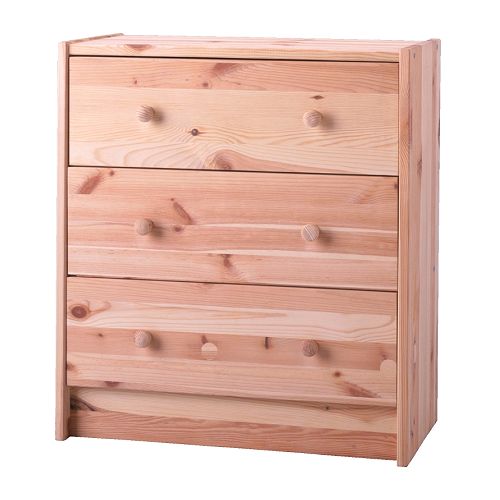
This cabinet was definitely utilitarian when I got it. ;)
Yep, kind of plain so I dressed it up a bit with a brand new wood top, back piece (on top), decorative trim just under that, decorative trim on the drawer fronts, moved the kick plate out and added ball feet.
Again, to see how I did all of that, check out this post of the original IKEA Rast hack, here.
I started out by removing the decorative wood trim on the drawers.
Then I removed the paint from the top two pieces of wood with Citristrip.
But sadly, it wouldn’t do the job. I’m guessing the wax I applied hindered it from working as well.
So I had to pull out my sander to finish the removal.
It went pretty quickly so it wasn’t so bad. (I hate sanding. haha)
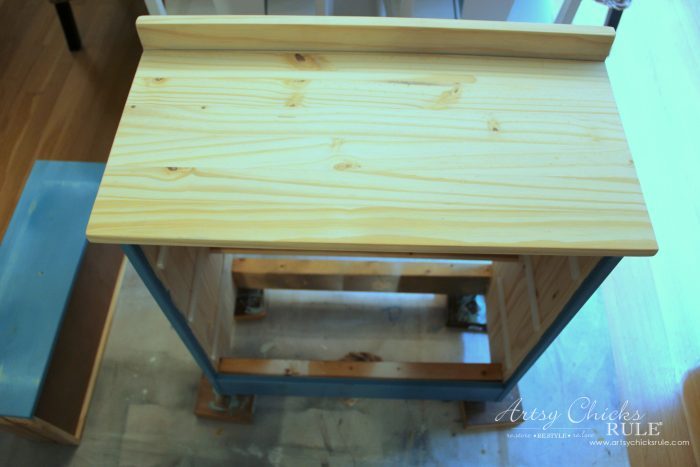
As you may be able to see above, I also sanded the areas where the decorative trim was on the drawer fronts to smooth them out.
I then applied the Shellac everywhere I sat a knot coming through the paint.
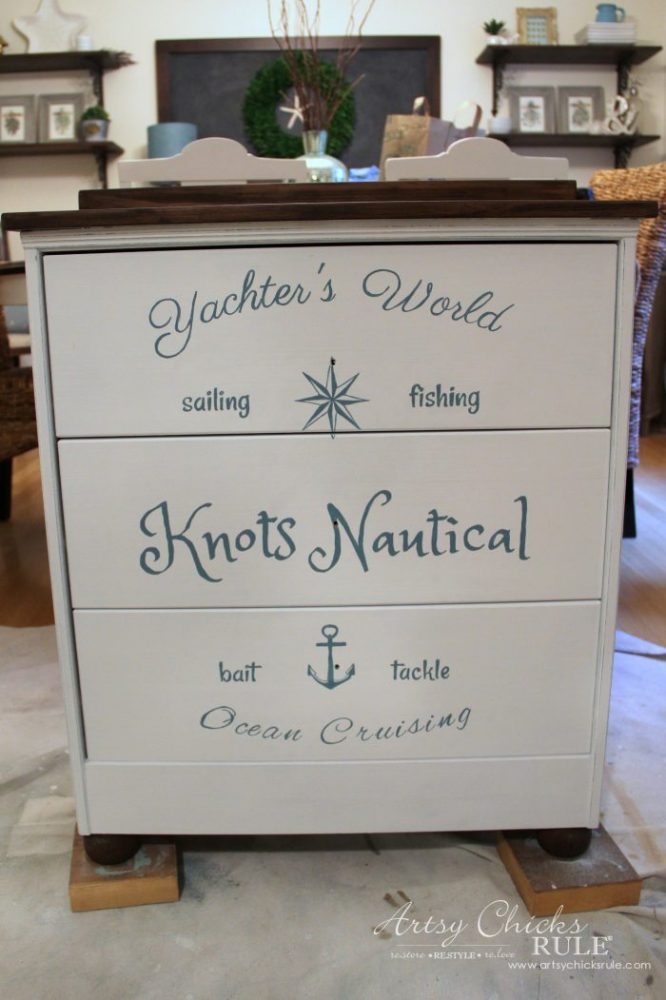
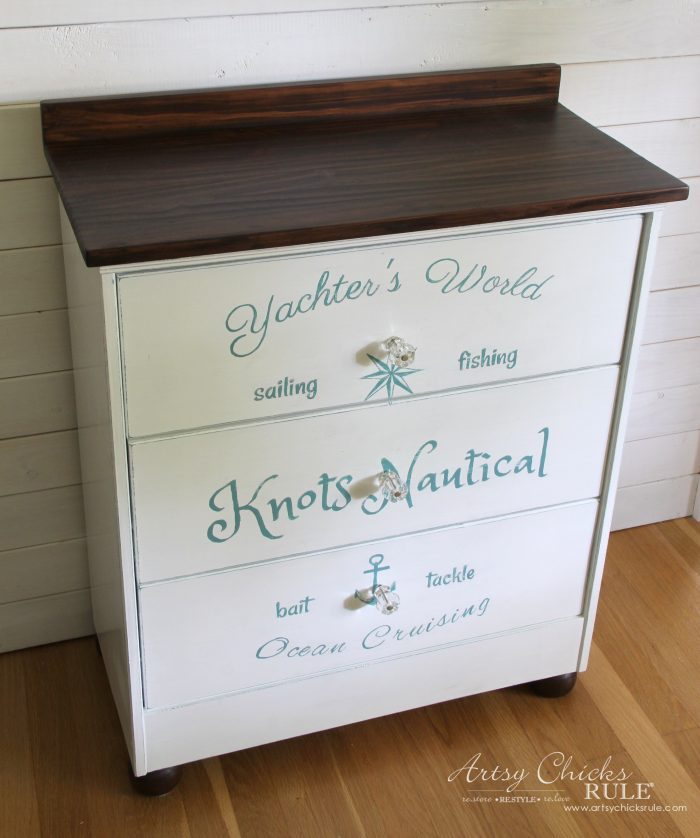
Then I painted it Snow White, a nice bright white.
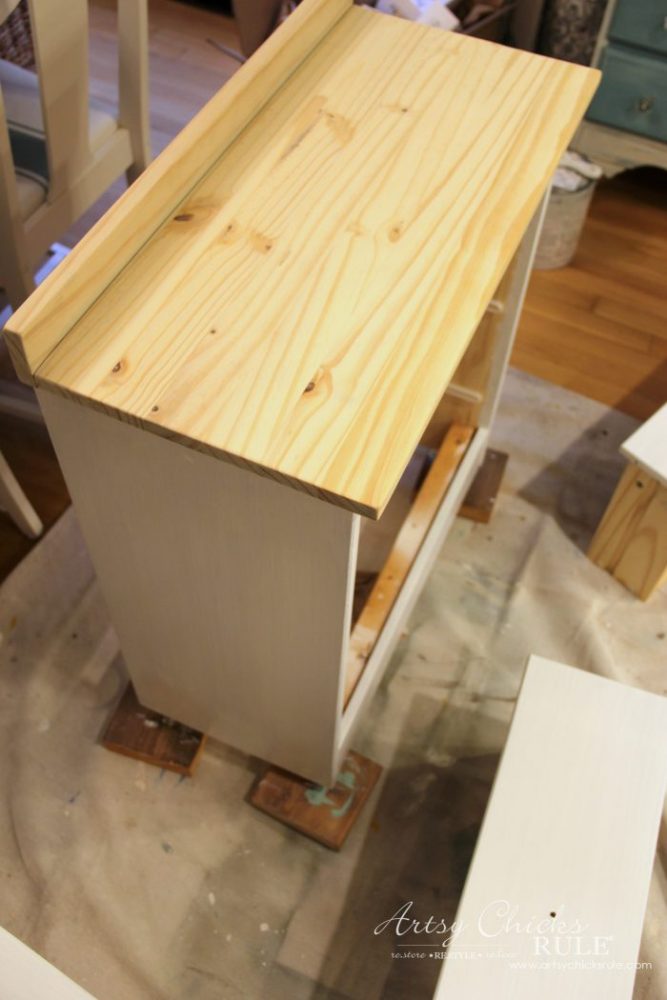
For the top, I used an Antique Walnut for the first coat. (after priming the wood with a pre-stain conditioner first)
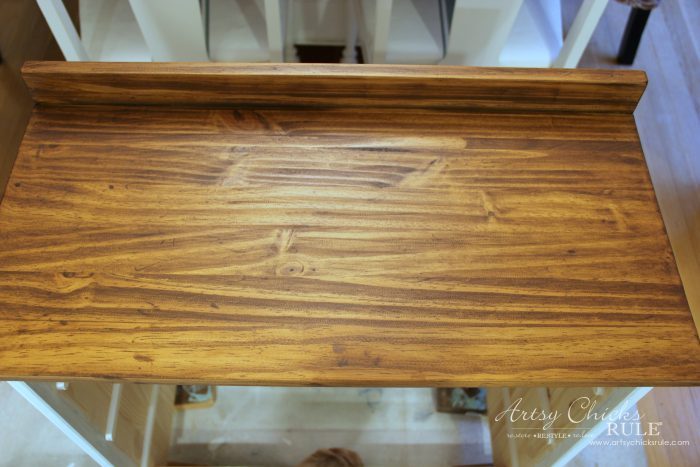
It was a little lighter in color than I wanted so I went over top of that with Java Stain.
Just right. :)

After that sat for several days to cure, I then gave it a coat of sealer in Satin finish.
I had considered something else for this little IKEA Rast makeover ended up doing this instead.
I think I’m going to do what I’d planned for this on a larger antique dresser I will be giving a makeover to soon. :)
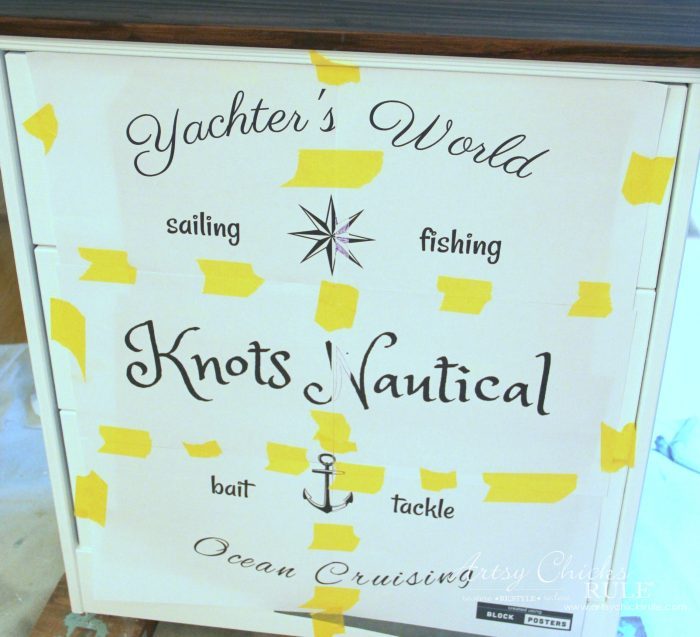
You might notice I had to draw in some of the graphic that the printer missed.
Not sure what was going on but my printer was acting really wonky trying to get these printed out.
But for larger print outs like this, I always hop over to blockposters (dot) com to do.
I used this paper to transfer the image onto the dresser but you can see all of my favorite transfer method in this post,
HERE.
You can also use a projector to transfer the image like I did in the original “Knots Nautical” dresser I did.
You can see that dresser, HERE.
I re-created this graphic in PICMONKEY…..
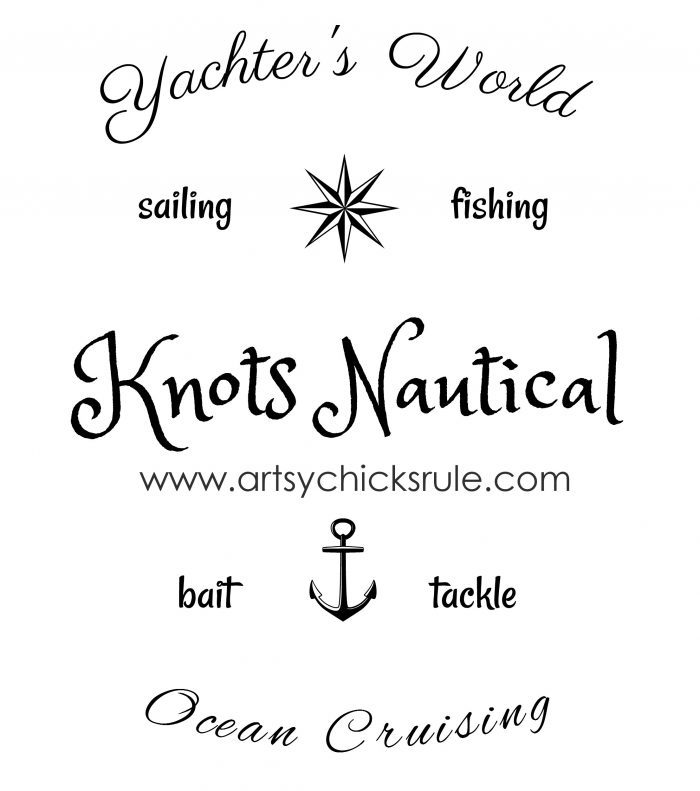

(the watermark won’t appear on the downloadable version)
The paper works amazingly well.
But….it’s best used with darker colors.
They also have white transfer paper too. (to use on dark colored paints)
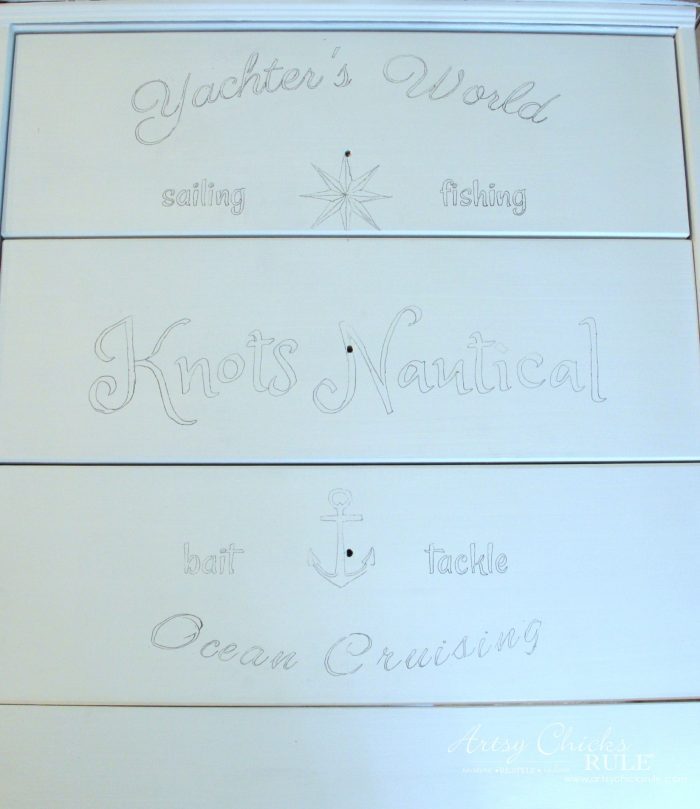
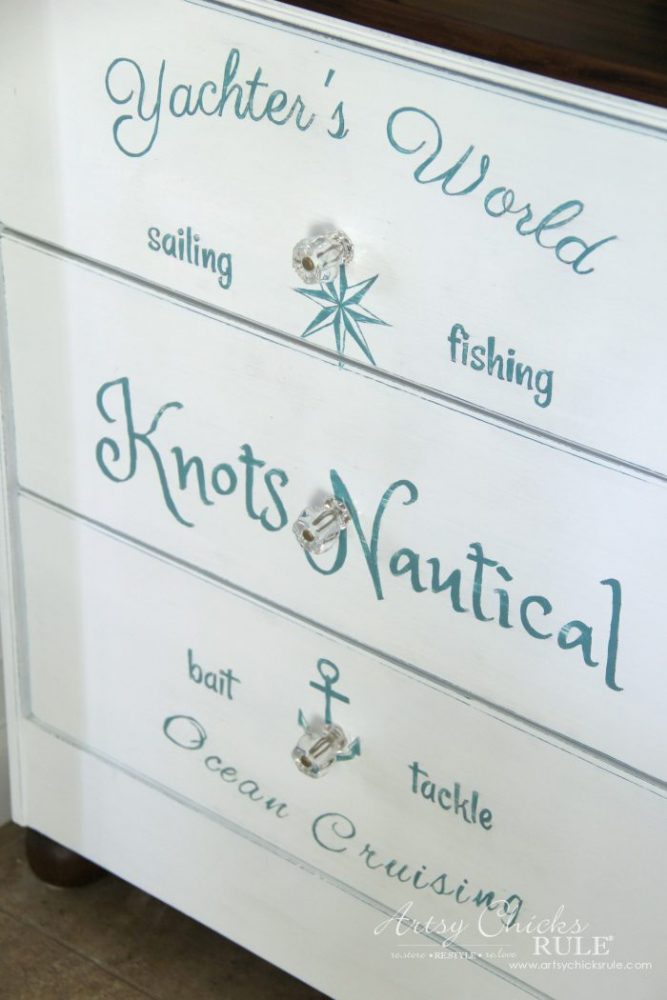
I used Provence (Annie Sloan Chalk Paint) and a script liner brush to color in the lettering.
That bottom anchor bugs me because it is a tad off center.
If you’ll notice, the drawers on these IKEA Rast dressers can be a bit goofy.
The bottom drawer must have been too close to the right side (needed some adjusting) when I transferred the graphic.
I didn’t even notice until it was painted in…don’t ask me why!! lol
Oh well, it’s hand painted and imperfect….just like me! ;)
I thought it looked a bit stark, as is, so I gave the whole thing a light sanding to distress.
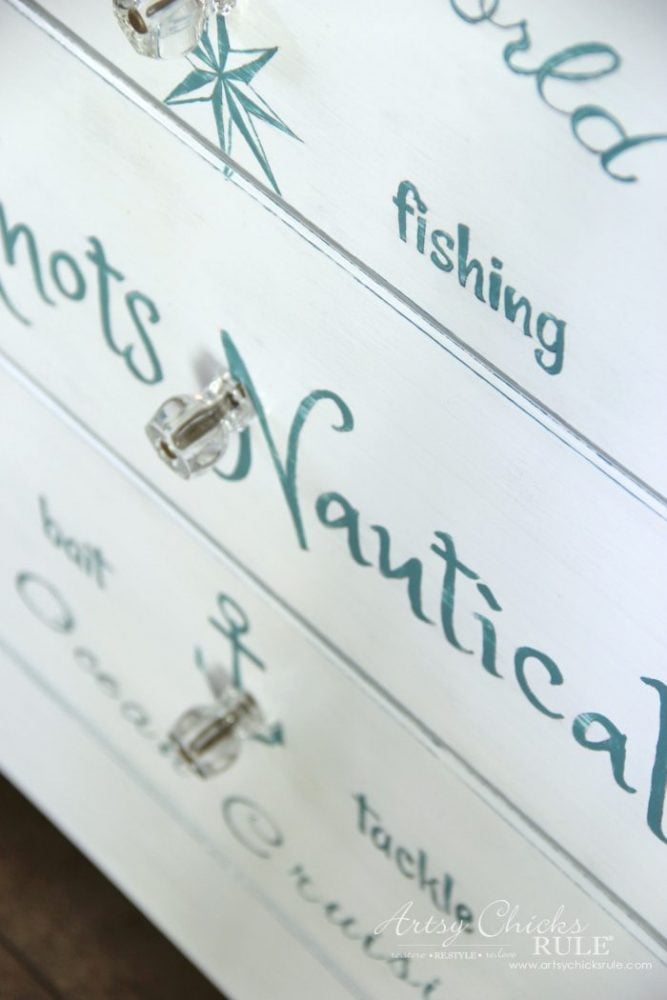
And then everything got a coat of sealer as well.
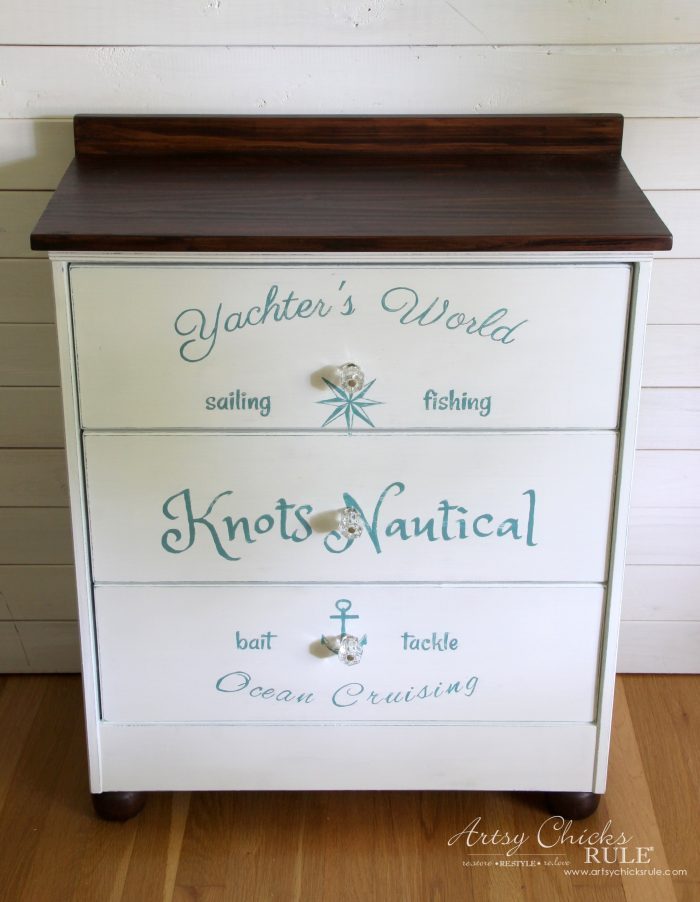
The ball feet got the same stain as the top.
And crystal knobs so as not to detract (as much anyway) from the nautical graphic on the front.
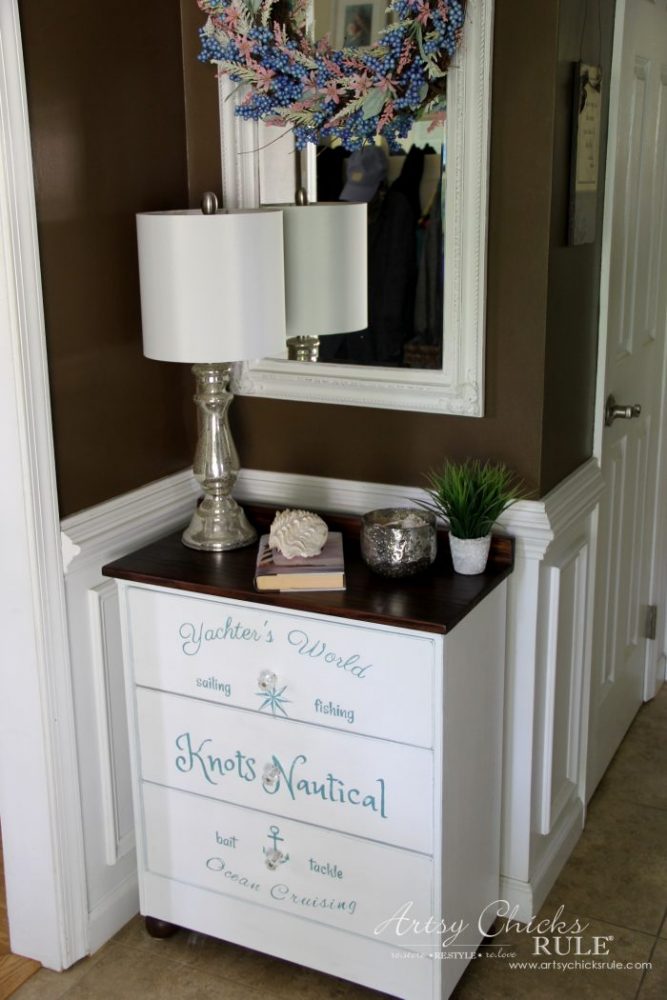
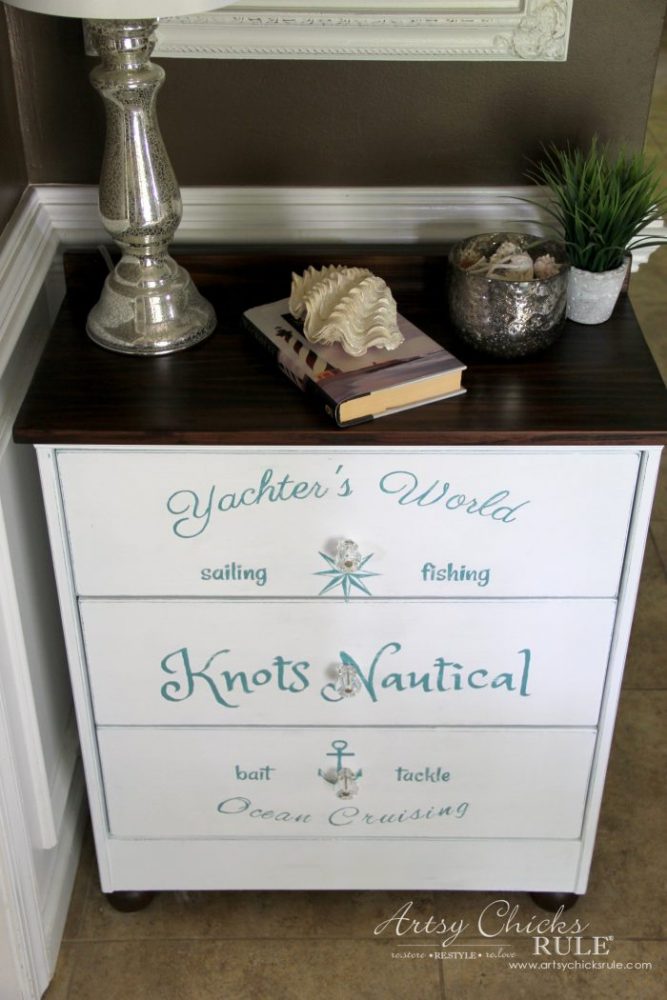
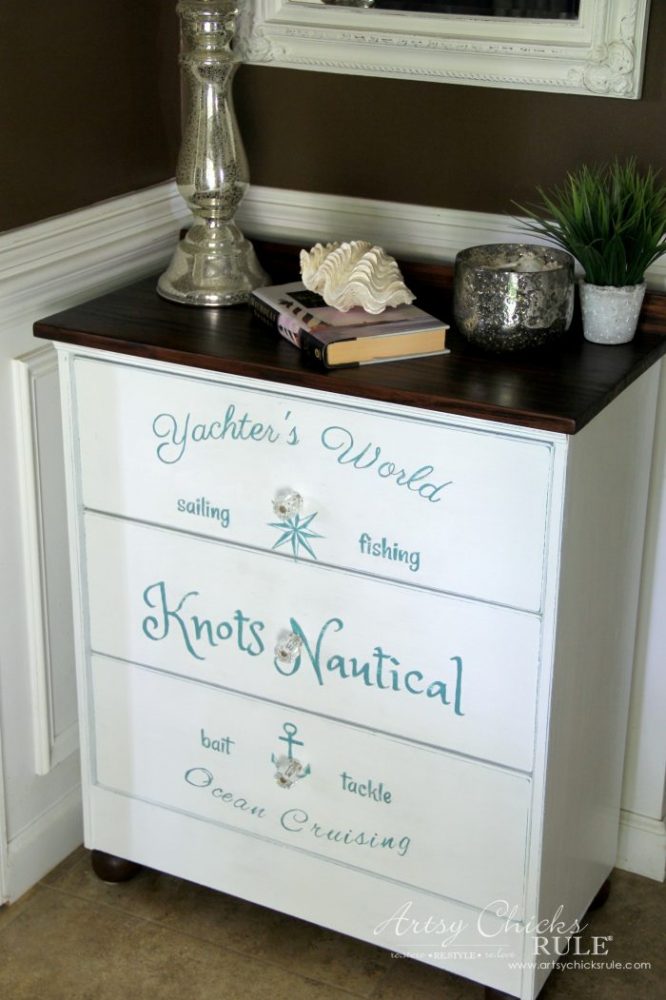
And I thought I’d see how it looked in the foyer….

You’ll be seeing the other idea I had for this little dresser as I mentioned above, soon!
It’s not nautical or coastal in design, by the way. ;) So stay tuned.
PIN this IKEA Rast Makeover to save for later!
See you back here Thursday, same time, same place! ;)
And don’t miss my latest furniture makeover!
UPDATE!!! See it now, here!!
Have a great week!
xoxo

Related Posts:


")


")

From very plain to absolutely gorgeous piece of furniture
Thanks so much Colleen! :) xo
I liked your first version but like the second version even better. Now you have another piece perfect for you beach cottage.
Oh yes, you are right Paula!! At this rate, I’ll be fully decorated before we even buy it! ;) xo
Love how this turned out. I like to use the chalk paint, and I use the modern technique that I was taught at an Annie Sloan Class. first coat goes on as normally used, then the second coat you dip your brush in water then some paint and go over the first. It gives a very modern feel to the chalk paint. Very smooth and natural. The final step is to go over it with GF finishes. Love how all the pieces turn out.
Thanks Mary Anne! And oh yes, you are right about that!! So glad you are having fun with Chalk Paint. It’s quite addicting! :) xo
I do like the second version better. Still wouldn’t go in my house, but it is cute.
Thanks Doris! :) xo
I love the look, it too would look great in my river house.
Thank you Kathy! You are so right! :)
Nancy, I really like the second makeover. It looks so much better, to me. I think the dark walnut top over the white really makes the chest pop. I love the transfers. You really put a great deal of work in the second makeover. Stunning. Thanks for sharing.
Thank you, Sue! I like it best too. :) xoxo