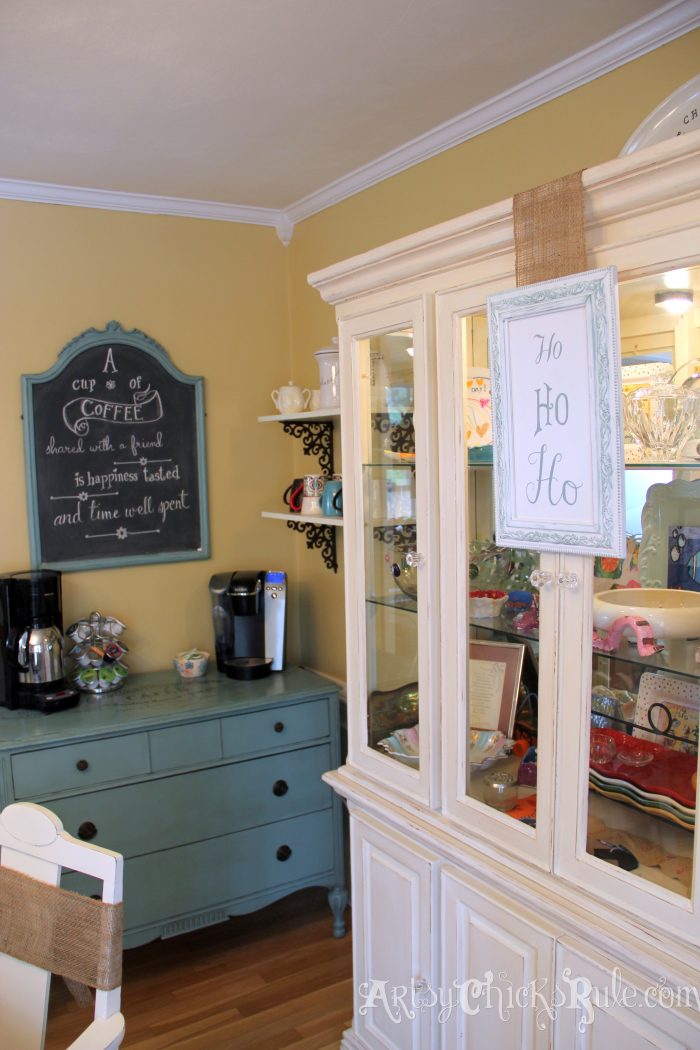
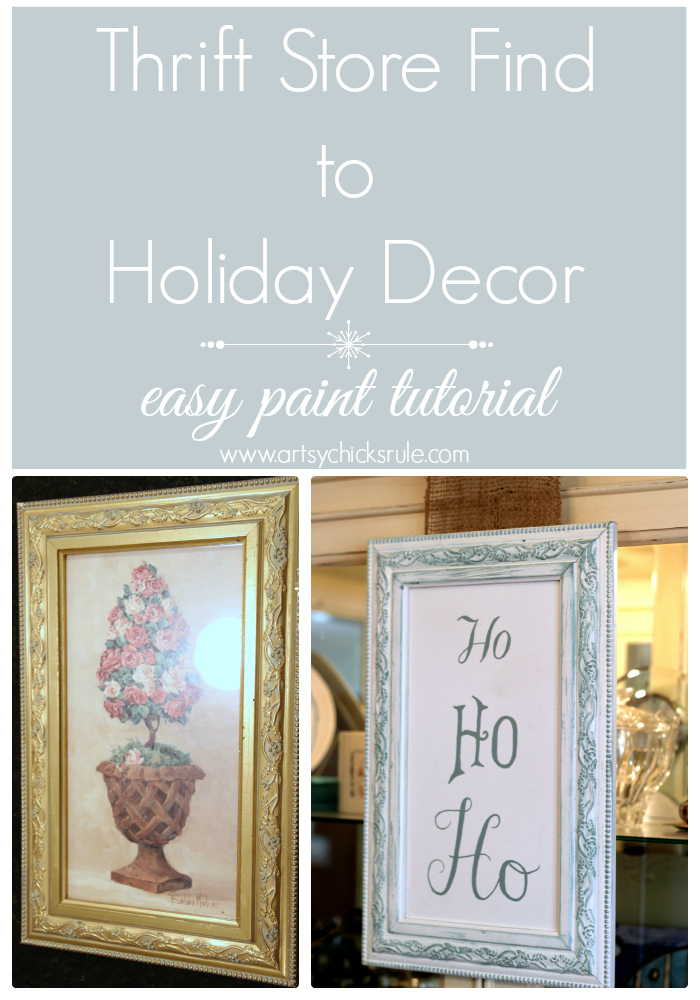
Ho, Ho, Ho {thrifty find to holiday decor}
Remember this Ho, Ho, Ho holiday decor sign from Part 2 of my Holiday Home Tour?
Well today I’m going to show you how I made it…..as best as I can.
I was in a hurry to get my home complete for the tour so I didn’t take pictures as well as I should have.
But it’s really easy.
It started like this…..
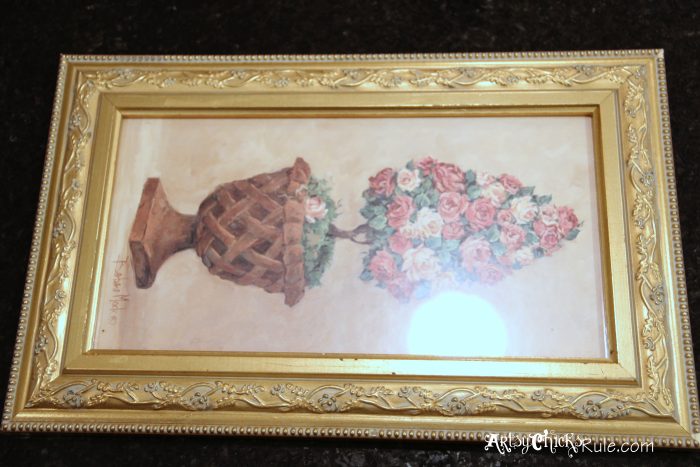
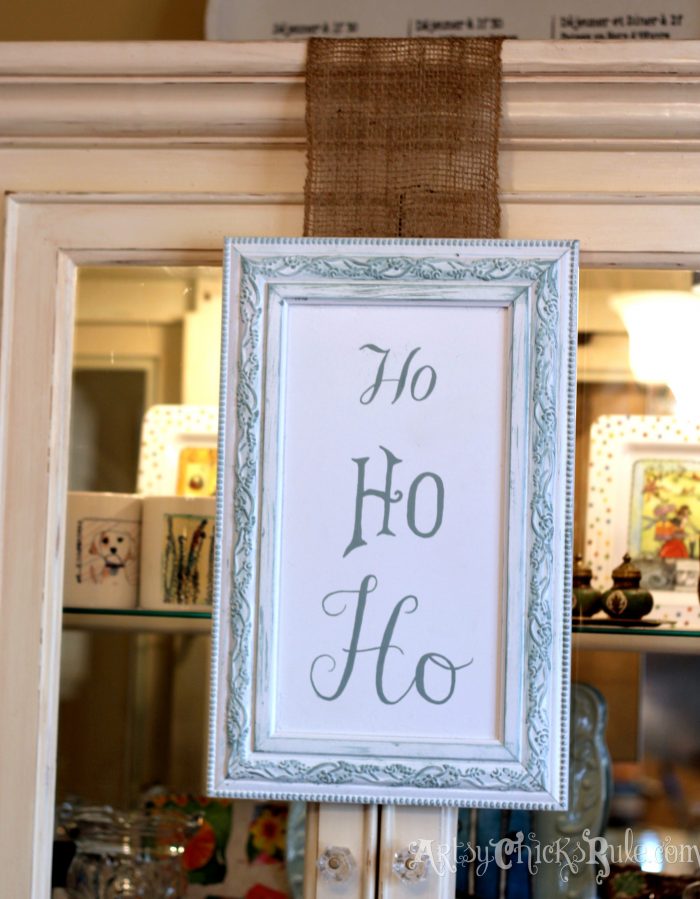
An old framed print from the thrift store.
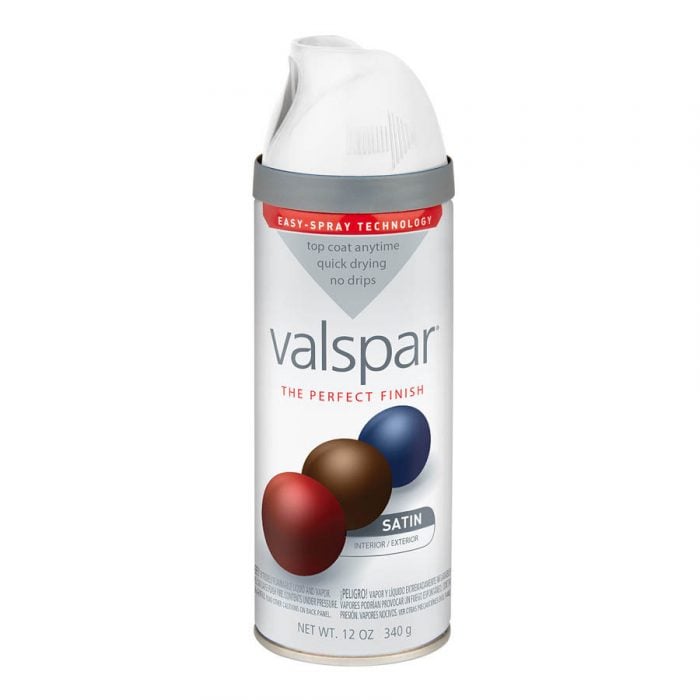
I had originally planned to paint the glass with Chalk Paint but decided to just spray the whole thing. I was in a hurry, remember?
I used Valspar White Satin Spray Paint and did several light coats over the entire thing. It worked out pretty well.
Great (and super simple) if you are looking to paint the frame and inside the same color anyway. (or you could tape and spray, if not)
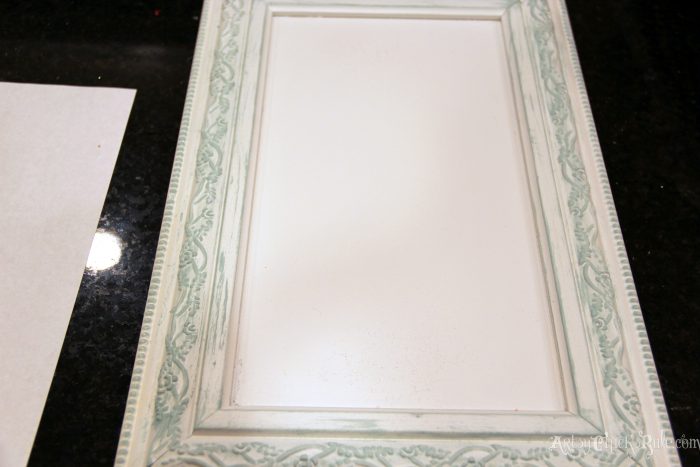
I don’t have a photo of it painted just white…..sorry. It looked just like the photo below but without the blue around the frame. ;)
After the paint was fully dry I used a dry paint brush and Duck Egg Blue Chalk Paint to dry brush over the details on the frame.
Below is a shot after the dry brushing and before the graphics transfer.
I created the Ho, Ho, Ho graphic below for this project…..
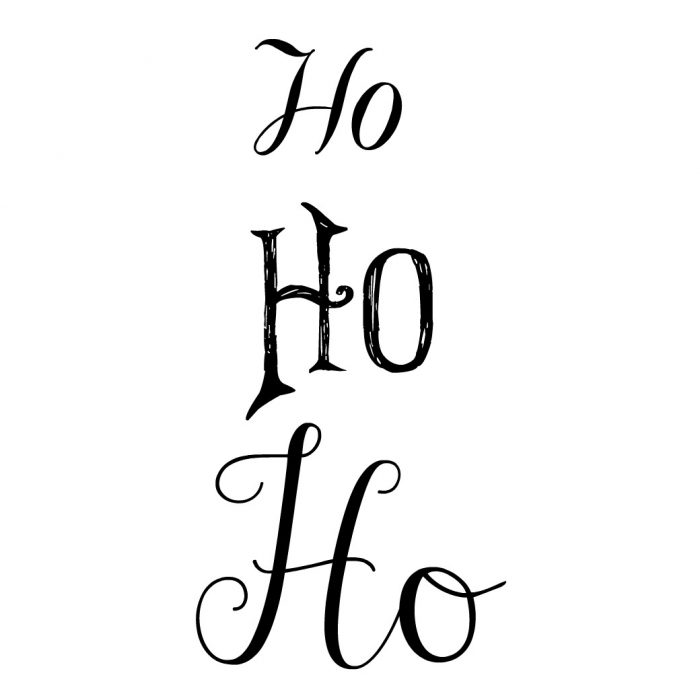

I printed it out, cut them apart and rubbed pencil over the backside of the lettering to transfer.
I laid them out onto the center where I wanted them to go.
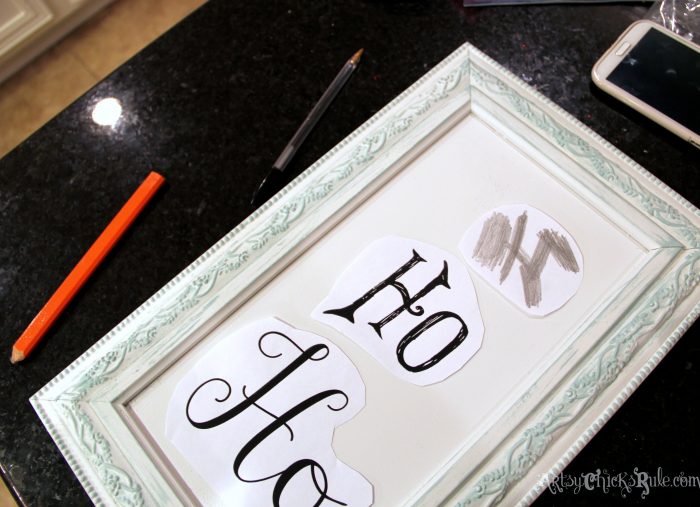
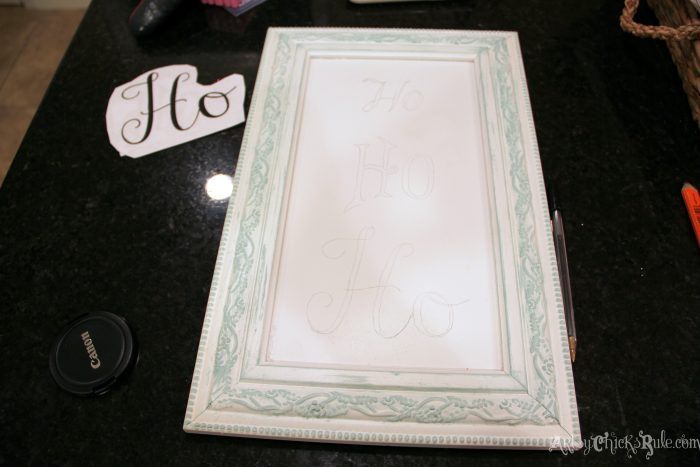
Then I used the ball point pen to trace around the lettering to transfer the pencil lead to the painted glass.
All transferred (hard to see well in the photo below but it is there)….now time to paint it in with the Duck Egg Blue Chalk Paint.
You could use any color …..red would have been great too but I wanted to use the color that I have in this room.
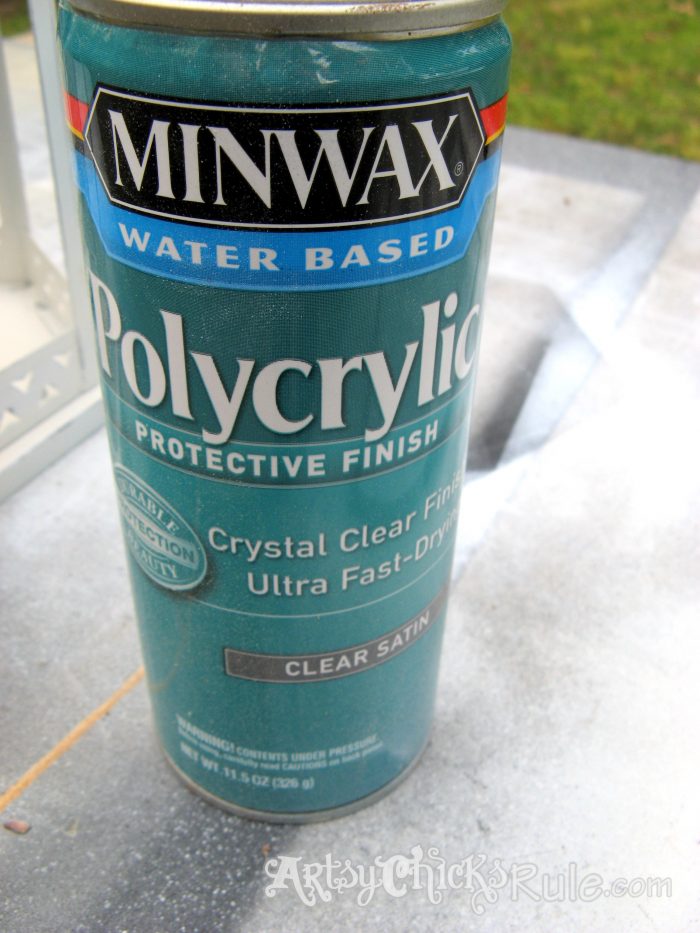
I finished it with a spray of Minwax Polycrylic to seal it.
And finished…..
Before and After —-> thrifty find….to holiday decor! Easy and inexpensive.
Ho, Ho, Ho and Happy Holidays to you! ;)

Be sure to follow me on Instagram if you don’t already!
I always post projects and things I’m working on (like this one)
long before it hits the blog…..
….plus lots of fun random daily things too.


")


Hi, your Ho Ho Ho is really cute. I have a question for you if you don’t mind. I have tried using the spray poly and it just never looks good after. Is there something I need to do to get a nice smooth finish? I never get it right.
Thank you
Debbie
Hi Debra,
Thanks!
The only thing I can think of with the spray poly is to be sure you are doing it far enough away from the project and do several light, even sprays. (instead of one heavy one) That seems to work for me!
:)
Nancy
That is so cute! I would never have thought to just make an easy sign with all my thrift store frames! Have a wonderful Holiday Nancy!
Thanks Karen! :)
Hope you have a wonderful holiday too friend!
xo
Nancy
Merry Christmas Nancy, love your ideas..looking forward to seeing new ideas in 2014.
Take care,
Marlia
Thank you Marlia :)
Merry Christmas to you and yours!
xo
Nancy
I liked it better before. NOT! ;)
-andi
Hahaha Andi!! NOT is right! ;)
Nancy
i love it..merry Christmas to you xx
Thanks Chris :)
Merry Christmas to you!
xoxo
Nancy
I just love what you can do with old ugly things, amazing Nancy!
I know, isn’t it?? I love changing em up! :)
Thanks!
Nancy
This, like everything else you create, is adorable! I just might be able to do this. Thank you so much for the printable, too! I love getting tutorials for great signs that are not made using a Silhouette… being as I don’t own one!
Merry Christmas, Nancy! xo
Awww thanks Karen! :) You can so do this, promise! Really, couldn’t get any easier, (well the Silouette WOULD make it easier! lol) I need one of those too!! ;)
Merry Christmas friend!
xoxo
Nancy
I’m a little late to this post; but just wanted you to know I love it. Great ideas!
Thanks Blondie! Never too late to the party!! ;)
Hope you have a great day!
Nancy