“Happy Fall Y’all” Chalkboard Art Tutorial
Happy Fall Y’all!!
Does it feel like Fall yet?
I’ve got my porch decorated for Fall so I suppose it does.
I’ll be sharing that with you all shortly.
But first I’m going to share with you something I made for Fall this year.
This “Happy Fall Y’all” Chalkboard Art Sign…..
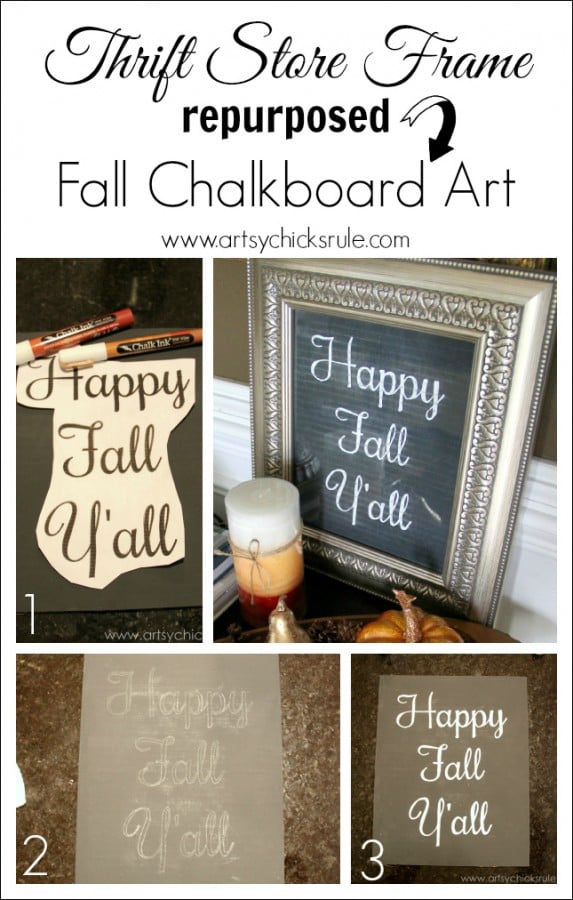
SOOO easy.
Really.
I had this old frame I bought at the thrift store awhile back.
I have no idea what I paid for it now but it was probably in the $1 range.
I don’t pay more for them usually.
I pulled it out and was going to paint the glass with black Graphite Chalk Paint®…. like I did on this “Holiday Art” sign –>here.
But as I was pulling out the glass I saw the piece of cardboard that is always in the back of the glass and changed my mind.
I decided to paint it instead and put the clear glass over top for a different look.
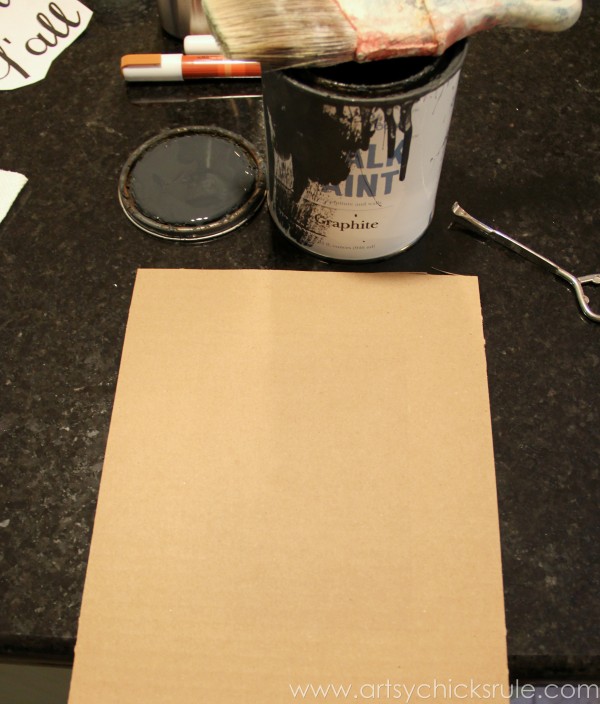
Crazy simple, see? Paint the cardboard, let it dry.
I created this graphic in Picmonkey for the “chalk” writing.
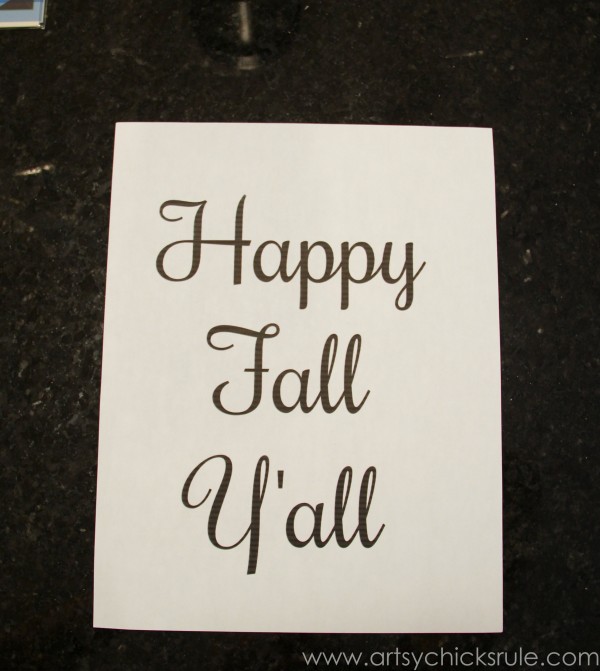
After my “chalkboard” (cardboard painted with Chalk Paint®) was completely dry I transferred the graphic.
I just shaded the back of the lettering with white chalk and placed it where I wanted it on the “chalkboard” and traced the outline of the letters.
(I trimmed around the lettering so I could place it more accurately)
I’m including a few affiliate links for you. You can see my full disclosure here.
Then I painted it in with these fabulous pens.
I’ve used them a few times now. Like this “Sandy Toes & Salty Kisses” sign I made recently.
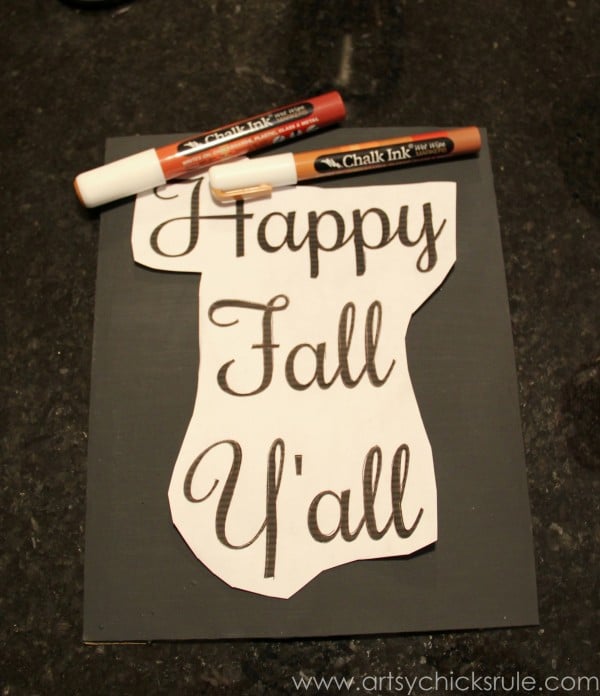
Now that you have an outline all you have to do is paint the inside.
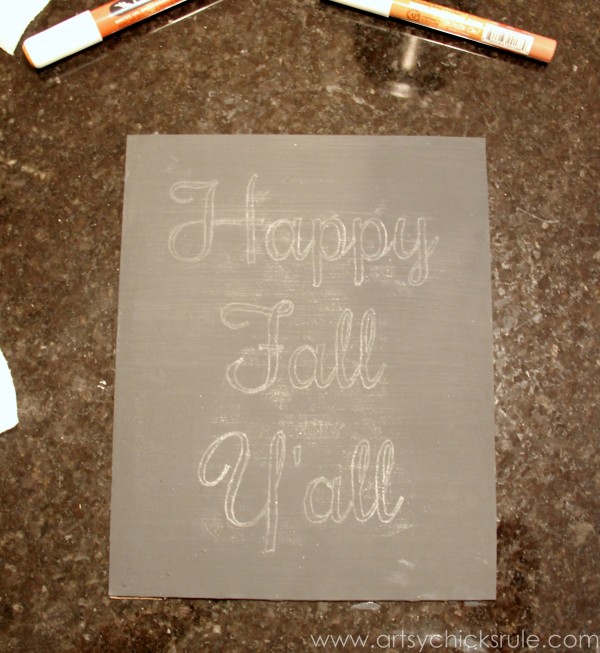
Really can’t get much easier than that!
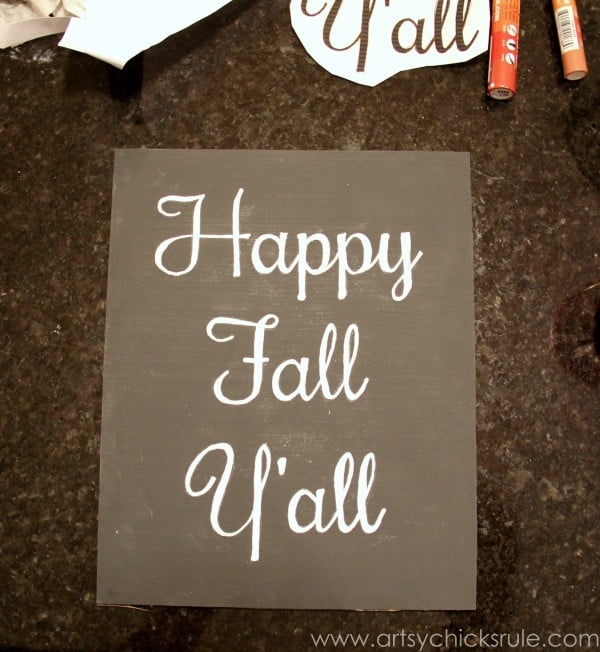
I lightly sanded it to give it a “washed” effect.
Which, if you notice, revealed the corrugated cardboard marks…which I kind of like the look of actually.
(Good thing, right?? ;) )
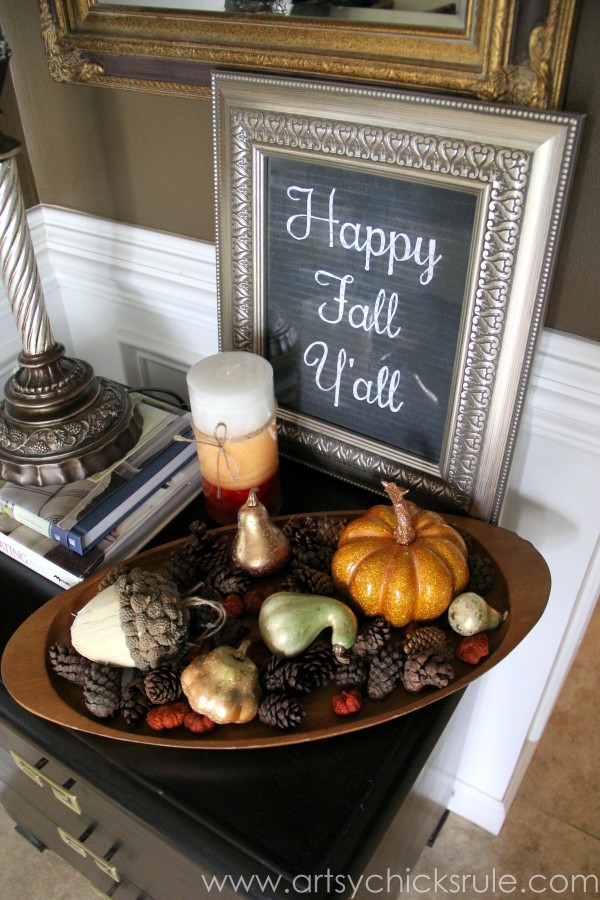
I tried it here in the foyer first….
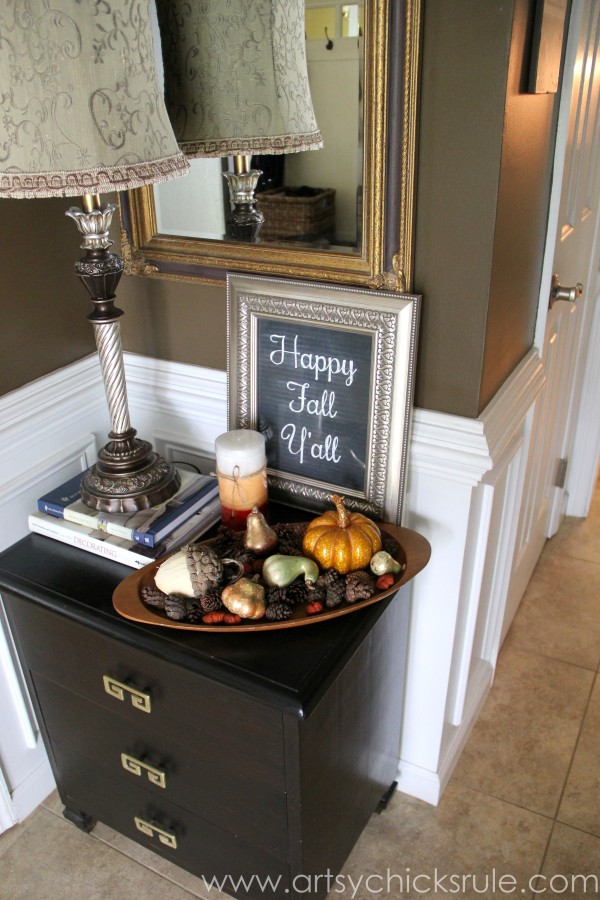
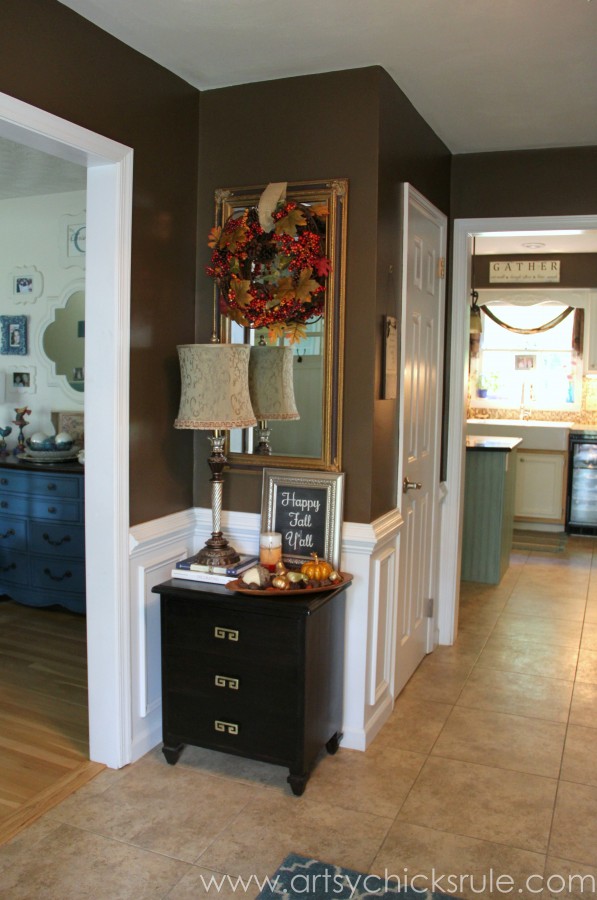
And I did like it there…but in the end decided to put it here.
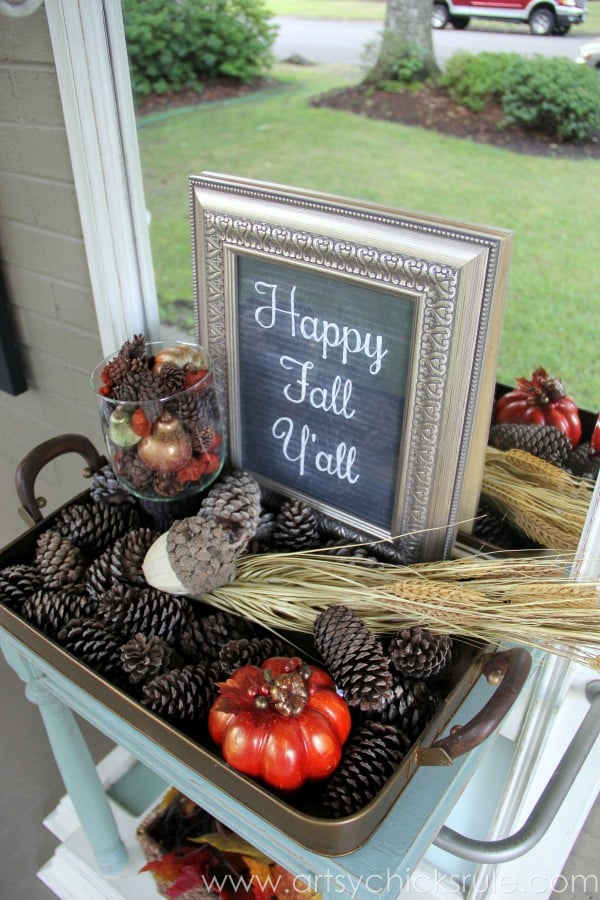
Outside on my hall tree, on the front, porch so everyone can see it.
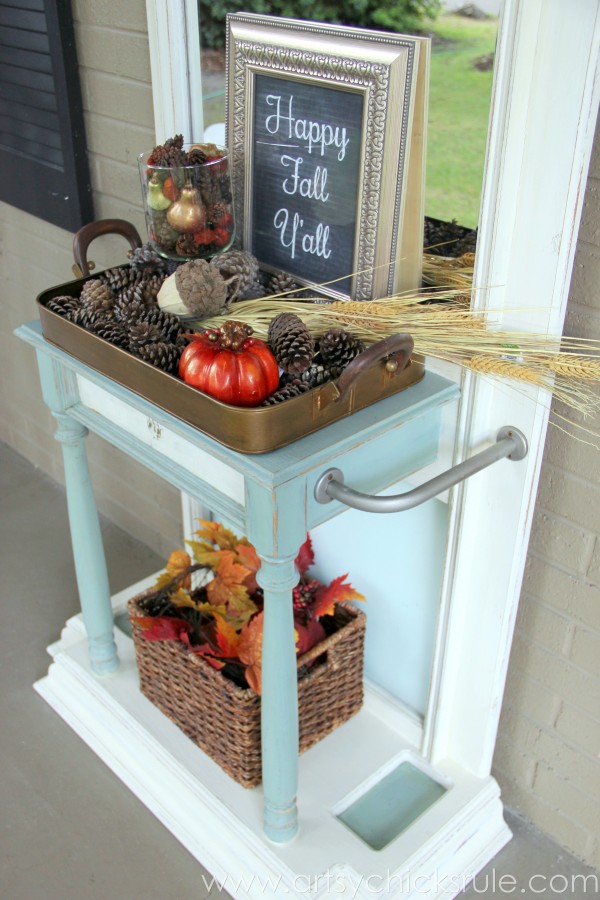
I’ve really enjoyed decorating this silly, non typical porch decor item since I painted it and put it out here.
You can read about all of that in this post here–> $35 Thrift Store Hall Tree to Porch Decor.
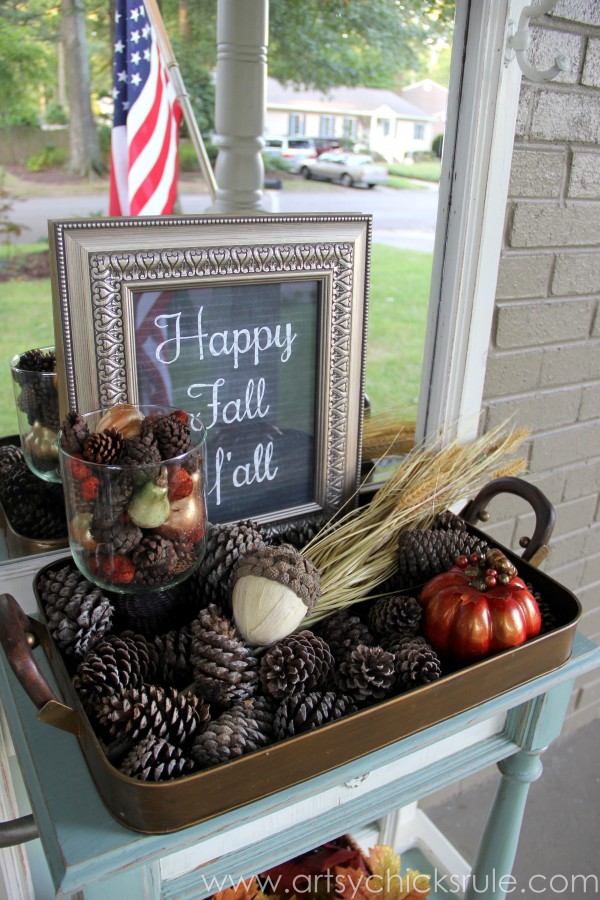
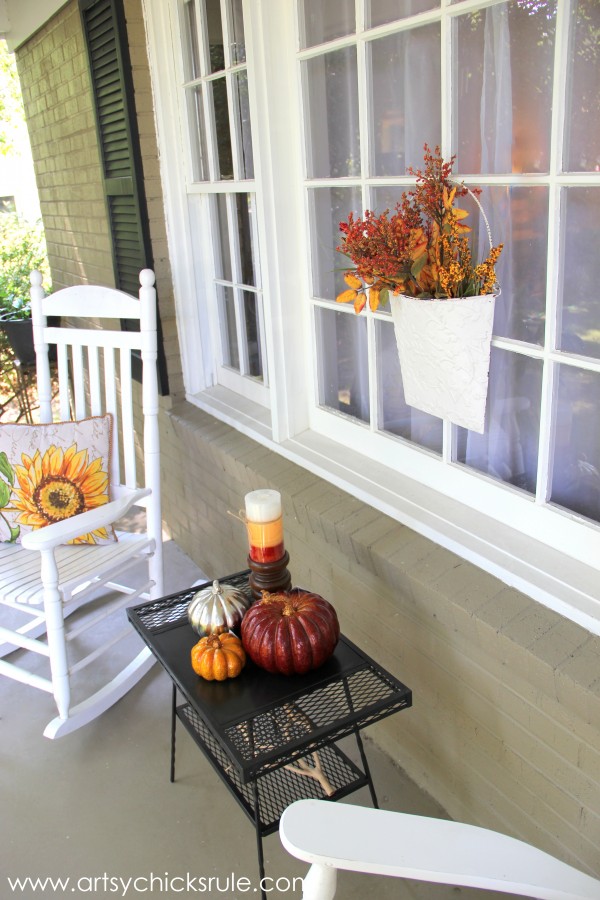
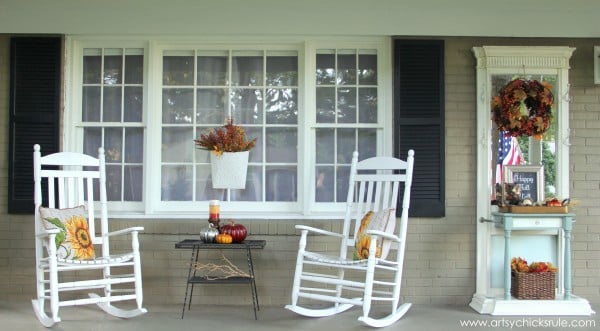
All festive and ready for Fall over at my house now. :)
So, do you think you might make a sign like this?
It’s so easy and you can have it say anything you want. That’s the best part.
Make it your own…you decide!
And I promise, it only took me about 30 minutes from start to finish. If that.
It’s do-able and adds such a fun touch to the decor. (and you know me and my signs! ;) I love them, you can see an entire collection I put together here –> “10 Thrifty DIY Signs” )
I’ll be sharing a fun little furniture makeover and my entire front porch a bit later.
Oh..and don’t forget about the “Best of DIY” Link Party coming up this Friday evening!!
You don’t want to miss that!
See ya then!! :)

I’m including a few affiliate links I think you may like. See my full disclosure here.







I love it! My sister-in-law just started carrying the Chalk Ink pens in her shop and I am dying to try them. What a great idea!! Thanks!
Hi Melissa!
Oh fun!! Yes, do try them, they make it a lot easier! :)
Nancy
Another great idea that lends itself to a variety of holidays. Something Christmas could be fun to do, too!
Thanks for sharing,
Lois
Hi Lois,
You are so right! The possibilities are endless.. (and different colored backgrounds too!)
Nancy
What a great idea! You know I’m obsessed with chalk art! Love the fall decor! ~Christy
Thanks Christy!! :)
Nancy
Love it Nancy!!! I haven’t started Fall decorating yet! But at least the pool is closed. I just got into the back to school swing. And now I see Thanksgiving commercials – and Toys R Us sent out their “hottest toys of the year” book.
I’m wondering – when the fall comes – do you switch over curtains and accessories in your rooms too? I’m very behind this year! <3 Lilli
Hey Lilli!
Oh my gosh, so crazy!! The toy book?? Already? Wow. However, I am planning on shopping early this year and I already feel like I’m running out of “early”! lol
No, I don’t switch out curtains but I do change and add accessories some for Christmas. But Christmas only! ;)
Hope you are having a great week! xo
Nancy
very cute nancy xx
Thanks Chris! :)
Happy (almost) weekend to ya!!
xo
Nancy
I love your sign, Nancy! The font is perfect, and so is the frame! xo
Thank you Karen! It was sooo easy…and sooo cheap! That little chalk pen really speeds things up!
xo
Nancy
Great upcycle, Nancy! Practically free Fall décor? Love it :)
Thanks Christy! Free…I love (most!) anything free!! ;)
xo
Nancy
Very cool! :) So simple yet so elegant. Can’t wait to give it a try!
Hi Michelle!
Thanks so much!! :)
Nancy
Cute project! My house needs some fall chalkboard art. Using your on your porch is a great way to greet guests.
Thanks Paula!! I think so too…love it there much better than inside! :)
Nancy
Nancy it was your blog where I first saw this saying — did you invent it? I’m going to start saying this even though I’m in Ohio. LOVE this tutorial and sharing on FB today :) as always your projects are awesome. x0
I have no idea! Doesn’t sound familiar but who knows! lol
..and thank you! :)
Nancy
I don’t think I fully understand the transfer. After the saying is printed on regular computer paper, color in the words with chalk? How do you trace it with regular paper? Do you print in mirror image?
Sorry so many questions, I’ve never tried this .. Hoping to this week!
Thank you, love your blog..
Hi Stacey!
Yep, just printed on regular paper. Color the backside with a piece of chalk…then lay it onto your piece and trace. For this one, you want it to be in regular image, not mirrored.
If you are transferring the image onto something lightly colored, you could print in reverse and then just trace the backside (non printed side) and the ink will transfer to your project.
Hope that makes sense. :)
Nancy
It’s lovely! And fall is my favorite time of year! Well, until it turns into winter….Yikes! Not ready for that yet!
-andi
Thanks Andi!! :)
Yea…that’s the only issue I have with Fall. lol
xo
Nancy