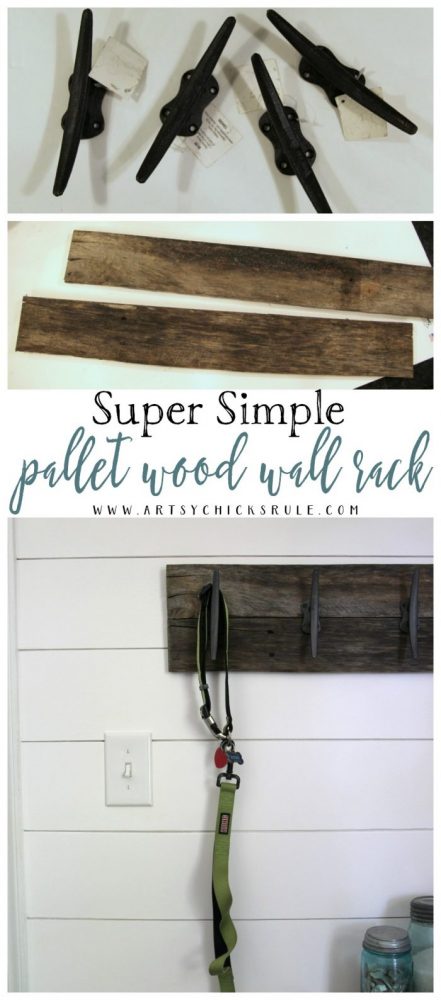
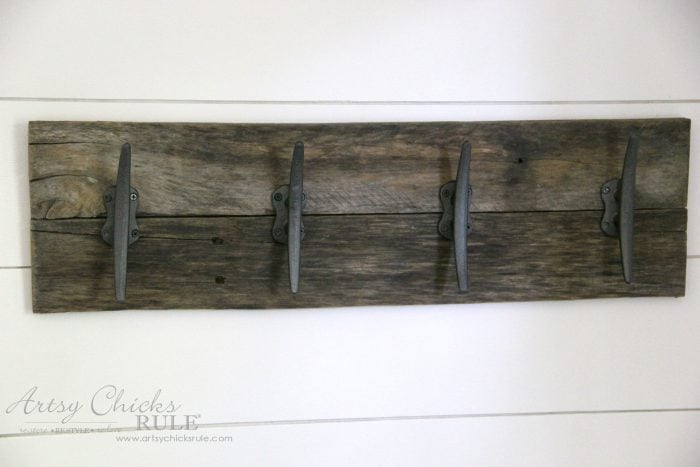
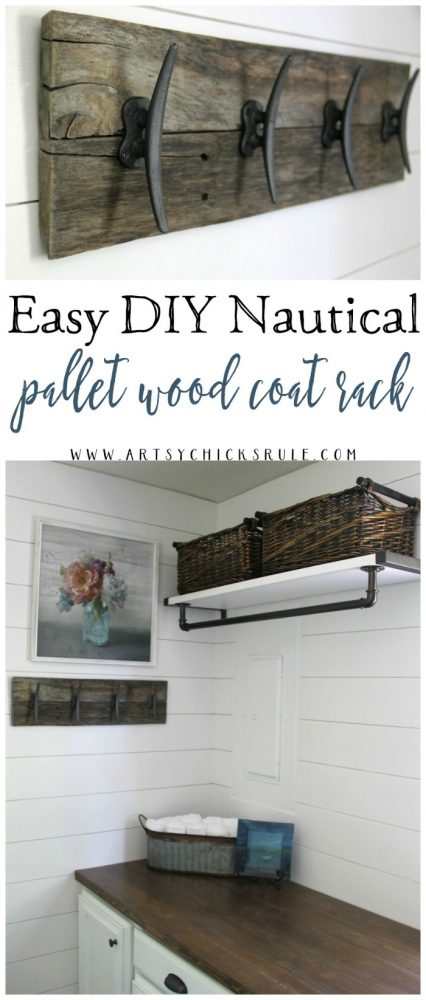
Happy Tuesday Friends! Today I’m sharing the “Easy DIY Nautical Pallet Wood Coat Rack” I shared in my Coastal Farmhouse Laundry Reveal.
It was a super, simple little DIY to throw together.
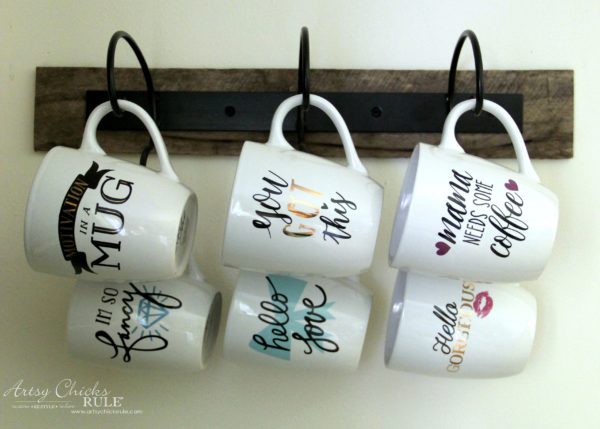
I made this coffee mug holder out of the same pallet wood shown in this post….. “Dining Room Wall Shelves“.
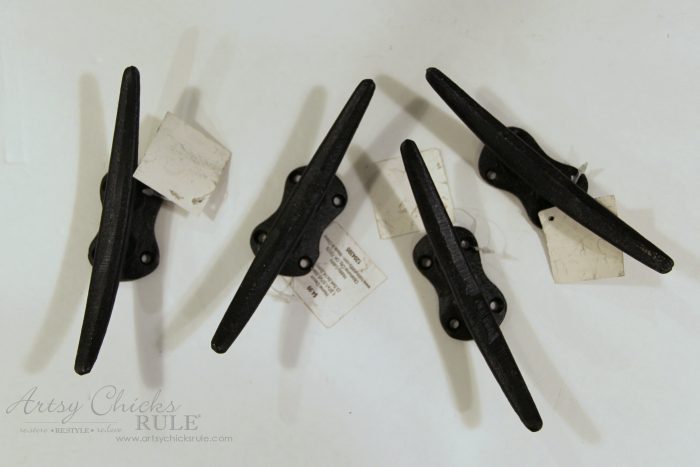
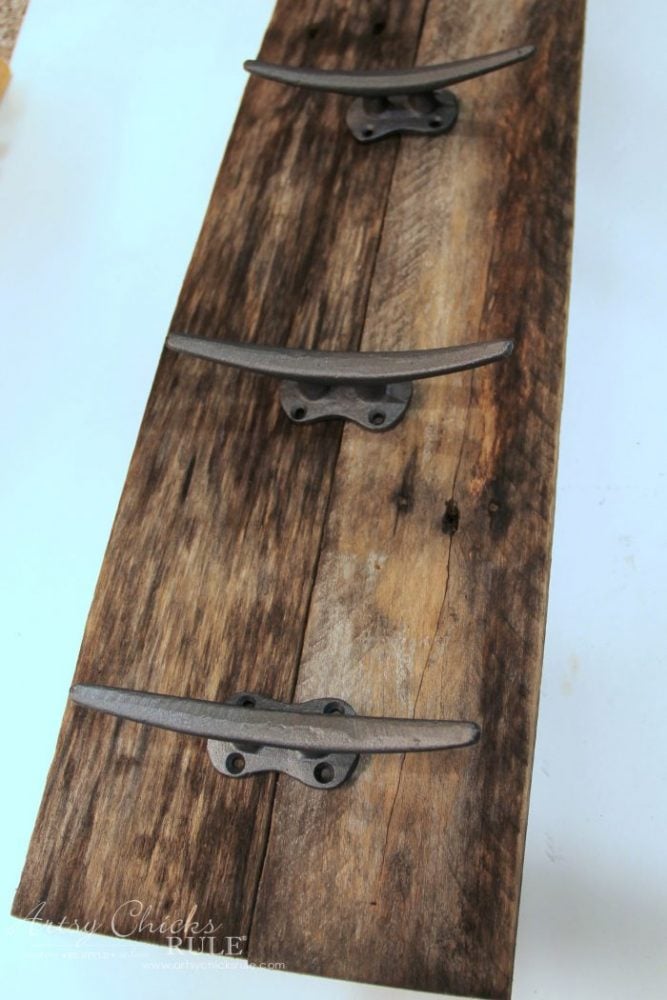
The cleats or tie-downs came from Hobby Lobby….
They are marked at $4.99 but often have 50% sales. Every other week, I think it is.
It’s nice when you hit it on the right week! ;) You can find them, here.
Since the laundry room was going to be done in a “coastal/farmhouse” style, I thought this would be perfect for the room.
The pallet wood could be the “farmhouse” while the cleats could be the “coastal”.
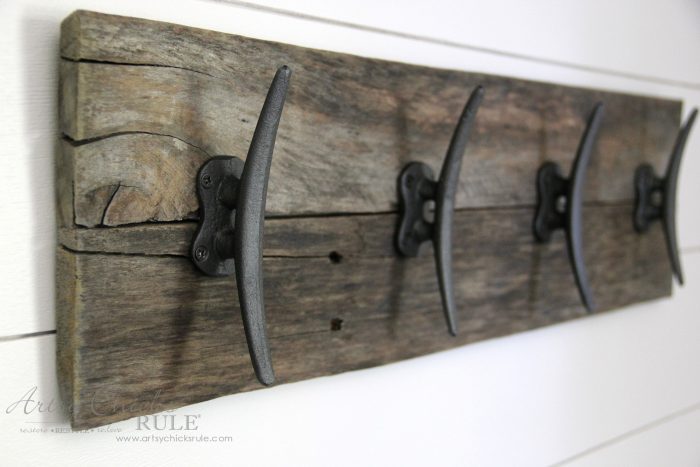
However, I didn’t love that straight black shade so painted them with the same paint I used on the hardware in my laundry room. You can find it, here.
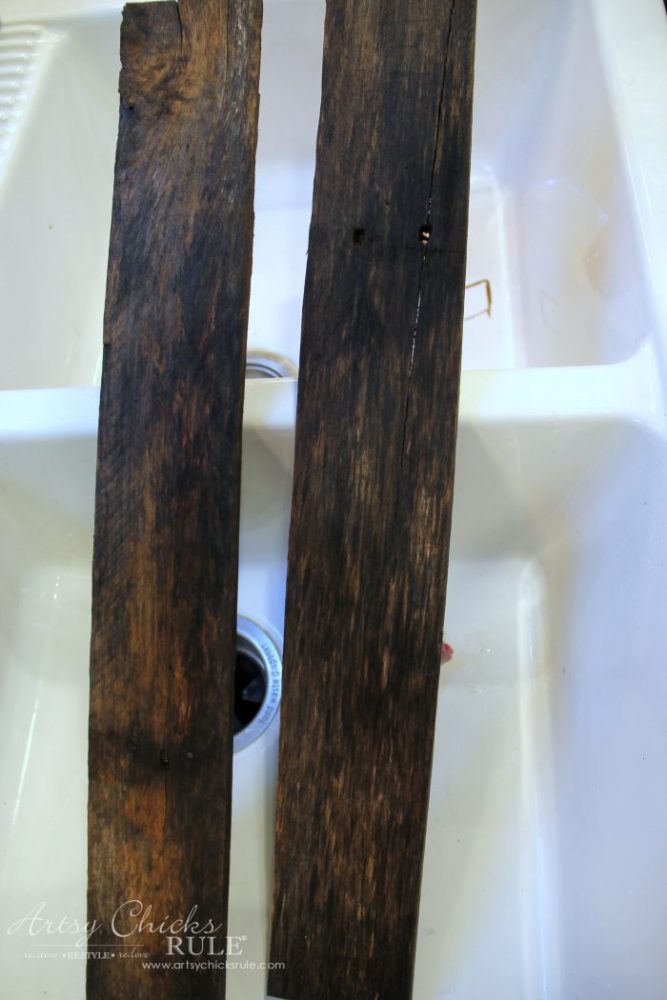
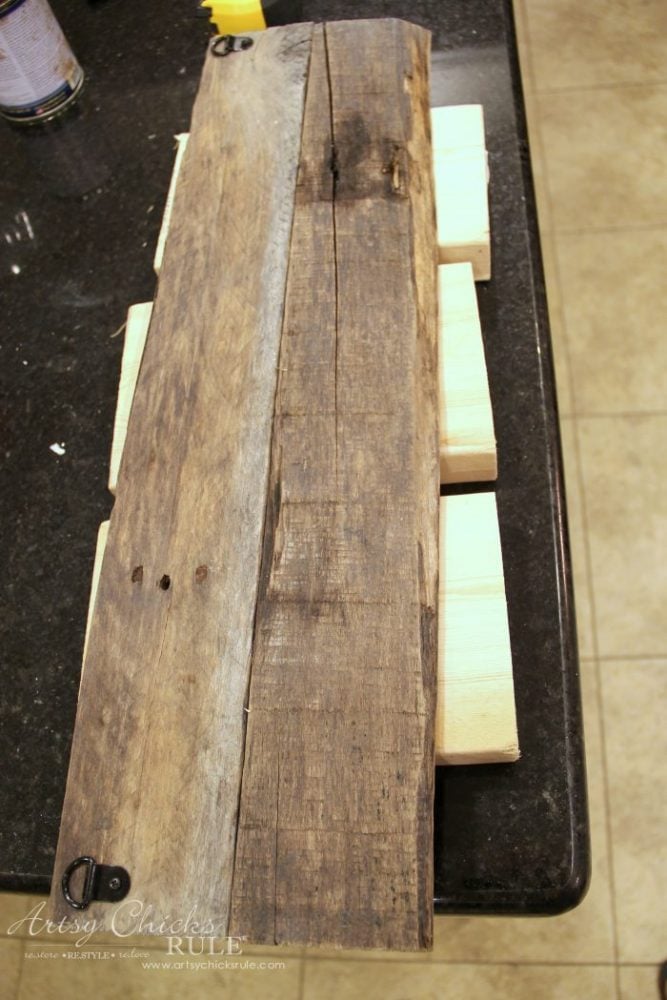
I had my husband cut it down to the size I needed….
They were a little dirty so I scrubbed them very well before starting on the project….
I love the character this old wood has. :)
Even though you can create similar “faux” looks, I just love the natural aged appearance this has.
It you are interested in creating “faux” weathered looking wood, here are posts with several different techniques to do so:
As I was waiting on the wood to dry, I checked the lay out of the “cleats/tie downs”.
Don’t those cleats look so much better painted?
Just a softer, aged looking metal instead of the glaring black they were.
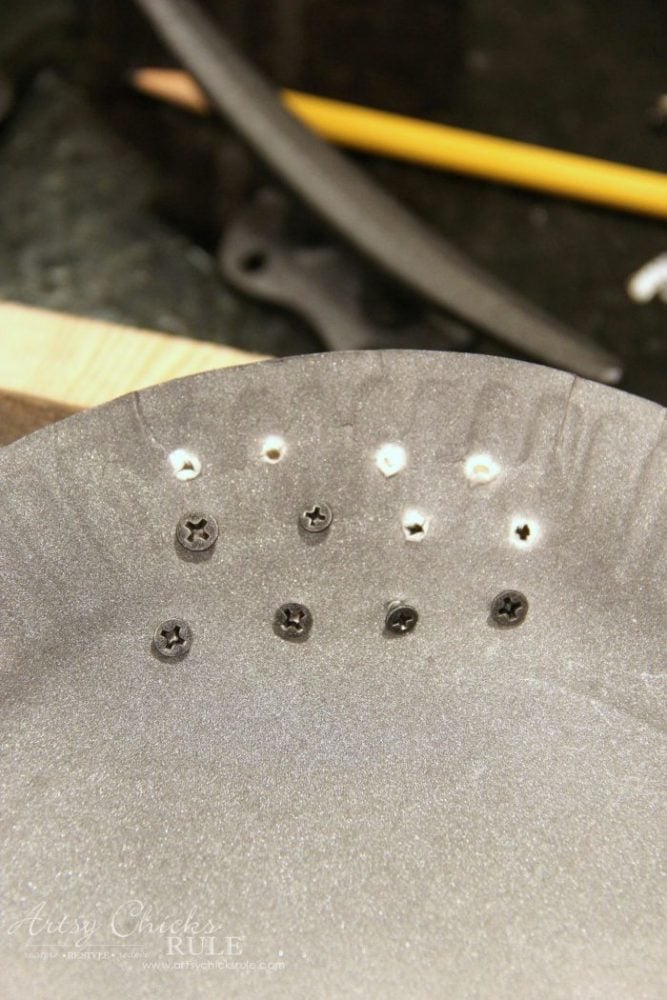
I also sprayed the screws the same shade.
It’s easy when you just pop them through a paper plate to spray.
Once the pallet wood was dry, I sealed it with my favorite flat sealer. You can find it, here.
Then measure to get the cleats aligned properly and attach the screws.
In case you are wondering, I didn’t attach the boards together in any way.
I figured once I screwed the cleats, 2 on each side/board, it would be secure. And it was!
No need to mess with that.
You could also just use one board but I didn’t want the cleat edges to extend out beyond the wood.
All that’s left to do is attach something to hang this old pallet wood coat rack with….
I used these little ring hooks on each side so that it would be steady and secure on the wall. You can find similar ones, here.
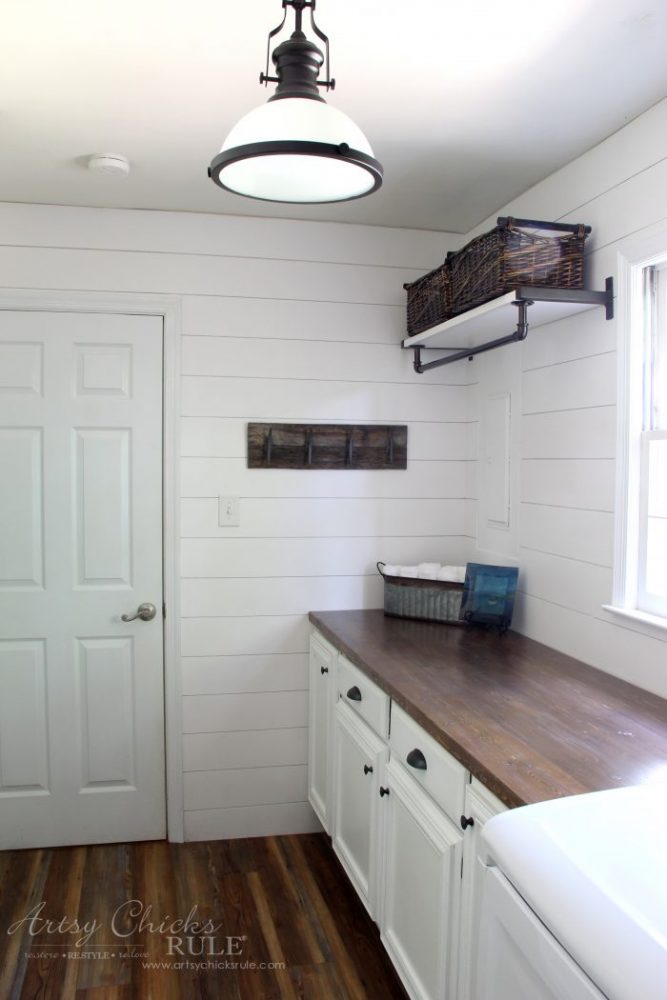
And here it is, up and ready to go!
Also, I forgot to mention, the cut edges of pallet wood tend to look good. As in new, un-aged wood.
So to make it match the rest of the ‘aged’ wood, I used my favorite driftwood stain on just the ends.
It ended up matching perfectly!
You can see how perfectly below. (I wish I had taken a “before” photo showing the cut ends, but they were pale and didn’t look old at all) But look how good they match now….
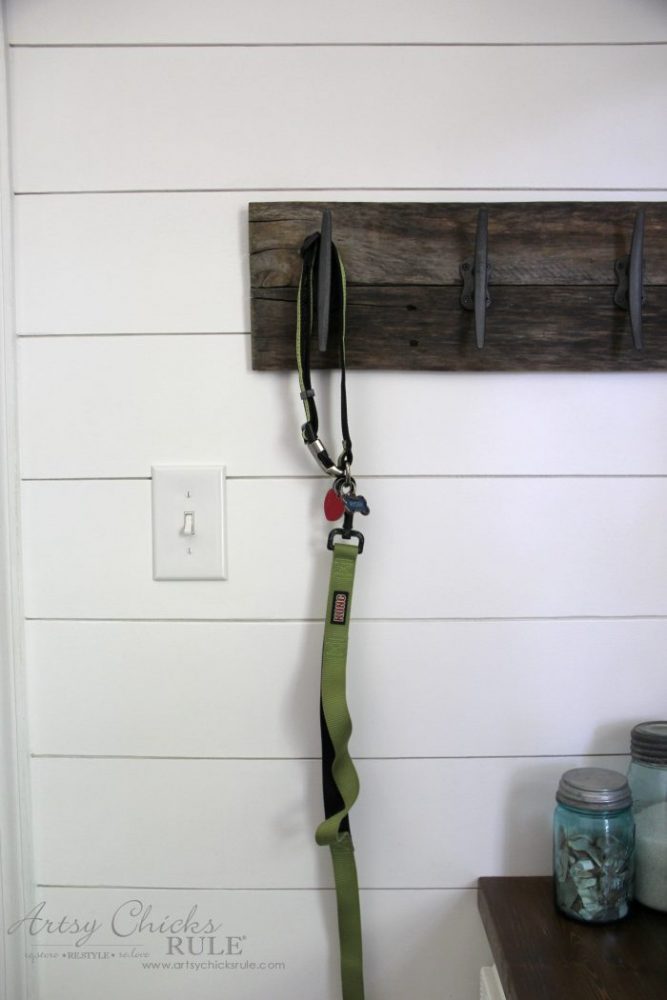
You can use it for coats or anything you like.
I made it with the intention to use it just like this….dog collar, leashes, etc.
Easy to grab and go!
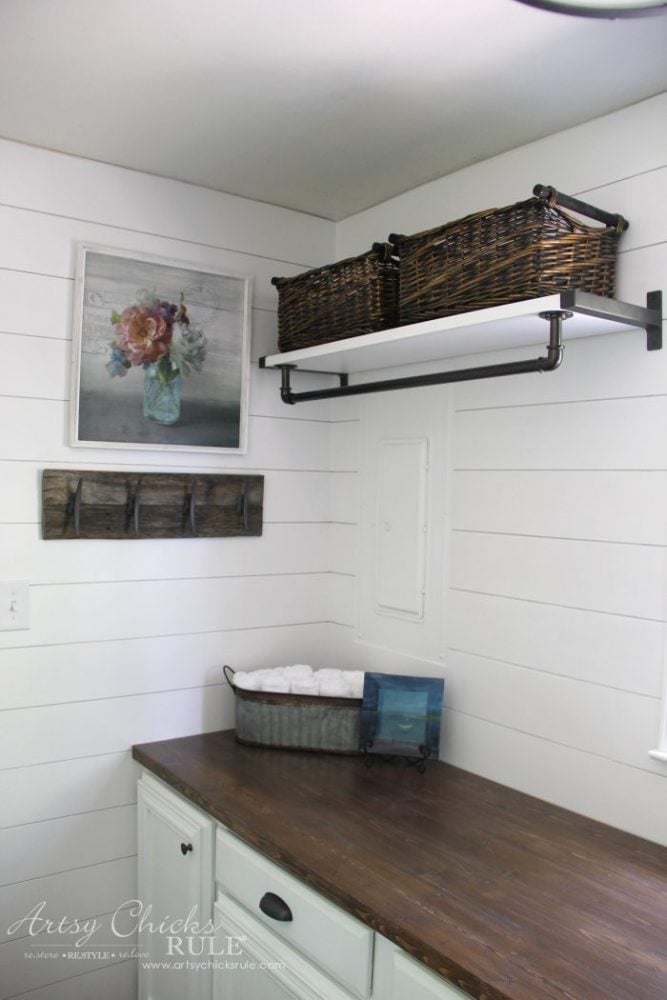
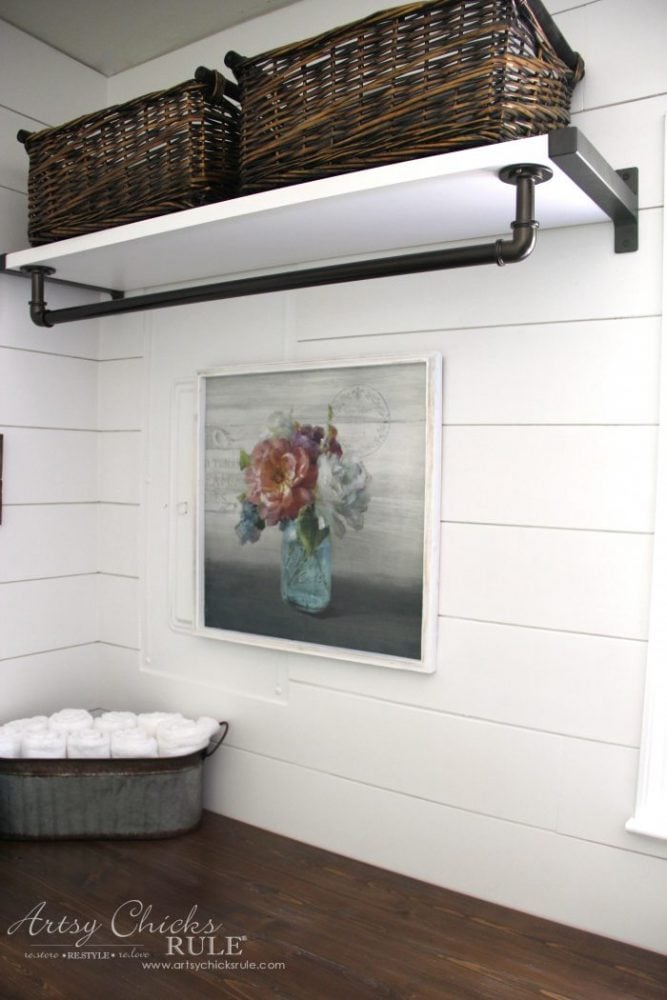
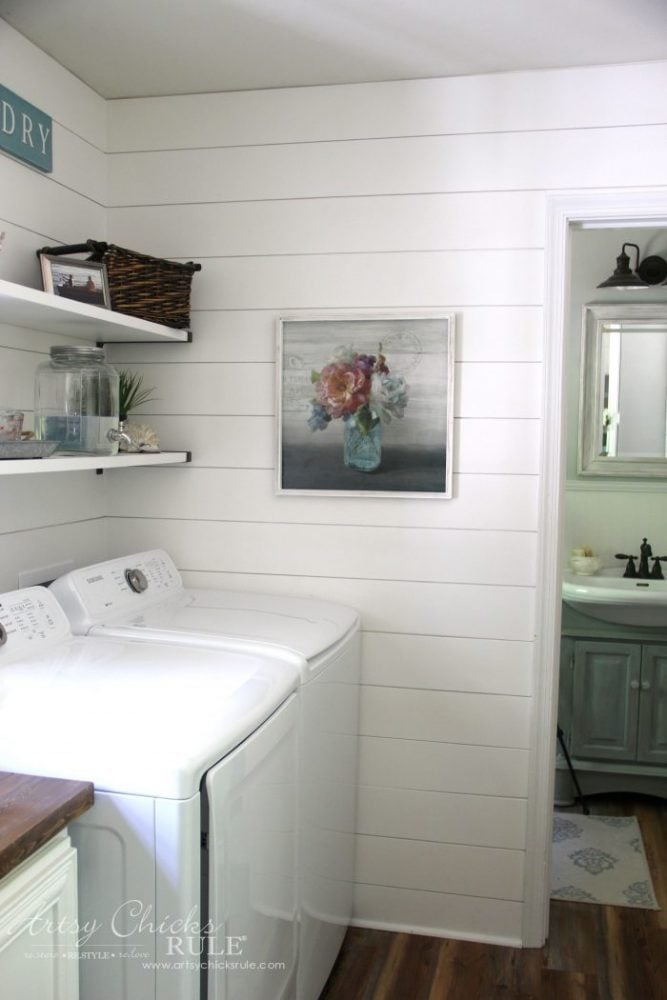
So now let’s take a look at this photo….
Notice anything different? ;)
Yep the pretty mason jar/flowers print.
I found it at At Home and just loved it!
It’s one of those, “ohh, I love the picture, now I need to squeeze it in somewhere” kind of things. Tell me you do that too. ;) I just love the print as it really goes nicely with the room.
Plus the frame also goes nicely with it’s white, washed look wood.
Here’s a couple other places I tried it in the room…
And here….
I’m not really sure it works anywhere in this room and why it wasn’t up in any of the photos in the reveal post.
But I went ahead and put it a couple different places to see what you guys think.
So please tell me…should it stay or should it go? Which spot does it look best in? Or just a big, fat NO.
By the way, I used my handy 3m strips to try it out without putting holes in the wall.
It’s a fairly lightweight picture so it’s staying nicely with just that. This is exactly what I used, here.
Okay, so go find some old pallet wood and make a pallet wood coat rack for yourself too! :)
PIN this for later to save it!
I’ll see you back here on Thursday! Have a great week!
Very cute rack! I always love to pick out knobs and pulls at Hobby Lobby, but i have never noticed these ones. I will have to take a look next time i am there!
Love the picture — the background of it matches your walls. Flowers in a mason jar – so simple but at the same time elegant. Keep it!!!!! My vote for location is down by the washer — the other spot seems a tad crowded.
Hey Barb, I think so too! And I just knew I had to have it. ;) Yay! I was liking it there too but ended up leaving it in the last spot I had it. We’ll see where it ends up! ;) Thank you!xo
Love the coat rack and especially made with the pallet wood. I know what you mean about using rustic wood and not just wood made to look rustic. I was preparing to make your “grateful thankful blessed” sign for my dining room when a friend asked “would you like a piece of barn wood for it?” I was thrilled.
I have just been following your blog for a few months now. Thanks for all your great ideas. I love to make useful things, but lack creativity and need to see ideas first. My vote for the mason jar picture is by the washing machine.
Thank you Karen :)
Oh yay!! How awesome is that?! Perfect.
And thank you for the very kind words. I am so glad to have you here and look forward to sharing more with you! And thank you for the input on the new picture too. :) xo
Love the picture and it is perfect for your laundry room! After flipping back and forth through the pictures I like it best over the coat rack, since it helps maintain the flow of your blues. However, you can’t go wrong in any of the places. Your artists’ eye won’t lead you astray.
Hi Joan,
Thanks!! I thought it was too but I was just on overload! ;) That is where I have it at the moment and think I like it best. I actually liked it somewhat in all spots but something about the height of it here draws my eye up, and I like that. xoxo
Hey Julie! You are very welcome! And yep, it was so flat…black. But the soft iron gives it so much character. I love it! And thank you for the input on the picture. I really like it in all 3 places so it’s a bit of a struggle where to put it for good. :) xo
I love this diy space. Yes, yes, the picture fit perfectly, and looks perfectly in that spot. It’s as if it was created just for the space. As well as for the overall transformation you did in your laundry room.
Want to be inspired, learn new skills, discover all the tricks to furniture makeovers, creating new out of the old and more? You'll also receive my FREE ebook "Creating Fabulous Finishes" PLUS access to my private Printables Resource Library, too!
Sign up to get the Weekly Newsletter! Our emails include an unsubscribe link and you may opt-out at any time. Your information will *never* be shared or sold to a 3rd party.


")


")
")
")
")
")
")

Very cute rack! I always love to pick out knobs and pulls at Hobby Lobby, but i have never noticed these ones. I will have to take a look next time i am there!
Thanks Randi! :) Yep, I love HL for knobs and such too! xo
Cute!! Love how rustic, but still coastal it is! Very cute print…I vote for under the shelf. :) XOXO
Thanks Christy! :) Will be fun to see where everyone likes it!! xo
The picture is pretty and if it makes you happy, put it up! I like the wall above the coat rack.
Thanks Rebecca! Love that! That’s my favorite spot so far! :) xo
Love the picture — the background of it matches your walls. Flowers in a mason jar – so simple but at the same time elegant. Keep it!!!!! My vote for location is down by the washer — the other spot seems a tad crowded.
I agree with Barb.
Thanks Terri! :)
Hey Barb, I think so too! And I just knew I had to have it. ;) Yay! I was liking it there too but ended up leaving it in the last spot I had it. We’ll see where it ends up! ;) Thank you!xo
Love the coat rack and especially made with the pallet wood. I know what you mean about using rustic wood and not just wood made to look rustic. I was preparing to make your “grateful thankful blessed” sign for my dining room when a friend asked “would you like a piece of barn wood for it?” I was thrilled.
I have just been following your blog for a few months now. Thanks for all your great ideas. I love to make useful things, but lack creativity and need to see ideas first. My vote for the mason jar picture is by the washing machine.
Thank you Karen :)
Oh yay!! How awesome is that?! Perfect.
And thank you for the very kind words. I am so glad to have you here and look forward to sharing more with you! And thank you for the input on the new picture too. :) xo
I really like your mason jar/roses picture. I hope you keep it in your laundry room for now.
Hi Bonnie, I think it’s a keeper. :) xoxo
Love the picture and it is perfect for your laundry room! After flipping back and forth through the pictures I like it best over the coat rack, since it helps maintain the flow of your blues. However, you can’t go wrong in any of the places. Your artists’ eye won’t lead you astray.
Hi Joan,
Thanks!! I thought it was too but I was just on overload! ;) That is where I have it at the moment and think I like it best. I actually liked it somewhat in all spots but something about the height of it here draws my eye up, and I like that. xoxo
Everything looks so pretty Nancy, I’m sure laundry has taken on a whole new meaning for you. Great job :))
Thanks Sandra! :) Yes, it really has, as crazy as that is! I really do love being in there. :) xo
Um…INGENIOUS to poke the screws through the paper plate to paint.
I like the painting by the washer!
Thanks Joanna! :) And thank you for the input on the picture! xo
Hi Nancy! Love your makeover! Yes, keep the picture in the laundry room and I like it under the shelf.
Hi Janet! Thank you so much! :)
And yay, it seems everyone loves the picture as much as I do! :) xoxo
Keep it! I vote under the shelf too.
Yay! Thanks Elizabeth! I’m so glad everyone likes the picture as much I do. My mind was on a bit of overload. ;) Thanks for the input on it! xo
Nice! Thanks for the tutorial… also, the hint on not painting the hardware a stark black was very helpful to me.
I like the print to the left of the washer/dryer. Seems to ‘fit’ there, in MHO. :-)
Thanks, Nancy!
Right of the washer/dryer… my left handed-ness plays with my mind sometimes!
Haha, I knew what you meant! ;)
Hey Julie! You are very welcome! And yep, it was so flat…black. But the soft iron gives it so much character. I love it! And thank you for the input on the picture. I really like it in all 3 places so it’s a bit of a struggle where to put it for good. :) xo
This look amazing! I love DIY like these, full of style and personality. It would be the perfect addition to my kitchen. Thank you for posting it!
Thank you Marie!
I love this diy space. Yes, yes, the picture fit perfectly, and looks perfectly in that spot. It’s as if it was created just for the space. As well as for the overall transformation you did in your laundry room.
Thank you, Ivory! Yes, it does look like that, doesn’t it? :) xo