DIY Farmhouse Inspired Chalkboard – (a Tutorial, Spring Chalk Art AND a FREE Printable)
Hi Friends! I am finally sharing my DIY Farmhouse Inspired Chalkboard with you guys.
I somehow decided we must do a bunch of projects during the holiday season! ;)
My husband was thrilled….but he knows me by now.
You saw a glimpse of the chalkboard in my Christmas Home Tour.
And here it is again….
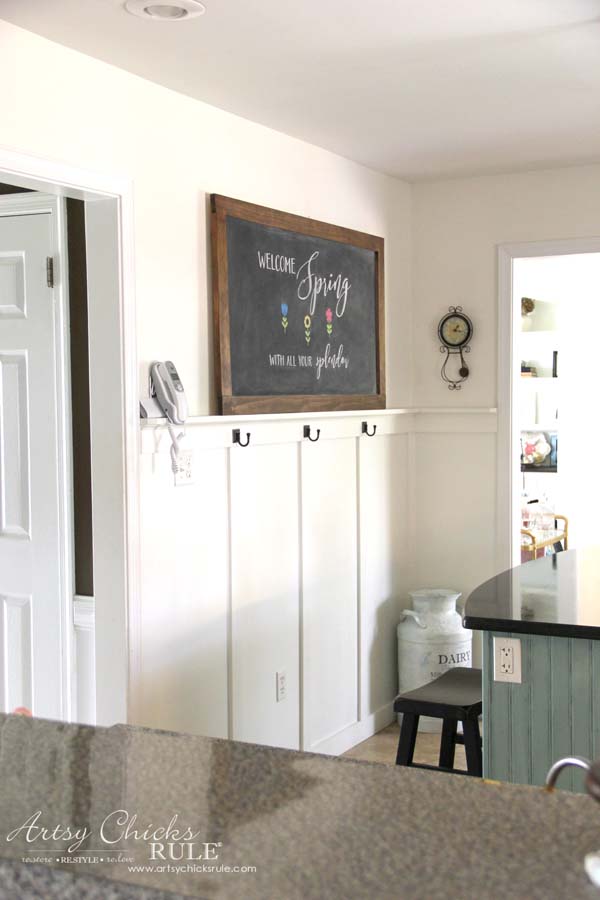
I also painted my kitchen in the months before Christmas.
It was yellow, if you’ll remember.
I really wanted a more neutral color and so went with a color off the same chip….Navajo White. (mixed with 50% white)
It doesn’t really give much contrast with the board and batten, which I don’t love.
BUT it does brighten things up, which I do love.
It’s a tough room for paint because I have off white cabinets, brown, tan and beige wall tile and a Duck Egg Blue island. ;)
I also painted the dining room the same color. I’m loving the bright neutrality of it!
The family room (and downstairs guest bath) are also getting new paint very soon…..Sea Salt by Sherwin Williams. (look it up, it’s a beauty :) )
I LOVE it and can not wait to paint.
Anyway, enough of all that…back to this DIY Farmhouse Inspired Chalkboard, y’all.
(I’m including affiliate links below for your convenience, see my full disclosure here)
M A T E R I A L S L I S T
- 2 – 1 x 3 x 23 5/8 , 2 – 1 x 3 x 53 1/2
- chalkboard 24×49
- joining biscuits
- biscuit joiner (I have a Ryobi brand)
- trim router (I have a Ryobi brand)
- straight edge router
- pipe clamp
- wood glue
- E6000 glue
- stain
- chalkboard paint (I used Annie Sloan in Graphite)
- poly
We started out with the chalkboard piece that we found at The Home Depot.
It was the perfect size I was looking for so went with it.
We basically cut the wood to fit the board we bought. Can’t get much easier than that.
I originally thought I would leave it with the black finish it came with….but I never leave anything “as-is”. ;)
So I decided to paint it with my all time favorite “chalk board” finish.
Graphite Chalk Paint by Annie Sloan.
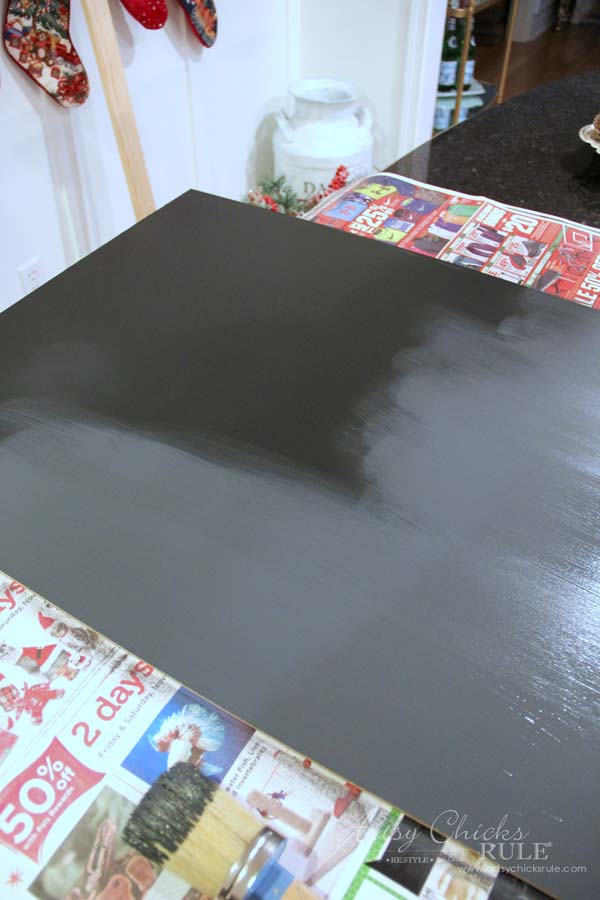
Just to be clear….it is NOT chalkboard paint but can act as a chalkboard finish if left unsealed.
I can most definitely attest to that. 95% of the chalkboards I’ve created were done with it.
I just love the color it creates and the finish it gives. (which to me is more reminiscent of old style chalkboards)
My husband did the handiwork with the tools for this project.
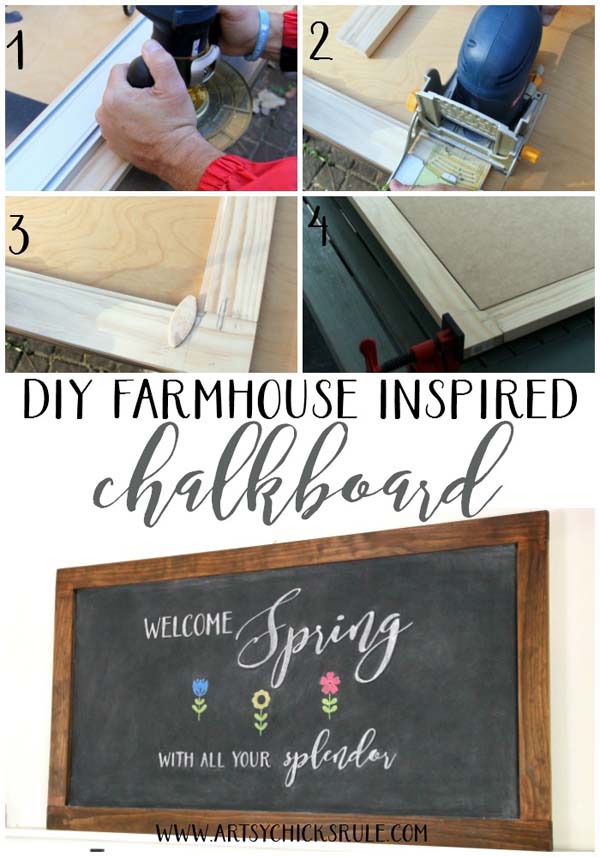
He cut the pieces to the sizes mentioned above and then clamped it tightly together to get the line for cutting with the router.
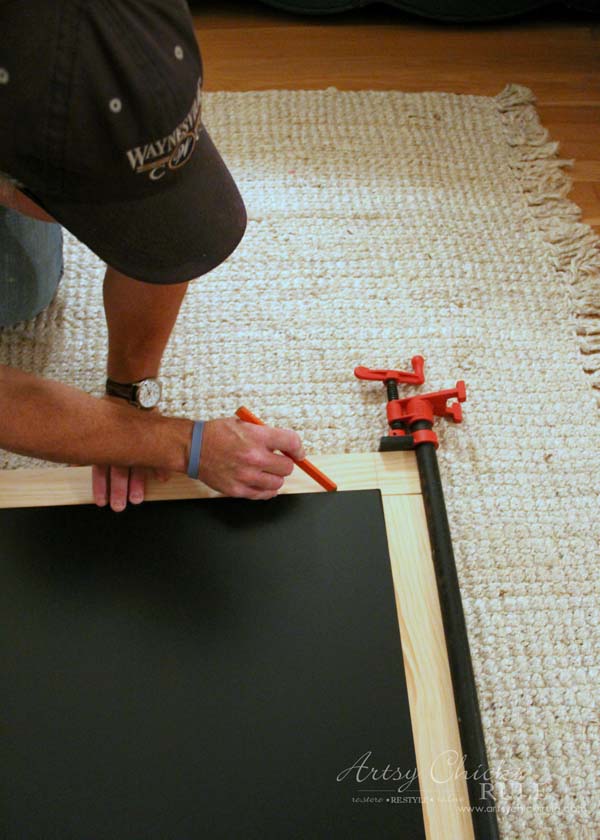
Then he routed each piece.
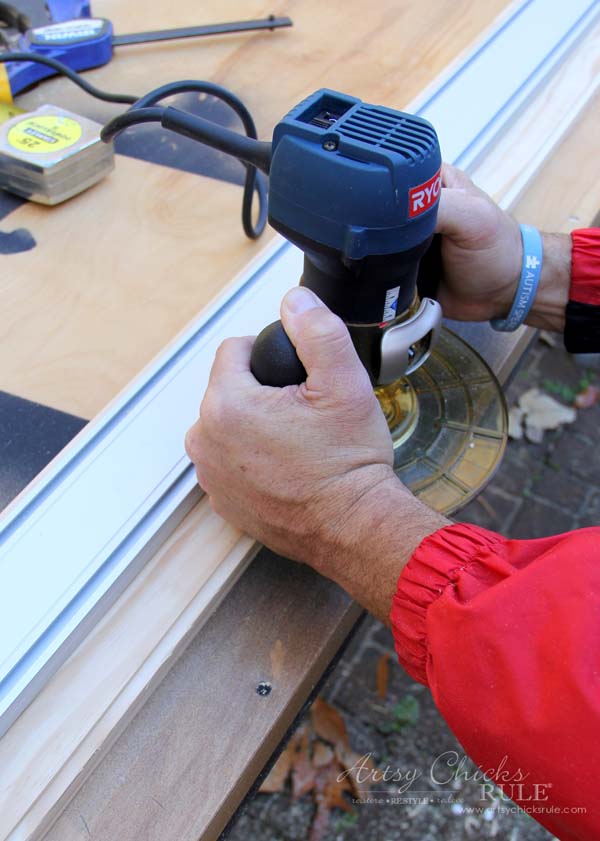
Next, he use the biscuit joiner to create a space for the pieces to join securely.
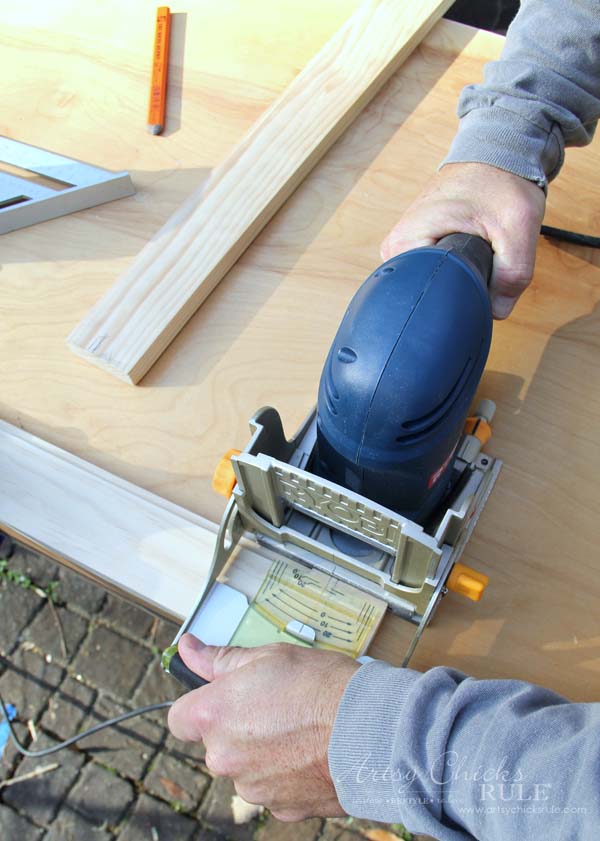
Those got glued in with wood glue…..
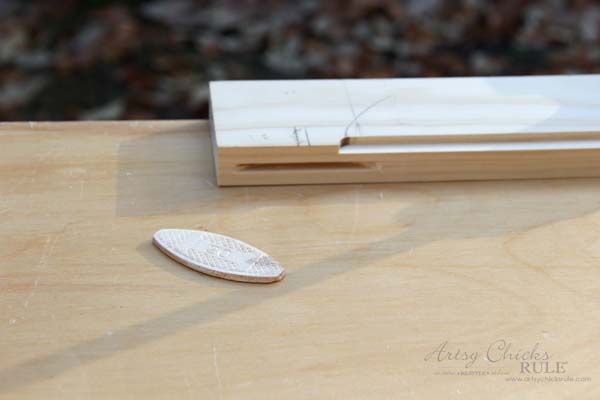
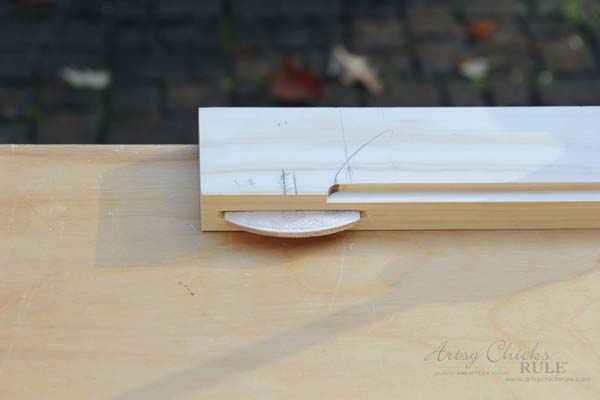
Then we used the pipe clamps to hold it tightly together while it dried.
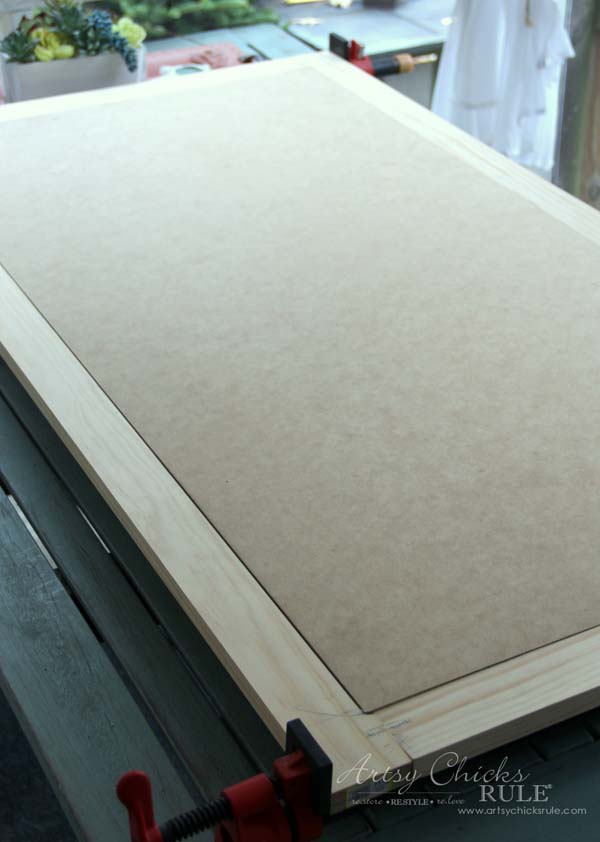
The chalkboard piece it just sitting in the frame. It will get glued in once the frame is stained and dried.
As you can see, it’s fitting nicely inside the routed edge my husband cut.
Once that was dry, I sanded the edges to soften them a bit.
I wanted them to have a worn, aged look.
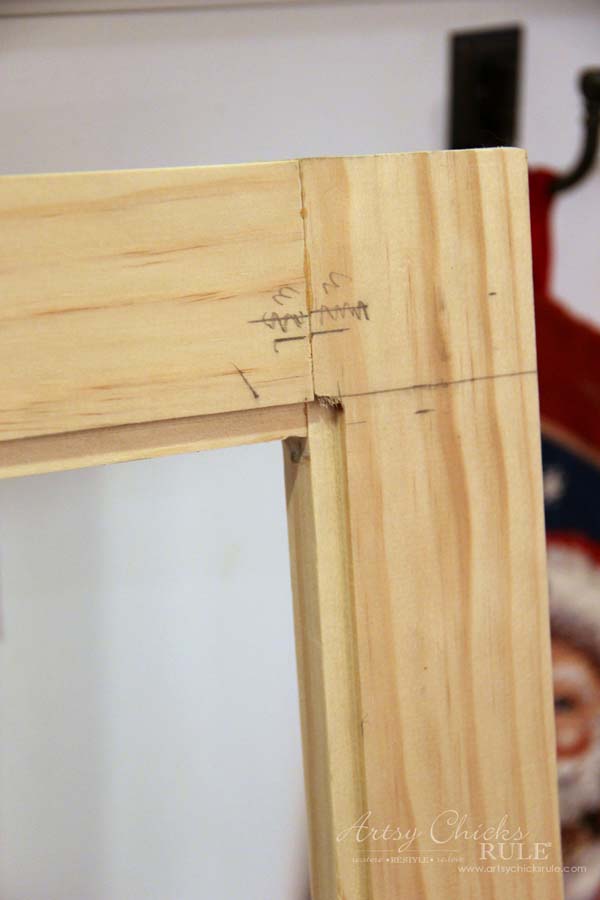
Next I stained it using a dark walnut stain…
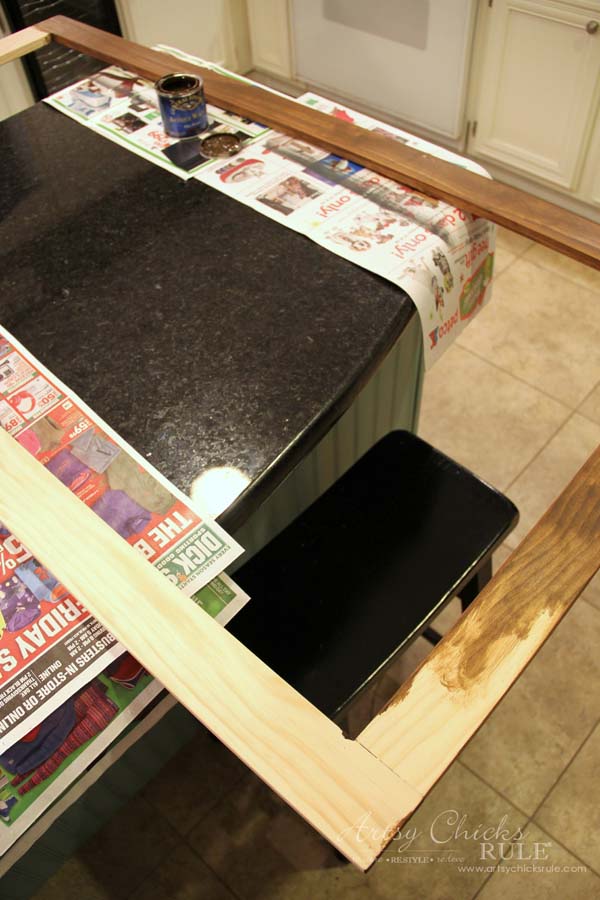
It was too cold to do it outside. Ugh, so the kitchen it was.
After I was done staining, I applied one coat of poly. (all products I used are listed above under “materials list”)
Lastly, I glued in the painted chalkboard using the E6000 glue.
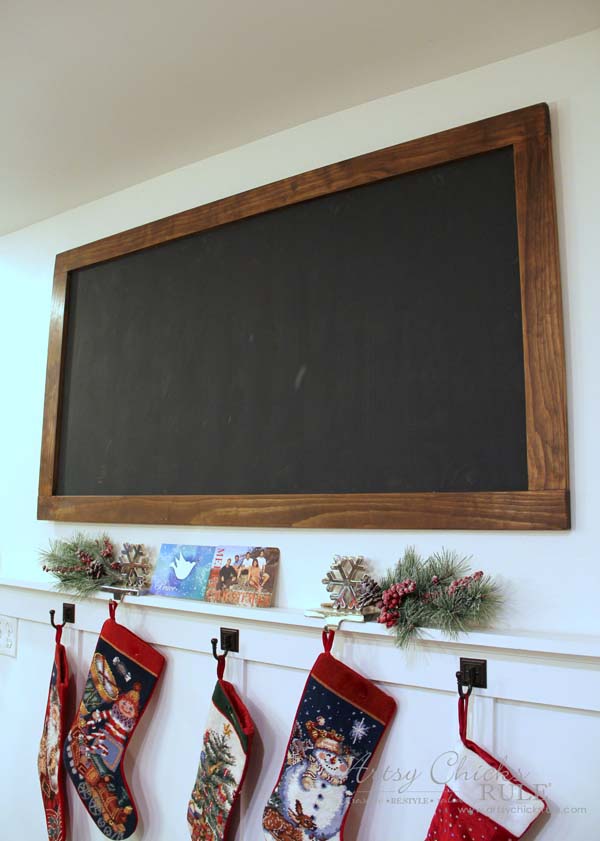
….and done!!! Almost. :)
Prep it with a piece of chalk and then wipe away before using it.
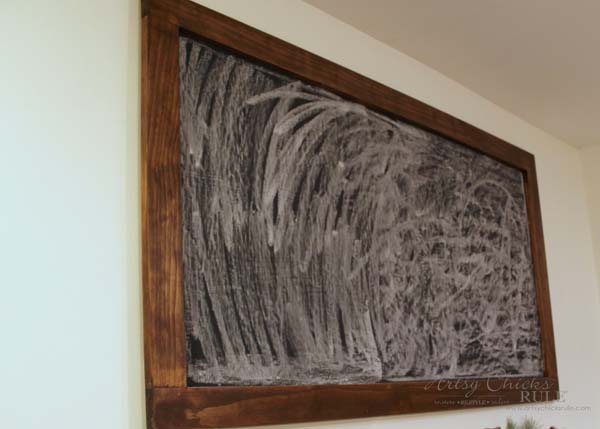
Then create beautiful words and art….
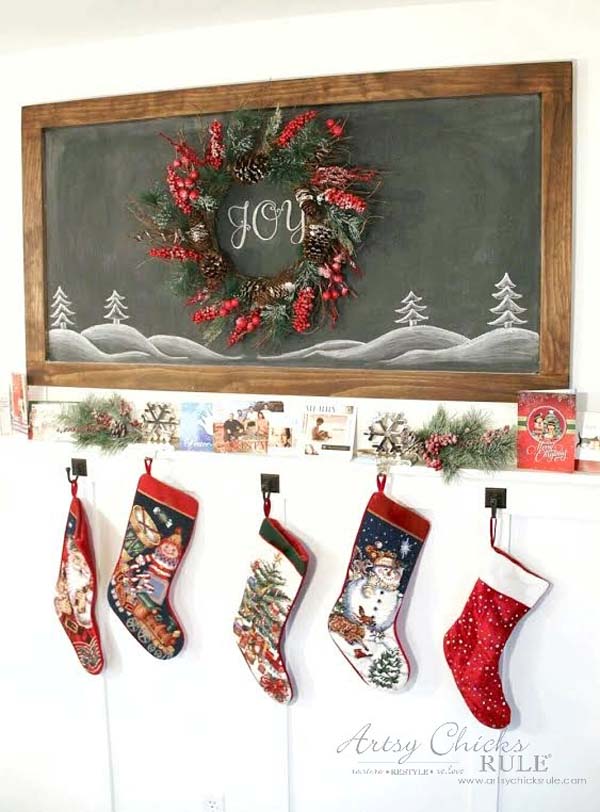
That’s what I had on it at Christmas.
I really enjoyed it!
Be sure to PIN this to save for later!! :)
AND if you follow along on Instagram with me, you might have seen me post this over the weekend….
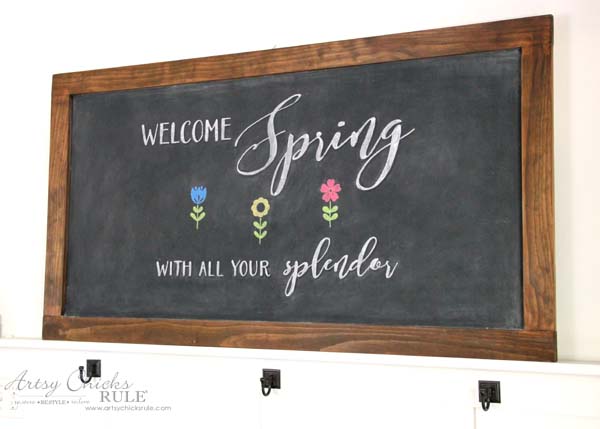
Some fun chalk art for Spring.
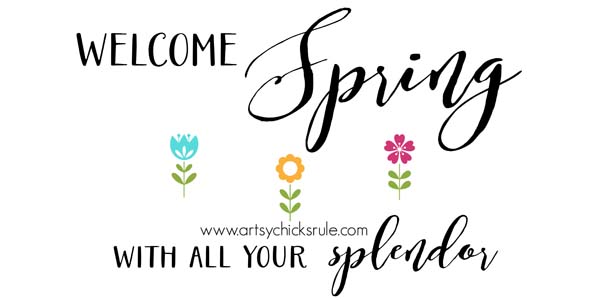
The watermark is not visible on the downloadable copy.
Since it was so large, I used blockposters . com to print it out.
I taped it together and got to transferring…which is sooo easy!
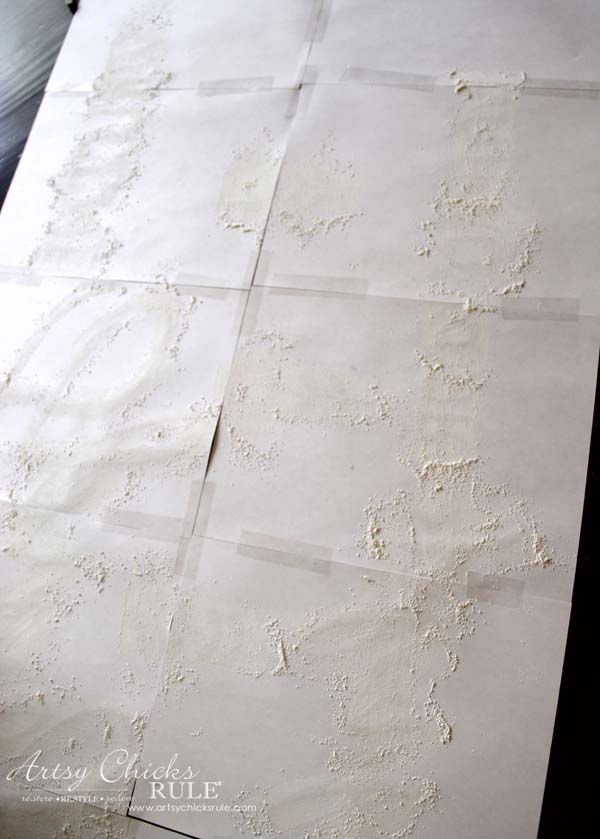
Rub the back with a piece of chalk everywhere there is a letter.
That’s it!
Be sure to shake off all the excess chalk dust and carefully line it up on your board.
(measure if you need to, I always do)
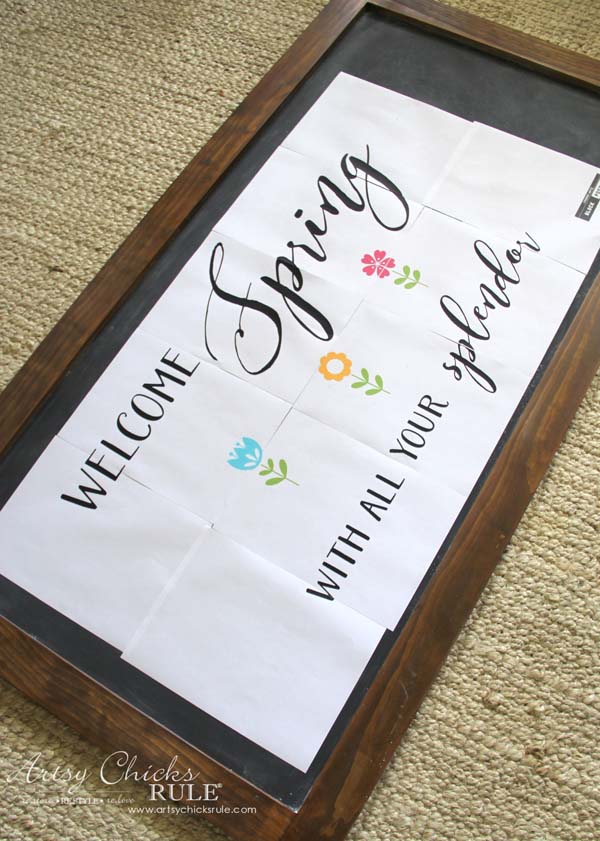
Tape each side to hold in place and then trace over the edge of each line/letter with a sharp pencil or pen.
Then you’ll be left with this…..
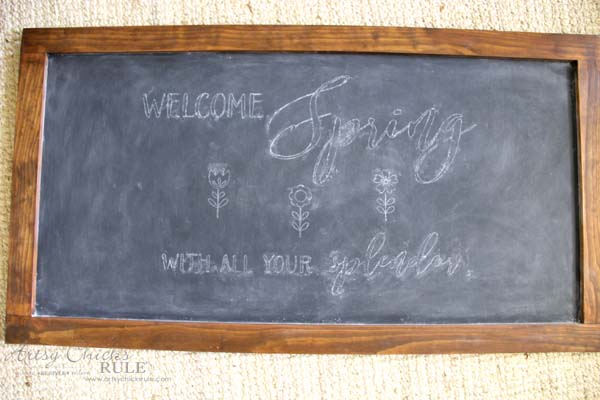
You do not have to be an artist. ANYONE can create beautiful chalk art this way.
Use a clean, dry q-tip to clean up any excess dust on or around the lettering on the chalkboard.
Color it in and you are done!
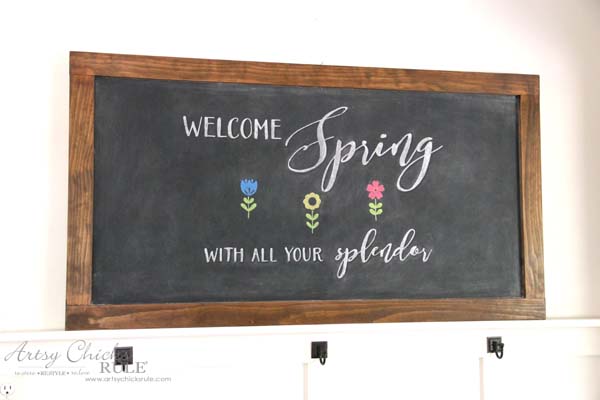
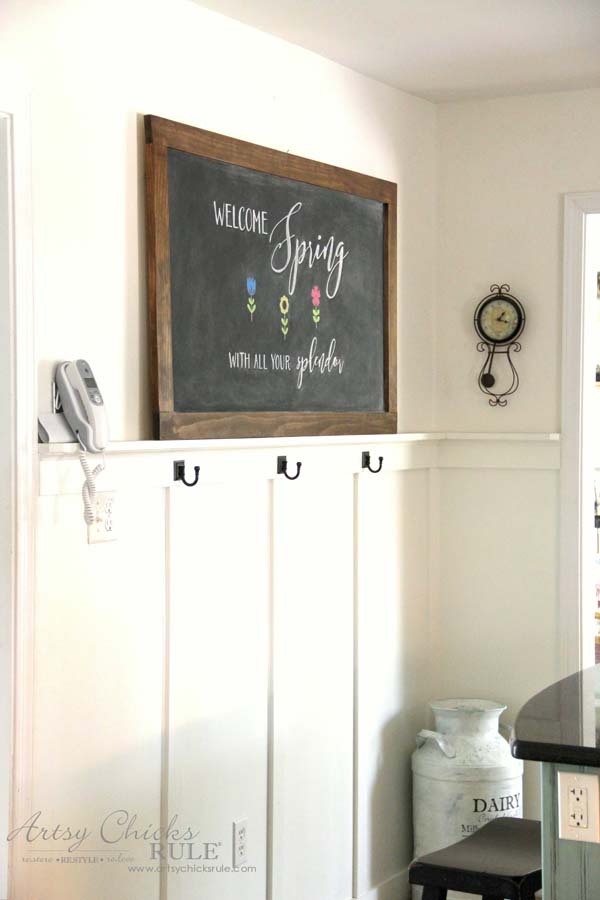

OR…you can add a bit of “shadow” to your lettering like I did below….
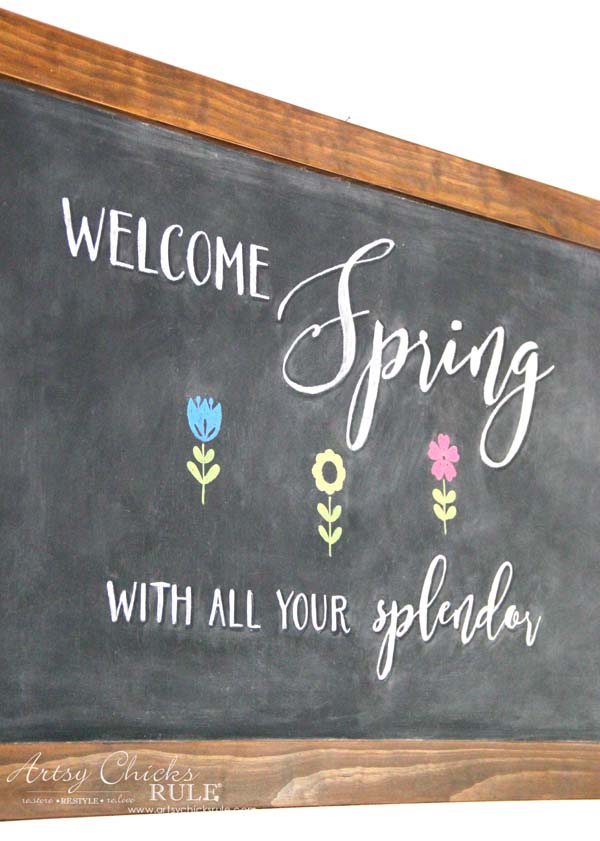
It’s super simple! Just use a damp q-tip and wipe wherever a shadow should be.
You can read about a simple way of adding shadows in this post here. –>> Laundry Sign
And more chalk art shadowing here –>> Eat, Drink, Be Merry and here –>> Coffee Bar Menu
Simple DIY Chalk Art.
Want to see even more ideas on simple updates with Chalk Paint (that aren’t furniture??)
Check out this post, here!
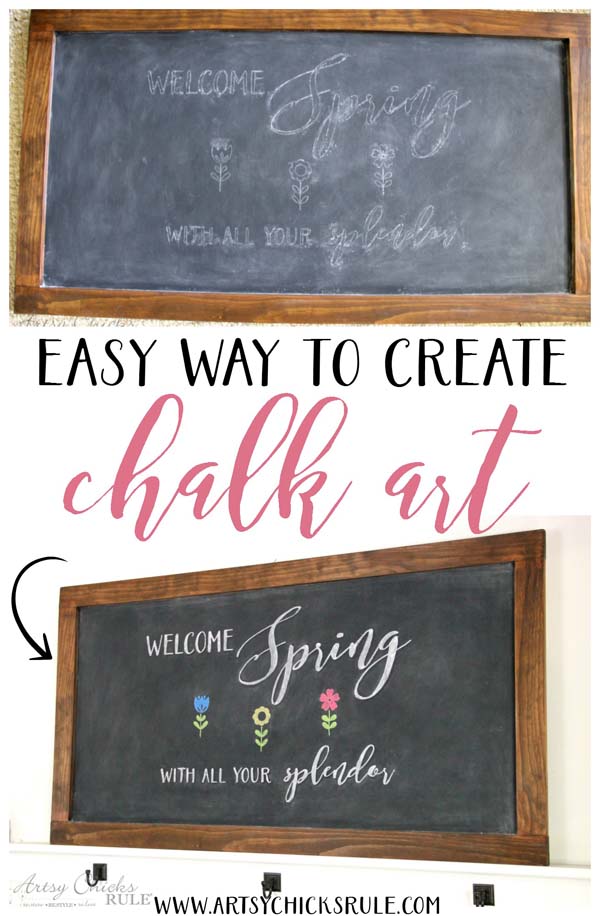
Do you have a chalkboard you can practice on?
If not, go make one! They are easy to make too.
You don’t have to use Annie Sloan’s paint, it’s just my preference.
You can hop right over to Lowe’s or The Home Depot and pick up a can of chalk paint spray instead.
Either way, I hope you create something fun for Spring too. :)
xoxo






hey girl love the post! The chalk art is so creative! And I looked up Sea Salt and that is going to be so pretty in your bathroom!
Thanks Shawnna!! :) I can’t wait to get that paint up (and be done!! ;) ) !
xo
Nancy
You did a great job, and your husband.. don’t you just appreciate handy husbands I have one of those as well. I love the whole look of this chalk board Nancy :))
Thank you Sanda! Oh yes, a handy husband is so handy!!! :)
xo
Nancy
This makes a great decor piece for your kitchen. I loved it at Christmas and love it again for spring.
Thanks Paula! I really love it! :) It was time for a little something different.
xo
Nancy
WOW¡¡ so long waiting for this post , you and your hubby make a good team¡¡ , The chalboard is very nice and well done¡¡ thank you for sharing … ( I also think that a bit of contrast in the kitchen wall should be nice..). Kisses from a springly Madrid…( tomorrow we travel to the Alps …back to the winter hahaha)
Oopsie!! Gosh, it is already March, isn’t it?! And yes, not sure what I’ll add yet, but I need a little splash of color!
Have fun at the Alps!! No more cold and snow for me!!! ;)
xo
Nancy
Your chalkboard is great. You are such a busy person, but very creative. Have a wonderful Easter Holiday and spring. Here in St. Louis we have flowers blooming and Magnolia trees blooming. I am so excited but I can’t believe how mild it was this winter.
Hi Mary! :)
Thank you! Yes, it has been very mild for us over here too. I am so happy for flowers and green and warmer weather though!
Happy Easter and Spring to you!
xo
Nancy