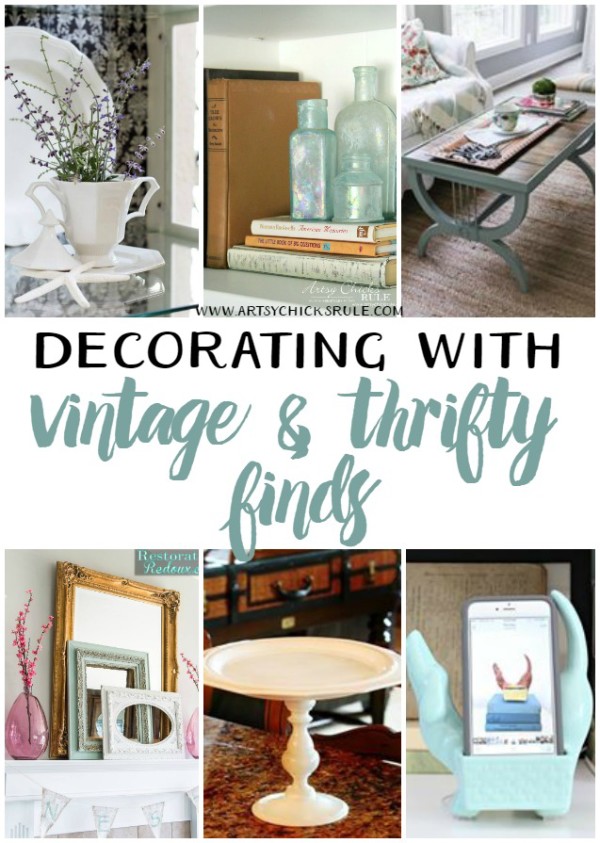
Budget Friendly Decor with Vintage & Thrifted Finds
I’m so excited about today’s post! This one is right up my alley….budget friendly decor.
The one thing I love to do and have done in my own home over and over……
“Budget Friendly Decor”
My decorating friends and I will all be sharing a bit of vintage and thrifted finds in our decor this month.
So, since I have so many thrifted and vintage items already (my entire house! ;) ), I thought I’d share some of my favorites with you all.
AND…share how you can create budget friendly decor too!

(PIN this to save for later! :) )
…………………………………………..
First up, 2 of my very favorite (which are about to undergo a makeover as well)….”shutters”.
Well, they are actually $5 bi-fold doors I turned into “shutters”. :)
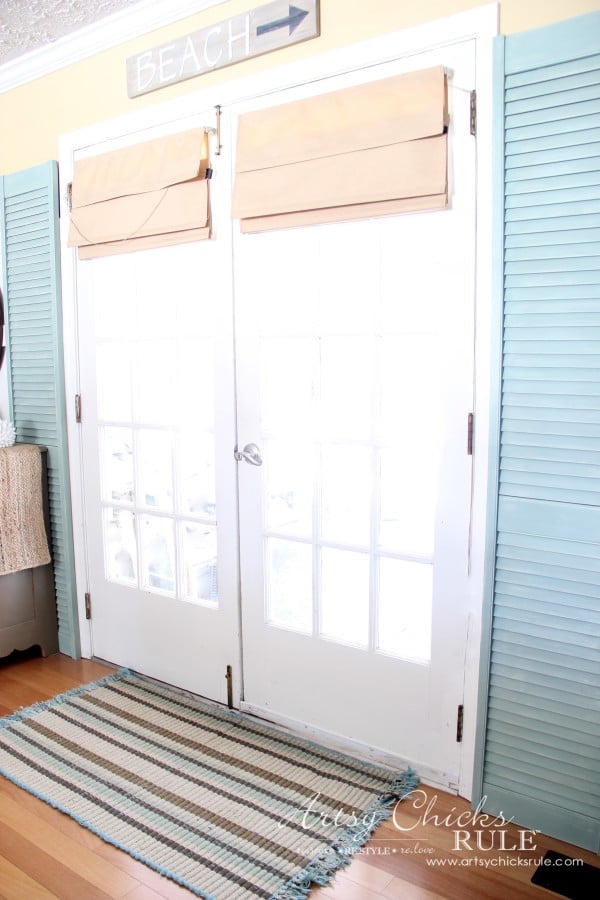
You can read all about them here >>> “Repurposed Bi-Fold Doors to Shutters”
Another of my favorite thrift store finds…..this old milk can.
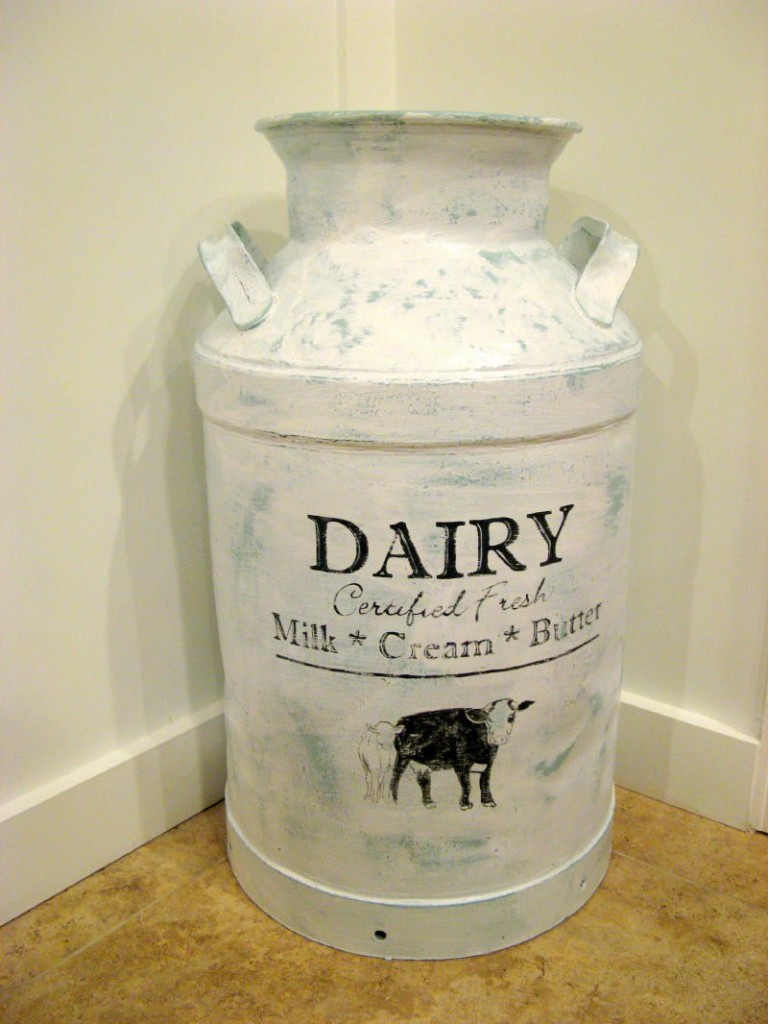
Want to see what it looked like when I found it and how much I paid? ;) See the rusty “before” here >>> “Old Milk Can Makeover”
My stairwell gallery wall created for less than $20 using thrifted frames and mats.
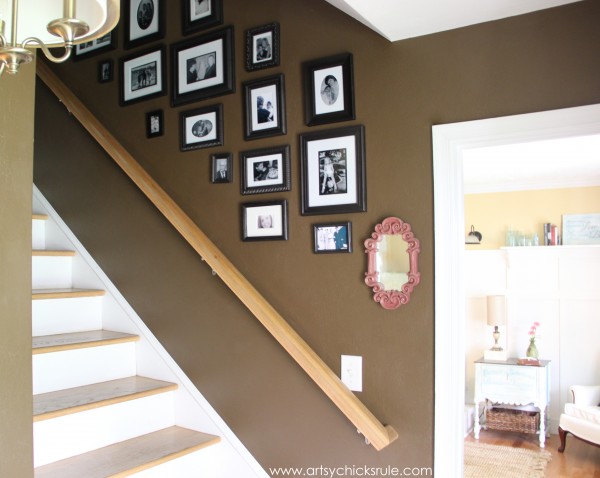
See more here >>> “A Gallery Wall…The Thrifty Way”
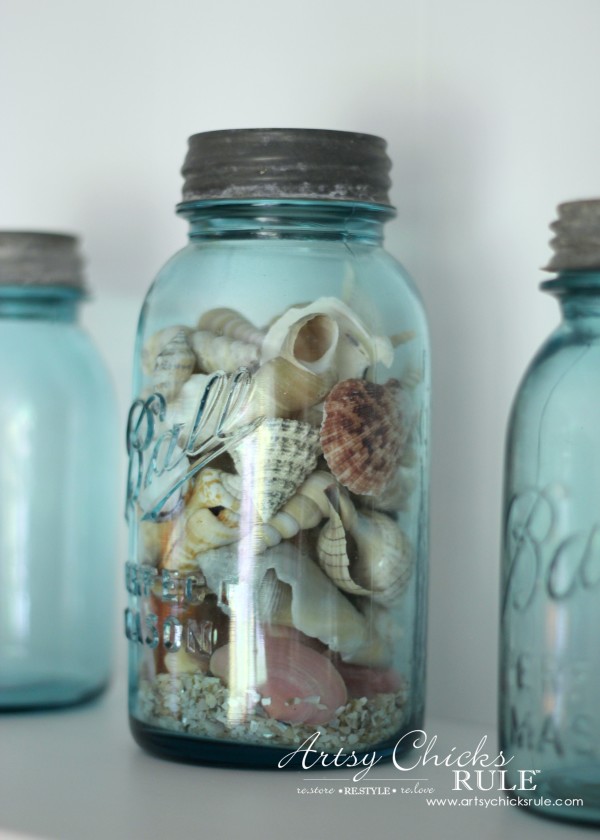
My loves….Blue Ball Mason Jars.
I don’t care if these have supposedly “gone out of style” again….I will love them til forever!
And these blue bottles and old books too…..
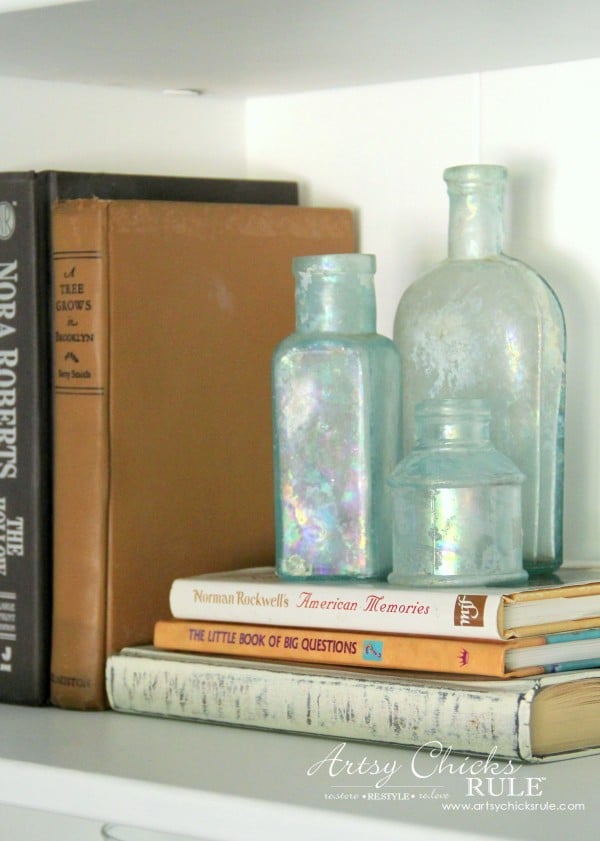
See more here >>> “Coastal Styled Bookshelves”
These .25 cent jars….perfect for painting and decorating with.
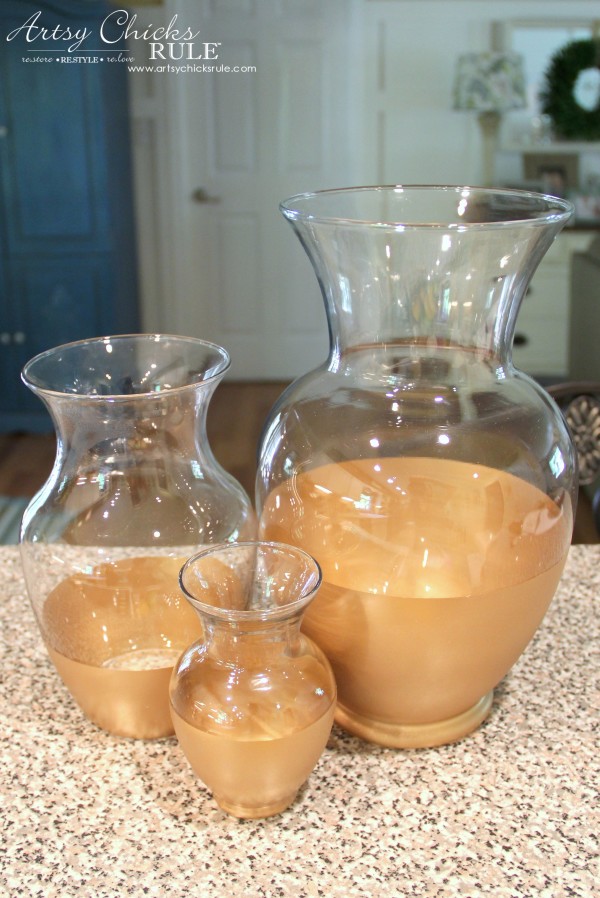
See how I got that super straight line…the really easy way, here >>> “Gold Dipped Jars”
And of course, my coffee bar!
I so enjoyed this coffee bar. I found it at the thrift store too (for cheap!).
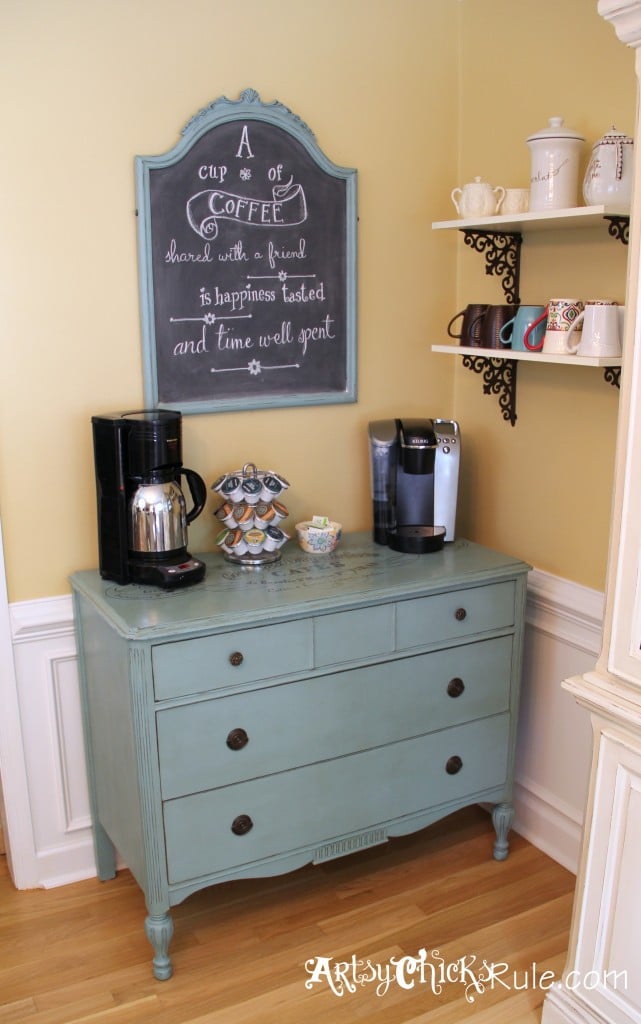
See painting details here (and how rough it looked when I got it) >>> “Coffee Bar Server”
Many of the items on top of this dresser…..

….and the shutters on each side of the gallery wall too.
Plus the gorgeous blue dresser is, as well.
See it when it was an old beat up brown dresser here >>> “Aubusson Blue Dresser Re-do”
Even my newest “coffee bar” is thrifted…..
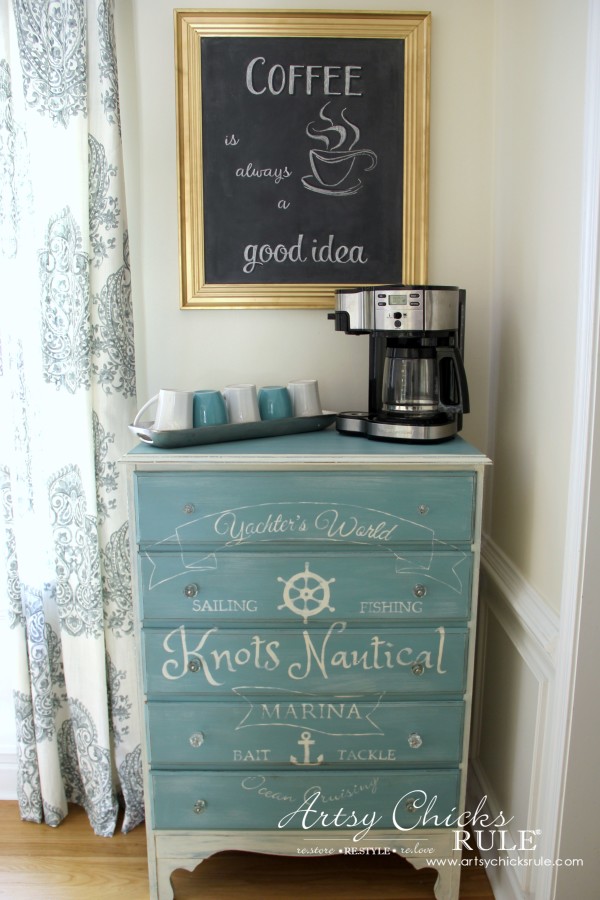
….as well as the “print turned chalkboard” and coffee mugs.
The chest came from one of my favorite thrift stores.
You can read more about the chest, paint and graphics here (and see the “before”) >>> “Knots Nautical Chest”
And I’ll leave with this……

Ninety percent of everything you see on those shelves was found at the thrift store or a garage sale.
See the blue, antique fan on the right? I found that one at a garage sale recently.
Even the little foot stool under the desk is a thrift store item. :)
You can read about the bookcase we built here >>> “DIY Built In Bookcase”
Now let’s pop on over to see what my friends are doing with their vintage and thrifted decor!
Artsy Chicks Rule / Confessions of a Serial Do-it-Yourselfer / Duke Manor Farm /
Restoration Redoux / Our Southern Home / Refresh Restyle
Want to play along with us? You can!!
Take pictures of your “Vintage and Thrifted Finds” and share them with us on our Decor Enthusiasts DIY Forum (over on Facebook)! If you aren’t a member yet, come by and join!! :)

But wait! There’s more! Let’s play on Instagram too!
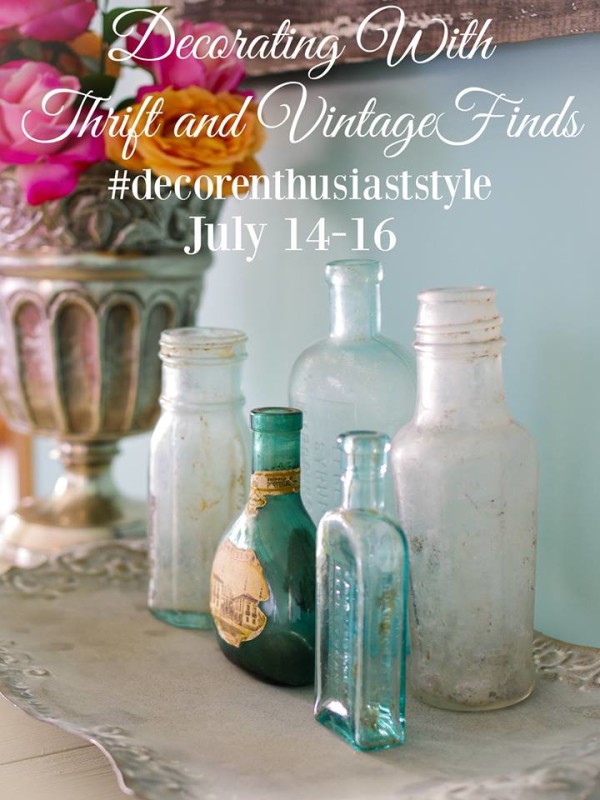
Here’s how to play:
1. Add your own photo on Instagram starting today (7/14) through Saturday.
2. Tag it with the #DecorEnthusiastStyle hashtag
3. Follow all six of your hostesses here:
@confessionsofaserialdiyer / @artsychicksrule / @oursouthernhome
@restorationredoux / @refreshrestyle / @dukemanorfarm
4. Tag a few friends to play along!
We will choose one winner that will be featured on all six IG feeds this Sunday!
…………………………………………………………………..
I hope you enjoyed seeing how you can decorate your home, and create lovely decor, on a budget.
I have so much more, in many of my rooms, that I didn’t even share here.
BUT if you’ve been around any amount of time, you’ve already seen it all, right! ;)

Follow along! –> Instagram ~ Facebook ~ Pinterest ~ Bloglovin
")

")


")


I love finding thrifty pieces Nancy, you have certainly found lots of treasures and made them beautiful. Fun to see them all posted together!
Oh yes, isn’t it so much fun?! Thanks Sandra!
xo
Nancy
you have done such amazing projects. love that nautical piece and the idea of the shutters by the doors,
I love it all! Our décor is totally interchangeable ha ha! XOXO
I am loving the shutters! So much goodness here today. Thanks for posting all of this!
Can you come help me with my shelves they are a hot mess!
You have such a way with thrift store decor! Love how you transform even the simplest of accessories!
Thanks Christy!!
I still remember your fabulous tip about getting those straight paint lines on bottles and vases. No more struggling with painters tape for this girl ever since! I remember most of these awesome thrift store makeovers, Nancy, especially your coffee bar as it was one of the first I ever saw. Still swooning over your den space – those built-ins…that desk?
Thank you sweet friend!!
xo
Nancy
Hi Nancy!
I really would love your advise. My husband and I painted our kitchen cabinets with chalk paint, distressed them and added some dark wax for more definition. They look great but I cannot get rid of the brush strokes! I applied 3 coats of paint and the third coat I added water to the brush to cut down on the strokes but they are still there… I have applied poly to the cabinets but will go back and do more work to get rid of the strokes.
Any advice? They look nice but I don’t want them to look like two amateurs painted them. LOL apparently we are!!
Thanks!
Mary
Hi Mary,
Typically, the best way to get rid of paint lines is to thin the paint a bit at the get-go, use a good quality paint brush and light handed strokes. Or you could use a paint roller. Sanding with very fine sand paper in between coats is also helpful. For a painted finish, that is finished (with several coats of paint, etc) it will be a bit harder to remove the paint brush strokes. You will most likely have to sand down quite a bit and go again.
I am curious about the application as you stated…did you apply dark wax and then apply a poly coat over top of that? Polys typically do not adhere to wax. I worry about longevity of the finish if you did indeed apply poly over wax. If you did, you may want to sand down a bit anyway and either apply wax OR poly as your finish coat, not both.
I am sure they will look fabulous once done! :)
Nancy
Hi Nancy,
Well I applied poly and then decided I wanted to antique and distress the cabinets some more so I sanded and added the wax and sanded again and then applied more poly.. It seems ok as there is not a lot of wax just in the edges of the doors. I also have some doors that I have painted, sanded and added wax and will resand and then add the poly… when I started I lightly sanded the cabinets, added a coat of chalk paint, sanded added another coat sanded and when I did my last coat I added water to my brush and then painted lightly.. it looks ok but when I poly I really see the brush marks. My neighbor said they look great.. I am just used to a smooth smooth finish when I do furniture and wonder if I should sand away and start over…
If you sanded in between paint coats, it sounds like maybe the brush marks are coming from the final poly coat then? If so, maybe try a light sanding, cleaning and then applying another coat of poly. BUT this time apply it with a cabinet roller instead of a brush. That should give you more of the finish you are after.
I don’t think you need to start completely over. Try doing as I stated above on one door and see what you think first.
I am sure they look great, we are always our own worst critics! ;)
Thank you for your input!!
I love your blog wish I could get to the point where I can do what you do!!!
I will let you know how my cabinets turn out and if I have issues down the road with the poly and the wax.
Thanks again!
Mary
You are very welcome! :)
Hi Nancy,
I poly’d one door the wax is in the cracks so it went on ok but I see what you mean. Where I applied the wax I will just use clear wax those cabinets are way up high and not used that much so I should be ok…
Thanks again for everything!
Mary