Update Decor with Stain and Finishing Oil
Update your decor with stain and finishing oil! Make it your own. Change it, love it! So easy to use!
Hello sweet friends!! I just finished a little makeover and thought I’d snap photos and share with you all. Sometimes it’s the little things that make a difference! And this is just one of those things that sometimes you don’t even think about doing. You just “live with it”. Meaning, maybe you don’t love something you have, a piece of decor, etc., but you like it well enough. Or you pass something up at the store because it’s not quite right.
Well, that’s what I did. I didn’t pass it up though! I bought them, knowing I could do something with them.
Stain and Finishing Oil to the rescue!
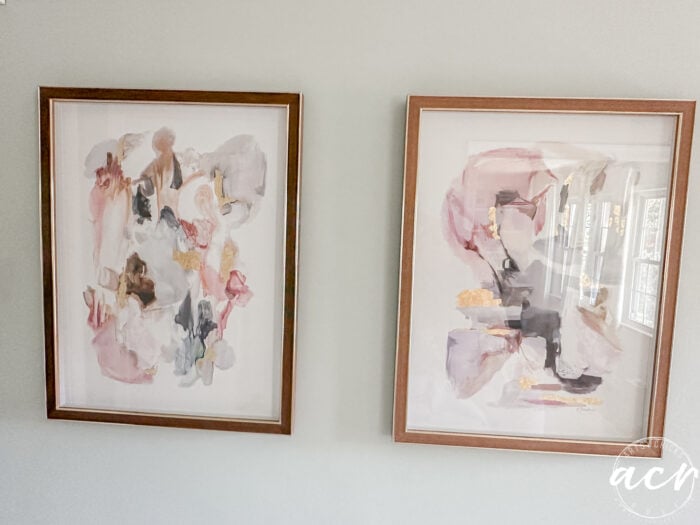
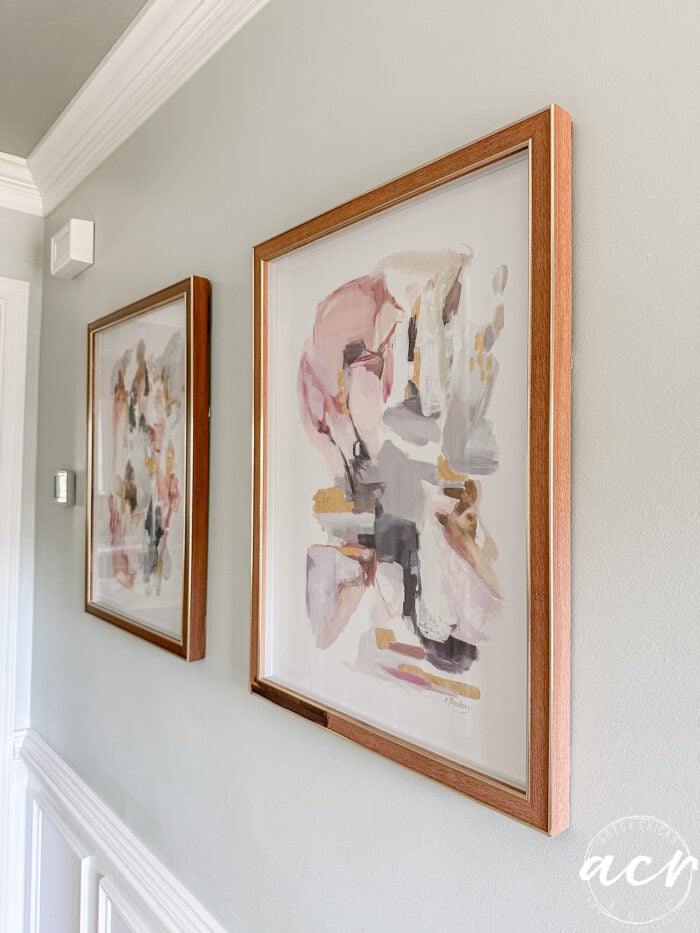
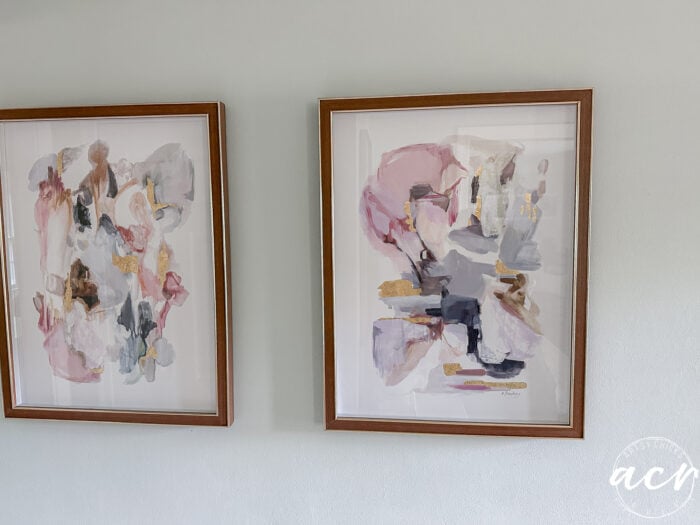
These are the framed art prints I found at Home Goods some time back.
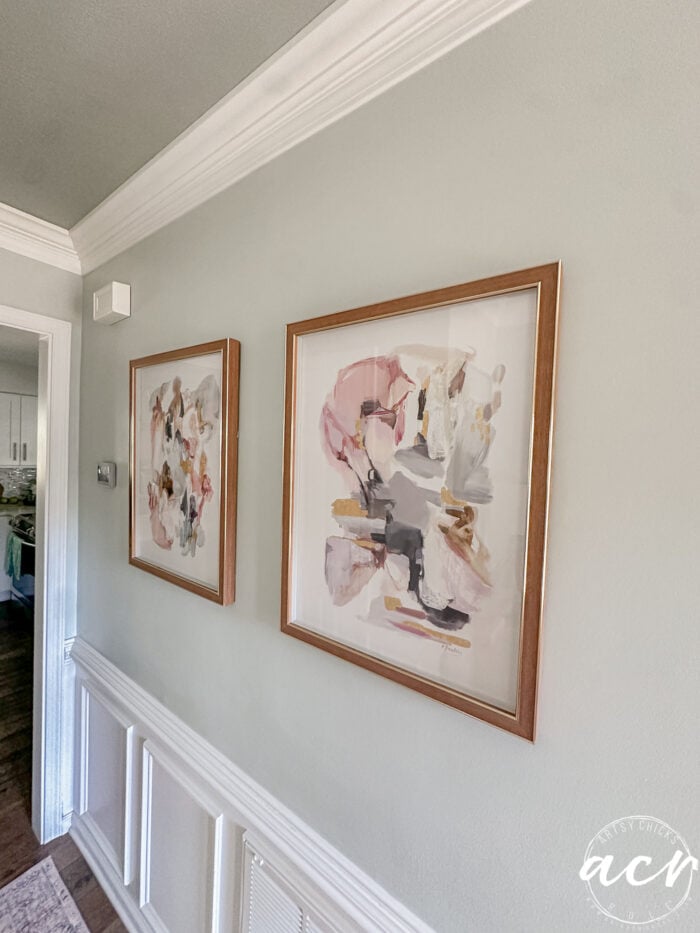
I loved them but didn’t love the color of the wood frame. However, I knew I could change it up.
Paint or stain would do the trick.
I did consider painting them white, but thought, no, I have enough white everything, and I love the wood trim, just not the tone.
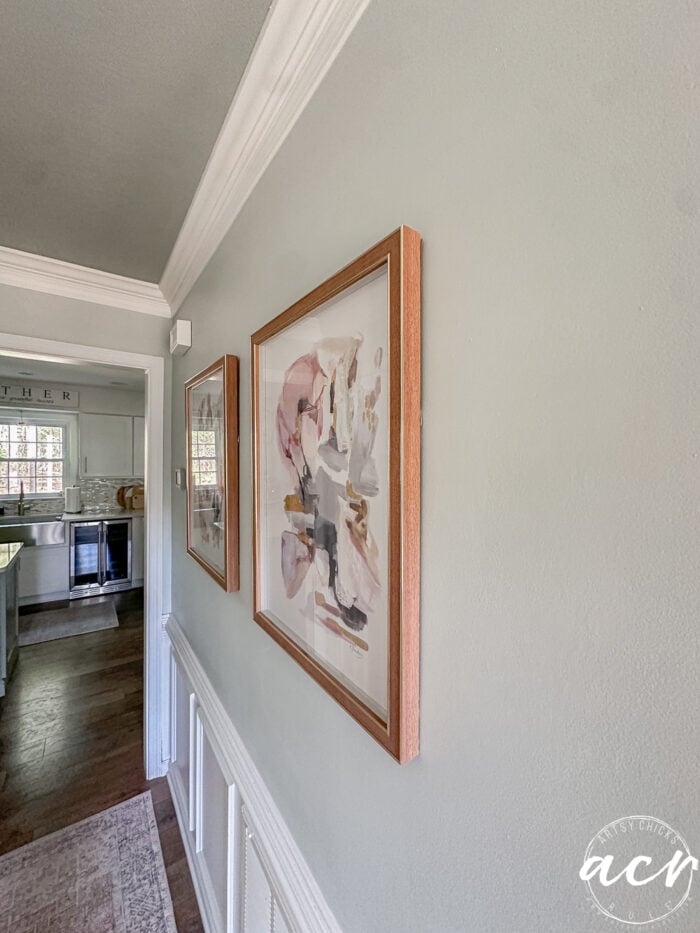
And I should mention that I also didn’t love how they looked adjacent to our new wood-stained front door. (which was darker and not orange-y like the frames)
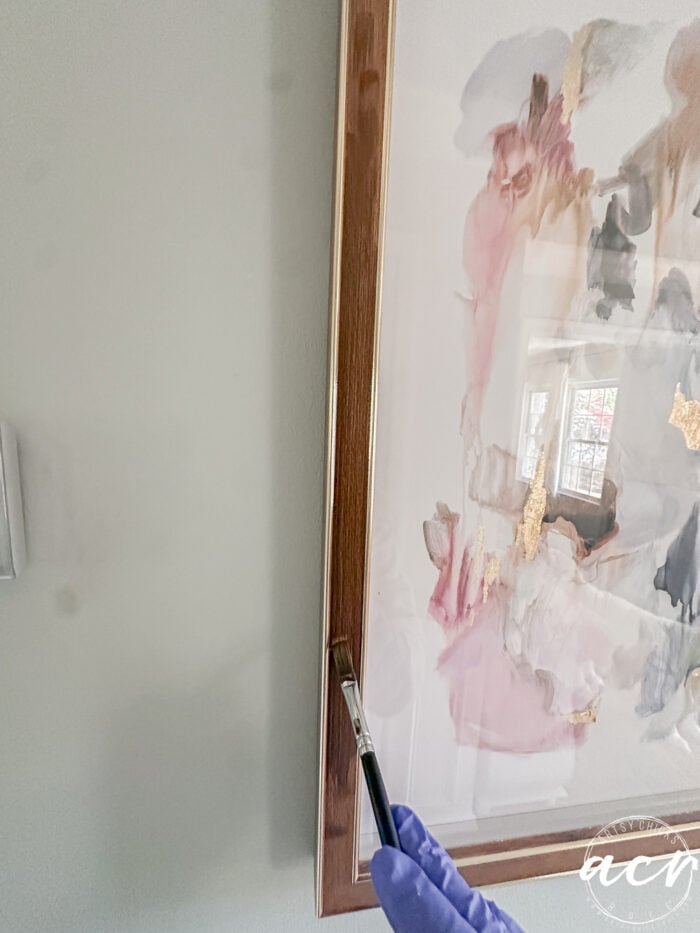
So, I pulled out my Cappuccino Stain and Finishing Oil and got to it!
Stain and Finishing Oil in Cappuccino
You can find the Cappuccino Stain and Finishing Oil here.
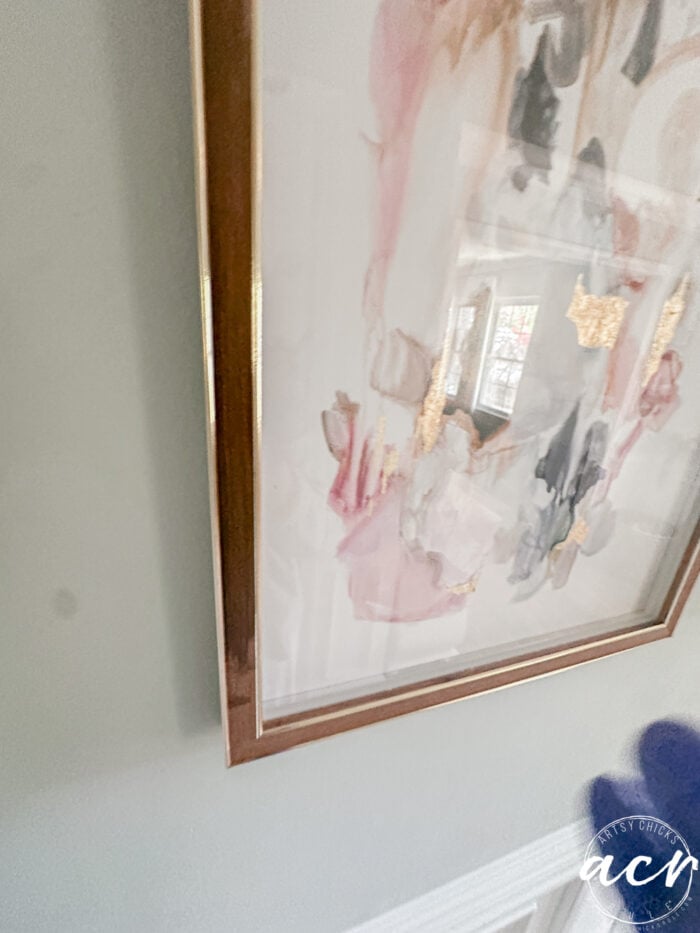
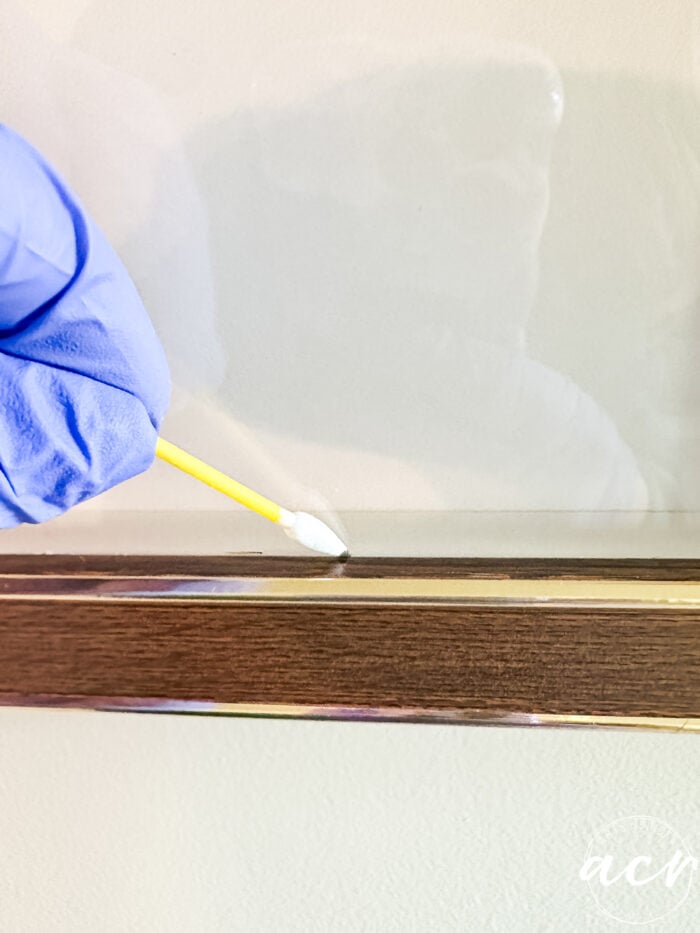
You can see above where I’ve applied it and where I haven’t. (and yes, I did it with them hanging which actually made it pretty easy to do!)
See the difference already?
I used a small paintbrush, which worked well.
I originally thought I’d lay it on and not wipe away the excess to create a darker finish.
However, I didn’t like it that dark, I didn’t really need it that dark either. I’m simply removing the “orange-y” tone and only darkening a little.
After the stain had sat for about 15 minutes or so, I grabbed a paper towel and removed the excess.
 ‘
‘
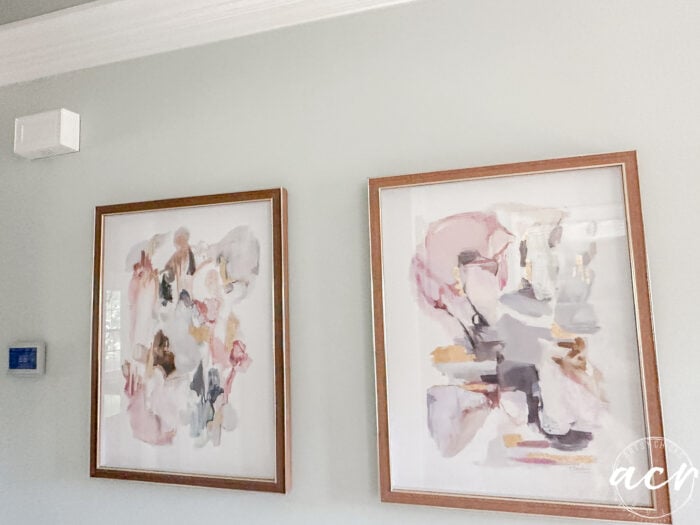
Much better! Not too dark and such a prettier color.
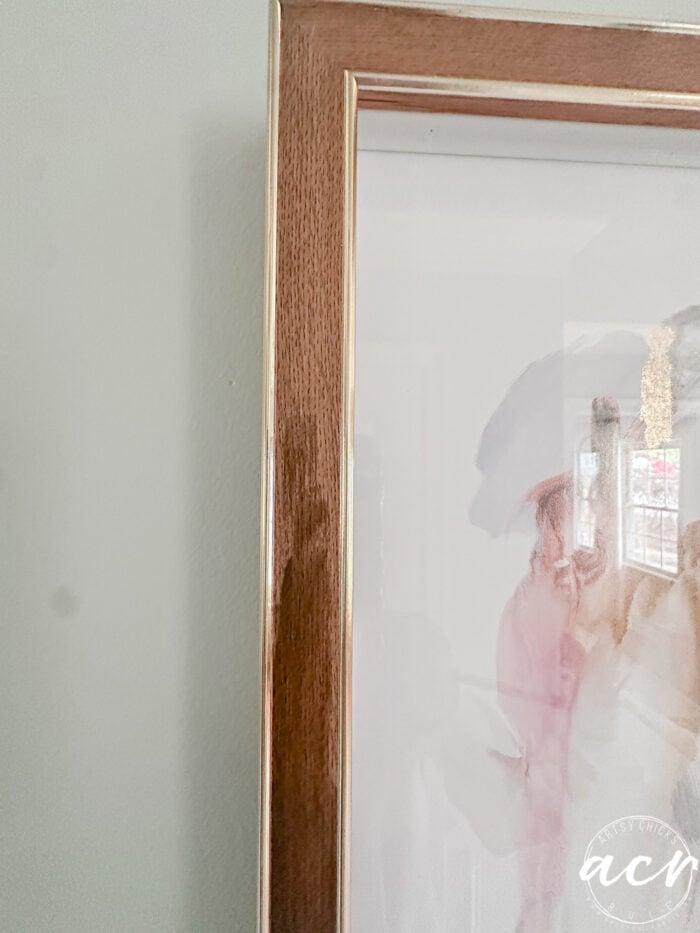
There were 3 sections to this frame: the inner section, the front section, and the side sections.
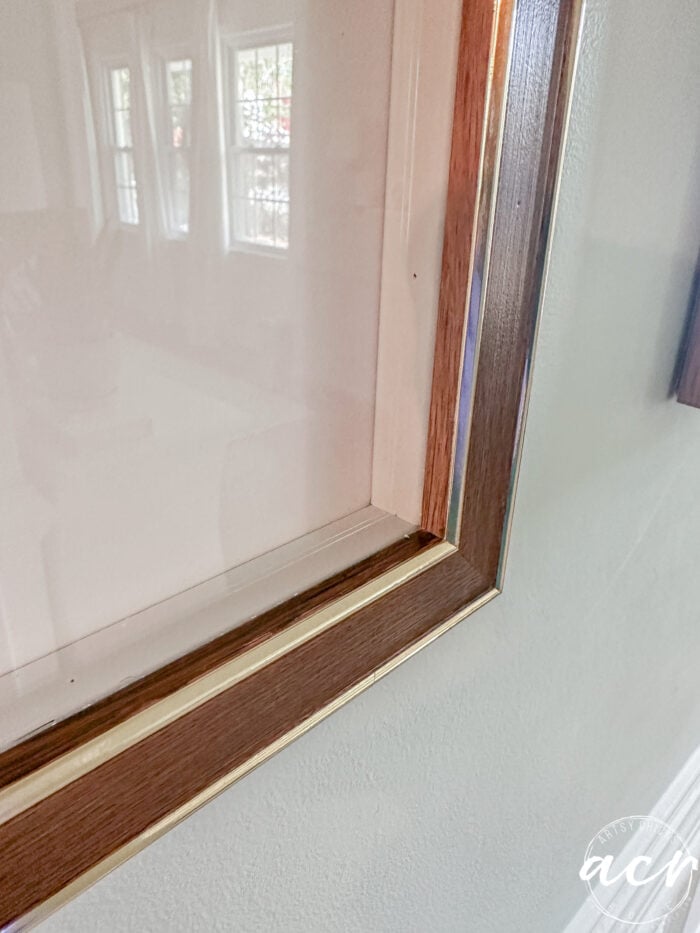
Which you can guess means that I got some of the stain on the glass and gold areas.
For the glass, I used these finger nail cotton swabs that are very pointy to wipe away from the glass.
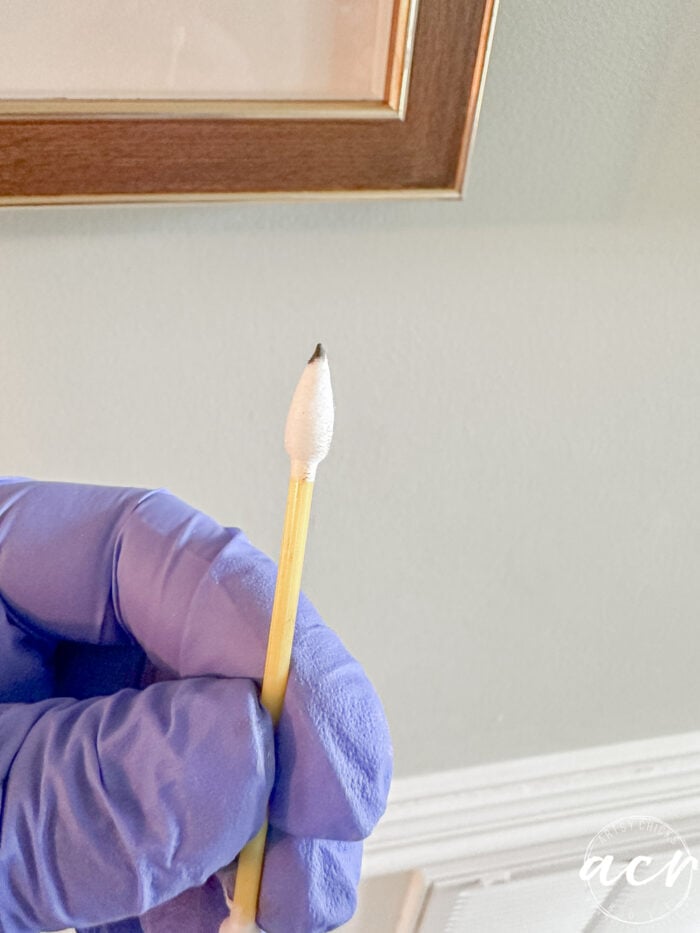
And as I wiped away the excess from the wood, any stain that got on the gold areas wiped right away too. Yay!
I applied the stain to the second frame and let it sit for 15 minutes before wiping it away as well.
I was very careful not to get it on the wall. I only touched in one spot, and it wiped right away with some rubbing alcohol.
And done!! Super simple!
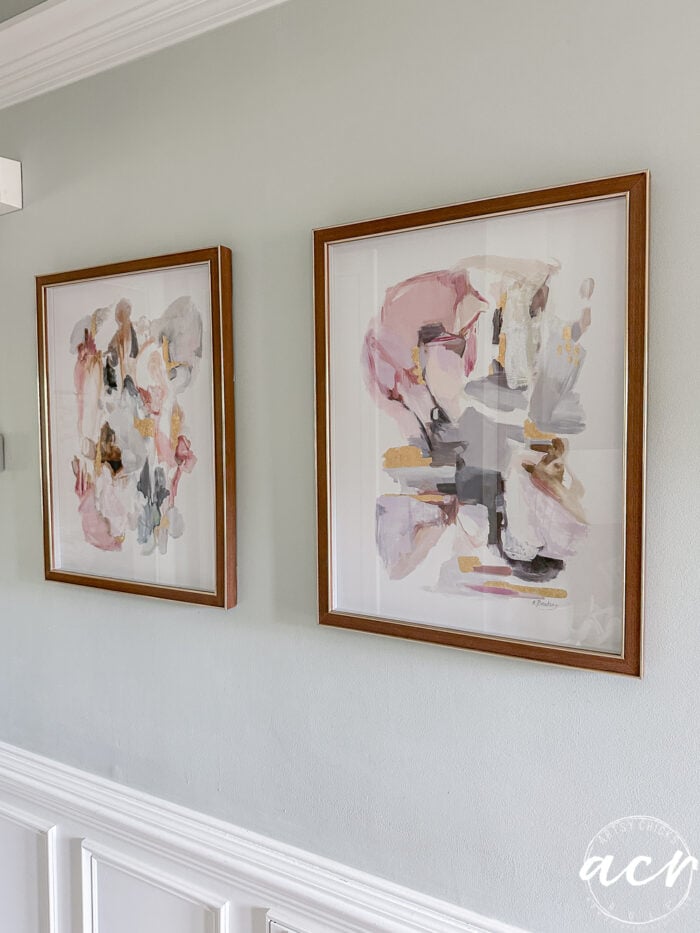
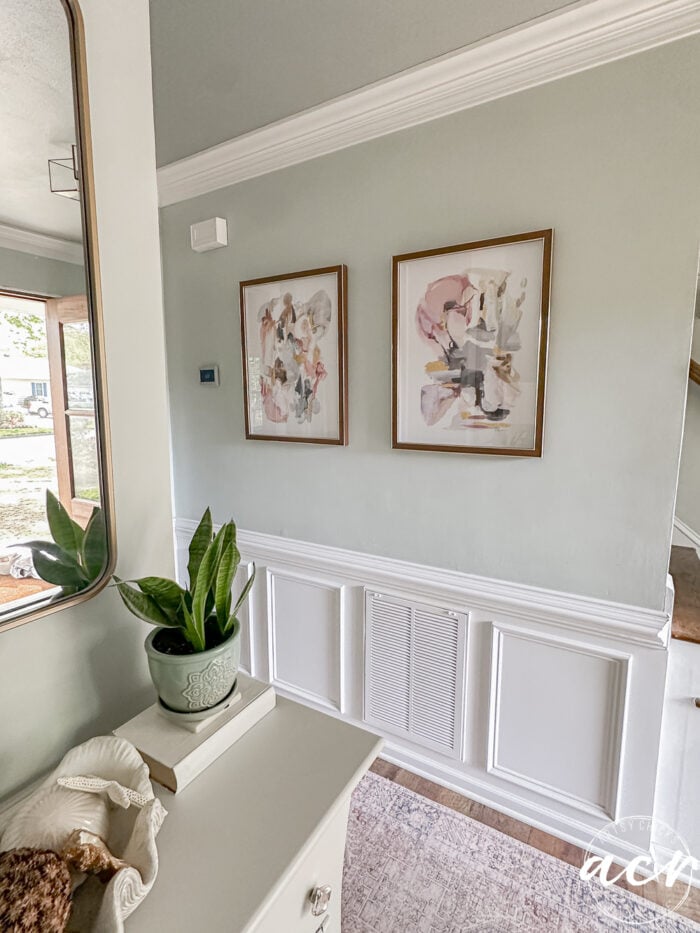
Now with a look that I enjoy much, much more.
I’m so happy with my pretty artwork!
Well, it’s been hanging on the wall for months, but now they are exactly how I wanted them to look when I found them.
By the way, we still love our >> painted ceiling in the foyer. I am thinking about doing it in another room downstairs, too.
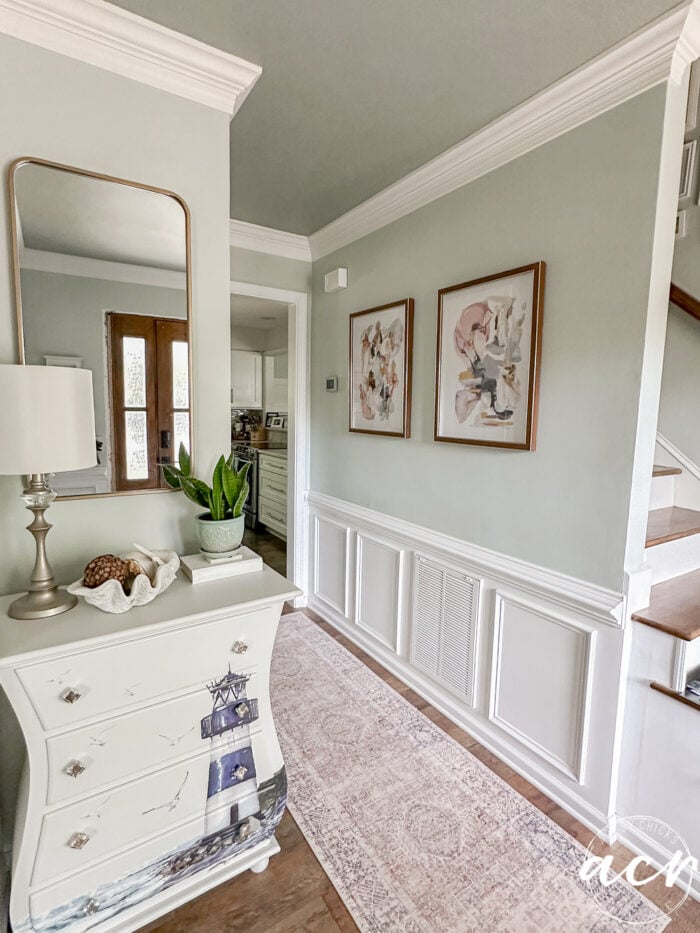
A much better fit in our decor than the orange-y toned frames were.
You can find the rug runner (and larger ones) here.
Do you do stuff like this too?? I’m always messing with something! ha!!
Nothing ever stays how it comes, not in this house! lol
But really, I say, make it your own, right?
Have a blessed week, friends!
xoxo

Related Posts:
")


")

")


Nancy, your house looks amazing! I also love the way you did the prints! Aunt Jo
Thank you, Aunt Jo!! We have worked hard on it over the years!! :) xoxo
That’s SO much better. Now it’s playing very nicely with the other wood tones. But I still can’t believe you did that with them ON THE WALL! LOL :)
Thanks, Cyndi!! Yes, yes to that!! And I know, I’m a little wild with my crafting/painting/doing sometimes!! haha!!
Funny how these simple things can totally change it for the better. OMG you don’t even know how often I do things like this. In fact the other day I started working on an acrylic painting for my BIL birthday next month – and one thing lead to another and a basket was painted, then a lid to a cute spring bunny candle that was always too dark and needed to be a light sage color, and then I started working on a tabletop chest of drawers for my grand’s birthday, then I painted a tray. Oh it just never ends LOL. Well done, Nancy. Looks lovely.
PS I agree with Cyndi about WHERE you did it. You are a lunatic, girlfriend. : – P
Thank you, Michele! And I know, right?! You sound just like me!!! Squirrel! (in a crafting/painting kind of way!lol) And yes, I know, I do some crazy things sometimes! haha! xo
I think they now look like they should have looked from the beginning. They look so nice on that wall. I also can’t believe you did them while hanging on the wall lol.
Thank you, Debra! Yes, they sure do. I’m so glad you think so too! I know, I know, haha, but it really worked out very well to do them there!! :) xo
What color is the paint on the wall that you displayed the 2 pictures you changed he stain color of the frames?
Hi Nancy! The color of the wall is Sea Salt by Sherwin Williams. It’s an amazing color! :)
my question that may not be answered was What was the color of your walls in the room that you were showing a new stain for the wood on the picture frames? Your walls looked pale green. thanks Nancy B.
Hi Nancy! If you are new here and haven’t posted a comment before or in a long time, it will not show until I approve it. That’s all. :) It’s a way to cut down on spam commenters (which we get a lot of, unfortunately!) The color is Sea Salt by Sherwin Williams.