No-Sew DIY “Welcome Spring” {Pillowcase} Flag
Yes, the title does say “pillowcase”.
I made a cute little “Welcome Spring” flag out of one.
It was a bit of a FAIL (well, only a 1/2 fail really) but I thought I’d share it anyway.
Because, honestly, these things happen to all of us, right?
A product I used failed but I “fixed” it.
Well, sort of. ;) You’ll see. 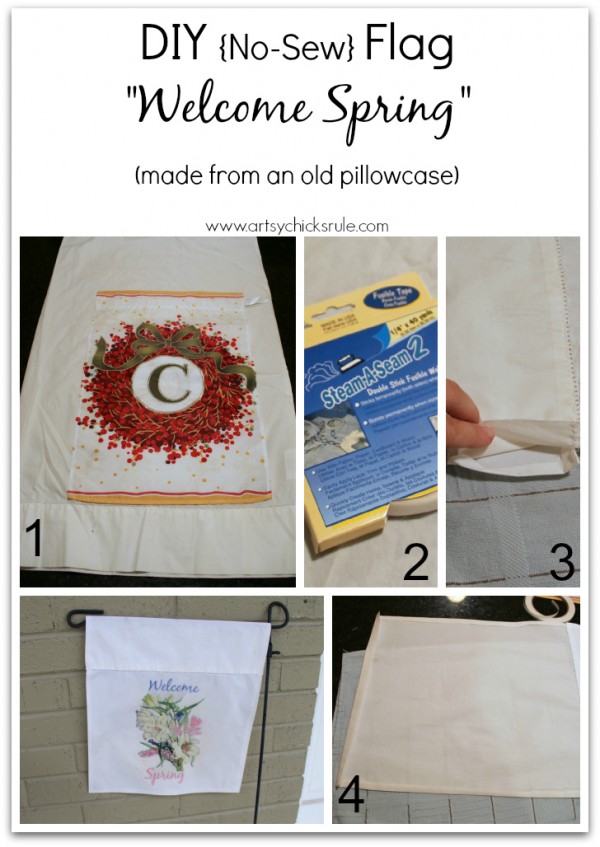 The pillowcase part….great! Actually, I could have made 2 out of that one pillowcase easily.
The transfer part…not so great.
But first, let’s talk about the flag making.
It’s “no-sew”, my favorite kind of sewing! ;)
Find an old pillowcase. (or pick one up for cheap at the thrift store)
I used an old flag to use as a guide to cut. (as you can see in the above photo)
This pillowcase, as well as most, have that little “loop” all ready to go at the top edge which make it perfect for flags.
I just ripped the seam a little so I could fold the ends in with the “no sew” product for a neat look.
I then ironed the rest of the flag around the border so I’d have a guide to place the “no sew” product.
Using the Steam a Steam (or similar product) continue around and seal all of the edges. 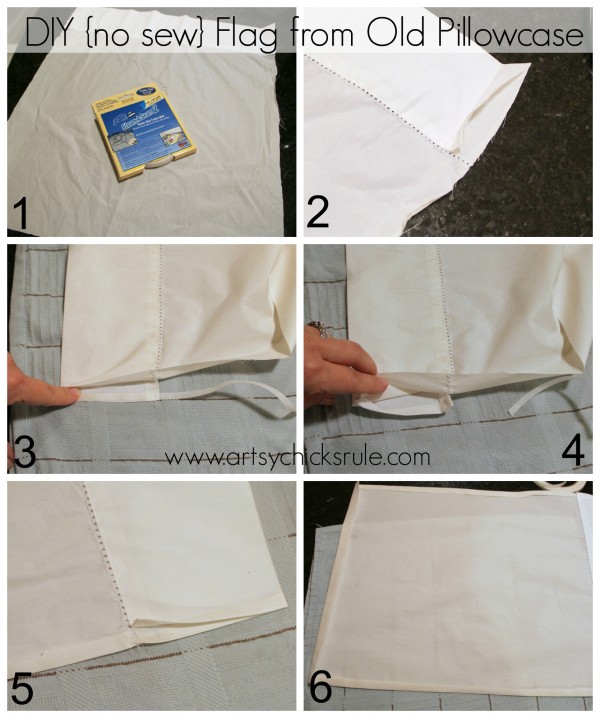 Ironed in the product and ….done.
Pretty simple!
Then…..
I had this great transfer paper that I bought a couple years ago. 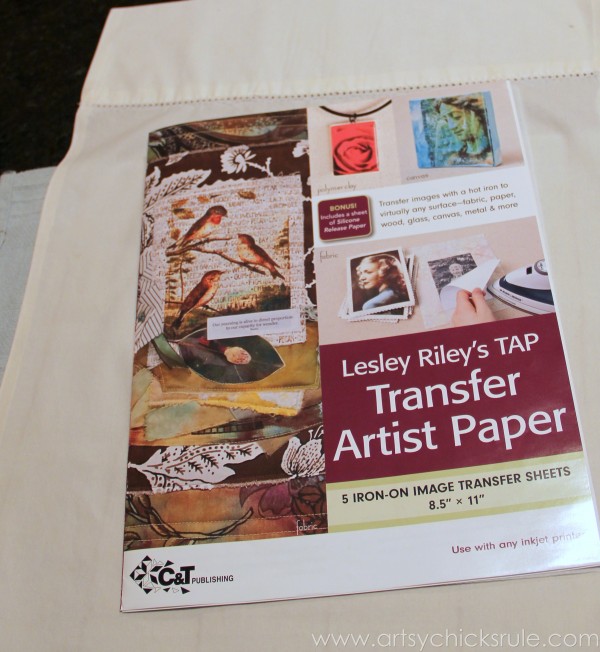 I bought it to make some really cute little bibs for my great nephew.
It worked fabulously!
So I pulled it out to print this graphic from The Graphic’s Fairy onto for the flag.
So colorful, pretty and Spring-y.
I added the “Welcome Spring” wording on either side of the graphic.
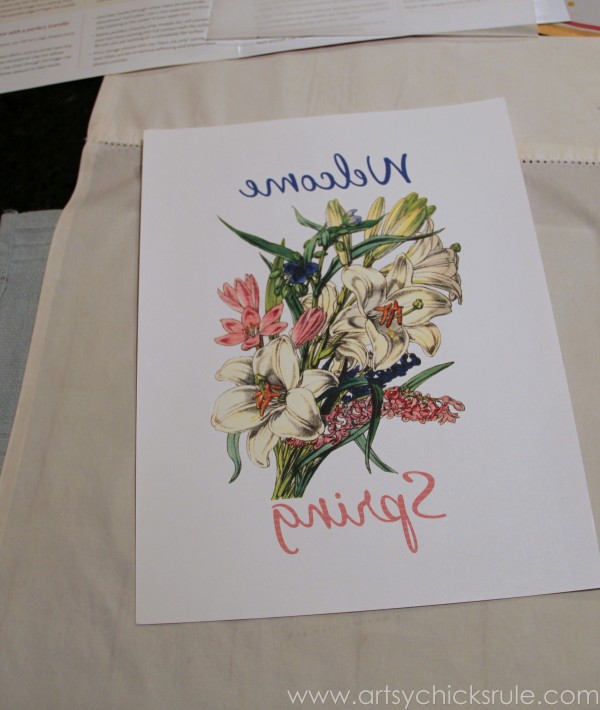 Remember to print the graphic with wording in reverse.
Cut around the edges of the print. 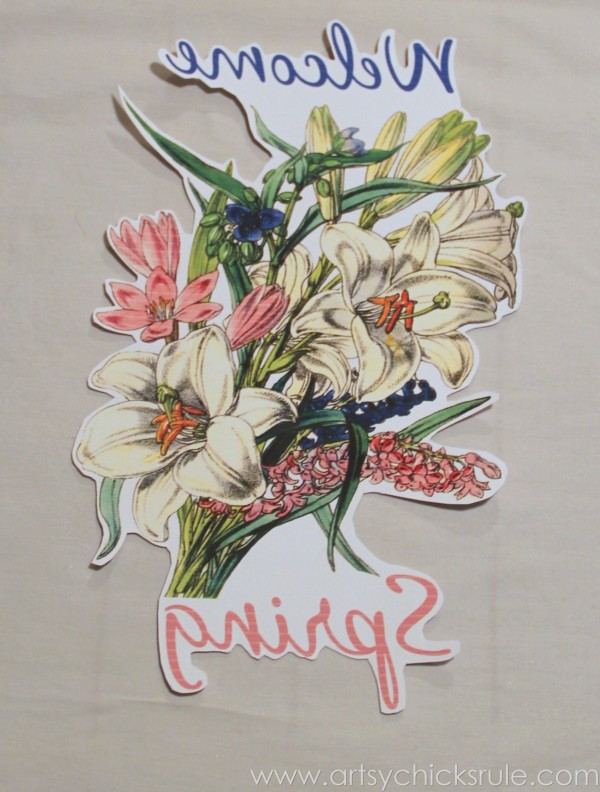 Then position it to iron.
 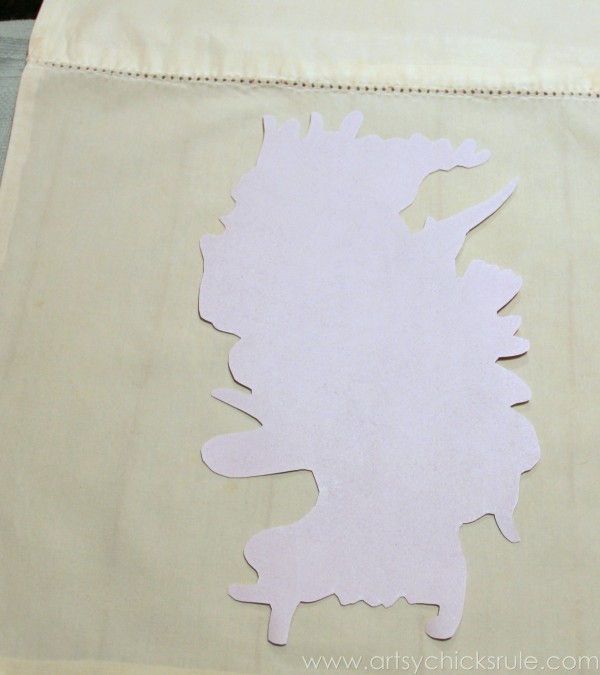 I followed the directions to a T.
Remember, I used this product before on about 6 different items (all bibs).
It worked great then.
Iron on, as directed.
Um yeah….NO. 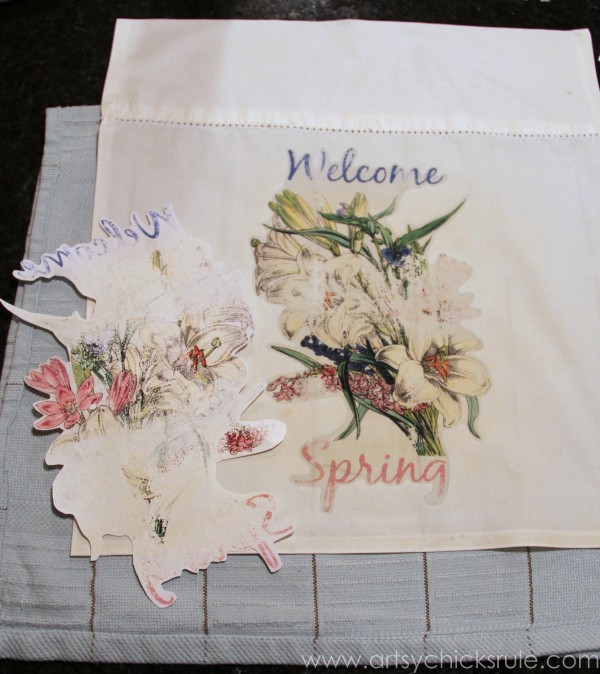 I was so bummed.
There was just no way it would finish transferring.
I went at it forever (directions say it can’t be “over ironed”). No luck.
It just would not budge.
My guess, the paper was too old or something. I have a brand new iron and it was hot!
That is the only thing I can think.
Anyone have an idea?? I’d love to hear it!
I still have faith in the product (since it did work well for me before) and will try it again in the future.
Anyway, there was no way I was letting this just go.
So I pulled out some colored pencils and went to work. (at 2am last night, by the way)
And it finished up like this. 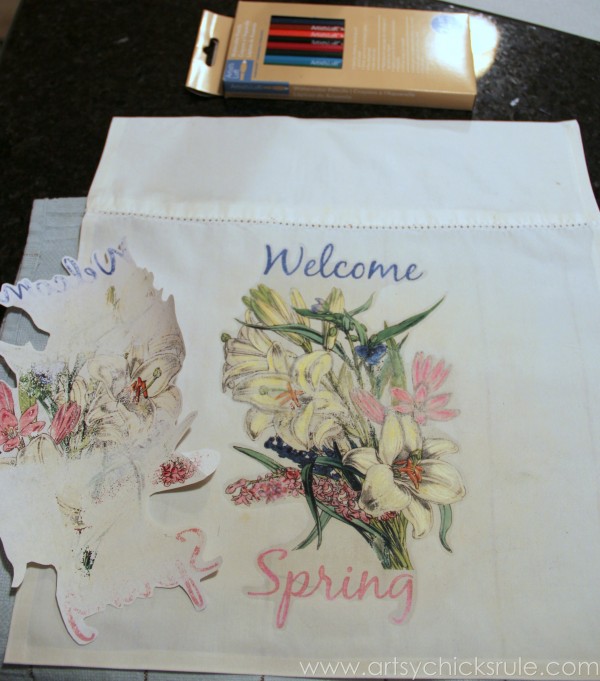 That’s the best I could do at that time of the morning.
My eyes were half shut. ;)
Since I used the pencils, and since it’s going to be outside, I sealed it with Valspar Flat Sealer Spray.
Not awful. But I am sad the whole pretty graphic did not transfer over.
Oh well, not a total loss, but surely not my best work! ;)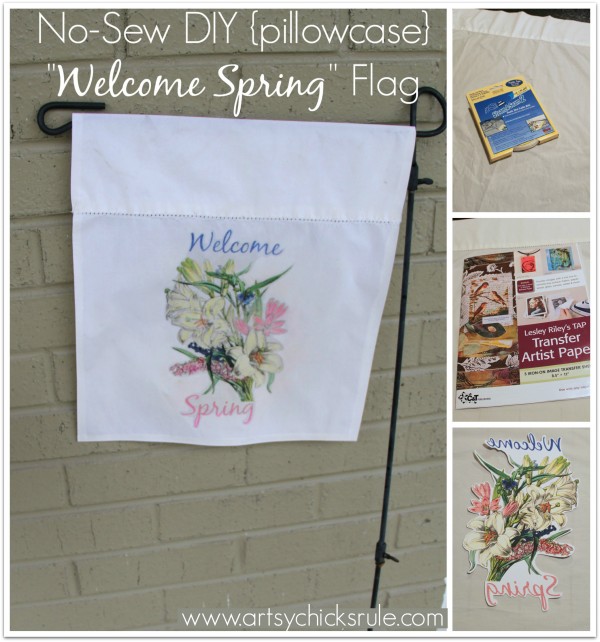 So, like I’ve said before….it’s full disclosure around here at Artsy Chicks Rule.
Because we do. We figure out a way to fix the FAILS, right?! (in some fashion anyway)
You want to see a WIN for this transfer paper. Check out my friend Christy’s post here.
AND because it’s really just too funny….and I’m a little loopy from no sleep, I thought I’d share this photo with you. 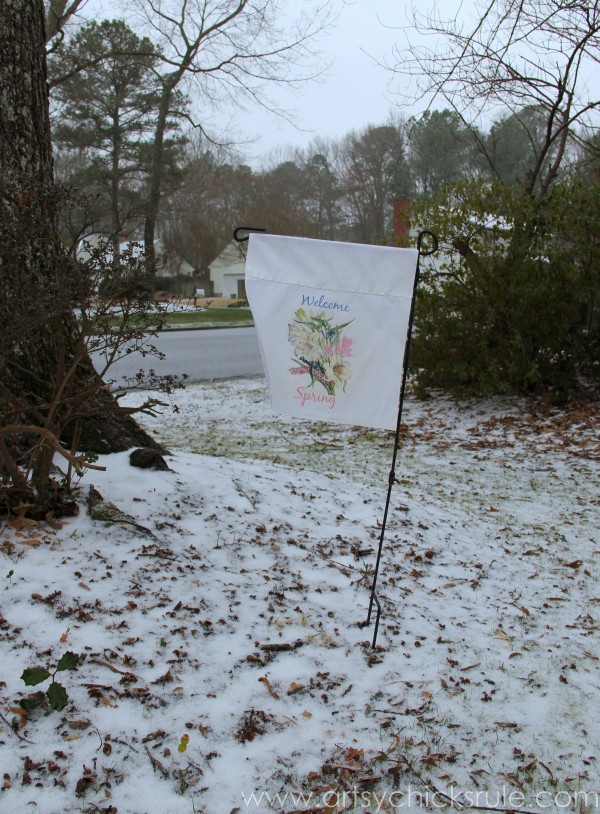 Yes, that is indeed the flag I just made last night …”Welcome Spring” … on yet another snowy day here in Coastal Virginia. Ugh.
And yes, I did go outside in the sleet and snow to stick it in the ground and take a photo just so I could show you all.
I am sure my neighbors think I’m crazy.
I really hope it’s warm where you are.
It was here…yesterday. Low 70’s to 20’s in less than 24 hours.
I am so, so, so ready to “welcome” Spring! I think everyone is this year.
So there you have it.
A DIY, no-sew flag made from an old pillowcase.
If you have something Spring inspired, please feel free to add it to the linky party below:
(35+ bloggers are hosting this event and your link will be seen on all of them!)
 And if you don’t have anything to link up, no worries, click through the links to get some inspiration for yourself.
And remember, anything and everything can be “fixed”. Even a FAIL like this. :) 
Be sure to follow me on Instagram if you don’t already!
I always post projects and things I’m working on long before it hits the blog…..
….plus lots of fun random daily things too.





You are so clever to think of using a pillow case to make a garden flag. I had to laugh when I saw your flag in the snow. Virginia’s weather has been crazy this year, hasn’t it??
Thanks Paula! I know, it’s been a crazy winter! ;)
Nancy
That picture in the snow is hilarious. Yesterday I was building sandcastles with Brennan in his sand box and today he kept asking me if we could go outside and build sandcastles again. Poor thing…no, not in an ice storm. Crazy! Your flag turned out really cute! Now I need to make one too…and thanks for the shout out! :) XO XO
I know, what the heck?!! I am done with this thing called Winter!
And so funny, I had something else planned for this “Spring” post and then at the last minute I switched! (no surprise there!) After reading your post I went looking for that transfer paper I knew I had. Looked for about an hour before I found it in this office (it’s a mess and on the list of redos). I had ONE sheet left! lol Stupid paper. ;)
It worked so great on those little bibs (and a couple were terry cloth material?)….but this flag…not so much.
xo
Nancy
Such a sweet flag…So ready for SPRING!
Blessings,
Cindy
Thank you Cindy! :)
Nancy
I’m guessing it was the paper. But it still looks really cute…even if spring is NEVER going to come….
-andi
Yes, it has to be…so weird! Ha…it’s ok…thanks for saying it’s cute though!! Poor little flag! lol :)
Nancy
Love your project and your pizzazz when facing a potential fail, Nancy! Hey if you don’t try, you won’t ever know! And that would be the real shame.
Good job my friend!
And, hang in there! Wishing warm temps for you. Much warmer temps!
Regardless, it turned out great! Leave it to you and your artsy touch to be able to come up with a “fix”! I love it. Think I’m going to borrow using your pillow case idea for a project I have in mind. Much easier than what I had planned! LOL! Happy Spring, friend!!! ~Christy
Aw thanks Christy! I hate to have something not work out right!! lol Happy Spring to you too!
xoxo
Nancy