Flipping Smalls #3
Flipping smalls and thrifty finds! I’m sharing a ridiculously simple bleached wood “cheat” too!
Hello sweet friends!
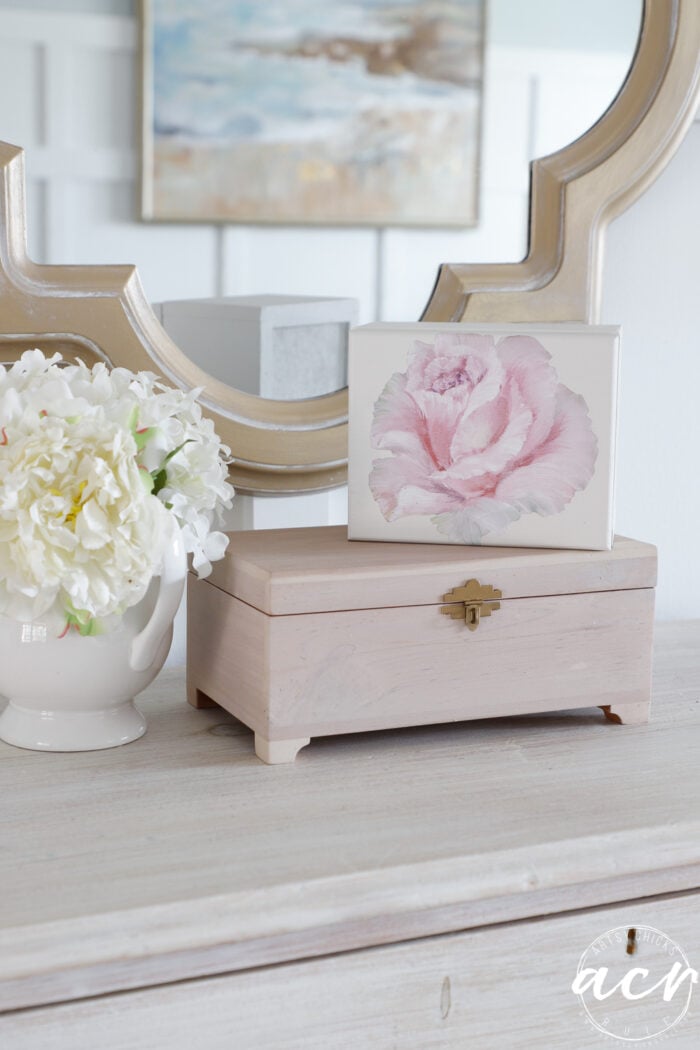
Today I thought I’d share a couple of small pieces I gave makeovers to. One is a cool “bleached” wood effect I’ve done before and just love! And one is just a sweet little makeover that would be perfect for Valentine’s Day.
Either of these would make sweet gifts. It also shows how you can find something inexpensive (if the budget is tight and even if it’s not!) and make it your own. You know, put your little spin and touch on it. That makes it all the more special, right?
Here they are:
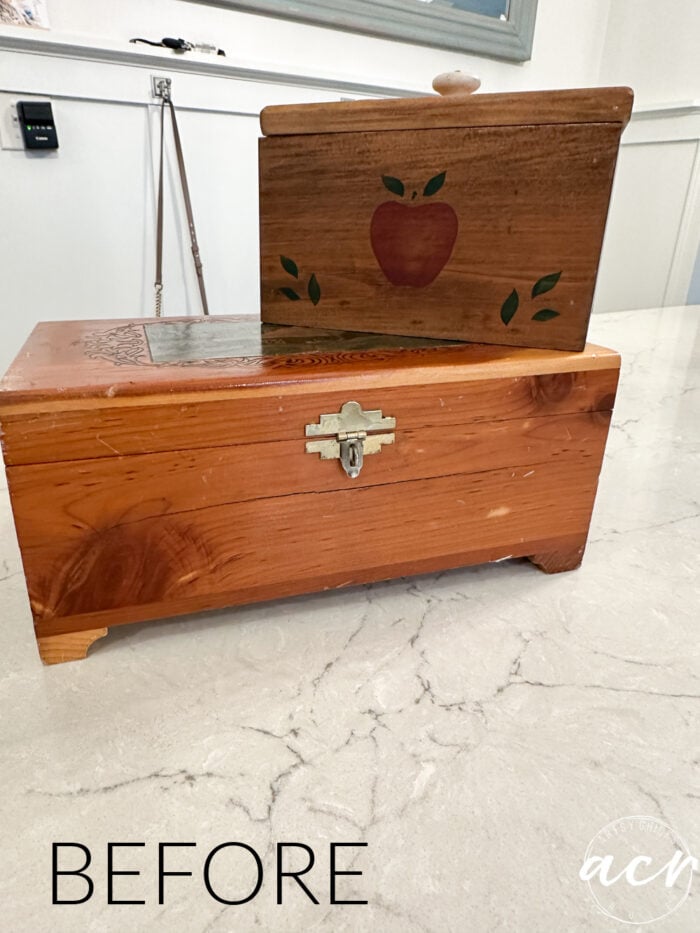
You know, just your basic thrifty finds.
I mean really, you can find things like this all day long!
What’s cool about this is you can bring them home and give them a brand-new look.
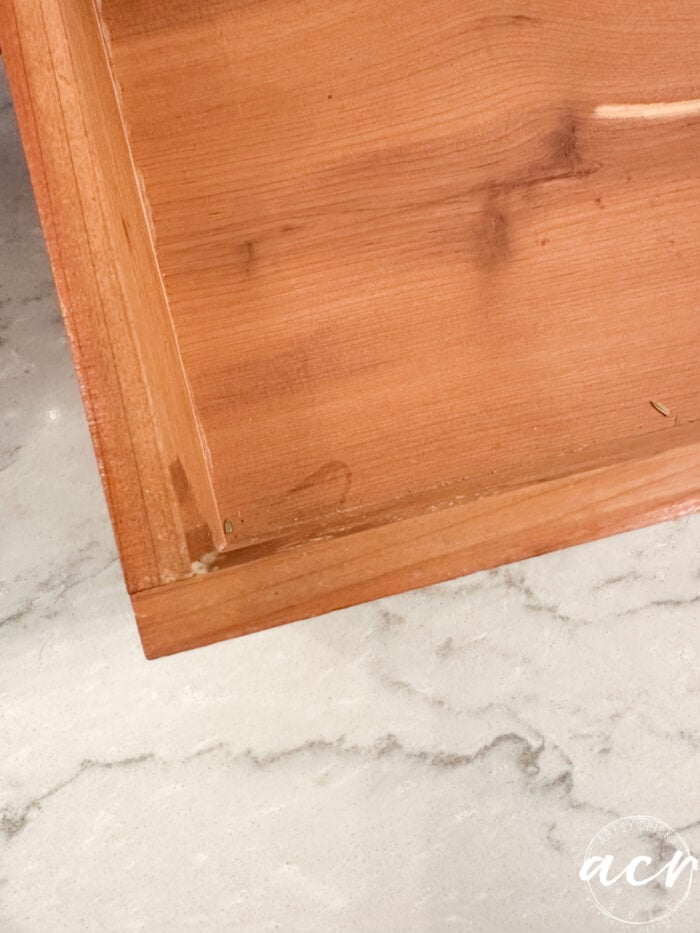
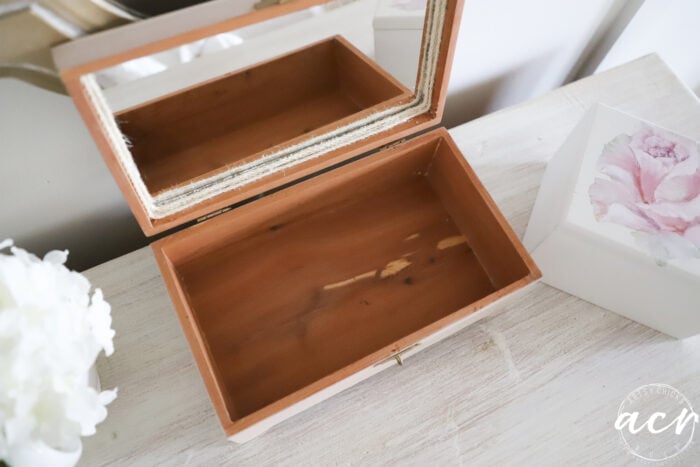
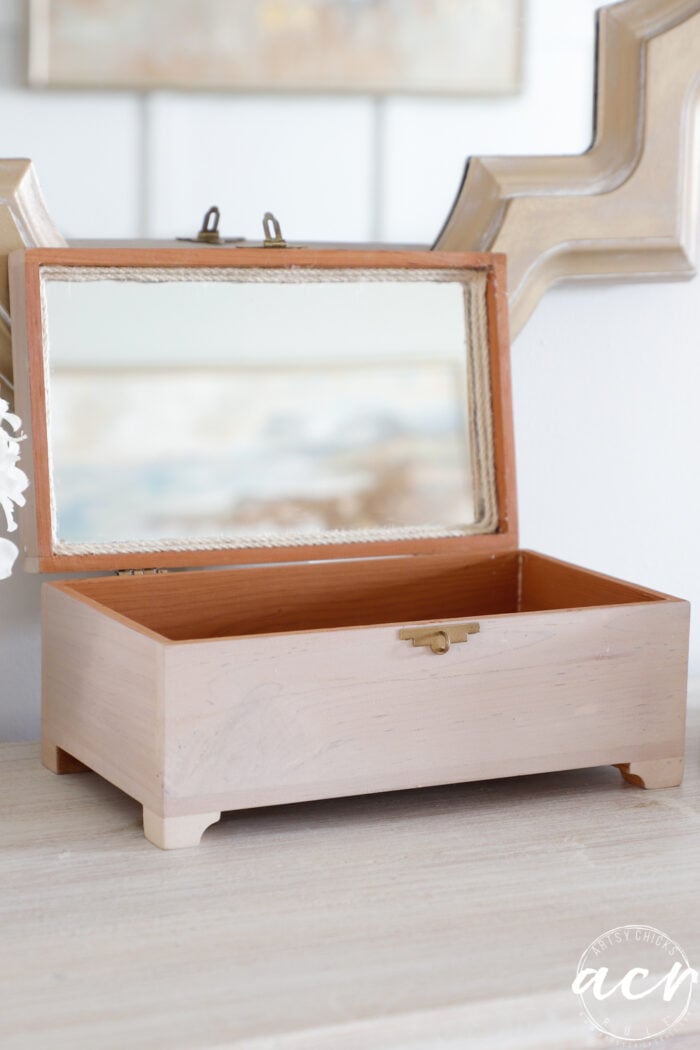
But side note, do you remember these small cedar boxes?? I got one when I graduated high school. I feel like giving these small boxes and hope chests used to be a thing when kids graduated high school. Did you get either one or both?
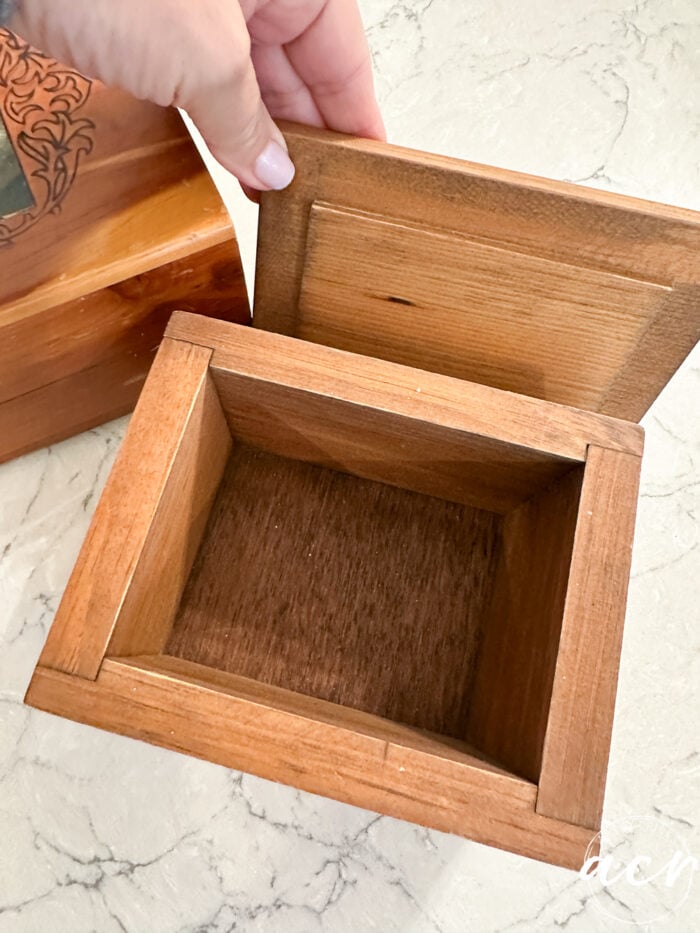
Here’s the inside…
Whoops, I didn’t realize this wood was split…
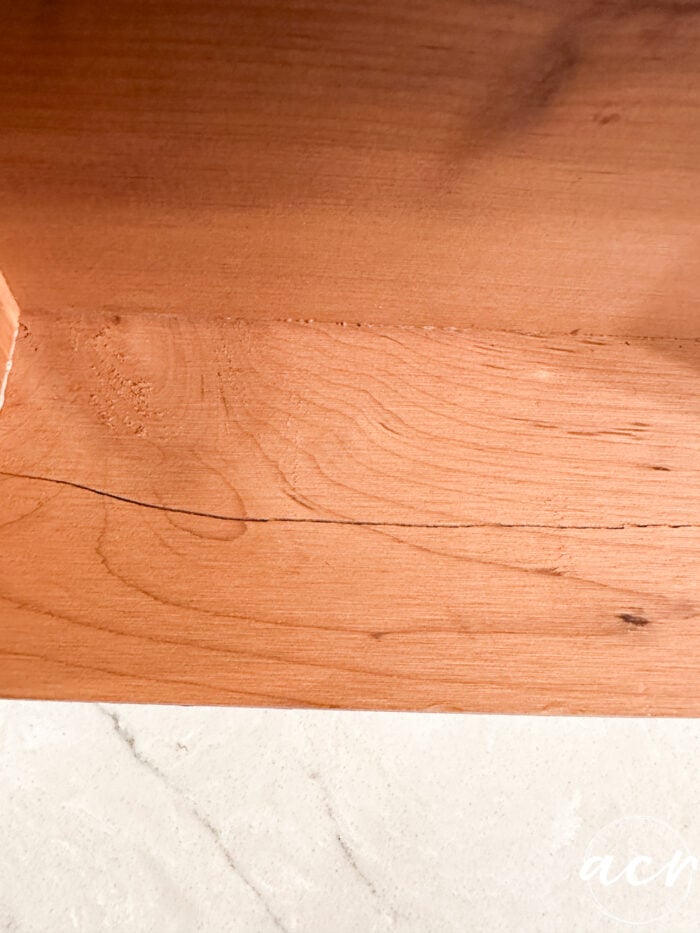
…at the corner and across the front.
No worries!
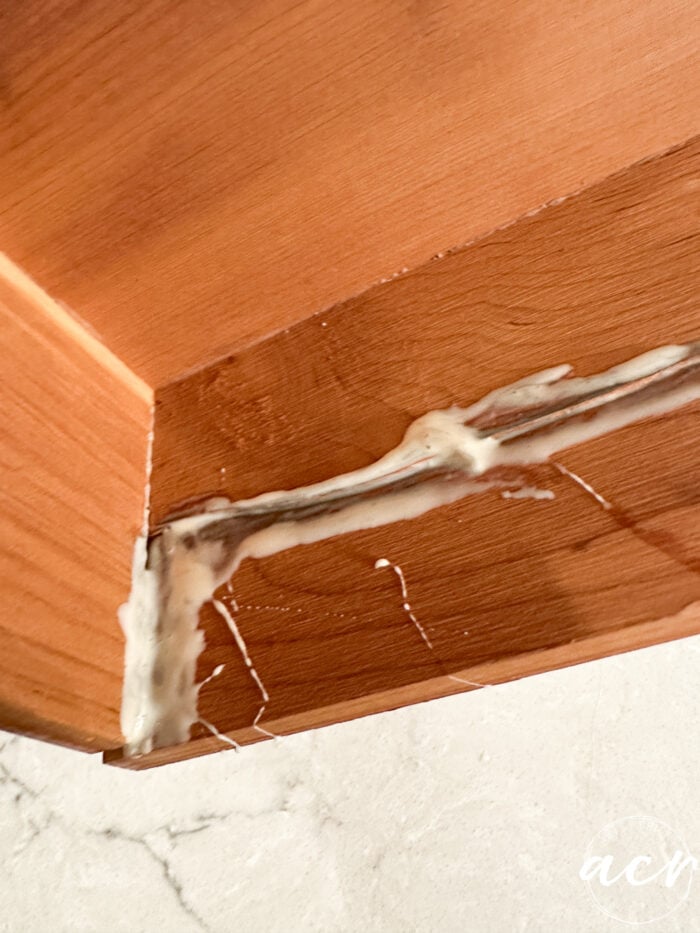
I used some wood glue and clamps to fix it right up.
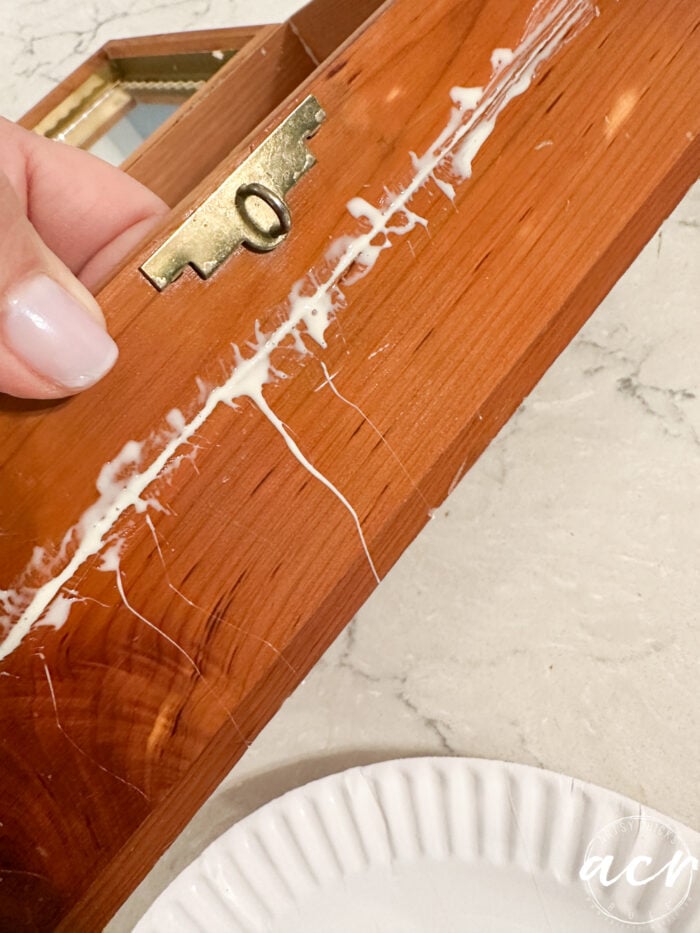
(you’ll want to clean as much of that glue off as possible before it dries)
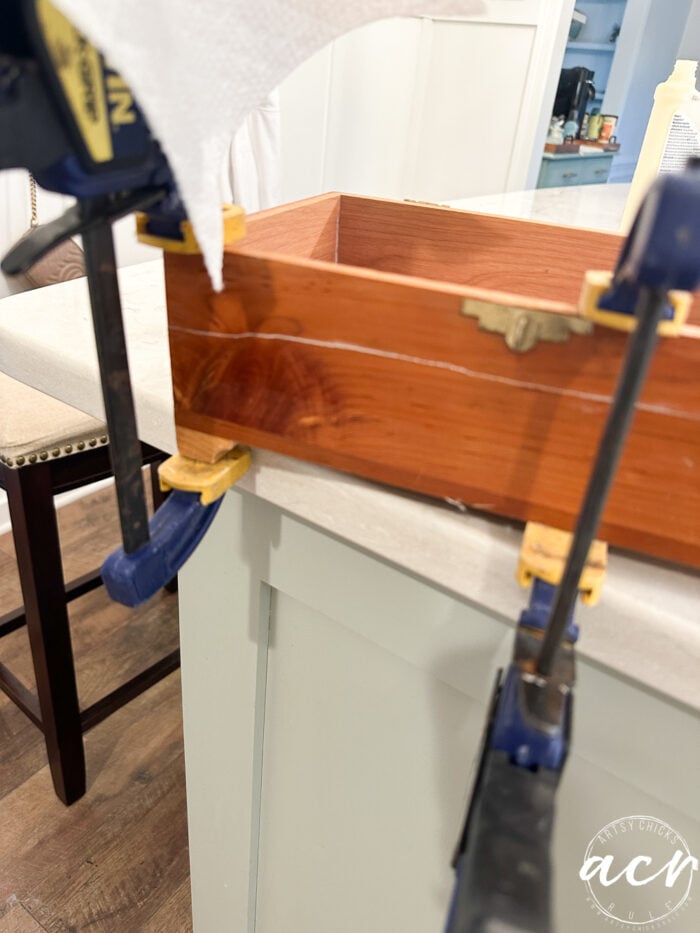
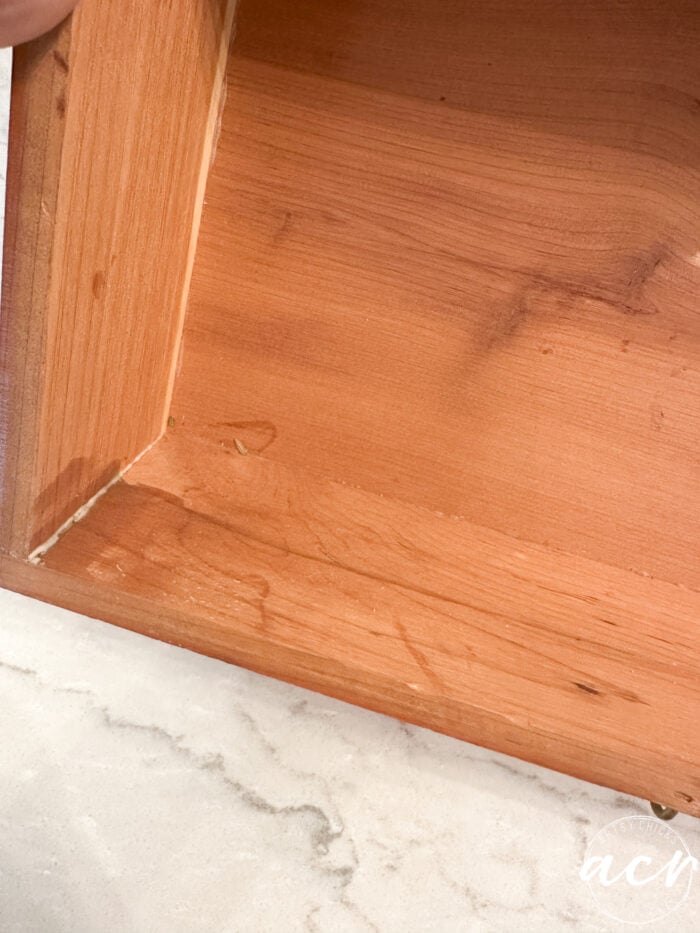
All dry and good as new.
MATERIALS I USED – Flipping Smalls #3
- Gorilla Wood Glue
- Clamps
- Sander (I have multiple other sanders, different types, orbital, etc, this is still the one I use the most often…it’s an oldie now but a goodie!)
- Cashmere Paint
- Paintbrush
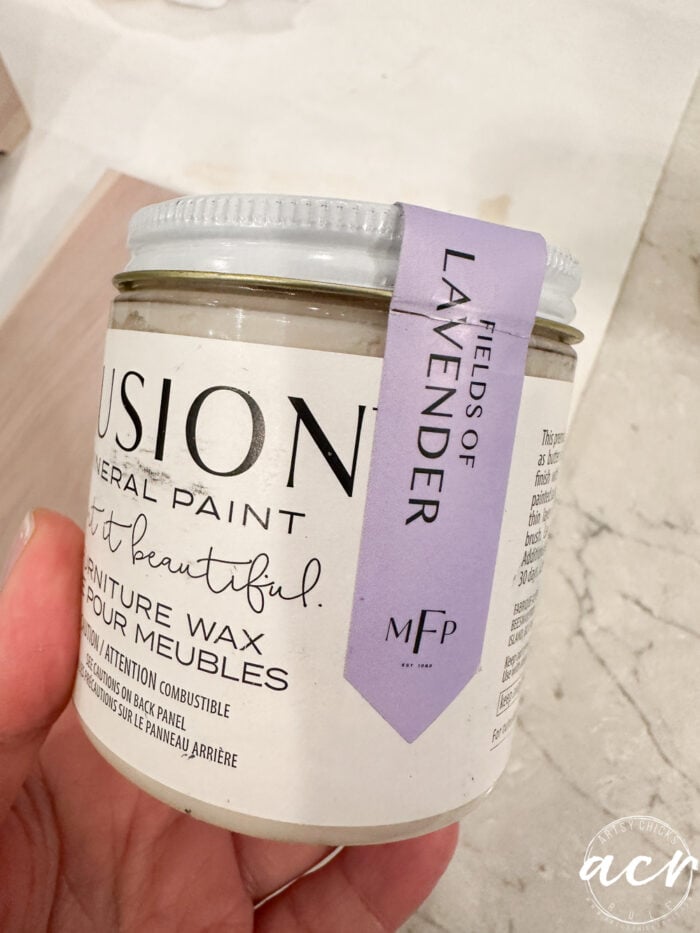
- Fields of Lavender Wax
- Champagne Bronze Paint
- BIN Primer
- Victorian Lace Paint
- Rose Quartz Transfer
- Tough Coat Top Coat in Satin
Prefer to shop on Etsy? I have an Etsy shop also, here!
The top has a mirror in it.
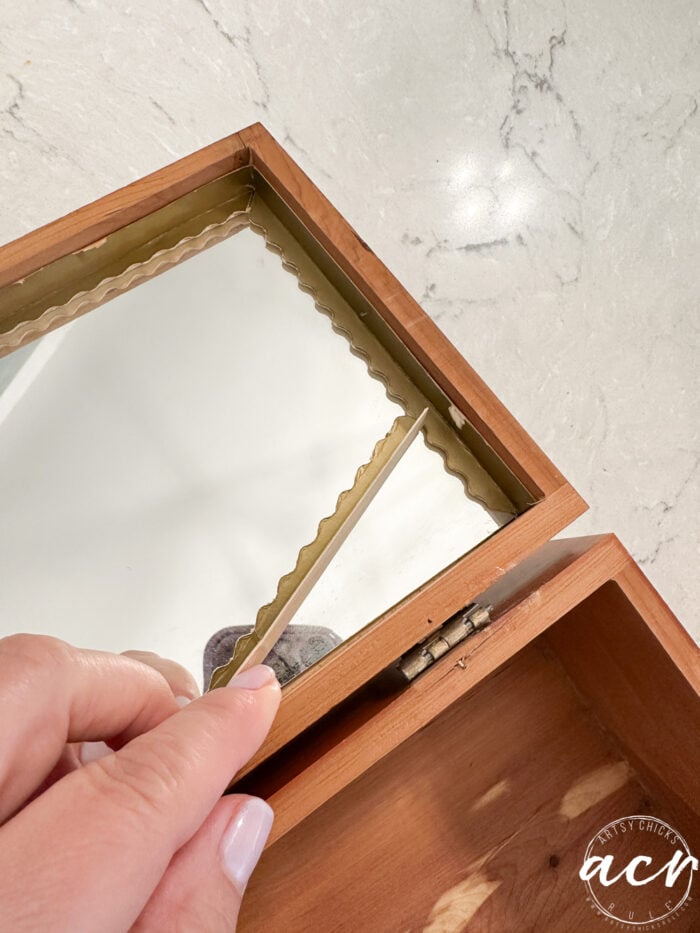
With this old decorative paper around it. That will have to be replaced with something. No idea what but we’ll see!
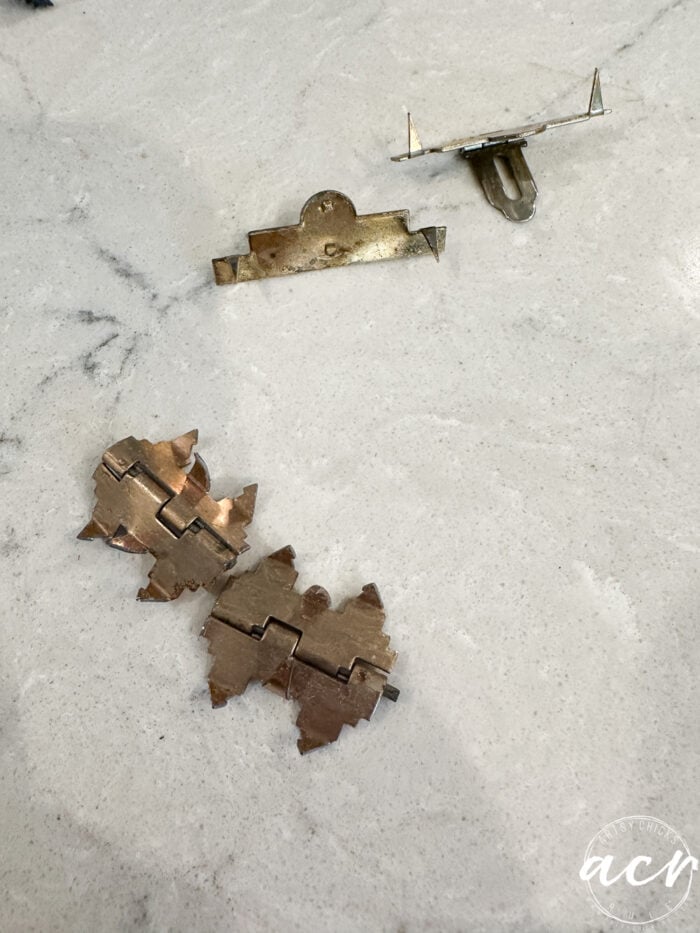
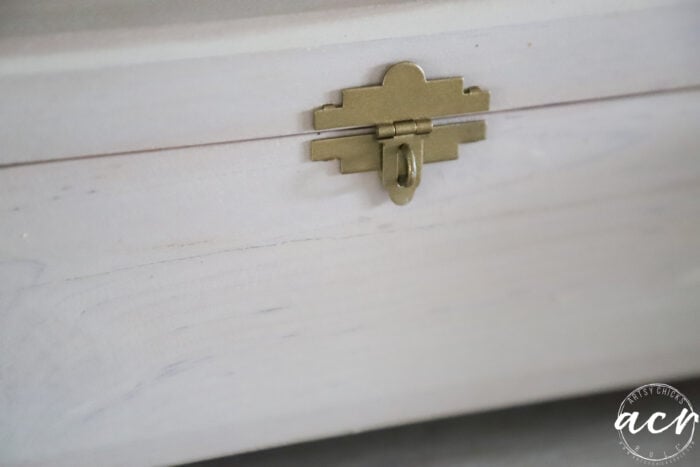
Before doing anything else, I removed the hardware. (and later painted it with Champagne Bronze, so pretty!)
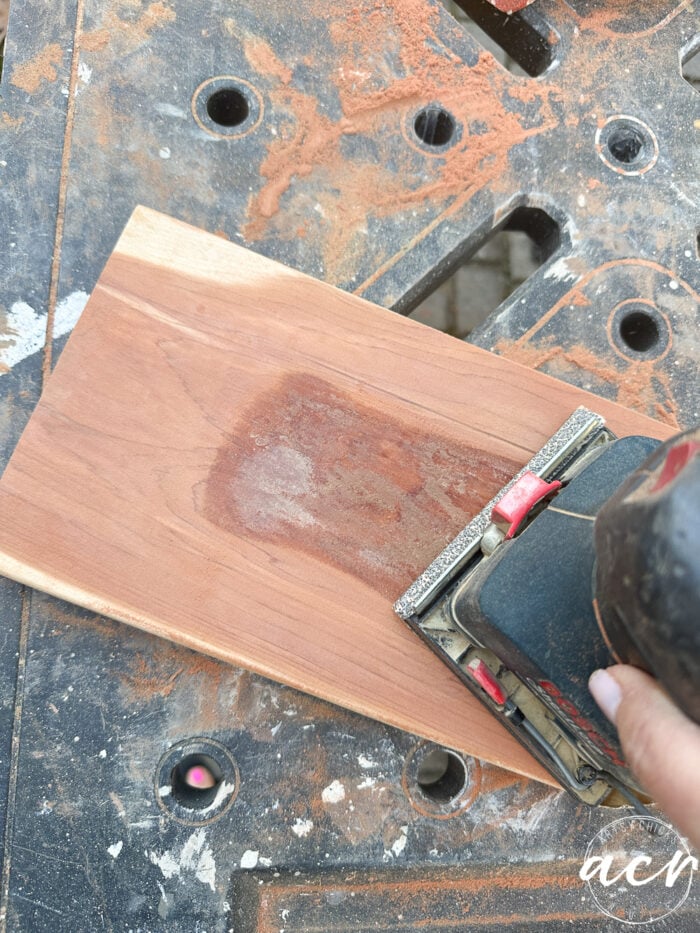
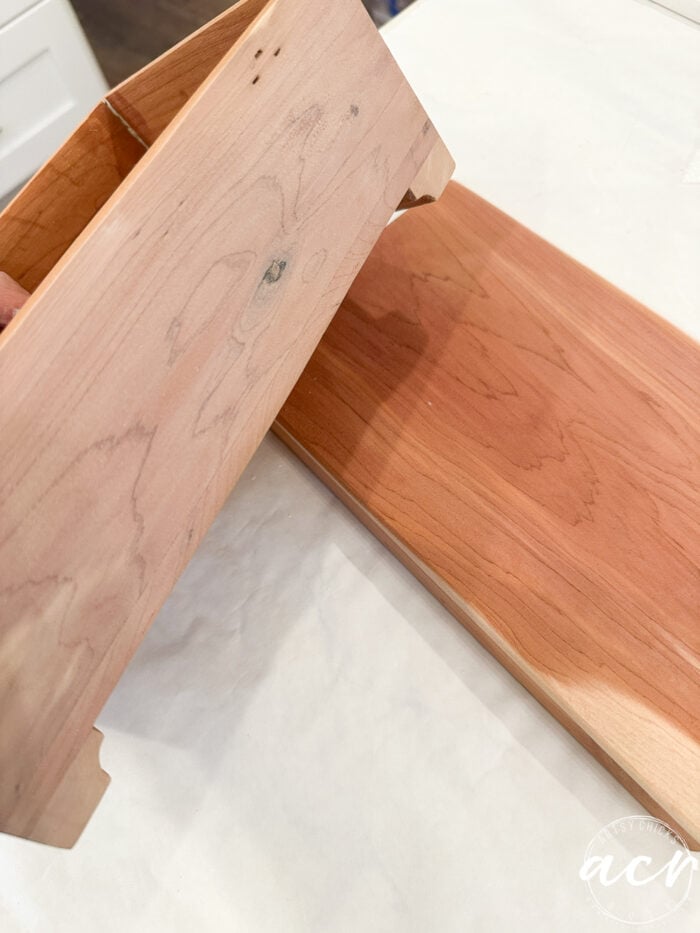
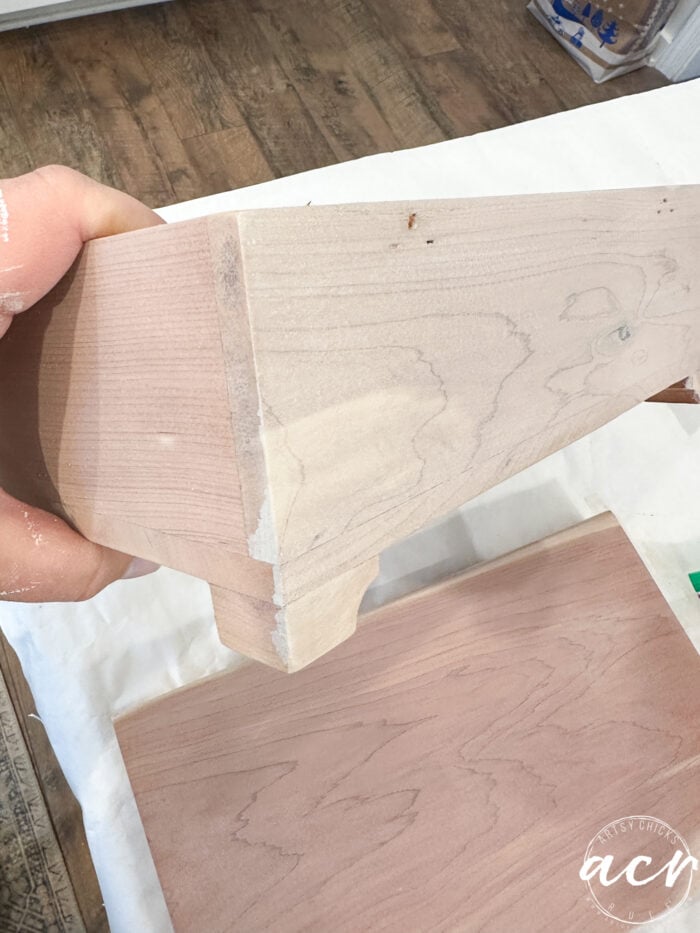
SAND
Then I took the two pieces outside and sanded them.
I hadn’t originally planned to remove the whole top area. (which I see from my first picture up there y’all didn’t get a good look at) There was a print in the center with a slightly indented scroll design around it. I originally thought I’d work with the dark scroll design and put a different picture/art/etc over the print in the middle.
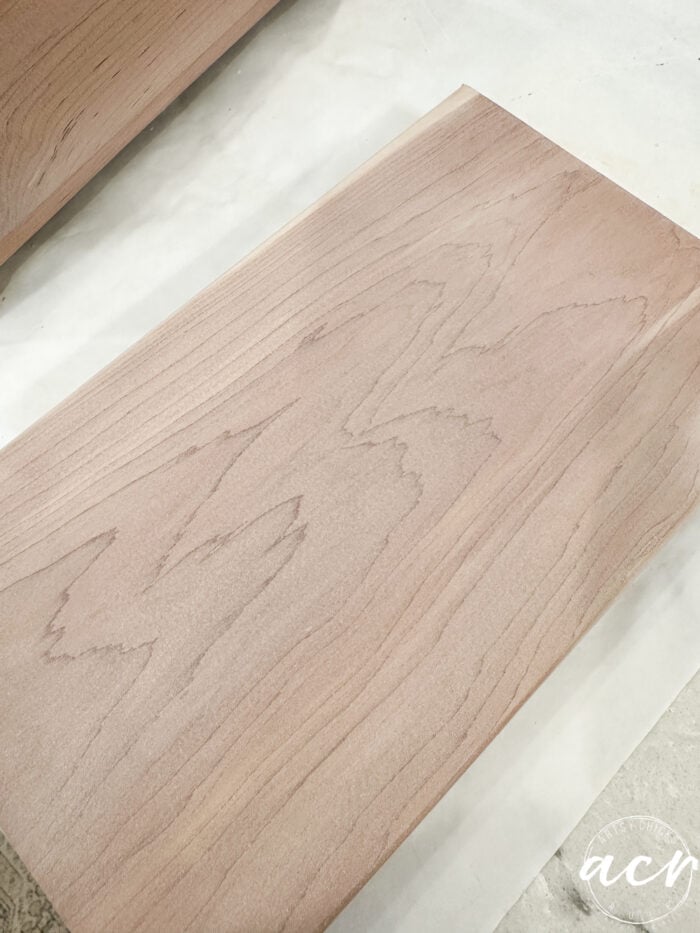
As I was sanding the top I noticed I was able to remove it all.
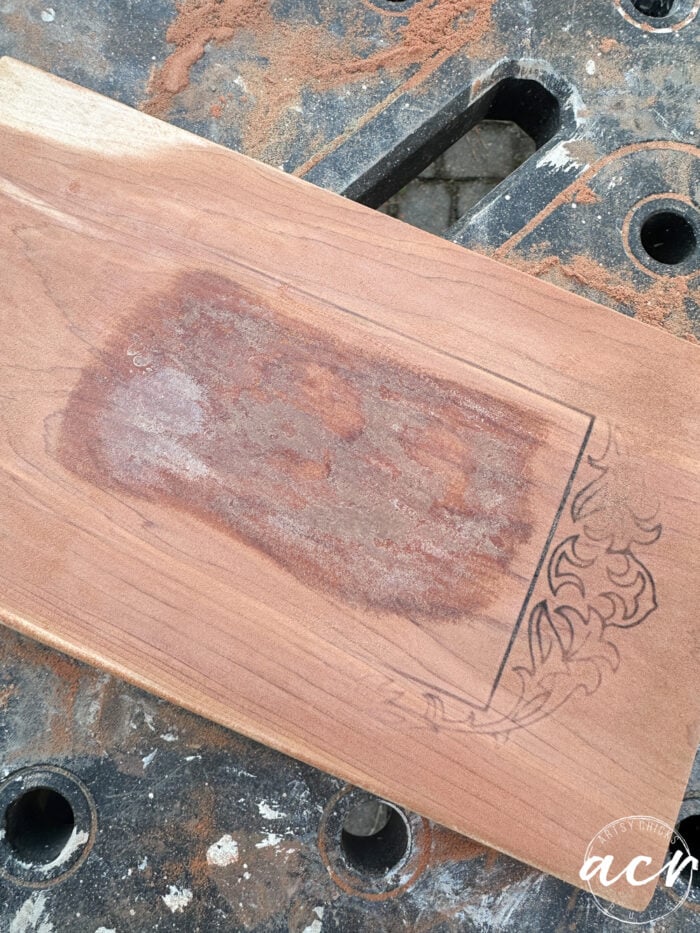
So that’s what I did.
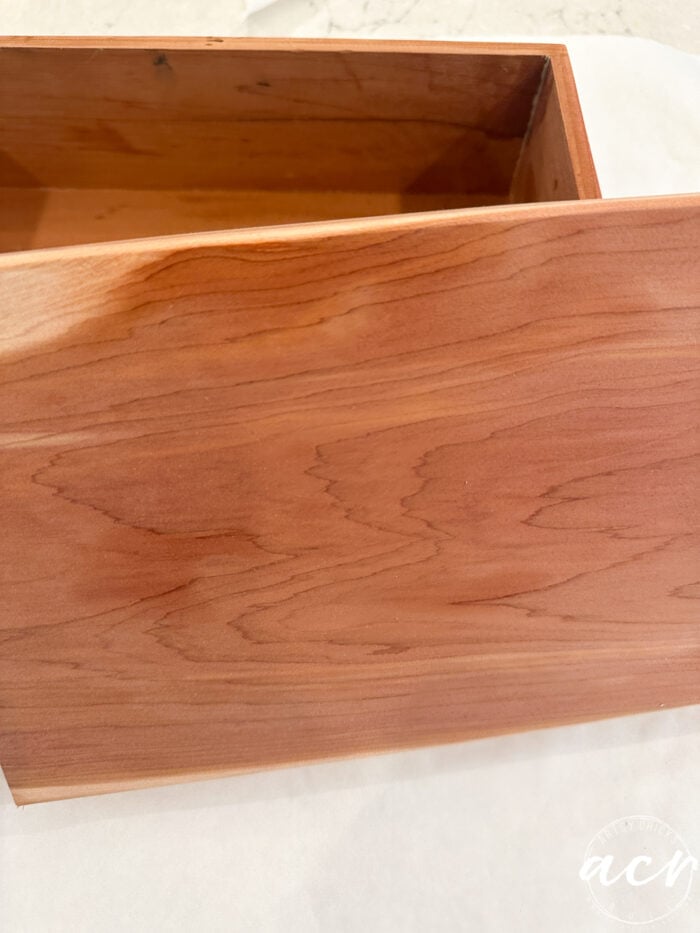
Nice and smooth and beautiful cedar wood.
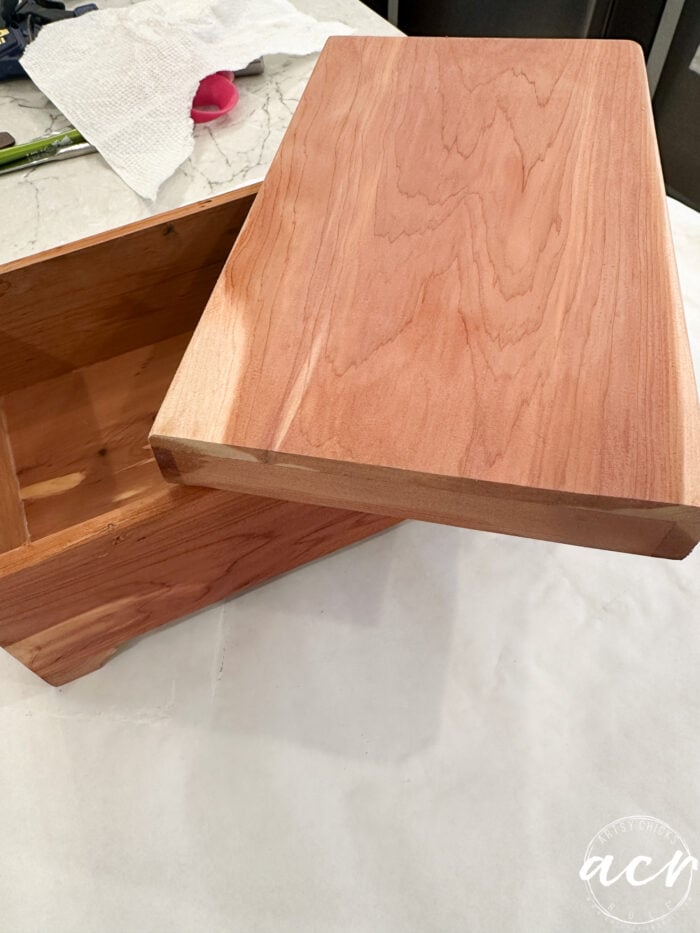
I could’ve simply left it as-is and it would be a beautiful gift for someone.
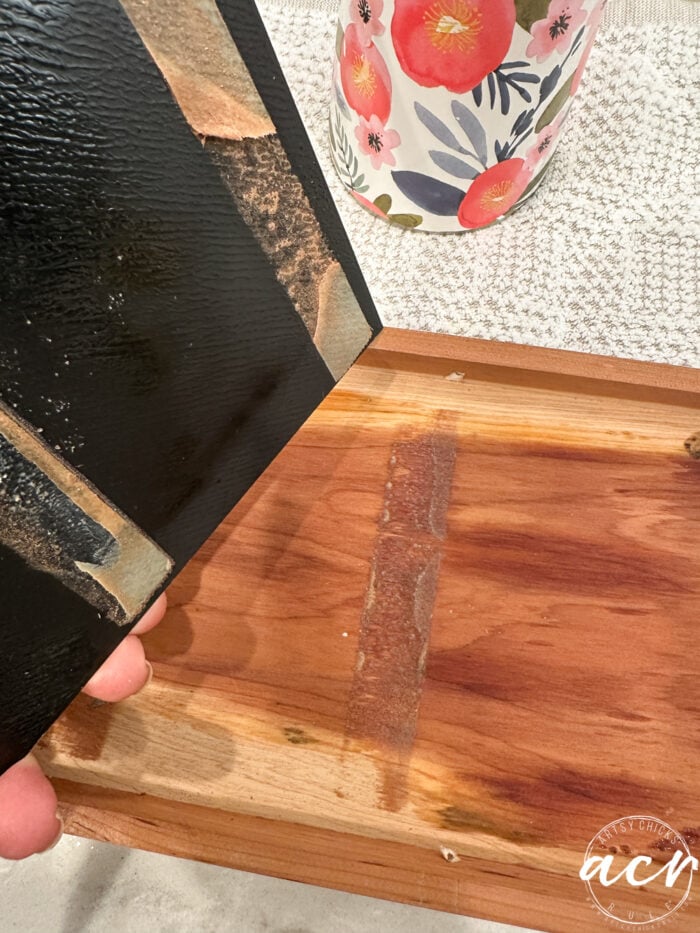
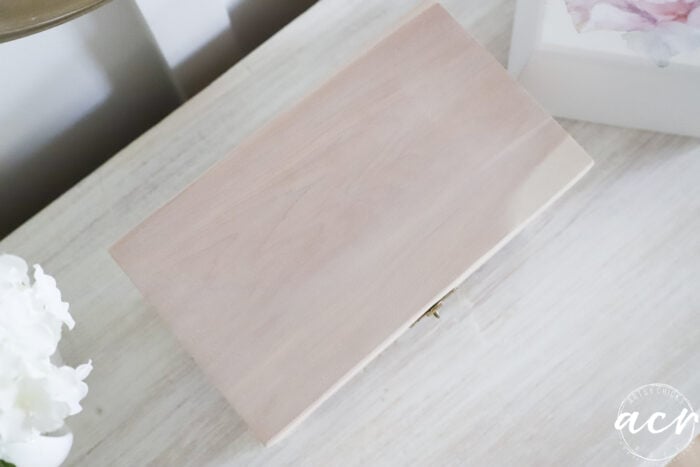
But I wanted to give it a “bleached” wood look instead. Plus, I wanted to show how oh-so-simply you can create this look without all the bleach and work involved in bleaching wood.
I decided Cashmere would be a good color for this.
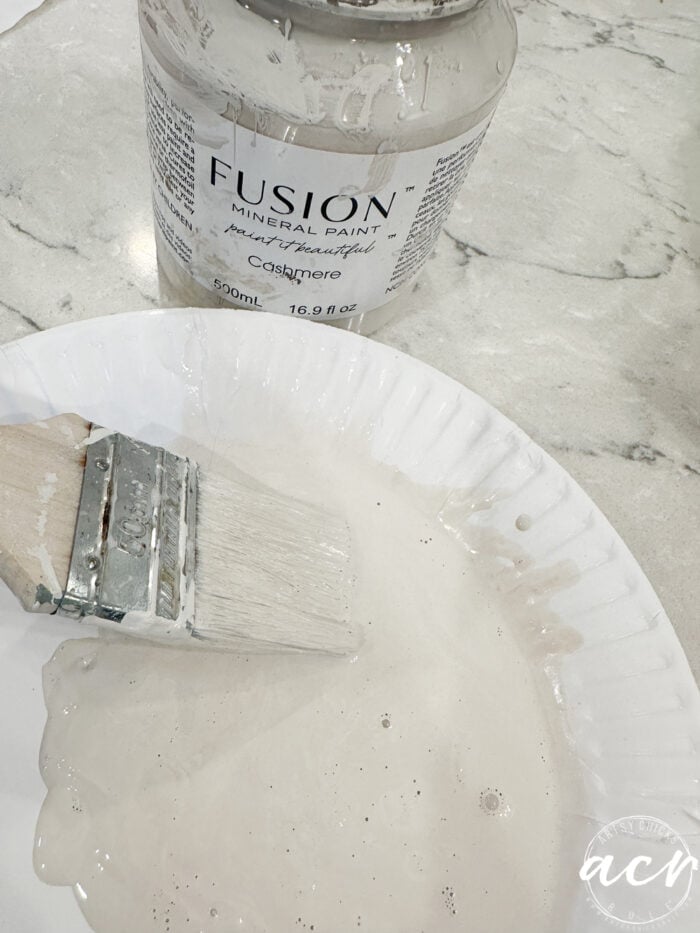
I don’t have measurements but you want a very watery mix.
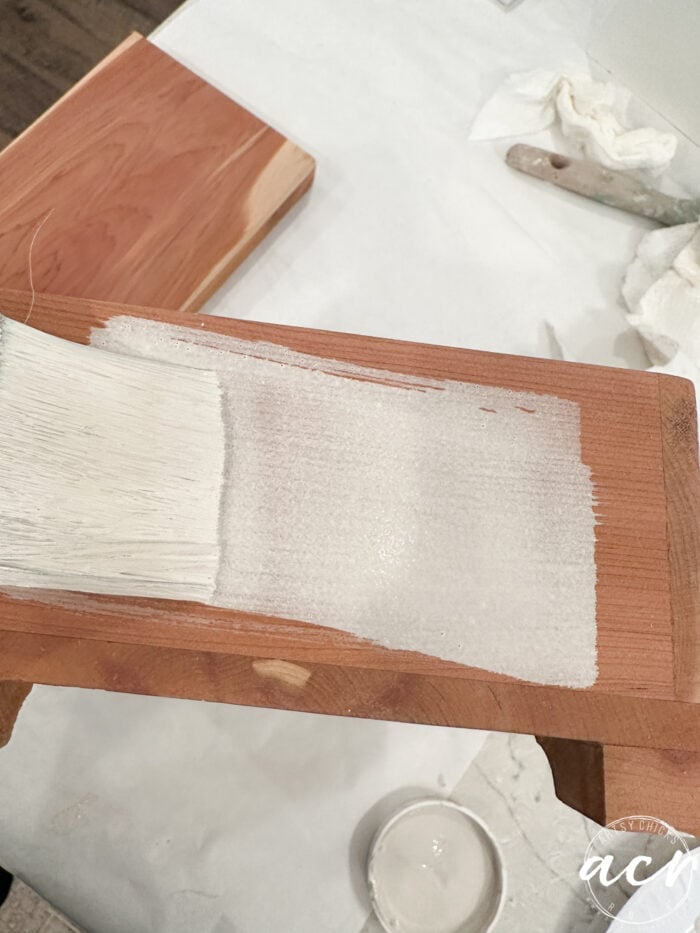
Brush it on and let it soak in for just a minute, then wipe away.

See the difference just one coat makes??
I did the whole thing and let it dry. (you want to let it dry in between coats)
Then I applied a second coat to get it a bit more “bleached” looking.
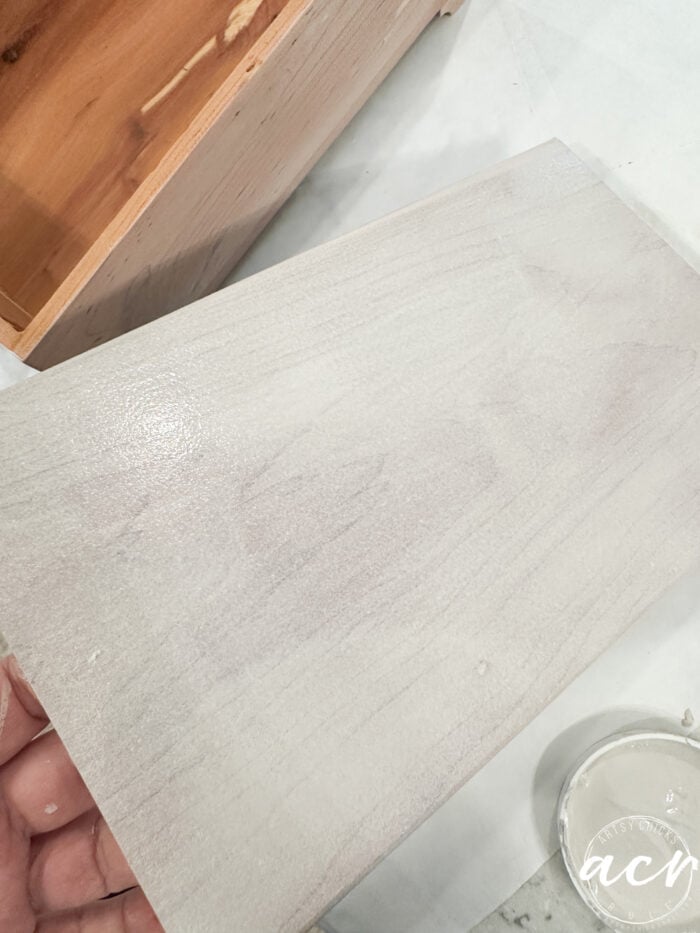
And again wiped it away.
Ahhh, so good!
It literally looks like a pale, blonde piece of wood.
SEAL THE WOOD
Once it was fully dry, I applied one coat of this amazing wax to seal the paint and wood. (I don’t use wax often but I just love this wax…and it smells so good too)
The mirror fell out since it was only held in with old two-sided sticky tape.
I used hot glue to secure it back down.
Then realized I would have to replace that paper around the edge of the mirror because it didn’t look very nice/finished without it.
Here is what I had on hand and decided to use.
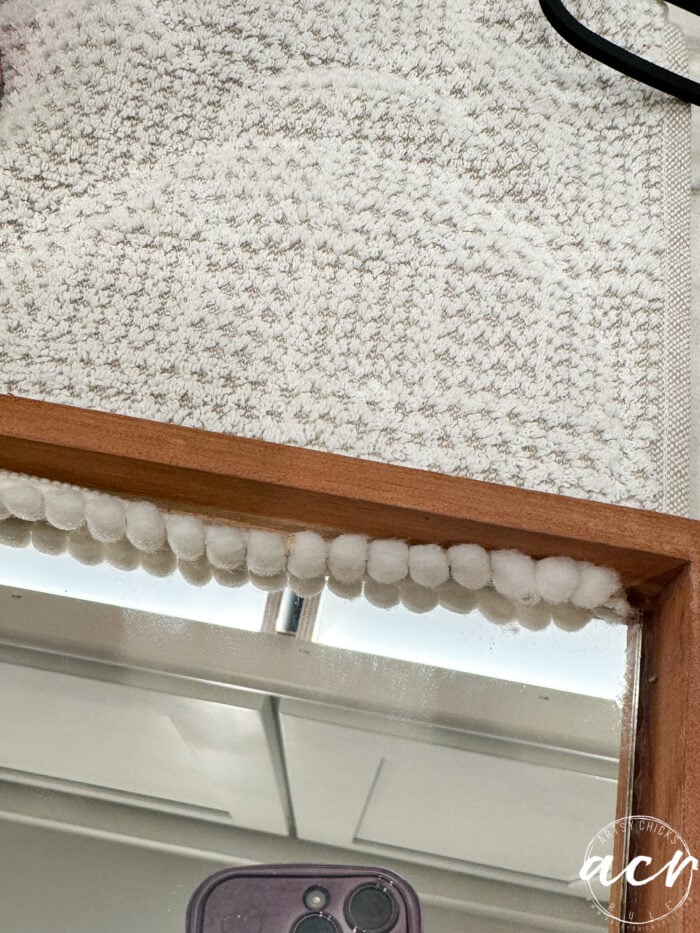
Which I didn’t like at all!
So I pulled it out and put this big, fat, messy-looking rope in. (because it’s all I could find in my stash)
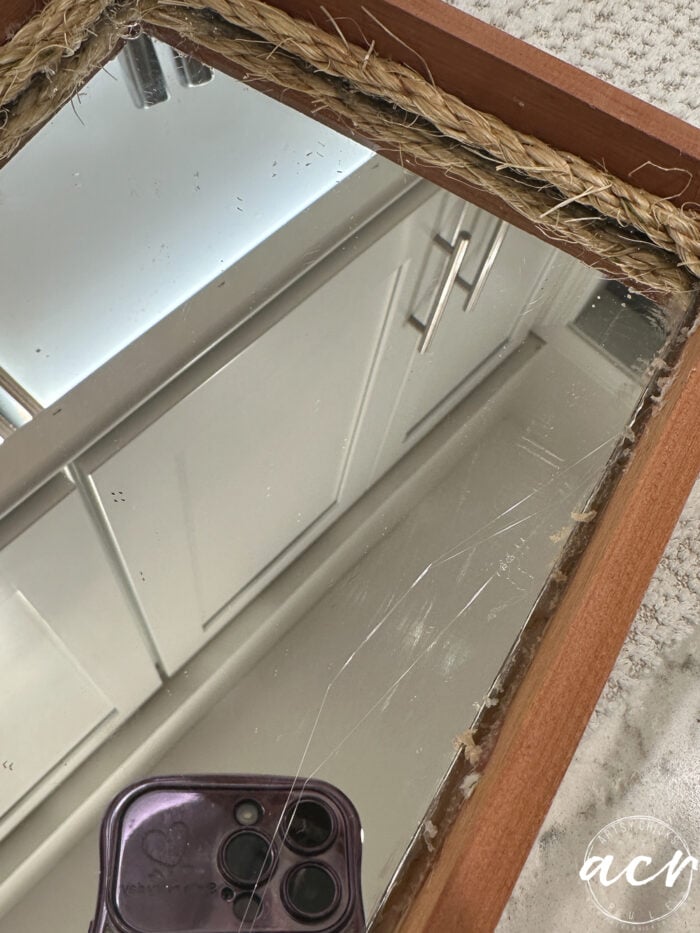
Ugh, nope!! Hated that too.
So I dug through my stash again and found this dainty rope and used it instead.
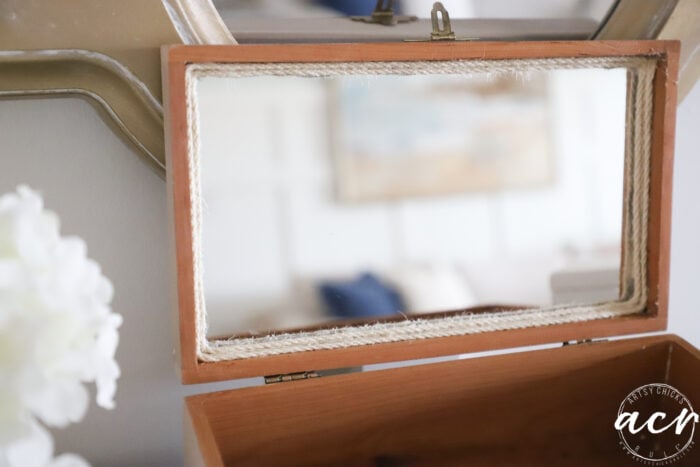
Still not my favorite but it’s better than the first two choices. I had to do 3 go-arounds with it because of the mess I made with the glue and removing the previous two tries. Boo. (and did I mention I was using >> Gorilla Glue Gluesticks?? Yeah, they stick REALLY well. haha!)
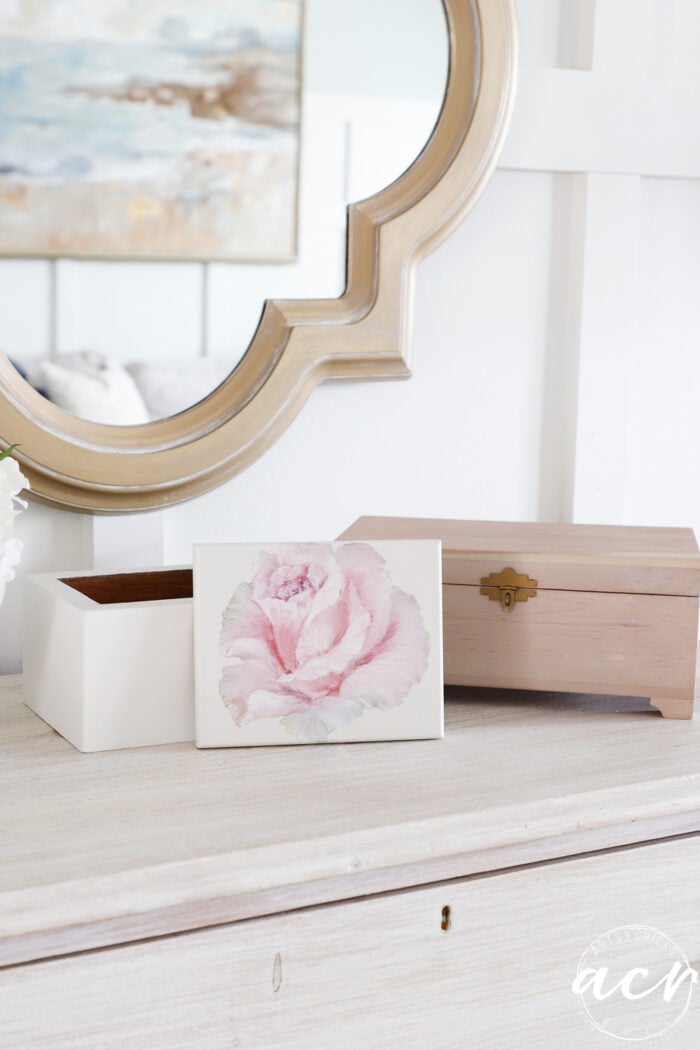
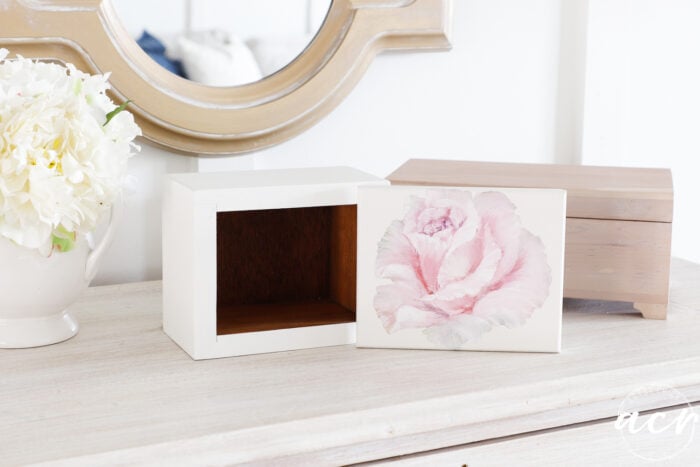
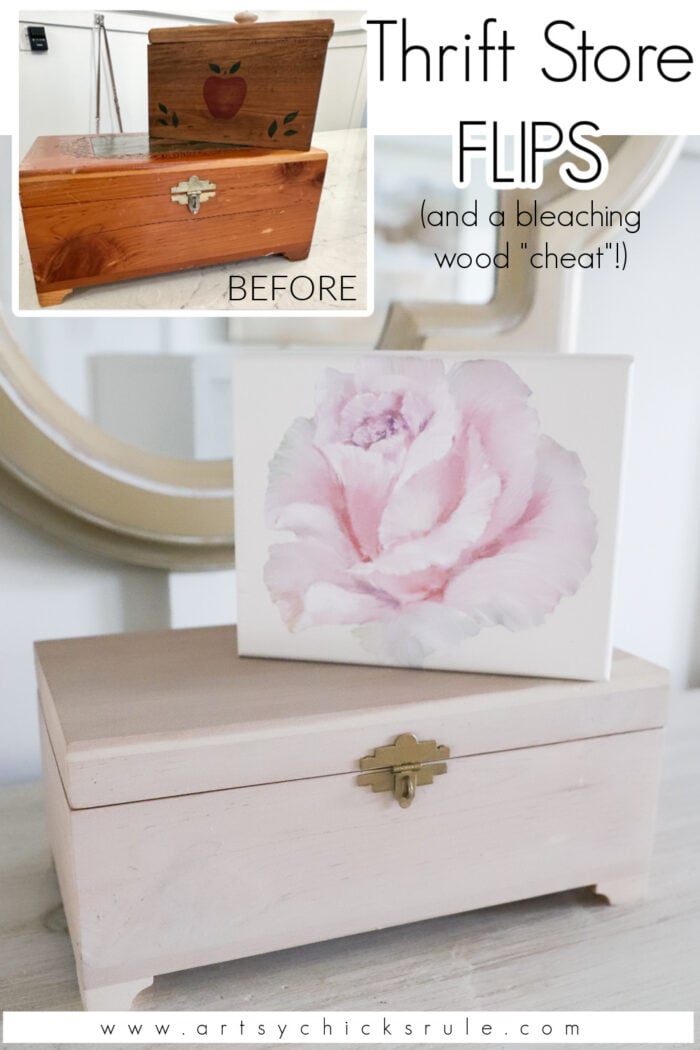
Small box makeover:
For some reason, I totally blanked on any photos of the process of this one. But here’s what I did:
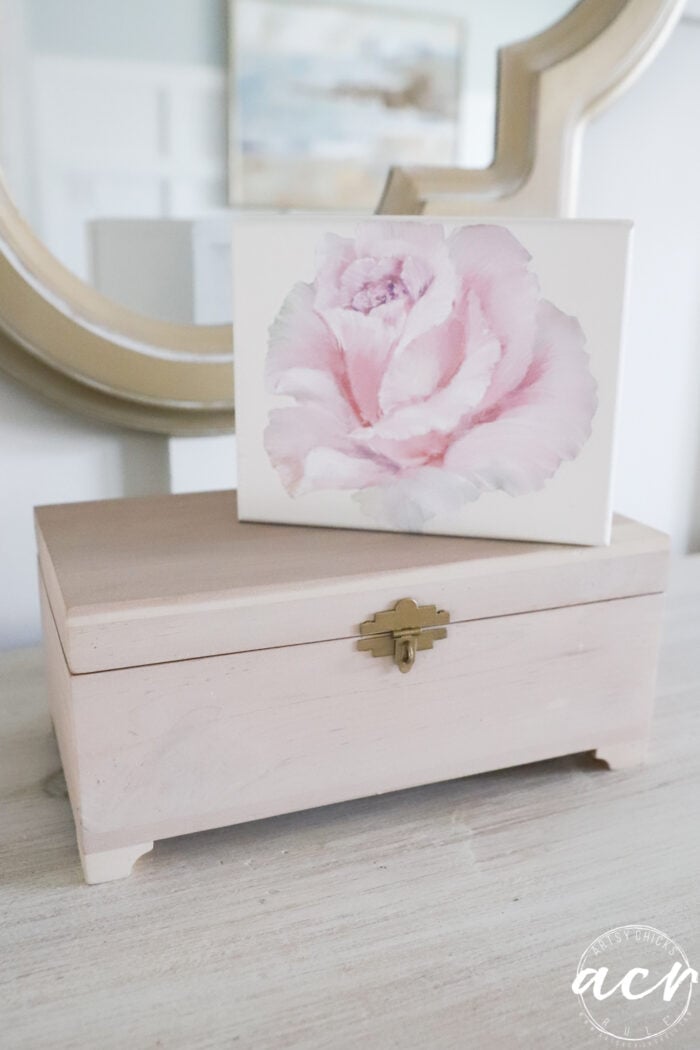
-painted with BIN Primer
-painted 2 coats of Victorian Lace
-applied this rose transfer (see supply source box for links to products I used)
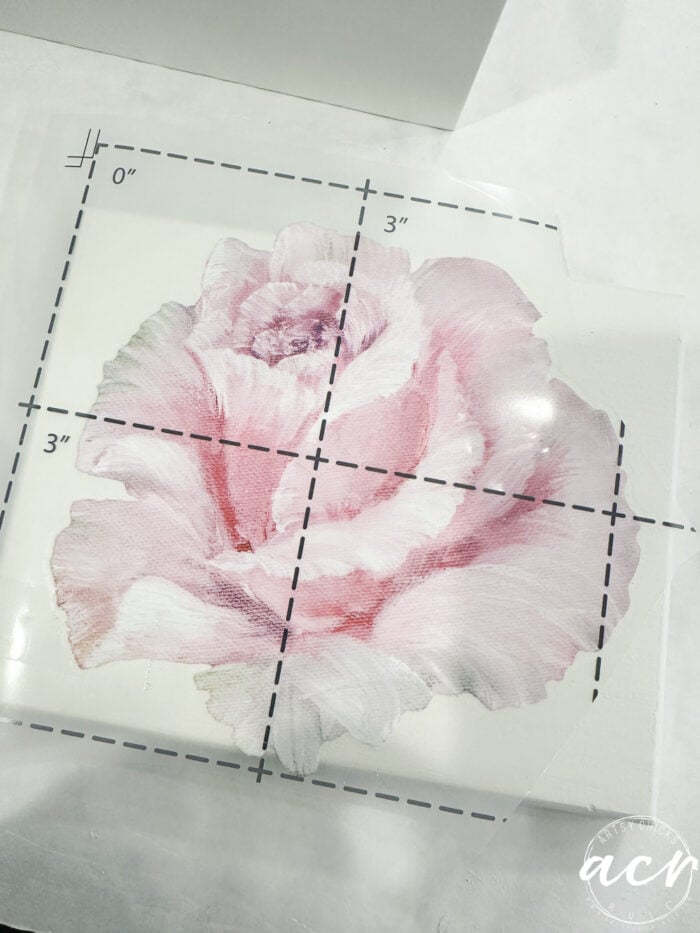
I decided to apply this rose transfer to the top of the small box.
And I decided to leave the knob off. No need for it.
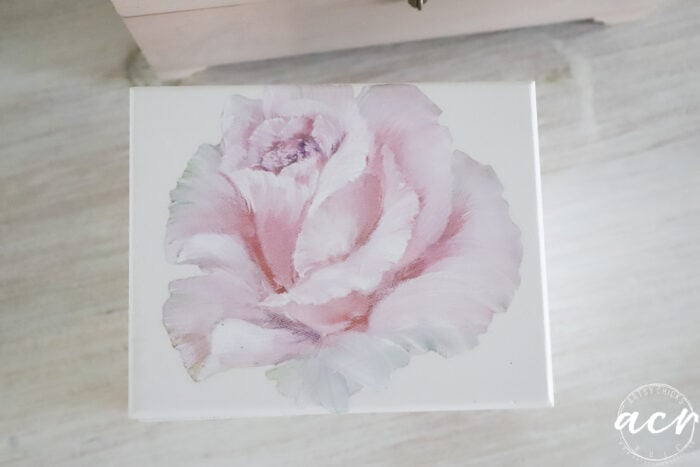
Once it was on I applied one coat of Tough Coat Topcoat to seal and protect the transfer.
REVEAL
The inside was so nice on both that I didn’t do a thing to either one.
That Champagne Bronze spray paint is a favorite.
Love the new look of both of these.
Love the bleached wood look? It really is easy to achieve. I’m planning to write a more in-depth post about it and the different ways/methods to get the look. Something to reference for future projects. Hope it will be helpful! Stay tuned for that.
PIN it to save it!
I might be back later this weekend with a little something-something for y’all so keep an eye on your inboxes!
Have a blessed rest of your week and weekend!
xoxo


")


Nancy, really looking forward to your in-depth post teaching us different ways to achieve the bleached wood look – it’ll be great to have a trusted, knowledgeable single point of reference to use for future projects!
Great! I’m hoping to get it done this month for you guys! Stay tuned, Laurie! :) xo
VERY PRETTY…LOOKING FORWARD TO YOUR POST ON BLEACHING. I COLLECT ALOT OF LITTLE WOOD BOXES AND I LOVE THE IDEA OF BLEACHING SOME. THANK YOU FOR SHARING, HAVE A GREAT WEEKEND…STAY SAFE.
Thanks, Julie!! Great!! I’m hoping to get it done this month, keep an eye out for it! xo
They both turned out nice Nancy.
Thank you, Teresa! xo
Wow! What a transformation for both. And I think the slender rope trim inside just adds to the “beach” feel of the piece. The bleached wood reminds me of driftwood. So pretty!
Thank you, Cyndi!! So glad you like that look, I was unsure but had about had it at that point!! haha! xo
Both turned out so nice! I graduated in 1986 and got one of the Lane Keepsake boxes (I think it was from our local furniture store). My dad got me a full size Lane cedar chest on sale at a store that was going out of business. I still have both. I recovered the fabric top on the large one and my husband added wooden feet to it. It is a golden oak finish. I love the smell of cedar but not a big fan of the color, so I may need to give my little one a makeover! Mine didn’t have a mirror, but maybe that was added later by the owner, or maybe some came with that. Thanks for sharing!
Thanks, Vicki!! Yes, 85 here! I got one of those as well, no mirror in mine either. I’m guessing maybe some came that way? I also got a cedar chest with a fabric top. I still have the small Keepsake box but I no longer have the cedar chest. What a great idea to add the feet to it. Wish I still had mine! xo
THANK YOU NANCY, for including the trials and tribulations of your projects because they make me feel so much better about my challenges! Boy, some things that are so small and make such a difference can be a royal pain in the neck. Like, right now I’m working on a very small octagonal wooden box which is just darling. It’s very dark green with a transfer of lemons on the top. All was going well, so WHY did I decide to paint the tiny edges of the cover in gold! Ugh!! It will be very nice when done, but ohhhh….
I love what you did with the cedar box. You inspired me to do that to a wooden piggy bank. I have had it sitting around for two years because I didn’t know what to do to update it. So, thanks!
Your little box is so pretty! Good job, as always Nancy.
You are so welcome, Caye!! You can always count on me to share it all!! haha!! I know how frustrating things can be sometimes.
And you sound just like me with that! Sometimes you go that extra step and say whyyyy? I’ve done it MANY times! Thank you! xoxo
They both came out so pretty and classy looking!
Thanks so much, Debra! Little ones are fun! (and easy! ;) ) xo
They’re both so good, Nancy. I wouldn’t have picked up either in their “before” state, always amazed what paint and transfers can do!
Right?! Thanks, Marcie! xoxo
Both those boxes look pretty amazing, Nancy. I cringed when you said you’d be painting that perfect cedar box – but it turned out GREAT.
Thanks, Michele!! I know, I with you, I hate covering up pretty wood…in this case the paint is more like stain. Happy week to you!! xoxo
So pretty now :)
Thanks, p!
I still have my Lane cedar chest from graduation, ’87. I also have both my parents’ chests. (’54 & ’60) They are treasures now. My mom’s is similar to mine, just like the one you have. My dad’s looks kind of like a treasure chest.
Oh, that really is so special, Karen! I totally understand how they are treasures! :)