DIY Cedar Wood Porch Columns
Update your 70’s home with this DIY cedar porch column update! Easier than you think!
Hello friends! Let’s talk house stuff today, shall we? Specifically, DIY Cedar wood porch columns. Gosh, I really wanted to do the final reveal for the house makeover and cedar porch columns once all the landscaping and new sidewalk situation was done. But things always take so much longer than planned to complete. Ugh. Such is life, right? Well, maybe not for everyone, but it is for us! lol
We got a quote for the landscaping and choked. Haha, so we held off and did the other things. We are circling back to the landscaping this spring, but we will do most of the work ourselves. We’ll see how it goes! I’ll keep y’all up to date as we go with that, too. Landscaping is going to make such a huge difference here. I can’t wait to share.
But first.
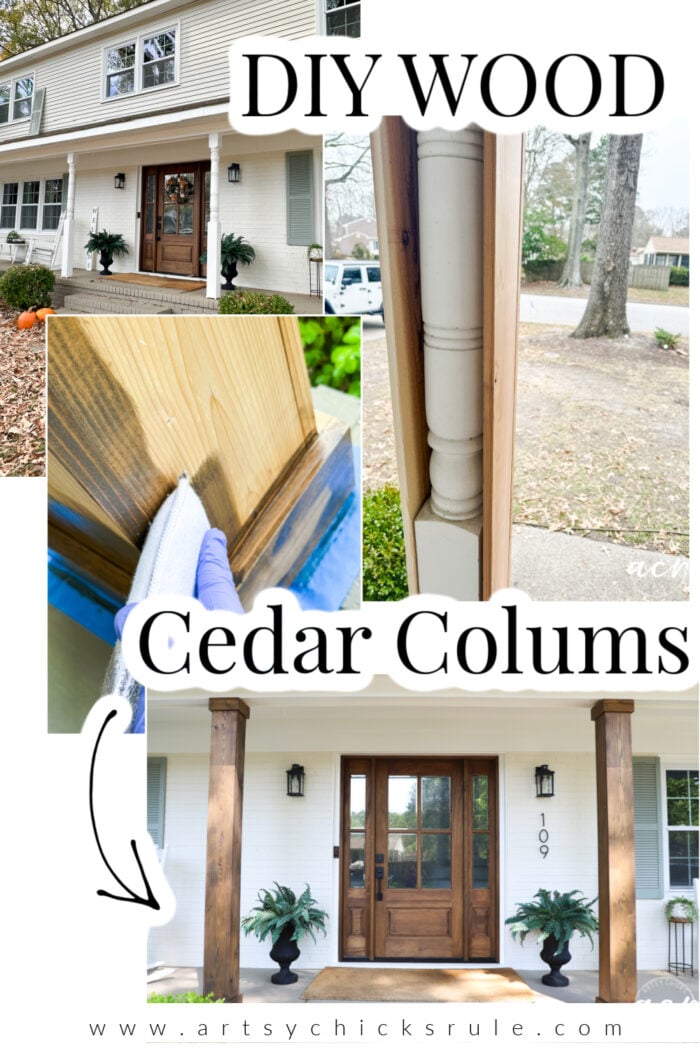
Let’s take a look at how we majorly updated our 1970’s home by adding a little Cedarwood to our front porch. (and paint, new shutters, new front door, etc.)
However, the new wood columns take center stage. They were the thing that really made the difference.
DIY Cedar Wood Porch Columns
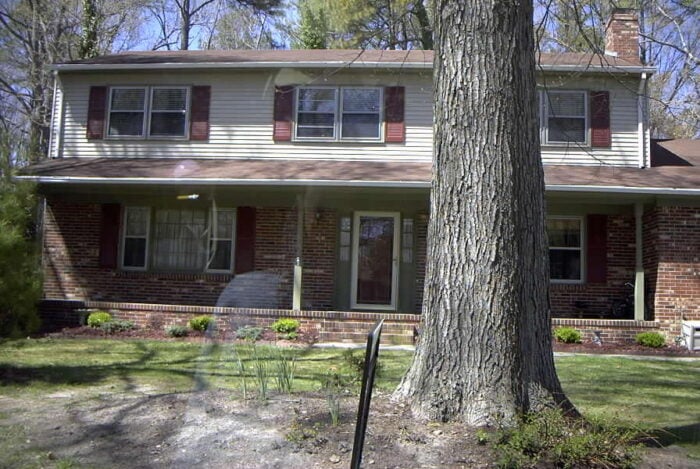
As a reminder, here is our house when we first moved in.
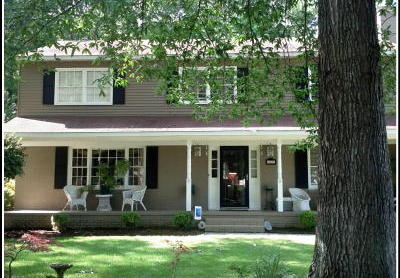
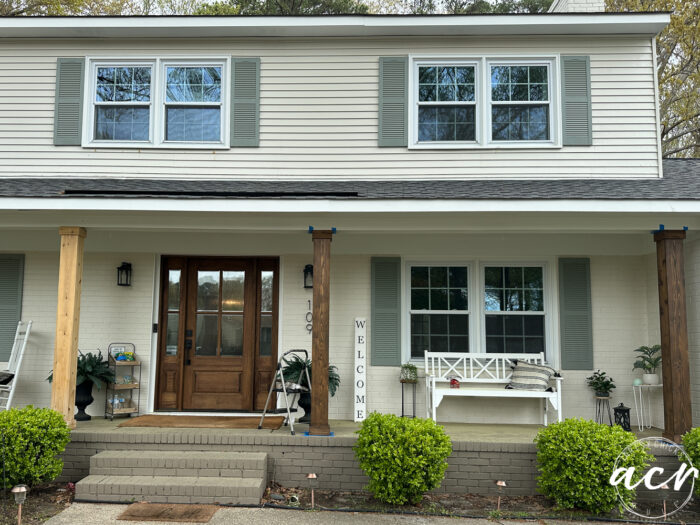
And once we gave it a little updating.
We have since added a new roof, new front door, new shutters, new windows, new paint, and now new cedar wood porch columns.
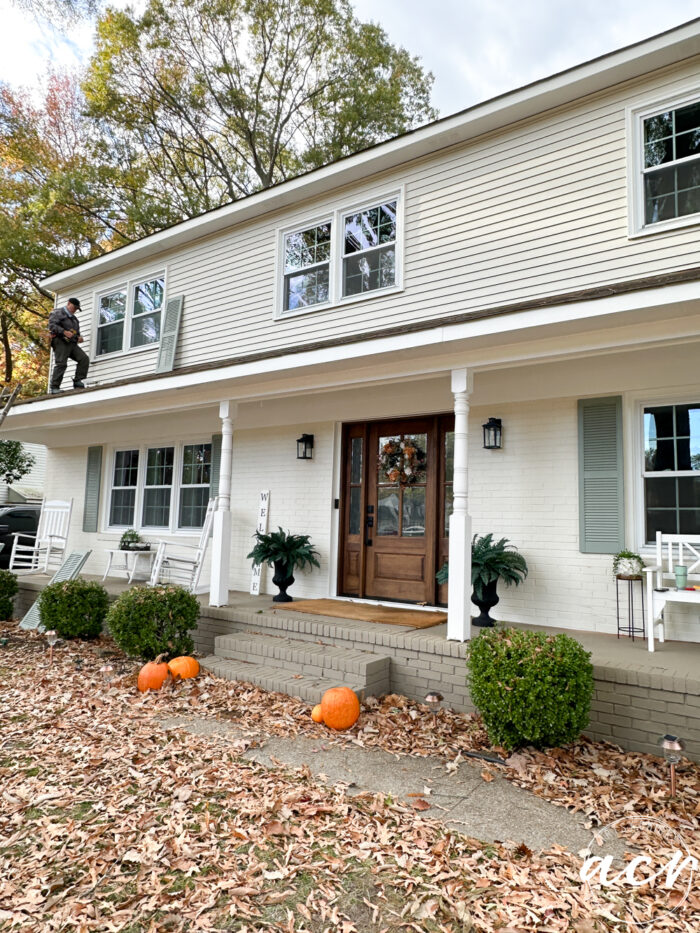
My husband in action installing the new shutters. But this is a good shot of the old columns with the other newer updates.
MATERIALS LIST
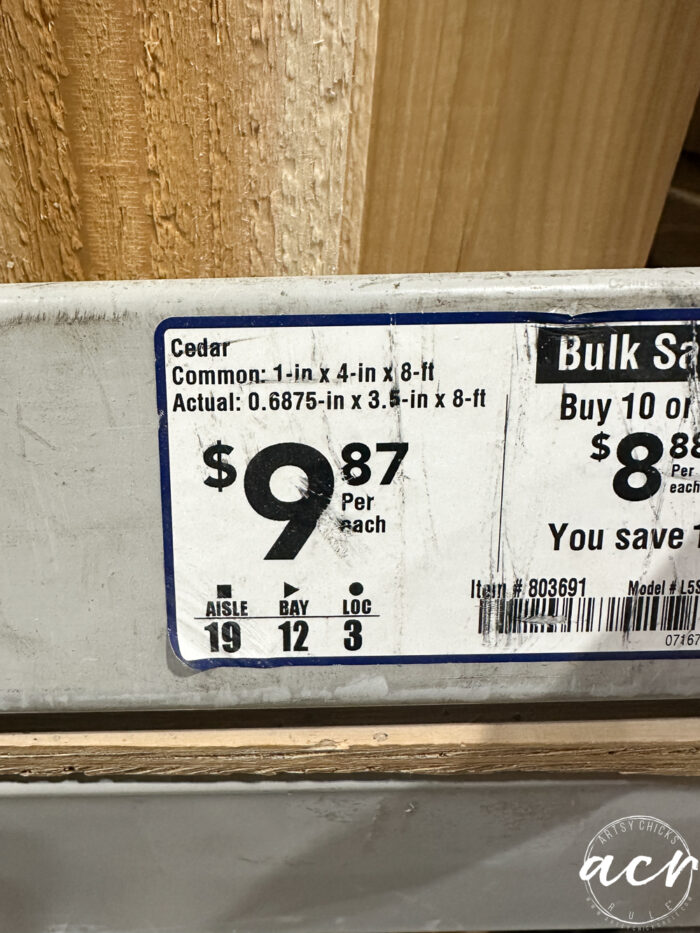
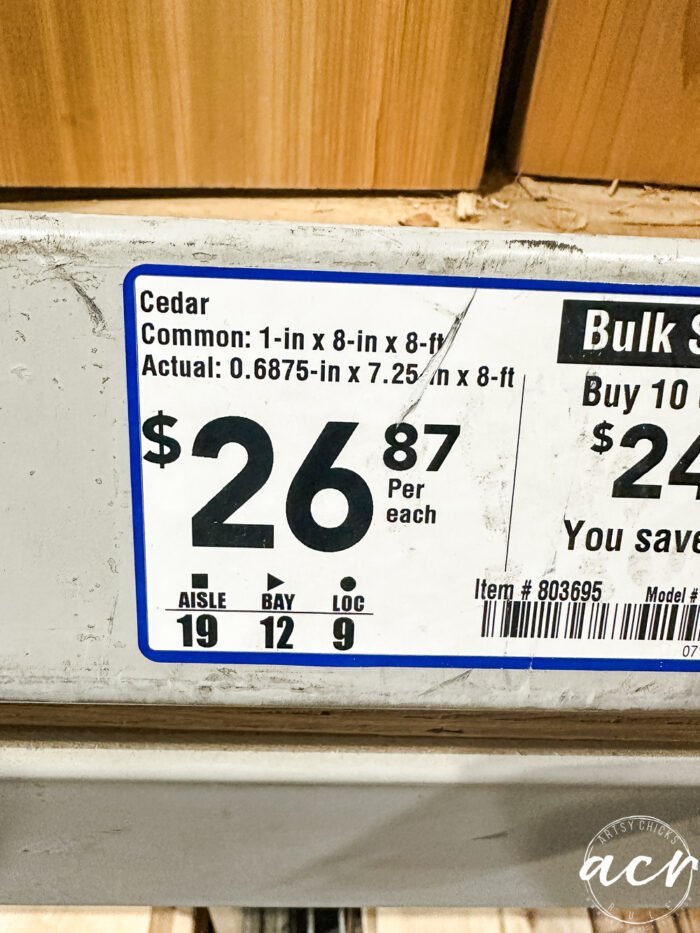
1 x 8 x 8 Cedar Wood
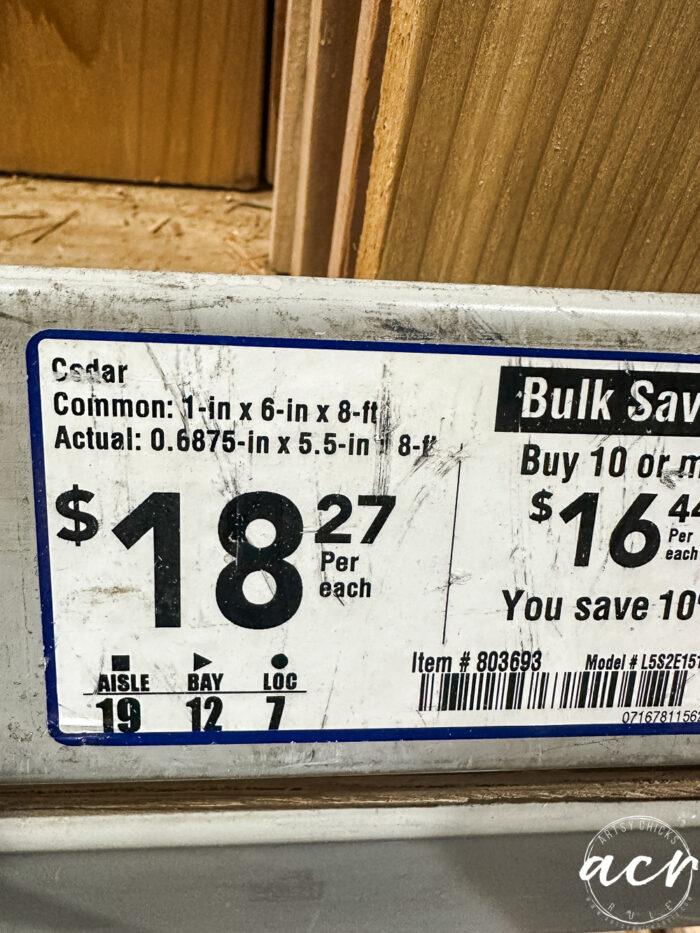
1 x 6 x 8 Cedar Wood
1 x 4 x 8 Cedar Wood
Wood Filler
Brad Nailer
Small Finish Screws
Sandpaper
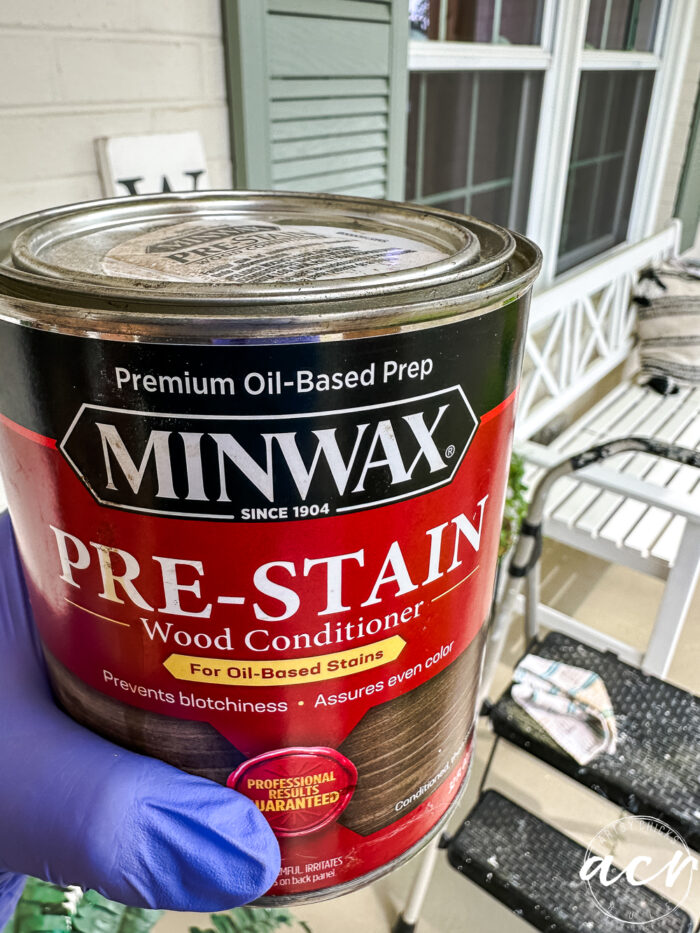
Pre-Stain Wood Conditioner
Stain
Stain Applicator
This is the wood we used. Granted, it’s been a while, so prices may have changed, but I wanted to include these so you’d be able to find them easier.
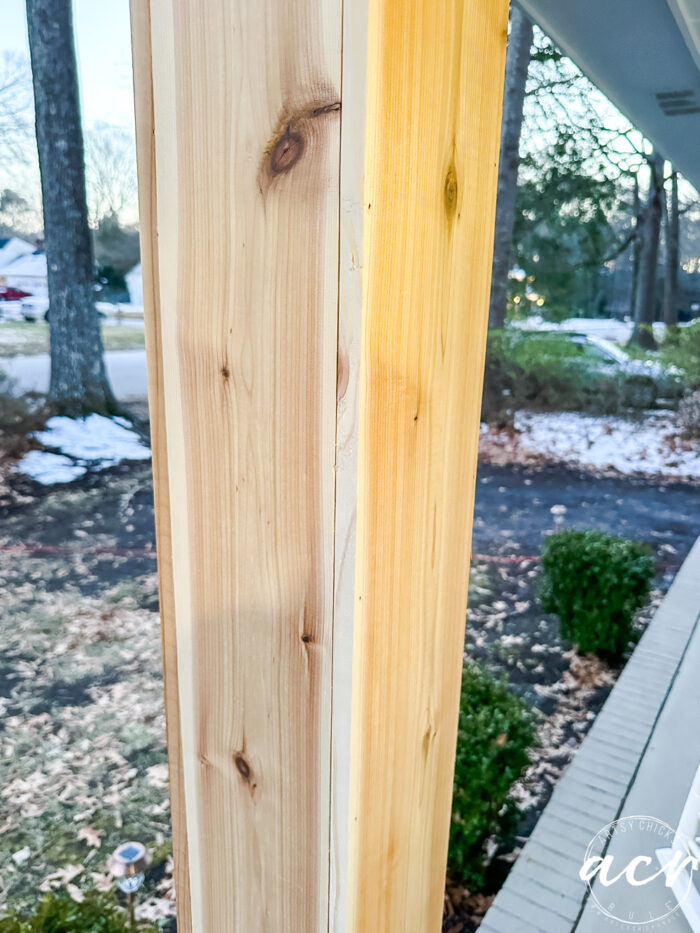
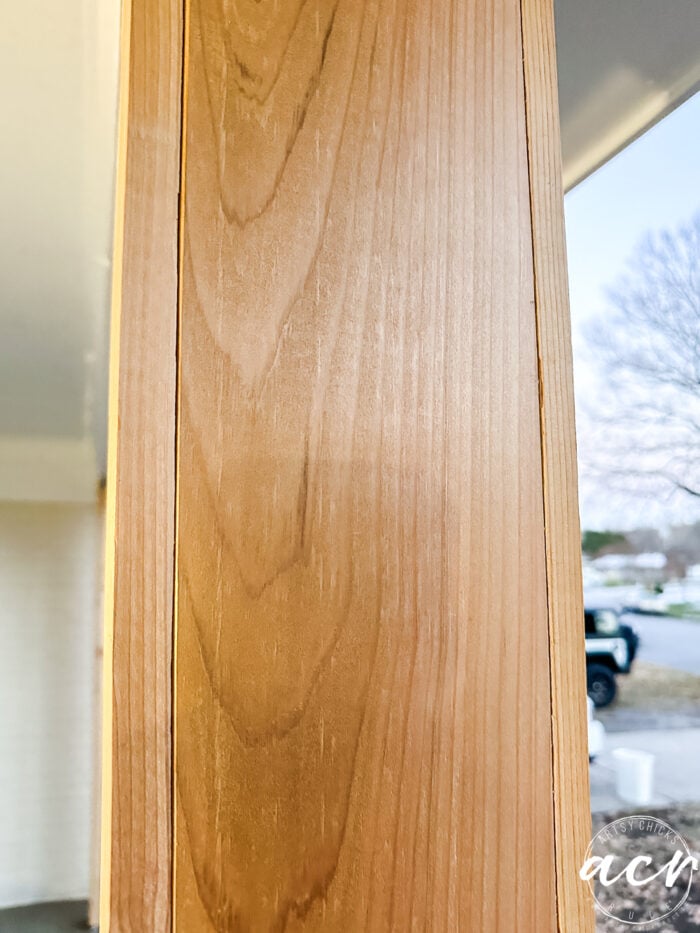
My husband cut the cedar boards to the size we needed to cover the old columns.
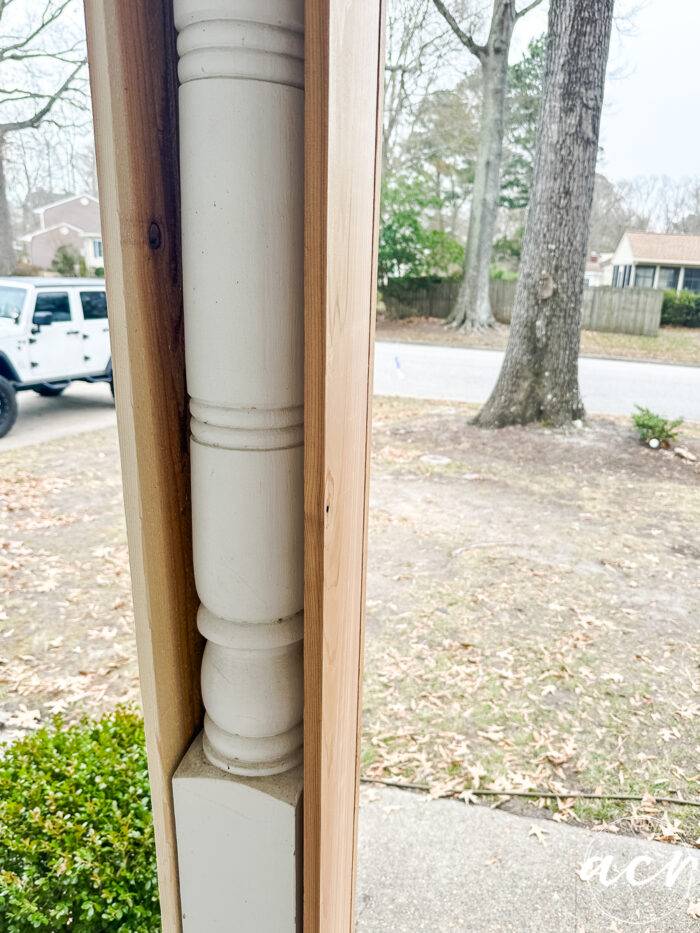
To make it work seamlessly, we had to put spacers like this…
He used a brad nailer and small finish screws.
We used 1 x 6 on 2 sides and 1 x 8 on the other two.
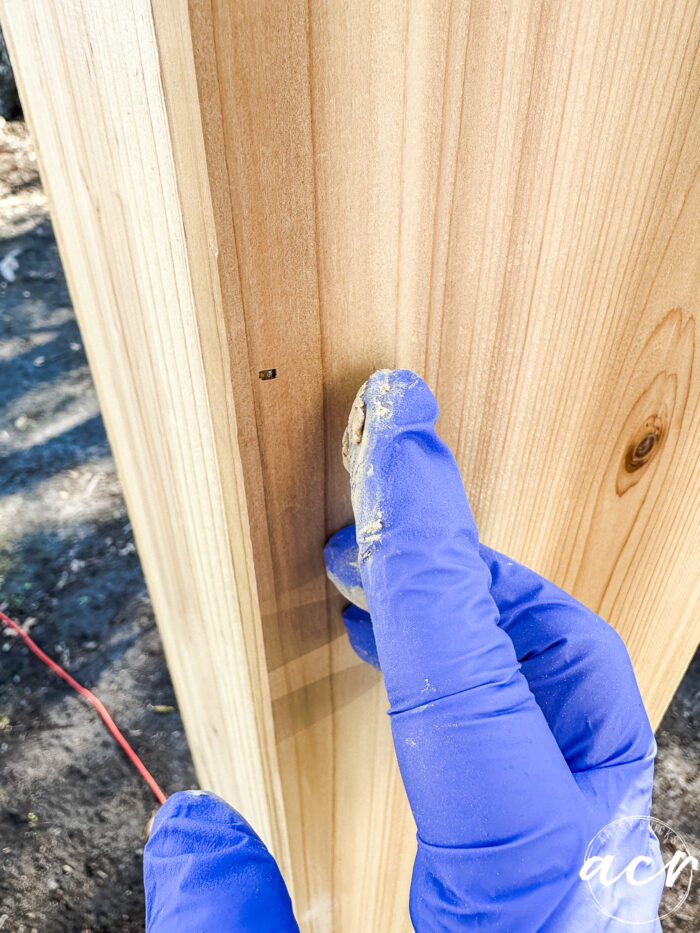
You can see some of the small finish screws here.
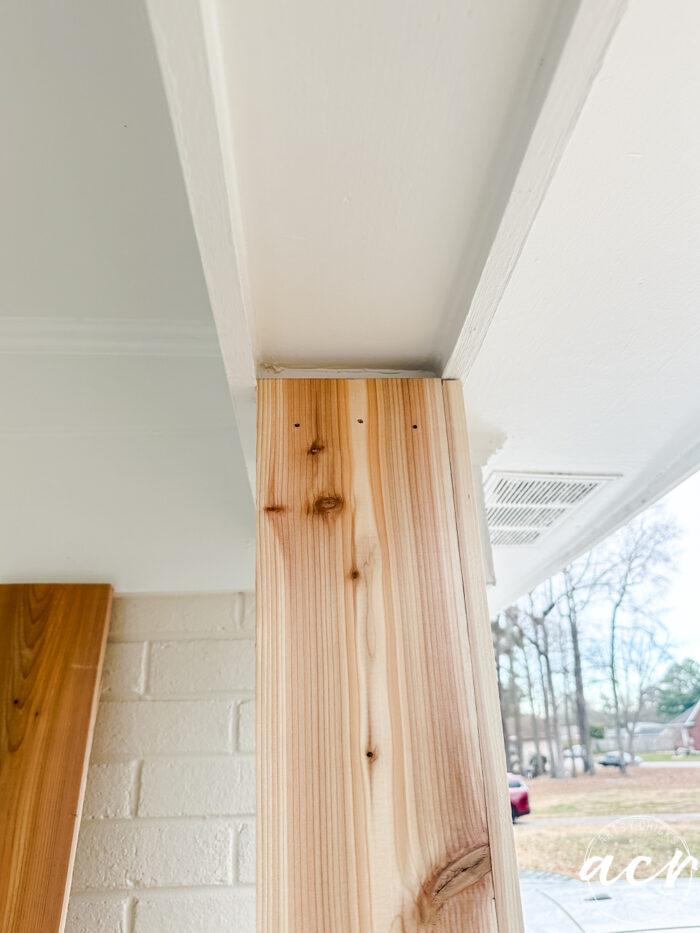

The front (and back) sides get the 1 x 8 pieces.
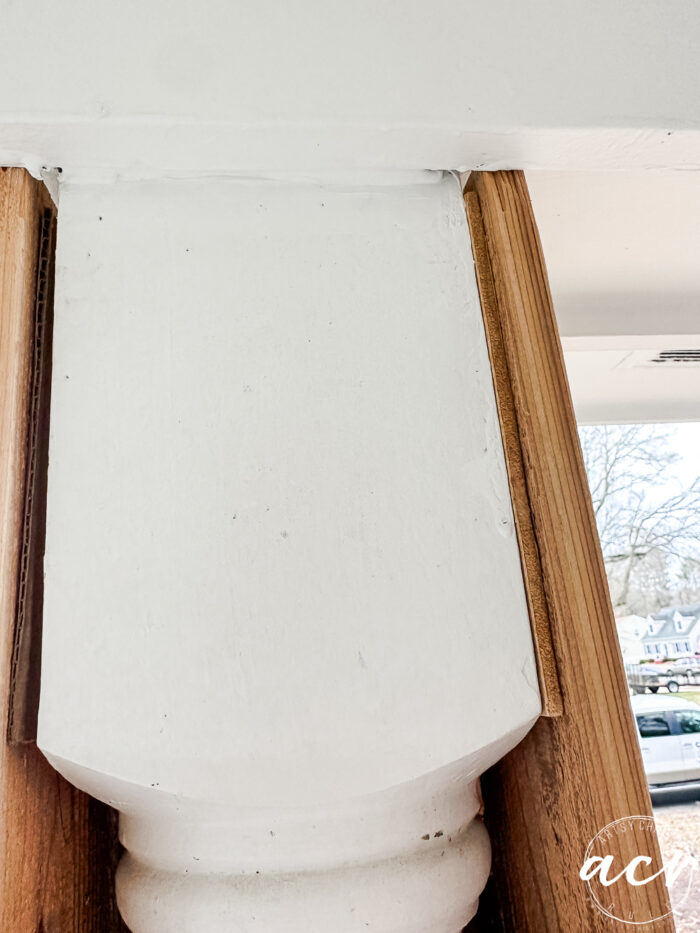
So happy to be covering up these old columns.
We decided to trim the tops and bottoms of our Cedar porch columns.
The 1 x 4 goes on the top and bottom as trim.
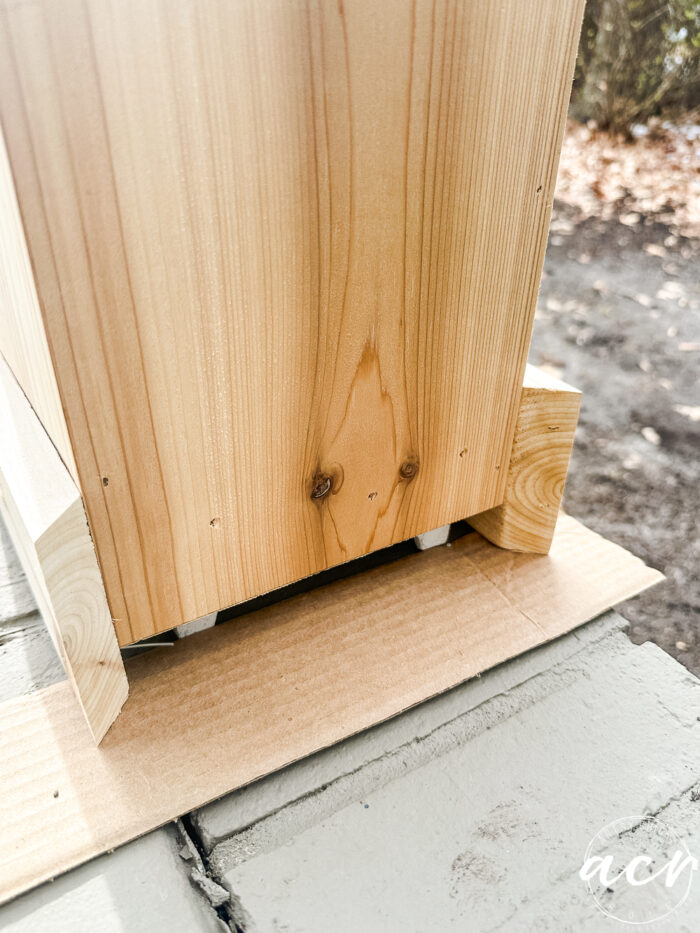
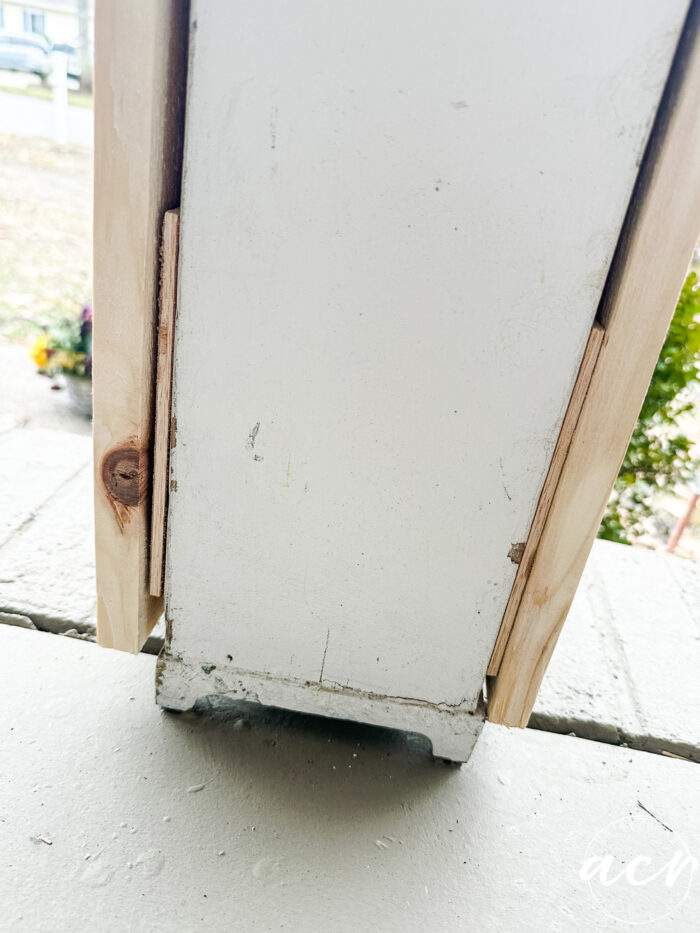
We did, however, want to leave room for water/moisture to escape. So my husband used this to create the space.
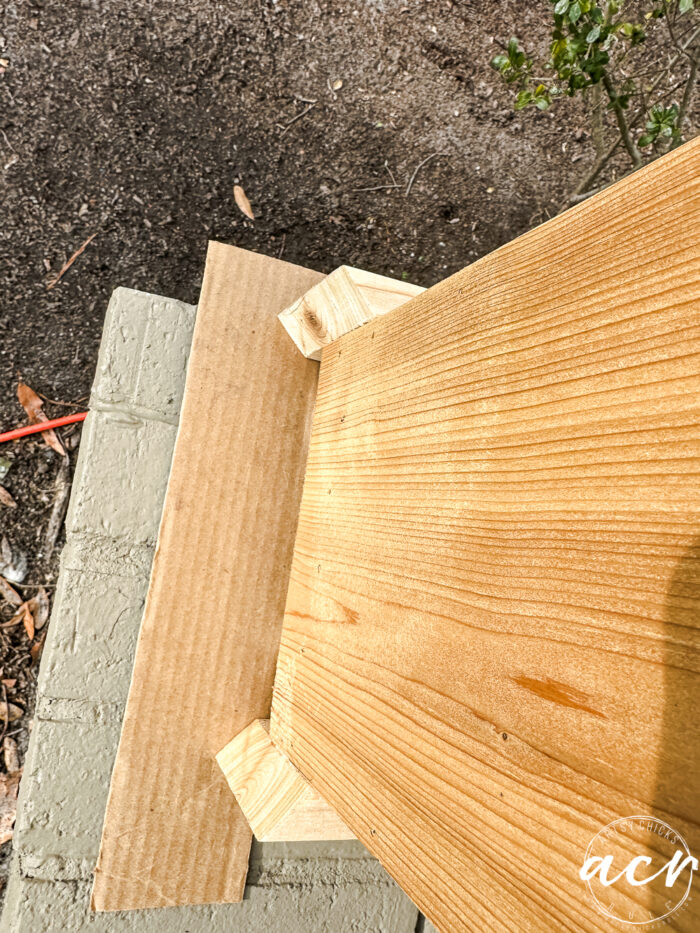
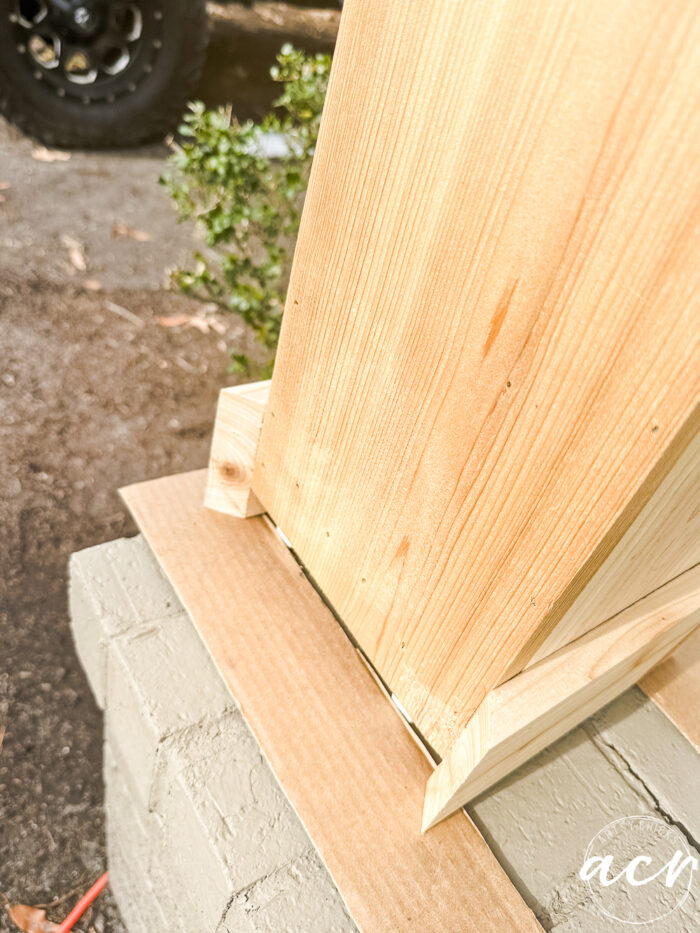
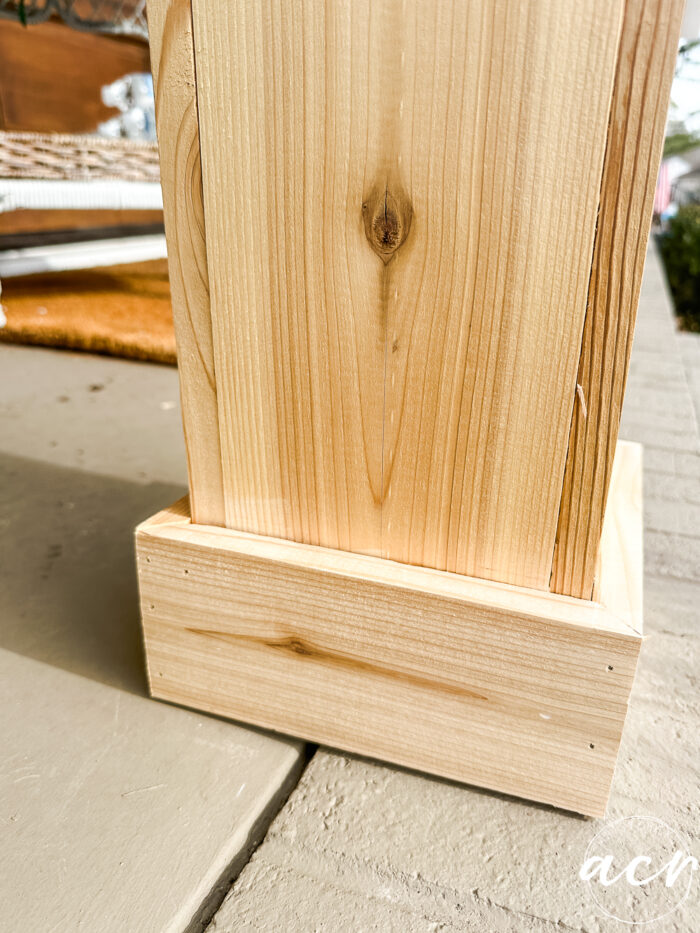
See the gap?
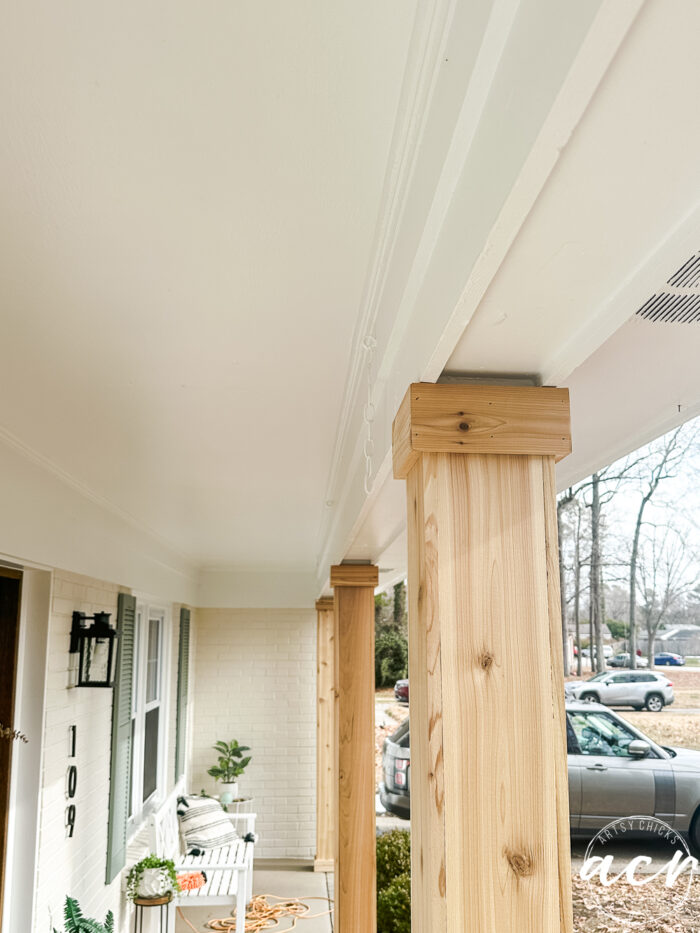
And the tops.
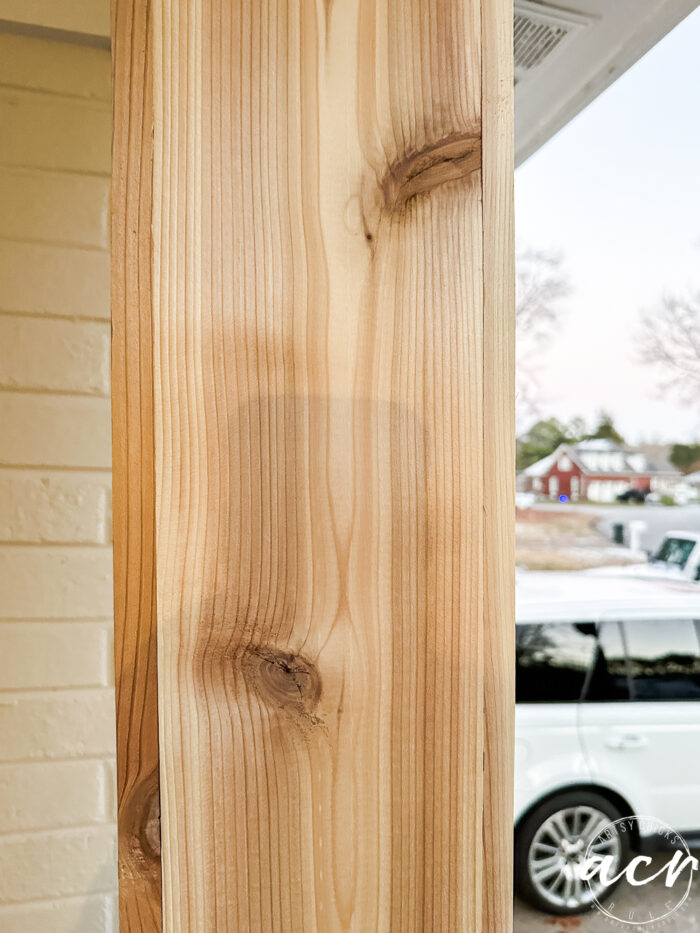
I’m the “finisher” on all of our projects. So, I filled all the holes with stainable wood filler.
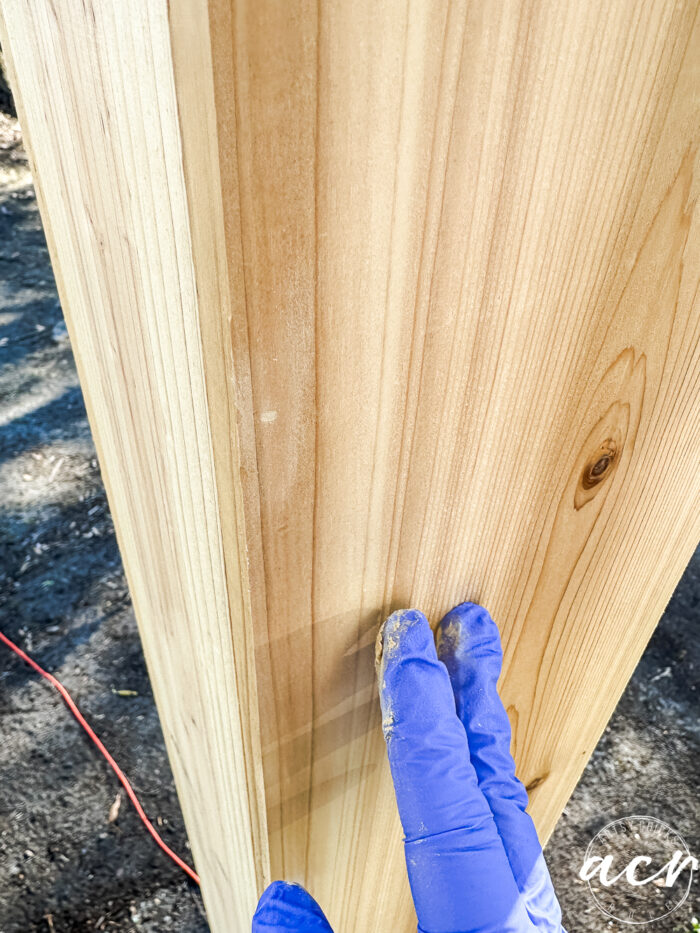
Once that was all dry, I lightly sanded to smooth the finish.
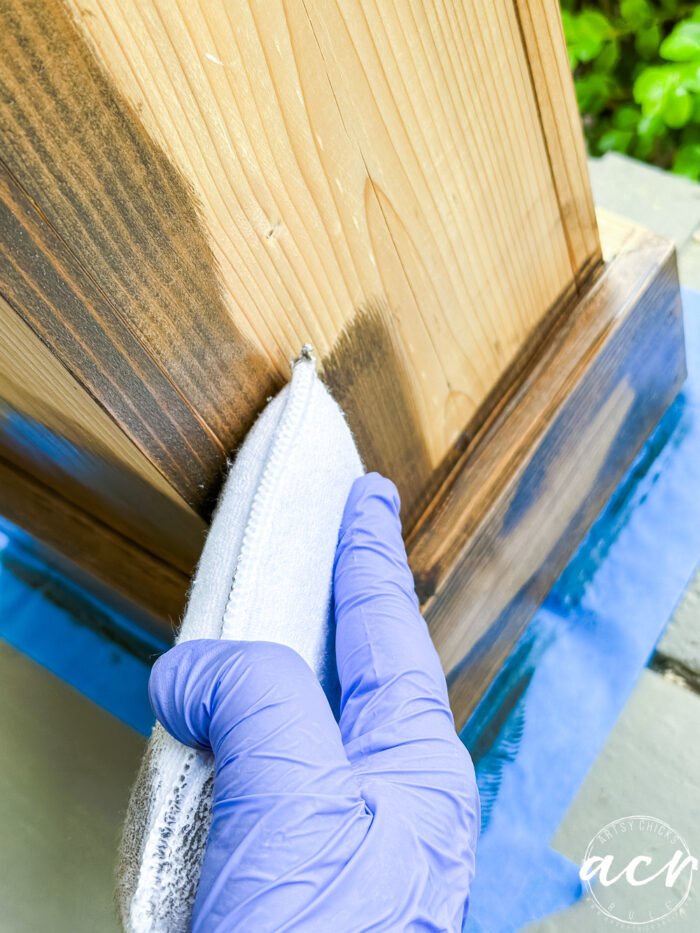
Time for stain – DIY Cedar wood porch columns.
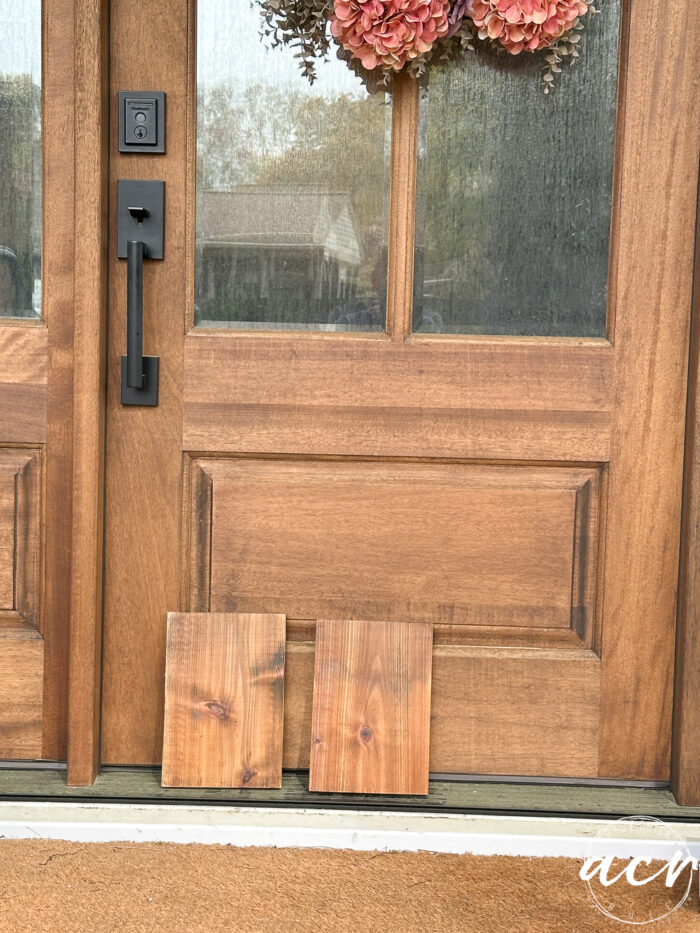
I started with Walnut, which I used on the door. However, Cedar is a totally different wood, so it didn’t take quite the same. In order to make it “match”, I ended up using straight Cappuccino instead.
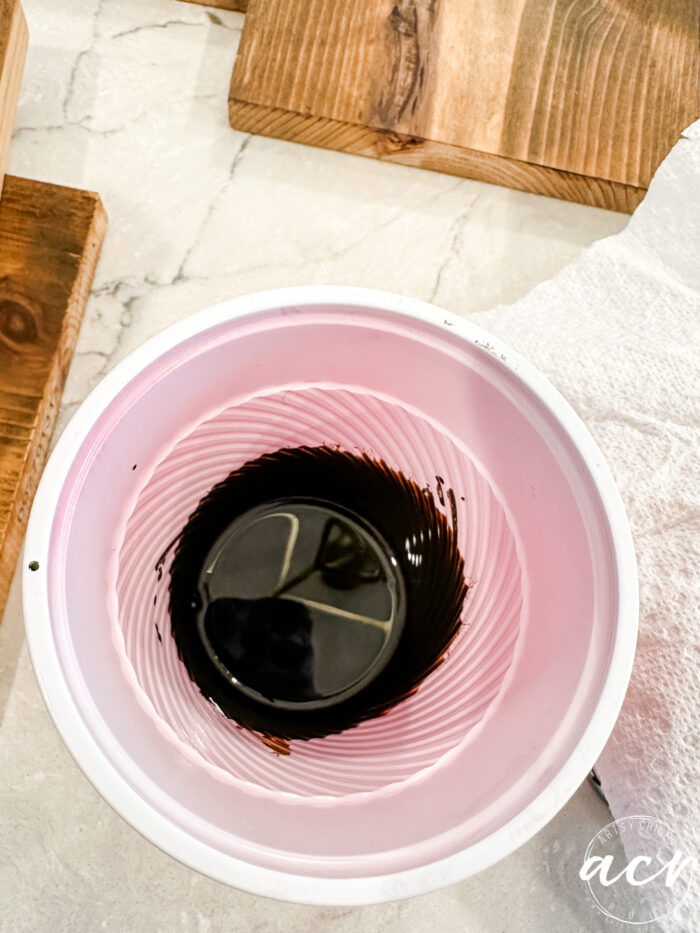
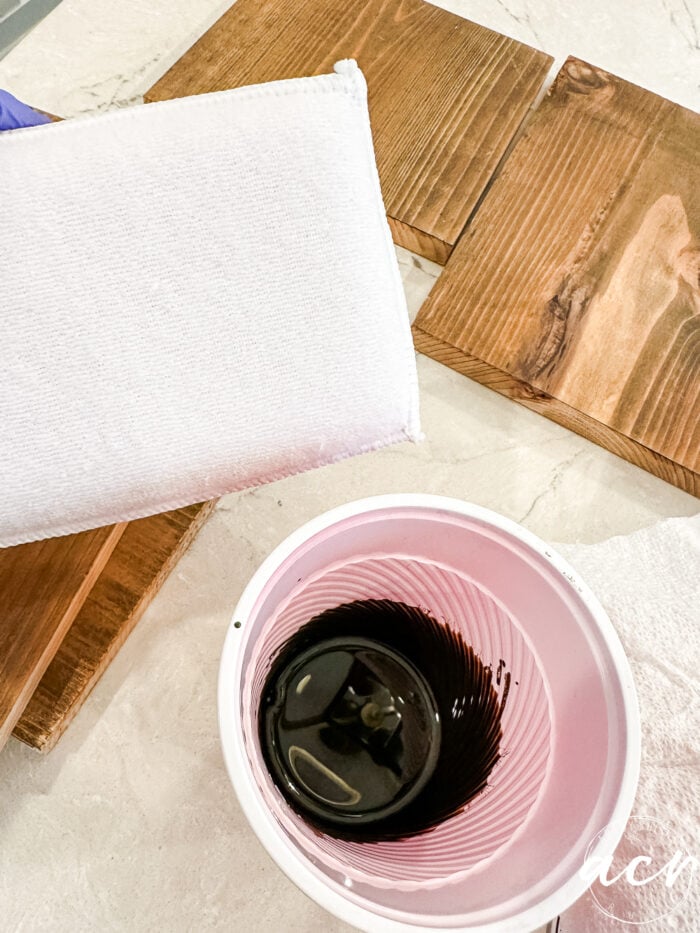
I applied the Pre-Stain Wood Conditioner before staining.
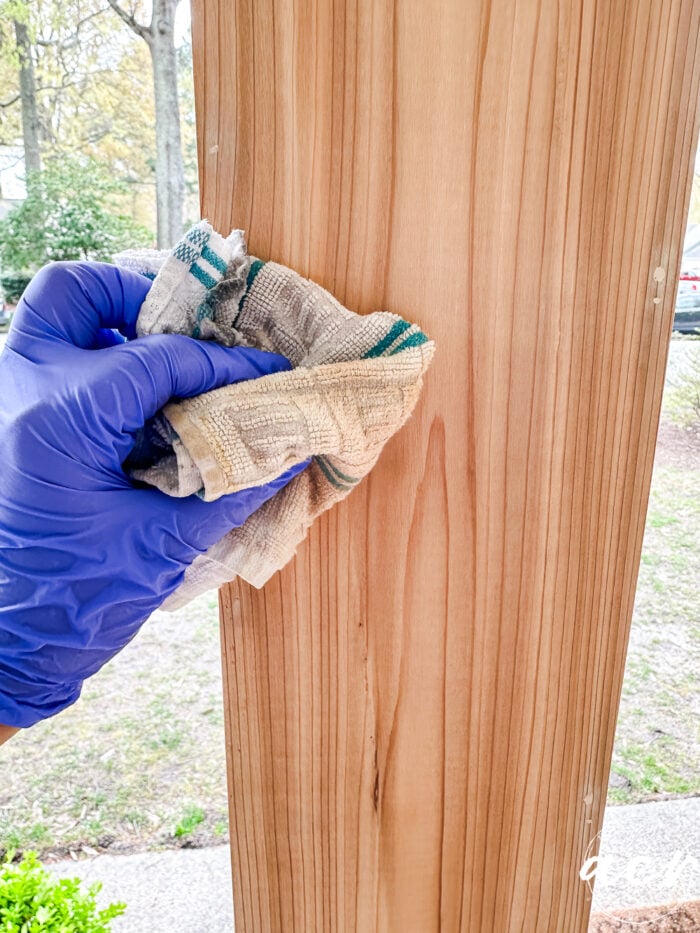
Next, stain.
Okay, so let me be full disclosure here. I used Fusion’s Stain and Finishing Oil on my front door and columns. These stains are not necessarily rated for outdoor use, but they have been used successfully outdoors. The front door has been stained for several years now and is holding up wonderfully. I figured, I love this stain, so let’s just keep an eye on it and adjust/add a topcoat, recoat, etc., as needed. So far, nothing has been needed, and they look great.
So, what is it that parents say?? haha Do as I say, not as I do! lol But hey, you can probably do as I did and get the same great results.
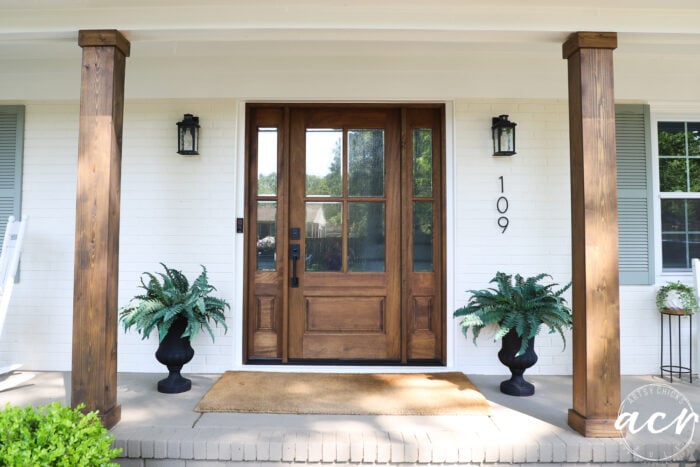
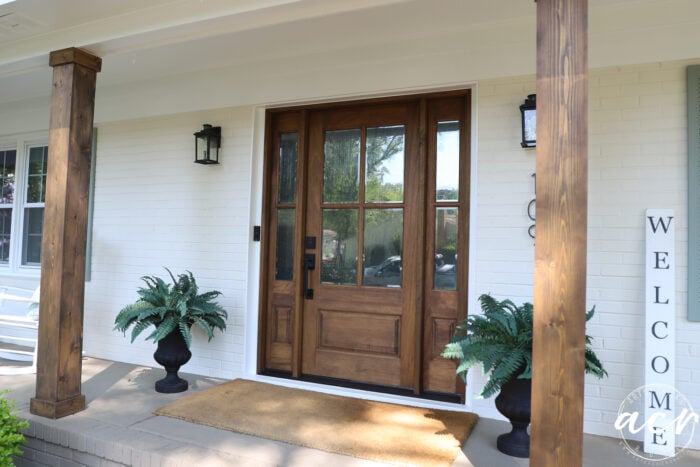
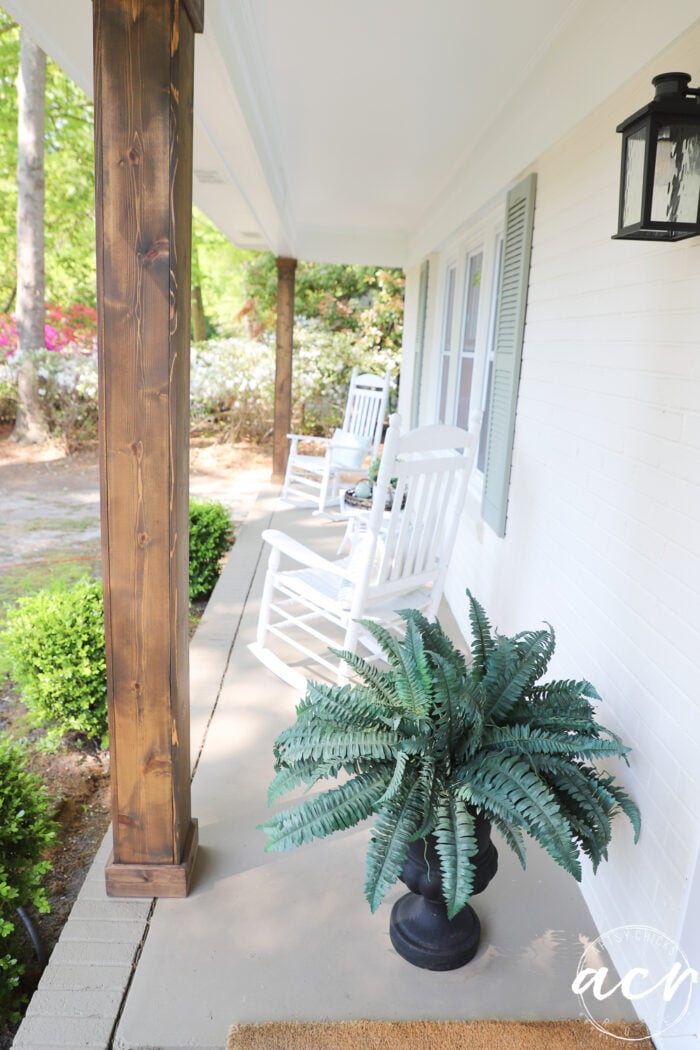
Loving this new look!
The perfect way to update that old 70’s house!

I’ll share more photos once our landscaping is in place and a new sidewalk is installed. Stay tuned for that in the spring.
There are so many things you can do to update an older home. I’m so thrilled with the ones we chose to update ours. I feel like I live in a completely different home! And I love that there are simple ways to make you love the home you live in, too.
PIN it to save it!
Have an amazing weekend, friends! We are supposed to get more snow this weekend. Hello, spring?? I’m ready!! haha!!
xoxo


")


Hi, WOW what a transformation. Y’all did a Fabulous job. Love the columns!!
Oh wow! I have seen people add these wood columns to their homes in our neighborhood and to be honest, and I haven’t like them. I always think they look unfinished. But yours look wonderful. I think the darker stain makes all the difference. Nice job!
Oh yes, I know what you mean. I think a lot of people leave them unstained. I definitely knew we would not! Thanks you so much, Julie!! xoxo
Thanks so much, Ellen!! xoxo
WOW! What a difference! I’m in love with your door 🤩 Such a great change in the entire look of your house! Looking forward to seeing the other changes!
Aw, thanks, Susan!! I love that thing!! I’d wanted one like it for so long and we finally did it! xoxo
Beautiful transformation. You did a great job! Have you thought about matching the color of the shutters to the front door color/stain?
Thank you, Linda! No, I sure haven’t!! That would probably look great too, but I do love my blue/gray ones a bunch!! xoxo
I love this look with the cedar columns matching that beautiful door. I want a door like that but I’m afraid to because we get hot afternoon sun in PA and I don’t know how a wood door will do in that condition. I will have to look into it. My husband will use this technique out back when finishing our back area for columns. I just love the light with the naturalness of real wood. Great job to you and your husband. We do all our landscaping ourselves, saved a TON of money!! LOL
Thanks, Michele! We are really loving it. We do get some sun on our door, but have quite a bit of shade with big trees and a porch (in the summer anyway,lol) . Not sure about full sun, though, or if you have that. And yes, that quote we got for landscaping determined we’d be doing out own too!!lol Can’t believe how expensive it is!
Transformation is great! Adds such a welcoming warmth! ❤️
Thanks so much, Dawn!! Yes, I think so too!! xoxo
You have added so much appeal to the front of your home. You made wonderful choices with the wood and the paint colors. Kudos to you!
Wow, thank you so much, Donna!! What a nice compliment!! xoxo
Thank you! Thank you! This is exactly what I have been wanting to do myself with my white columns. Having your tutorial will help me brave the project this spring.
Great job, looks fantastic!
Oh yay!! I’m SO happy to hear that, Vicky!! And thank you!! xoxo
Great job! I love it all. Now it’s updated and fresh!
Thank you, dear friend!! xoxo
Really looks awesome! What a difference it can make. Beautiful!
Thank you so much, sweet friend!! xoxo
Awesome job.
Thank you, Rebecca!! xoxo
Looks fantastic, especially how they tie in with your gorgeous front door! Sure changes the look of house in a good way! Thanks for sharing!
Thank you so much, my friend!! And thank you for nudging me in that direction!! Otherwise, they might have been white!! :) xoxo
WOW!!!!!!! What a HUGE difference they make – they’re soooo perfect with that awesome door now. Well done, you guys. They look amazing.
Thank you so much, sweet friend!! So happy with how it all turned out!! xoxo
Wow, that looks so great! What a terrific new look.
Thank you so much, Jennifer!! xoxo
What great curb appeal you added. I can’t wait to see the landscaping when you do that in the spring. I agree with Julie. I’ve seen the wood posts too and really didn’t think it gave the house a finished look but yours are fabulous. The dark stain looks great. More snow and colder too. Even in FL the temperatures are cold. Take care and stay indoors!
Hi Kathy!! Thank you so much! And oh my gosh, yes, I can not wait to get to that landscaping. It’s been a long time coming, for sure. That snow can stay away, I’m so done with it! Although it sure is pretty when it’s falling. This ice that we’ve been left with from the last one needs to go! Having to worry about slipping and falling on ice is not fun at this age. (and yes, I did!! lol) We are not used to having ice stick around like this here just like you guys down there with those crazy cold temps! Stay warm, my friend!! xoxo
OH!….So much better….LOVE it!!!
Thanks, Addie!! :)