DIY Air Dry Clay (recipe and tips!)
This DIY Air Dry Clay is so simple to make! And fun to create with!! Lots of design ideas, the sky is the limit.
Hello sweet friends!
I’m sharing a brand-new craft today, something I’ve never done before. I love getting crafty!
Have you heard of air-dry clay? Well, probably we all have, but have you ever made it?? I hadn’t. But now I have, and it was fun. I can totally see how the sky is the limit in making things with it, too. I made small dishes, but I plan to make some earrings, too. And who knows what else I’ll come up with!
Today, it’s all about the air-dry clay, how to make it, and a bit of napkin decoupage to fancy them up. I also used UV Resin to seal them and make them even prettier, but that’s a lot to talk about (and share photos for) for one post. So, I’ll be back next week to share more about the resin. (I’m going to try to make some earrings with the resin before then, so I’ll be sharing that at the same time)
Oh, and I also bought 2 different types of ready-made air-dry, porcelain-style clays to compare my homemade one to. I’ll be sharing that once I make a few things with it as well.
DIY Porcelain Air Dry Clay
I planned to post about this on Tuesday, but I also videoed the process and wanted to get the video done to share at the same time. I do not know how all these folks out here create all these reels and such! Gosh, it’s a lot of work. And it’s not really my thing, to be honest. I don’t guess I’d mind a straight-on video and done, but putting together pieces of videos, clips, photos, adding voiceover, adding text, editing, etc. Ain’t nobody got time for all that mess!! haha! And no, I didn’t get it done after HOURS of working on it. So frustrating. I just couldn’t figure out some of the things. I’m still going to work on it, and I’ll add it to this post and my YouTube channel once I get it done…if I do, lol.
EDIT: Okay, here you go! Click here to watch the video if you can’t see it below.

It’s fast, but I had about 22 minutes of recordings! So I had to condense it down a lot. Most people do not have the attention span to stay longer than about 15 seconds, and even sped up, it’s 3-1/2 minutes long. lol Hope it helps to show how I did the things though! After all these years, I’m still learning how to do these things. Bear with me! ;)
Anyway, let’s begin here.
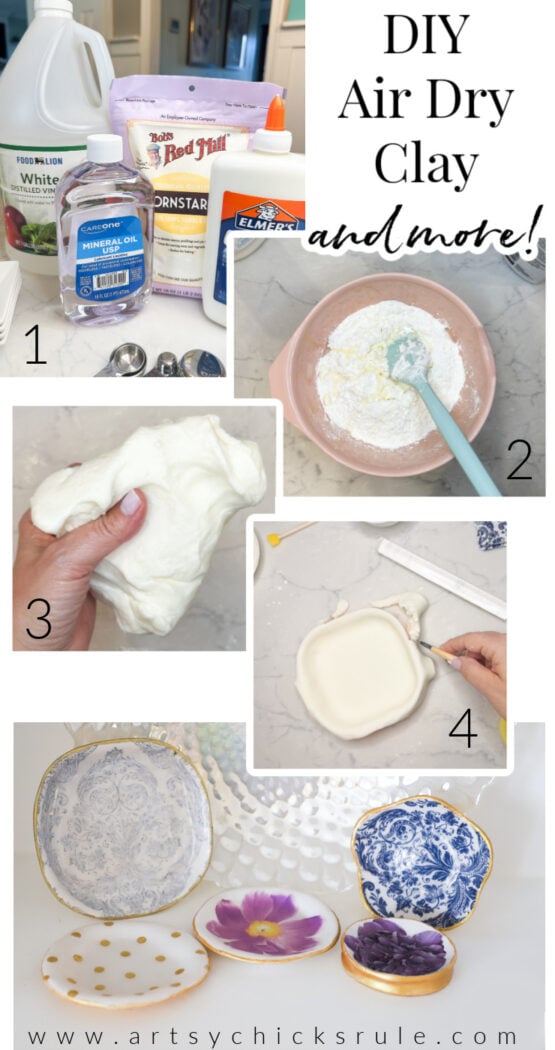
Supplies needed:
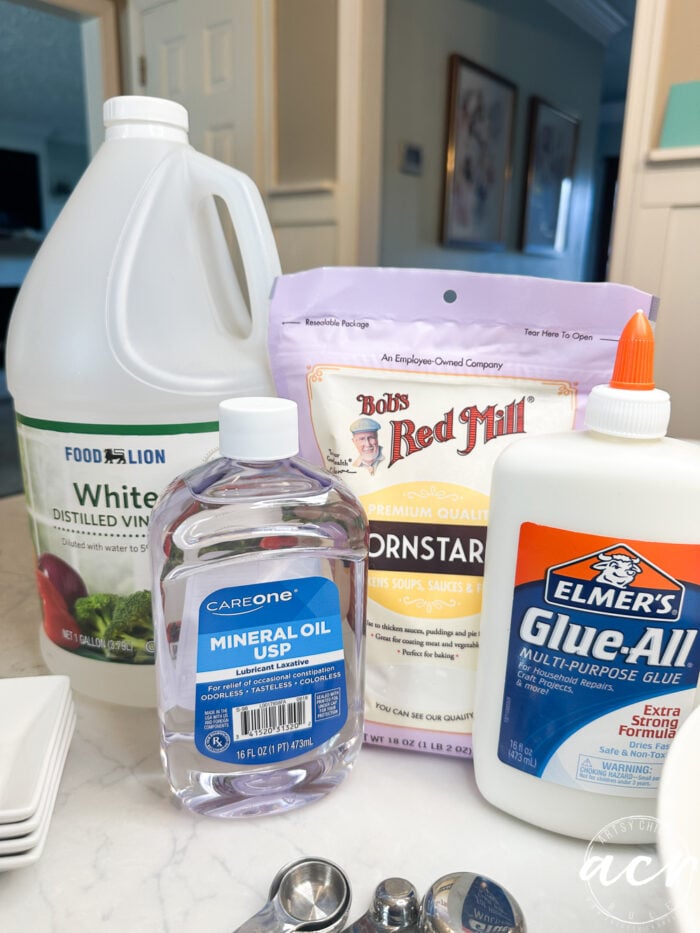
INGREDIENTS:
- 1 cup Glue
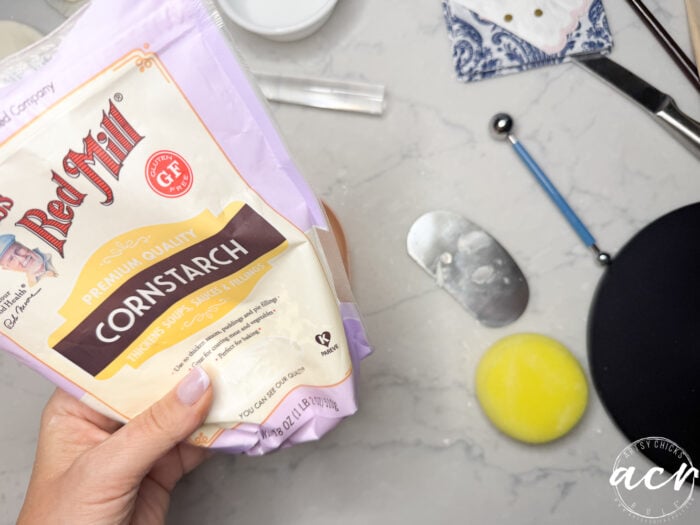
- 1 cup Corn Starch
- 1 Tbsp Mineral Oil
- 1 Tbsp White Vinegar
MATERIALS SUPPLY LIST
- Silicone Mat
- “School” Glue
- Cornstarch
- Mineral Oil
- White Vinegar
- Roller
- Molds, Dishes, Cups
- Lotion
- Clay Tools Kit (this is a great kit!)
- Napkins
- Decoupage Gel or Mod Podge
- Sponge Paint Applicators
- Gold Paint
- Gilding Pen
- Poly Topcoat or Resin
- Plastic Bowls and Spoons, Cookware (get some dedicated to this use, the Dollar Tree is great for these)
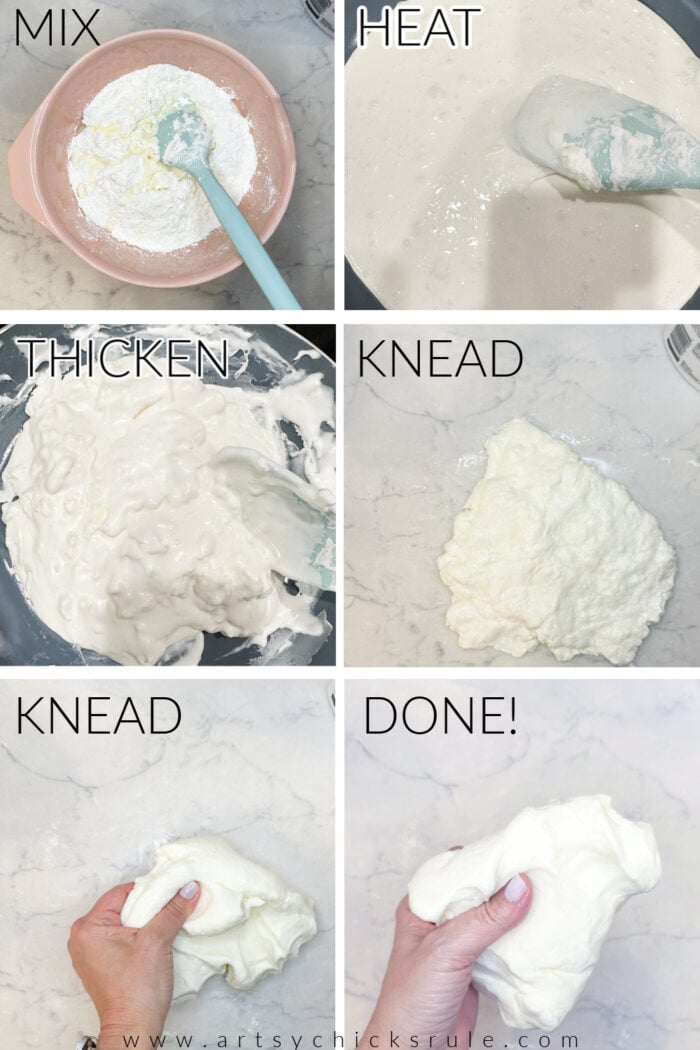
MIX
There were so many photos for this project that I combined some into a single image.
- Measure and mix together all ingredients.
- Heat in a pan on medium heat until it thickens and pulls away from the sides.
- Let cool slightly, not fully.
- Apply lotion to your hands, then knead the “dough” until it is no longer sticky and holds its shape. (see photos below)
- Apply more lotion, as needed, to knead the clay.
If the clay is too sticky, add a little more cornstarch.
If the clay is too dry, add a tiny bit more oil.
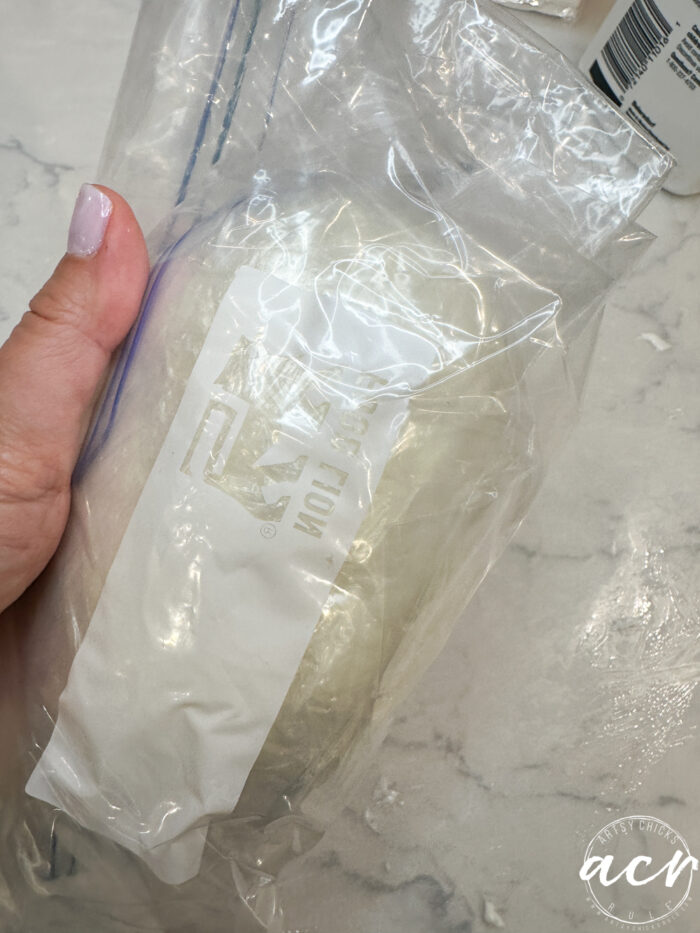
Now, you can put it away in an airtight container and use it later. Or you can make with it right away.
I store it in a sealed plastic bag, inside another plastic bag, or in a sealed plastic food-type container.
Oh, I am doing all of this on a silicone mat (it’s listed in the pink box above). It’s the best thing ever! I wish I’d found it sooner. It’s great for working indoors, in the kitchen, etc, without worry of messing anything up.
It also washes up wonderfully from everything, even paint. I’m a fan!! lol
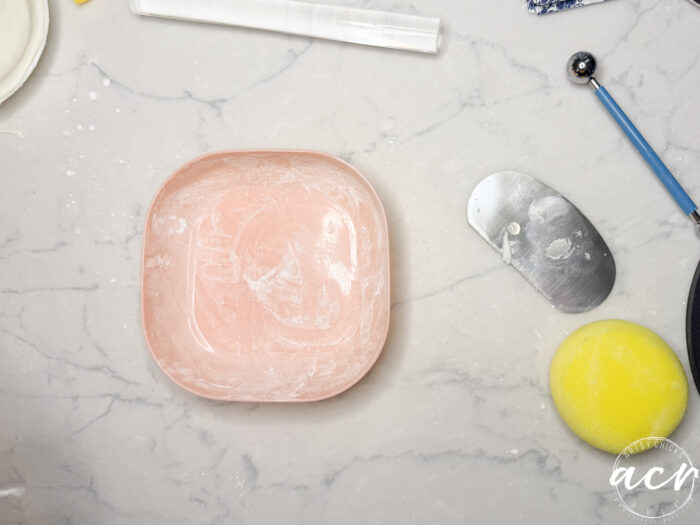
**Important Note: I didn’t use any whitener, and my finished clay was very yellowish. I have seen where you can add white paint to the actual clay ingredients when making, but I wasn’t sure how that would affect texture, etc. What I would do instead, next time, is get some powdered Titanium powder and mix it with the Mineral oil before adding it to the clay. That would do the trick. It’s the same exact thing I used to do when I made soap… same premise: mixing the Titanium powder with oil before adding it to the soap batch to make a white bar of soap.
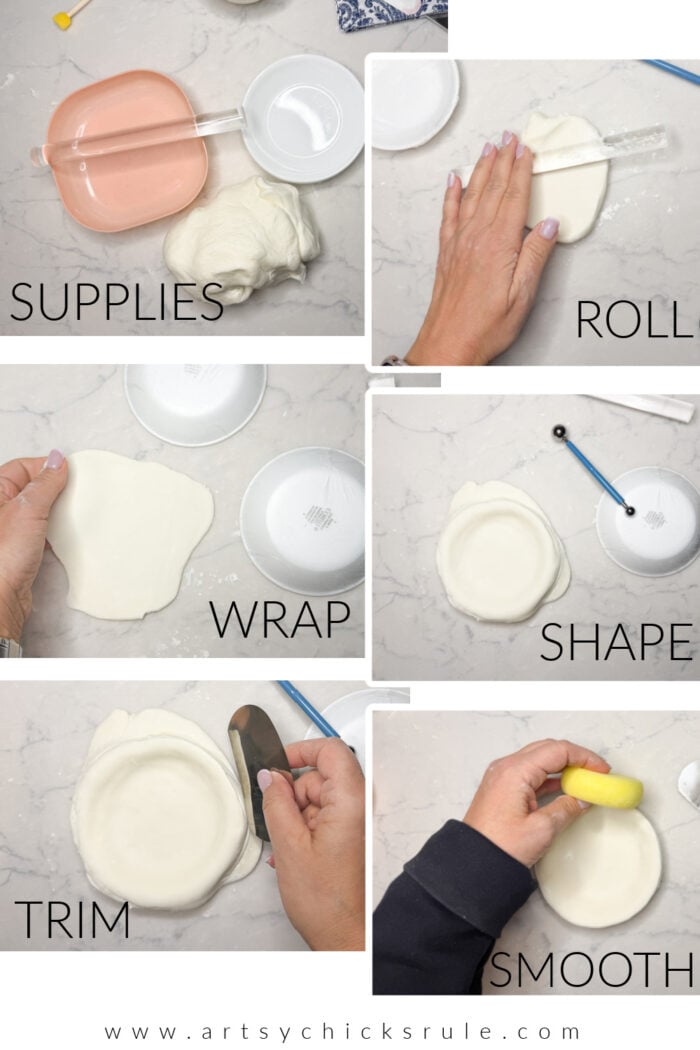
ROLL, SHAPE, AND MAKE
I’m making small trinket dishes.
- Pinch off a section of clay.
- Roll to around 1/4 inch thickness.
- Shape, as desired.
- If using a mold, be sure to wrap it in plastic wrap or coat it with cornstarch/baby powder so you can release it once dry.
- Cut excess off edges, etc.
- Smooth edges with a damp sponge.
I used a little cornstarch, as you would when rolling out dough, to keep it from sticking. Be sure to put the rest of the clay in an airtight container or bag, or it will dry out.
All of the tools I used came in the kit I shared in the “Materials Supply List” above.
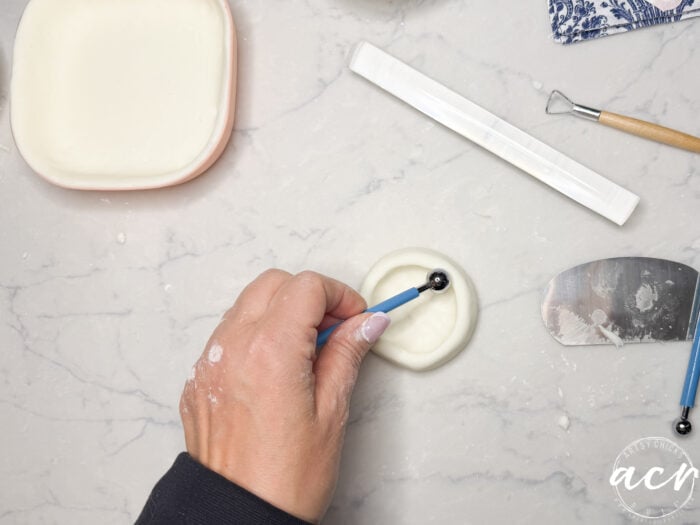
I wrapped the other small dishes above in plastic wrap, and this one I dusted with cornstarch since it was plastic and I could just squeeze to pop it out.
I rolled it out, laid it inside, and gently pressed it into place.
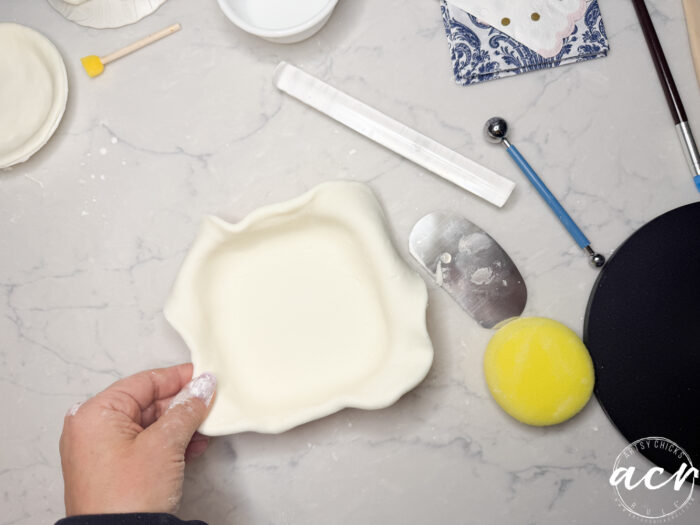
I used that metal ball tool to gently press around the corners.
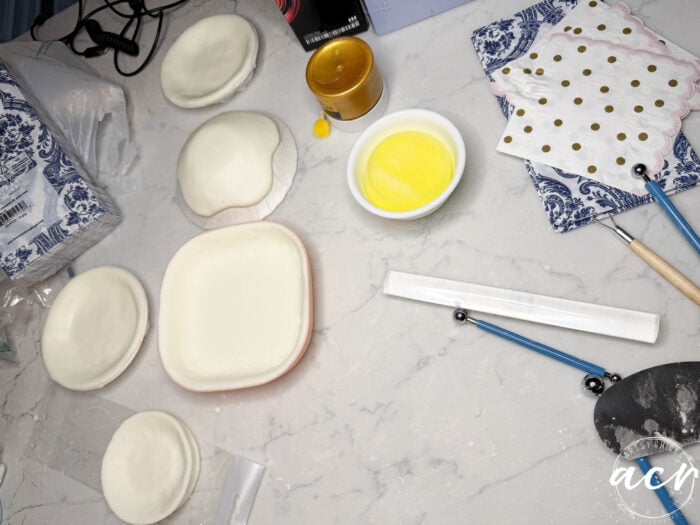
Then I used another tool from the kit to scrape the excess clay off around the edges. Worked great!
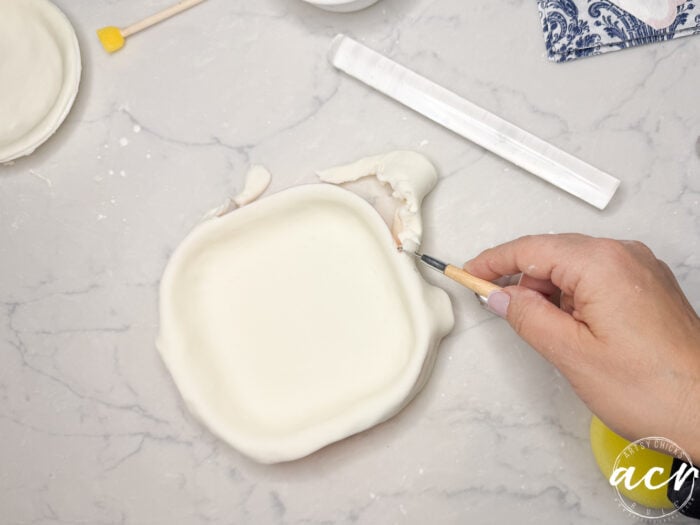
You can see it to the left, ready to dry for 24-48 hours. I did do a small “free form” dish too.
Oh! And don’t mind my “Lee Press On Nails” in these photos!! haha!! IYKYK!! I haven’t worn “press on” nails since the 80’s, so funny. But my daughter had gotten some and loved them, so I bought a set and wore them for my birthday week. Those suckers literally stick on with sticky tabs, no glue, and unlike the sticky tabs from the 80’s, with nails popping off everywhere, these didn’t budge. And were so quick and easy to put on. I had them on for almost 2 weeks, and the only reason I took them off was that they were showing growth by the cuticle. Because they were STILL stuck good. (If you are interested, you can find the exact ones I have on here. I did paint a sheer pink over them.)
DRY
You will experience some shrinkage, as shown below. I think the thicker it is, the more you will notice this.
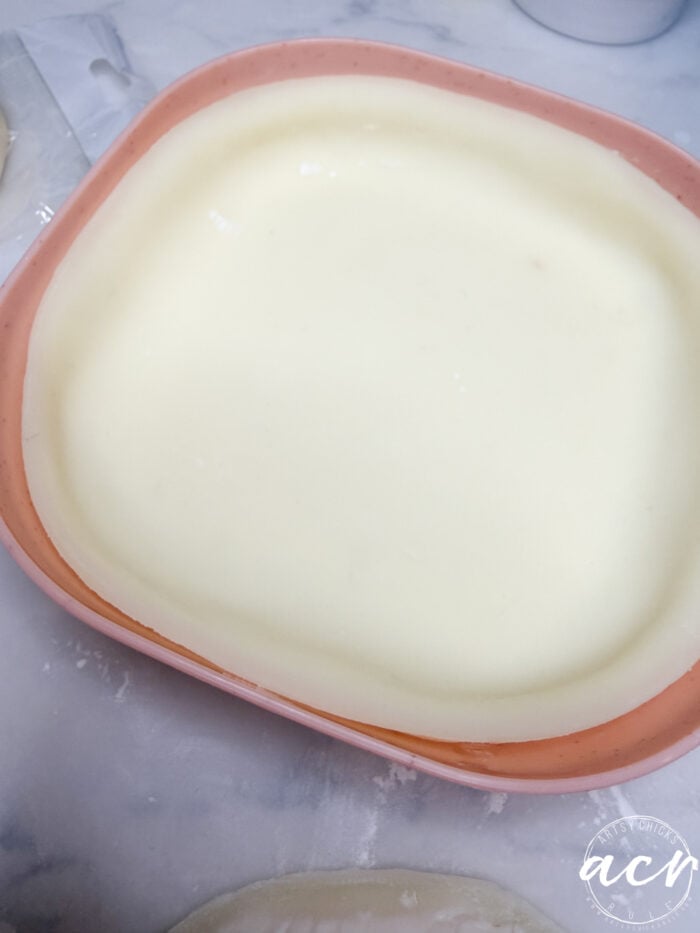
I’m actually okay with it on this one because it sort of gave it a better shape. So win-win, right?!
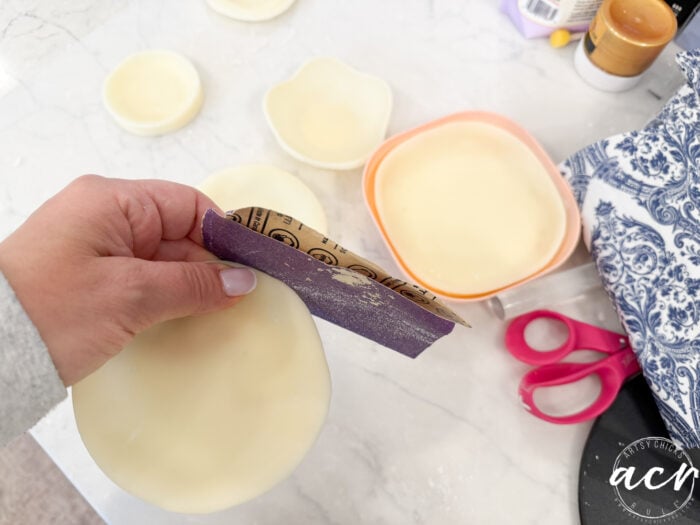
SAND (as needed)
You will probably want to sand any edges of the air-dry clay that didn’t smooth out enough. As with anytime you are sanding something, be sure not to breathe the dust, etc.
PAINT
Once fully dry, you can paint your pieces white or whatever color/design you’d like.
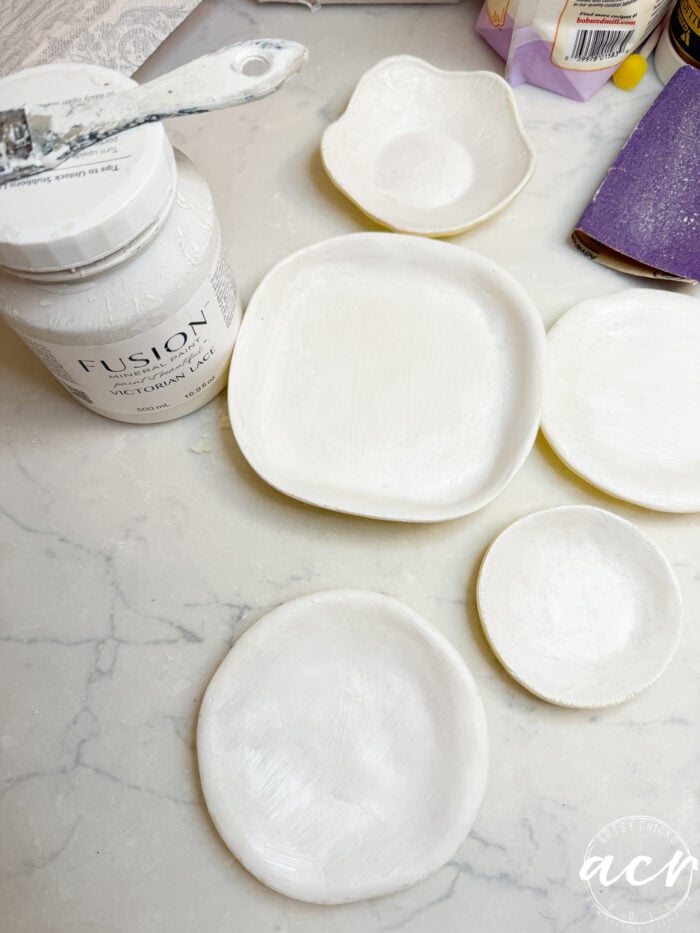
I was planning to use napkins for decoupage, so I wanted a nice white base.
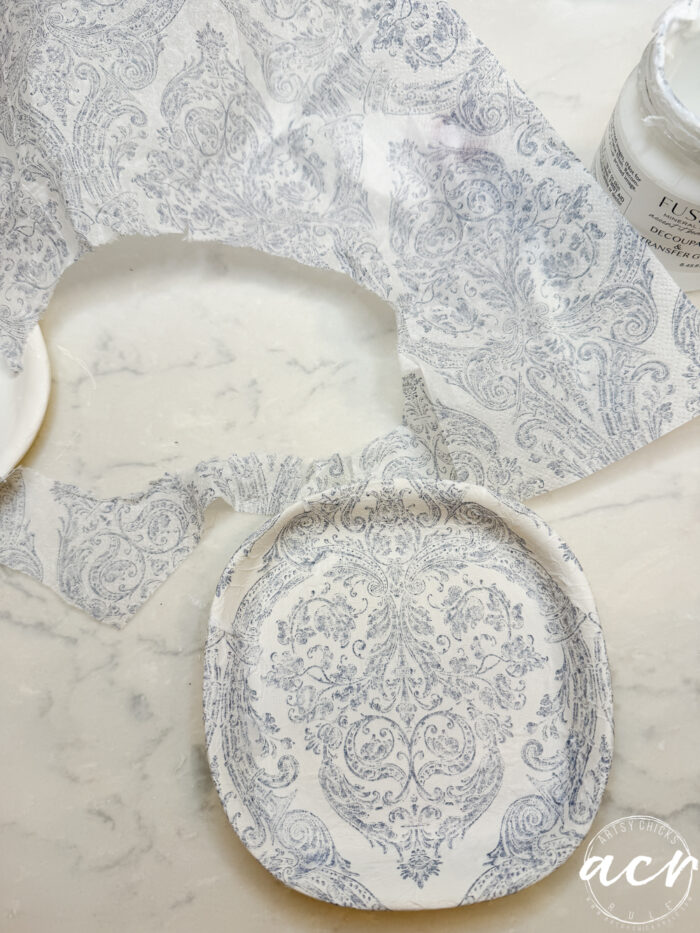
DECOUPAGE
- Apply decoupage gel or Mod Podge.
- Pull apart your napkin, using only the very top layer.
- Lay the napkin where you like on the dish.
- Gently press the napkin into the dish. You can cover it with plastic wrap so the napkin doesn’t tear, too.
- Gently tear or cut around the edges to remove the excess napkin.
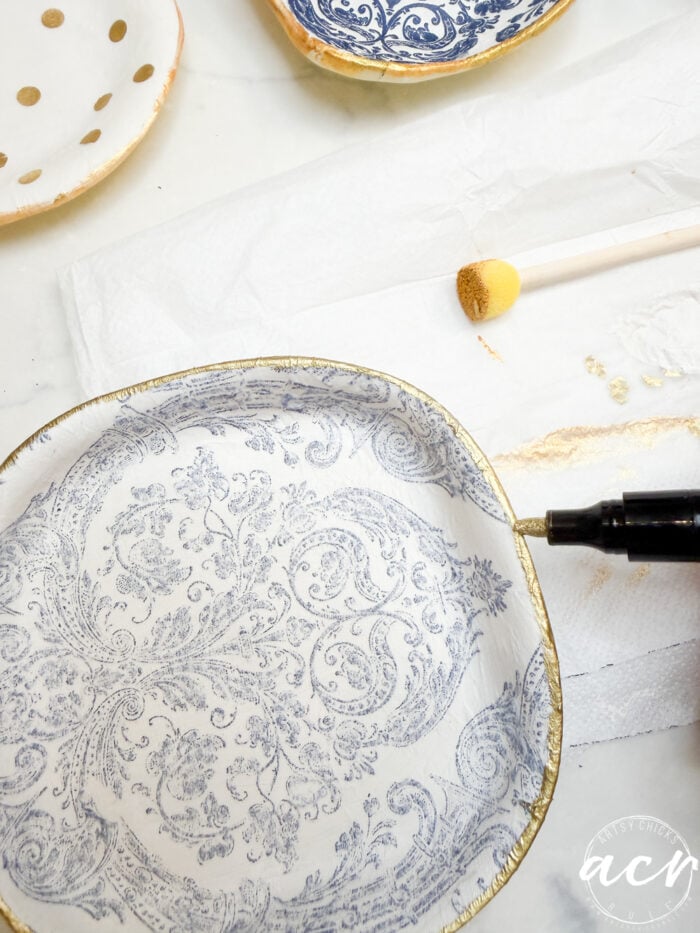
- Once dry, you can decorate the edge with a Gilding Pen or Gold Paint.

I got a fun surprise when I separated that napkin above. This lighter print was the second layer. I decided to use it on the square dish.
I used the gold paint with the sponge applicator on the other dishes, but on this one, I used the more muted gold Gilding Pen.
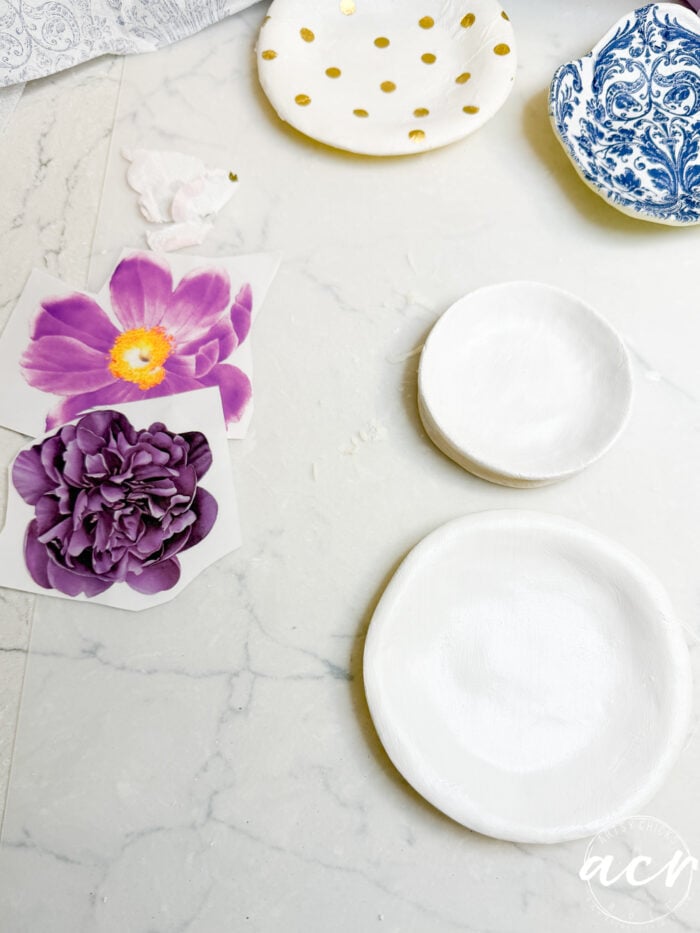
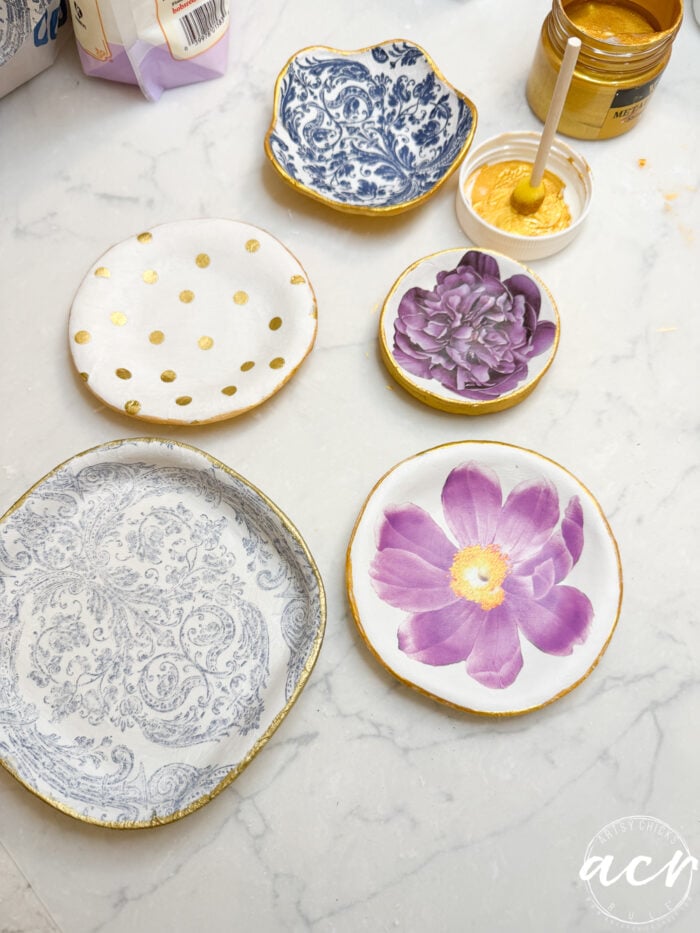
One of the smaller dishes and my “freeform” dish got these two flowers leftover from old transfers I had.
Before resin, but with gold-trimmed edges.
I added resin to finish them up, but as I mentioned, I’ll be sharing about that next week. Look how long this post is already. You’ll want to stop back for that, though, because I am excited to share the UV Resin I decided to go with and why.
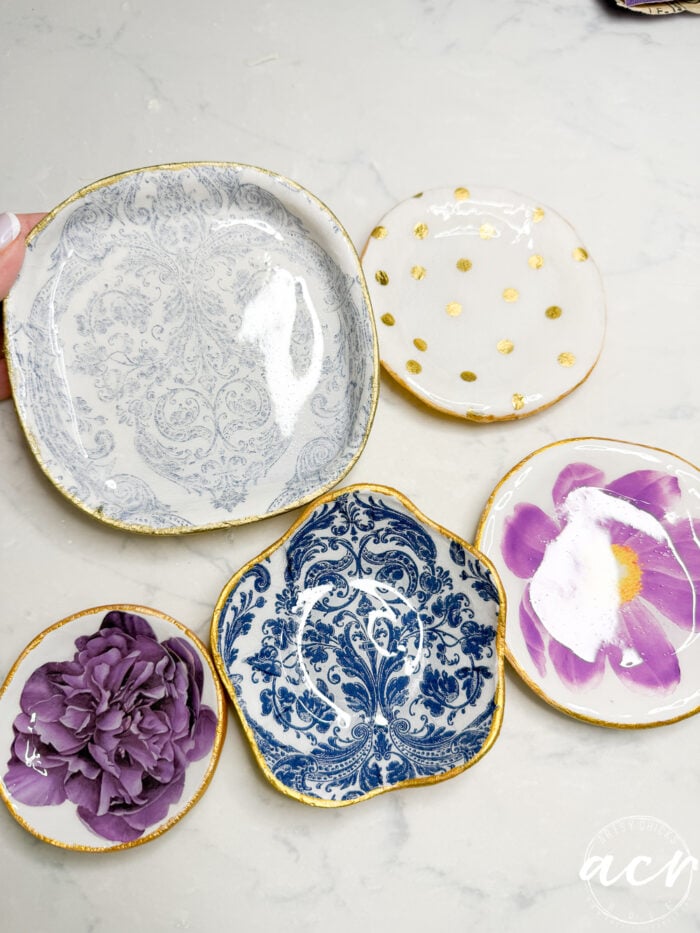
Aren’t they so pretty?! And they make such a nice gift, too. The resin really adds so much, I think, as well.
Here are a few more pics and a few ways I decided to use my new air-dry clay trinket dishes.
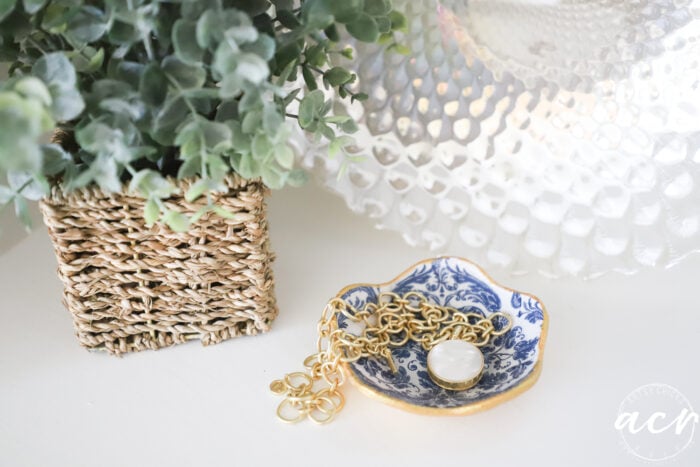
For jewelry or keys.

Soap dish.
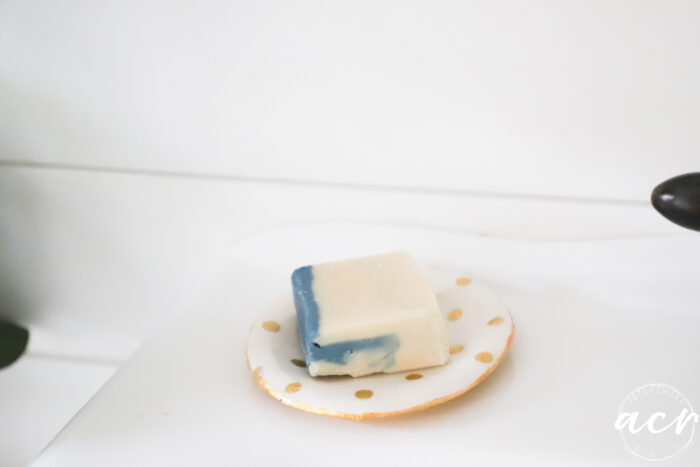
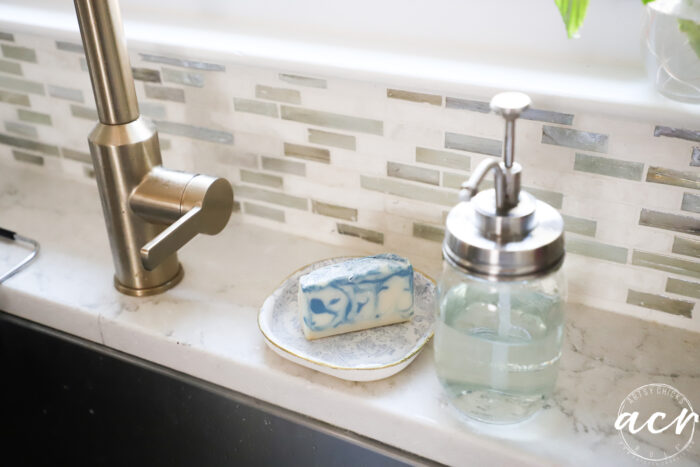
Those are some of the soaps I made last year.
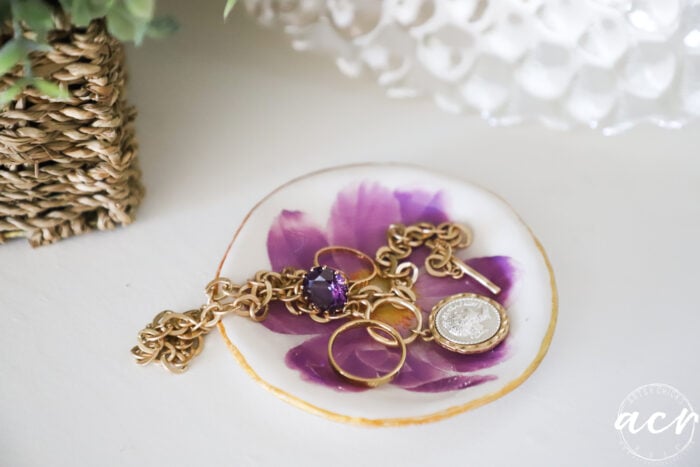
And my favorite little freeform one on my new desk…in the new room.

Have you ever tried this?? Think you would?? Let me know what you think!
PIN it to save it!
I will also be selling some sets of napkins once I finish up these next several projects with the air clay and resin. Stay tuned if you are interested in any of them! I’ll let you know once they are up in the shop. (I have some older ones I’ve used in the past, too, Easter and spring styles)
Have a blessed weekend, friends!
xoxo


")
")

")

Love that
Thanks, Connie!! xo
These are just beautiful!! You make it look so easy!! Pinned! XOXO
Thanks, Christy! They were easy and fun! The video was NOT!! haha!! xoxo
Can’t believe you made these- looking forward to the details on the resin
Thanks, Lisa!! Yes!! They were fun and now I’m intrigued with the resin and have all kinds of ideas for that! Working on it today, stay tuned! xo
Did I miss where you put the measurements of the clay ingredients? I would love to make this right along with you! These are great! I’ve used air dry clay in the past and I can’t wait til you do the comparisons.
Oh my gosh, duh!! I’m so sorry, I have edited the post to add that. And thank you, Sharon, hope you make some!! xo
I have to agree with the others they are so cute . I also pinned for a later time . And please add the measurements .
Thank you, Teresa!! I can’t believe I forgot that!! haha!! I have updated the post. Thank you for the pin and I hope you enjoy making this sometime!! xo
I also couldn’t find the measurements to make the clay. Will you be including that in the next series?!
Thanks!!
Hi Karen! I have updated and added the ingredients. Can’t believe I forgot that!! Anyway they are directly under the first photo in the post. The photo of the ingredients. Hope you enjoy making!! Stay tuned for the resin post, I’m working on some more projects today! xo
So sweet…love those Nancy! Is your soap dish going to get wet, or just hold decorative soaps? Is everything waterproof once completed? Thank you!!
Ann
Thank you, Ann! I wouldn’t use them for soap unless they have the resin coating. With the resin coating they are indeed waterproof. I’ll be sharing more about the resin part of the project next week!! Stay tuned! xo
These are so cute and what great ideas for gifts for Mother’s Day coming up. I think I have a pair of earrings I bought at a craft fair years ago but didn’t know how they were made. I’m looking forward to your next project.
Thanks, Kathy!! Yes, absolutely, they would! I’m making earrings today! I’ll be sharing more next week with the resin, etc. Have a great weekend!! xoxo
What a super fun post! I really want to try this too, thanks so much.
You are so welcome, Mary!! Yes, do try it, it’s fun!! xo