Guest Bath Makeover on a Budget {Before & After}
As promised, I am sharing my downstairs guest bath makeover with you all today.
And it’s another doozy of a makeover.
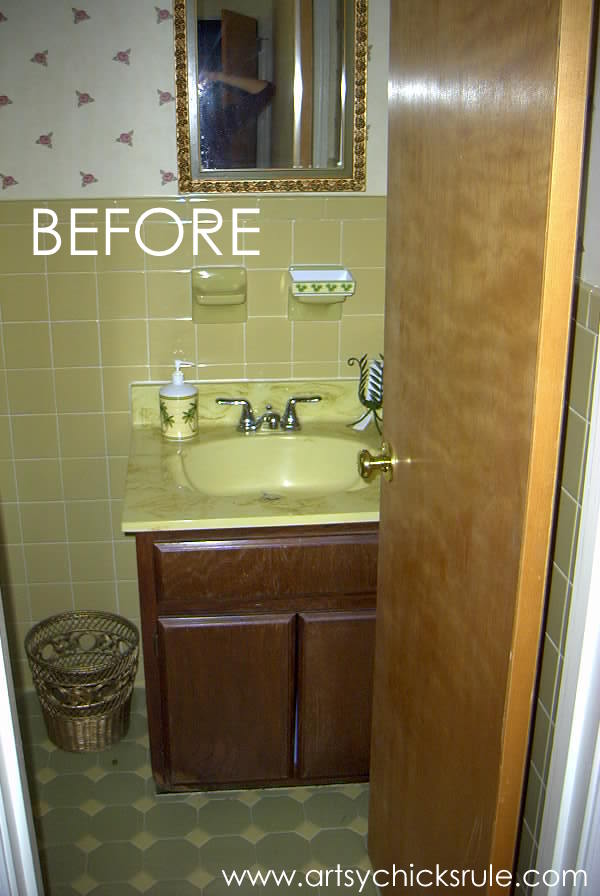
1970’s…..
to 2004….to today.
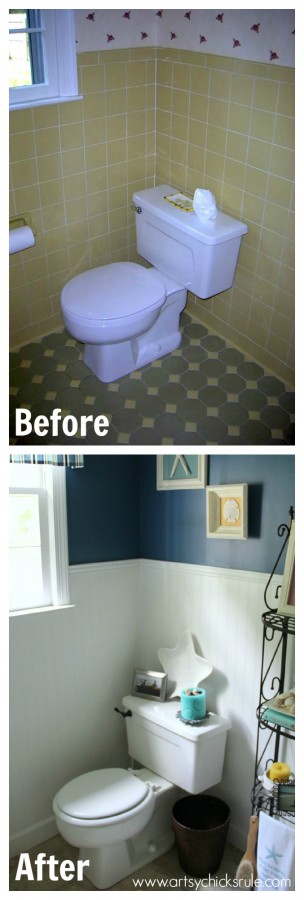
I know….gold and avocado green tile, sink….pink rose flowered wallpaper.
What’s not to love?
A lot.
In 2014 anyway. (and in 2004 too)
Did you notice the (apparent) dog chewed up cabinet?
So yep, that’s what we moved in to.
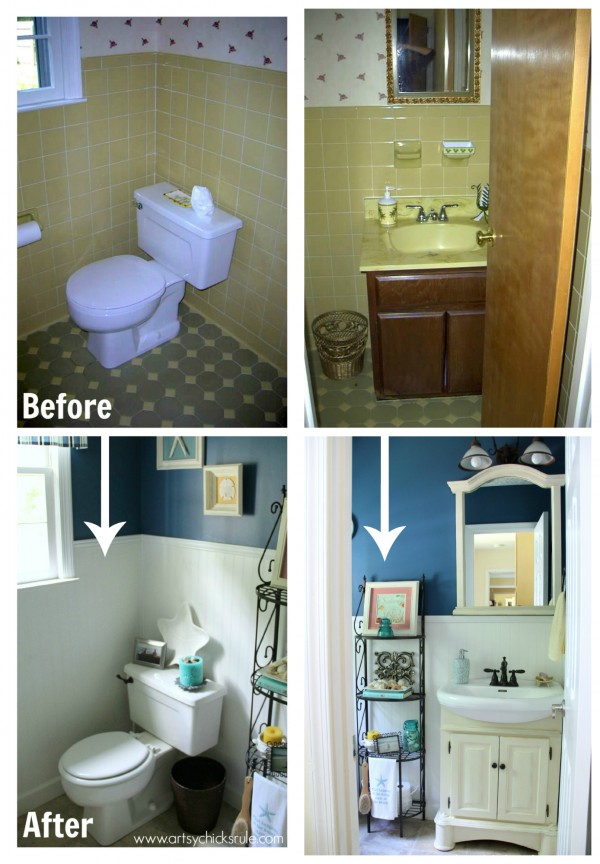
And this is what we turned it into….the first go round.
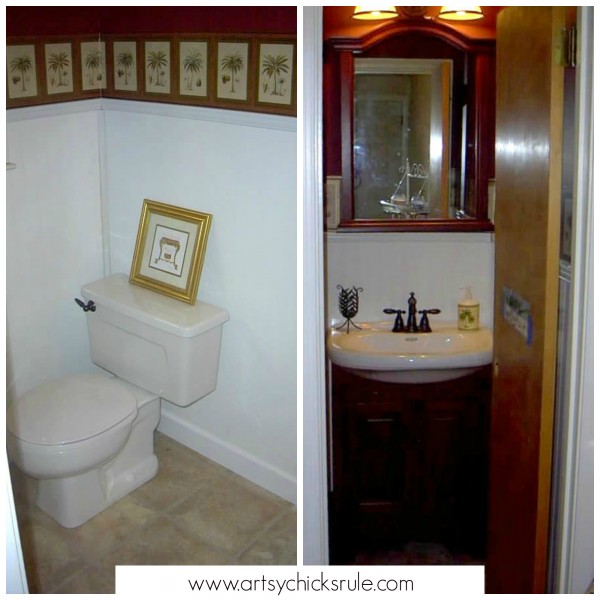
During my dark, dramatic, maroon, gold, palm tree, wine, tuscan theme. :)
But we did replace the flooring (although it was temporary….done for $63, the laundry AND the bath) to remove this and that gold/green tile in the bath.
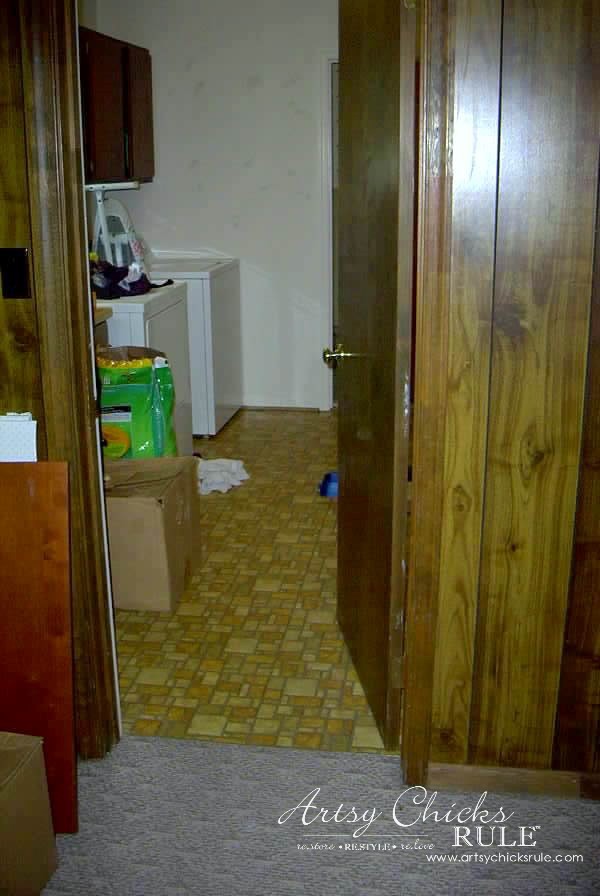
AND this GOLD and ORANGE linoleum in the laundry room.
Ew.
(by the way, this was a few days after “move in”, hence the mess)
Same room now.
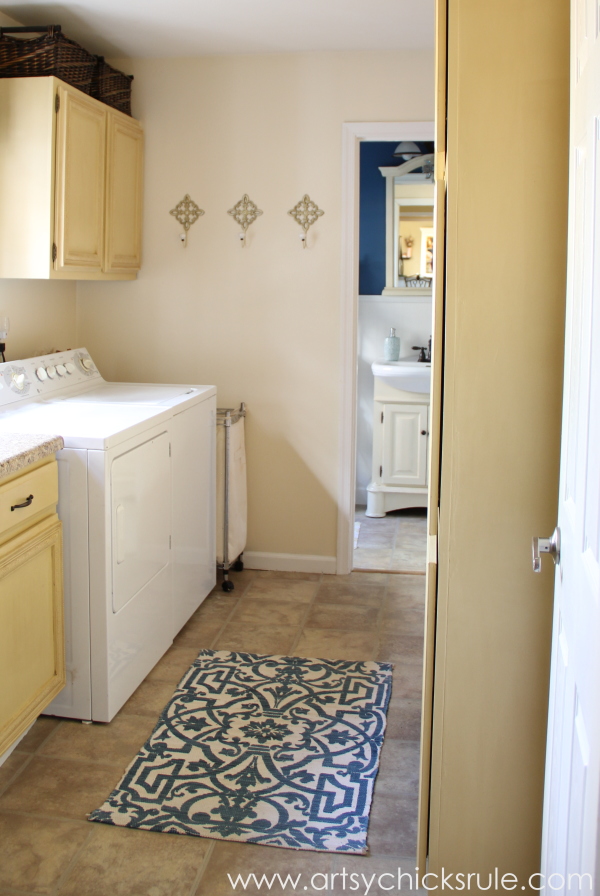
So the sticky little tiles in the laundry and bath were temporary…..almost 10 years later they are still here.
Anything was better than that. Agreed??
We have plans to revisit the flooring…some day.
But on with the bath makeover.
We bought the sink, cabinet and mirror from Home Depot for, I think, around $250.
It was one of those box deals. And a good one actually.
We paid almost as much for the faucet.
Oh well. Save here…spend there.
Mostly I am thrifty….but every once in awhile you just have to splurge.
Keeps the balance, ya know?
That’s what I like to think anyway. ;)
We took the tile down and replaced it with beadboard and trim.
(and I took the wallpaper down)
New lighting, new door, new hardware…..
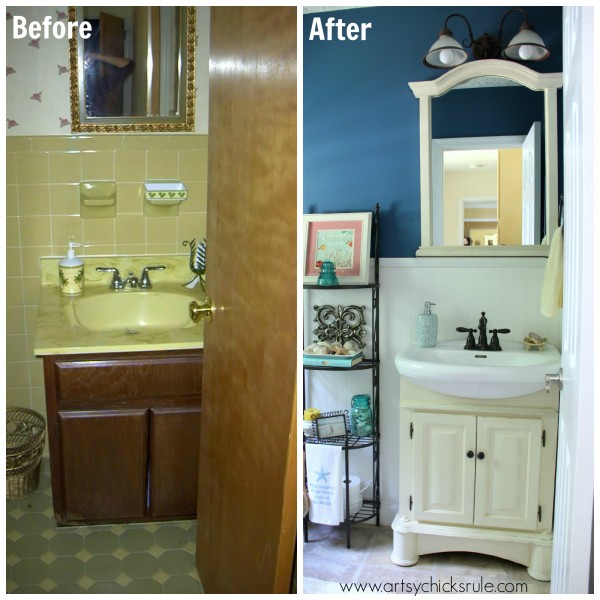
The new cabinet had a very pretty stained finish originally but I really wanted to change the look of this bathroom recently.
And lighten it up a bit.
So I painted it. I used Sherwin Williams paint for the cabinet and mirror. (mixed…several shades of SW paint)
The blue is Valspar – “Blue Lake”.
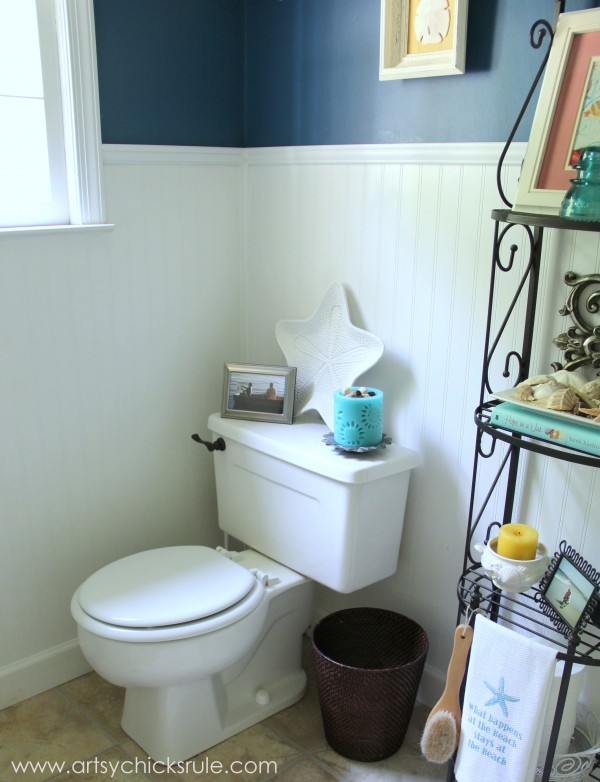
I also spray painted the metal rack you see in the photo above. It started out white with very gold trim all over.
I bought it for the house we built back in 2000.
I decided to peel off the gold trim and spray it all over with Oil Rubbed Bronze spray paint.
You can see it in this post –> here.
(if you look in that first collage photo above, you can see it when it was “white” in the reflection in the mirror)
I like to use and reuse things.
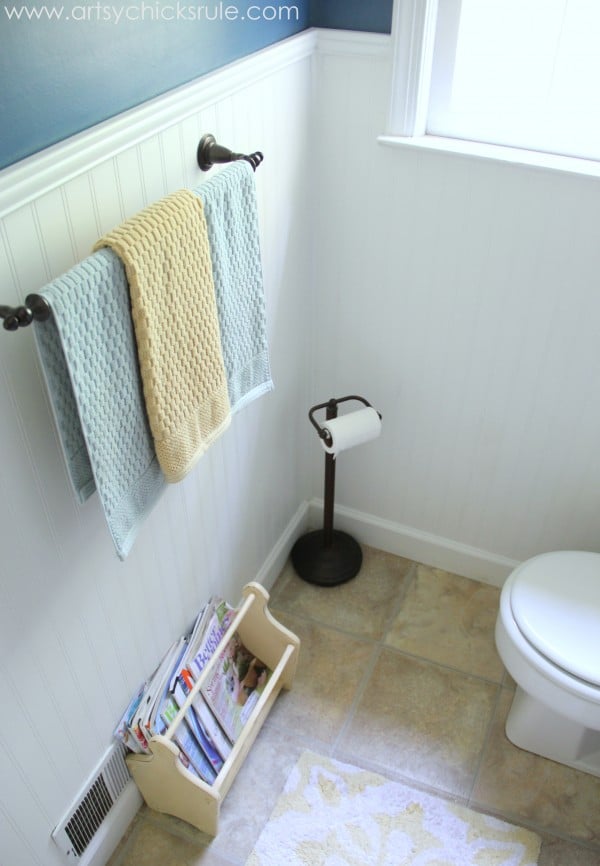
Like this old magazine holder. It was a thrift store find that I painted with Chalk Paint®.
You can see it in this post here–> Chalk Paint-Not Just for Furniture.
The bronze toilet paper roller was on clearance at Lowe’s for $10.
Shelf I recycled and painted.
Thrift store frame (painted it and the matte) and new print.
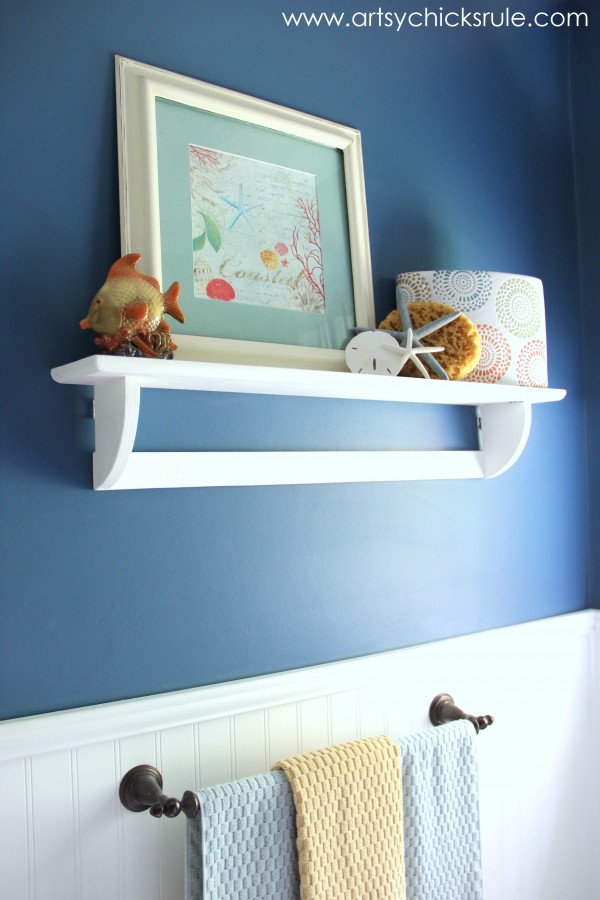
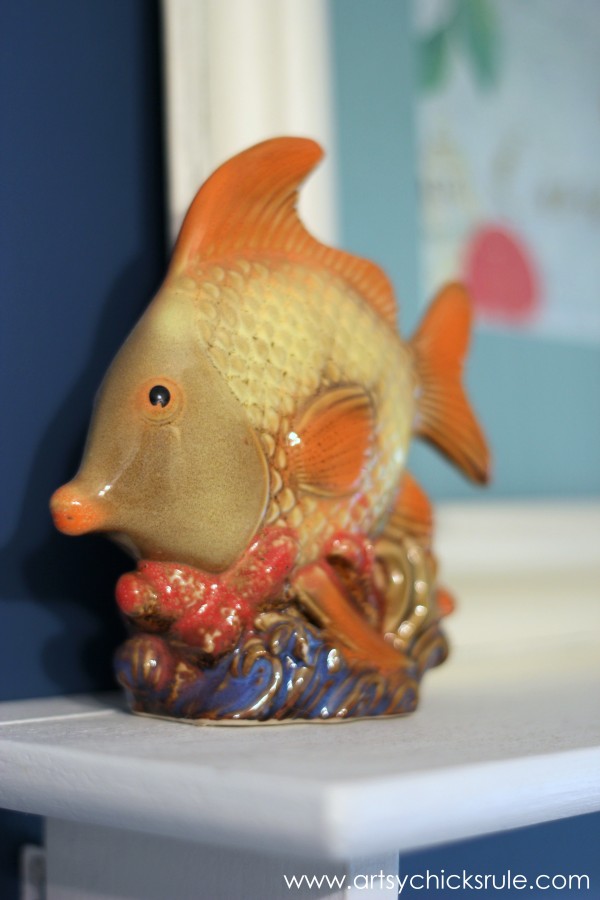
Thrift store fish decor.
Thrift store frames, bead board, sand dollars and starfish make for really inexpensive wall art.
The swirly mirror came from a garage sale across the street at my neighbor’s house.
I painted it and hung it on my wall.
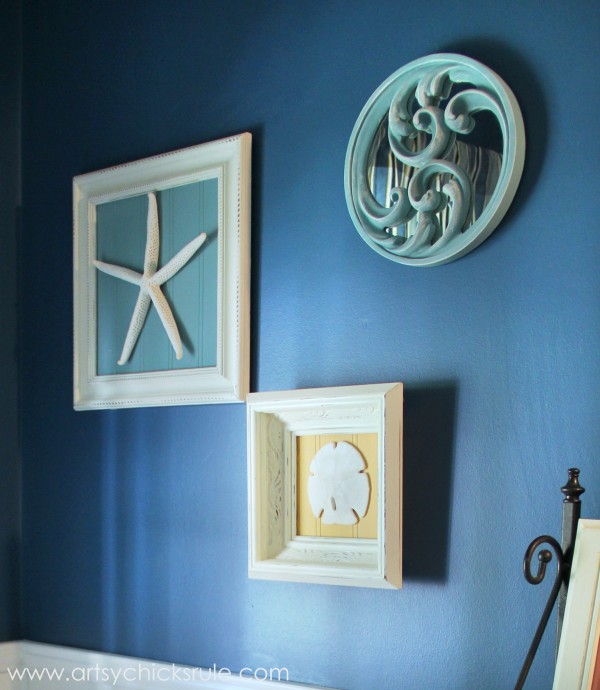
You can see my post on how I made the starfish/sand dollar wall art here –> Thrifty Wall Art.
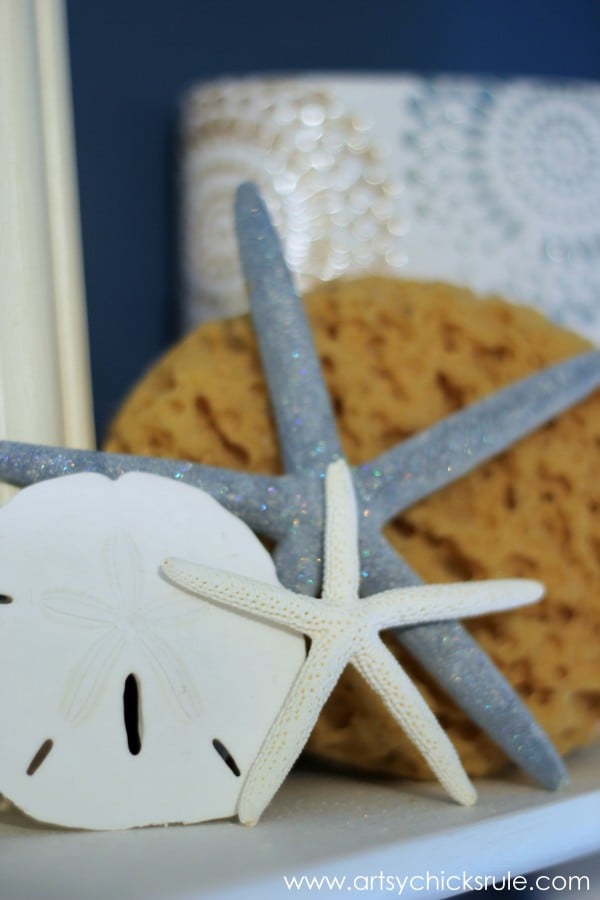
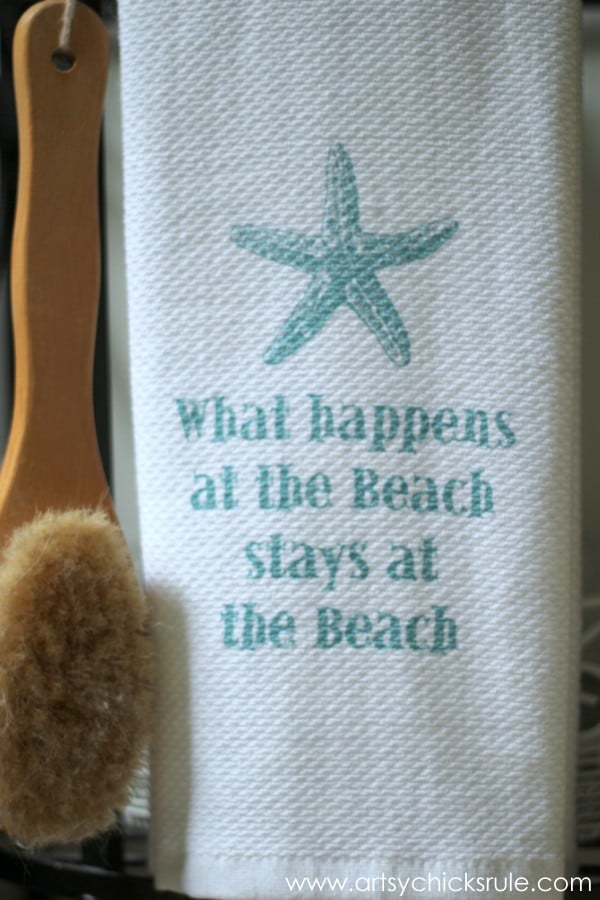
Simple nautical touches…. (why yes, that blue starfish is sparkly–I added some fine glitter to it)
…and the “no sew” valance I made for this bathroom for less than $3.00.
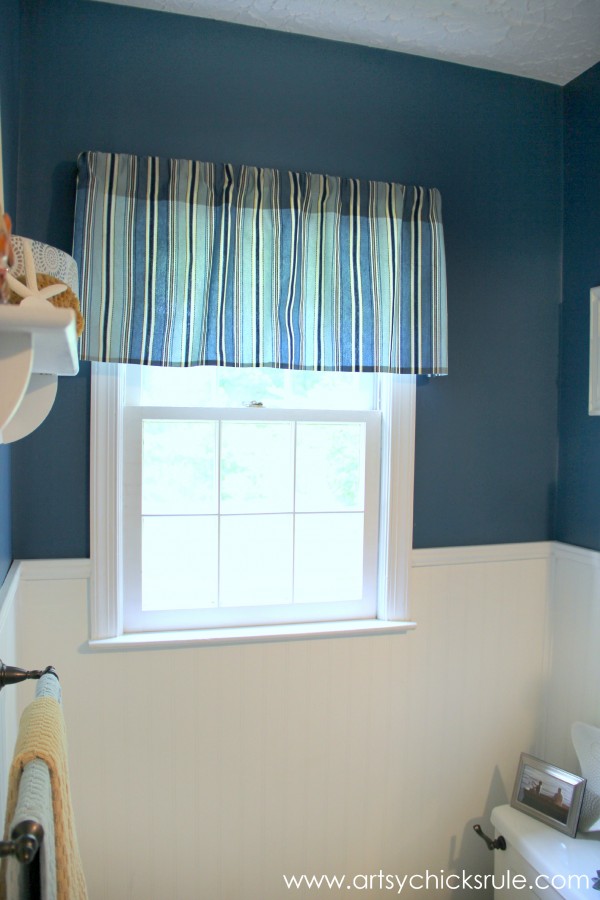
It was “temporary” too…but it remains. ;)
Love this saying ….
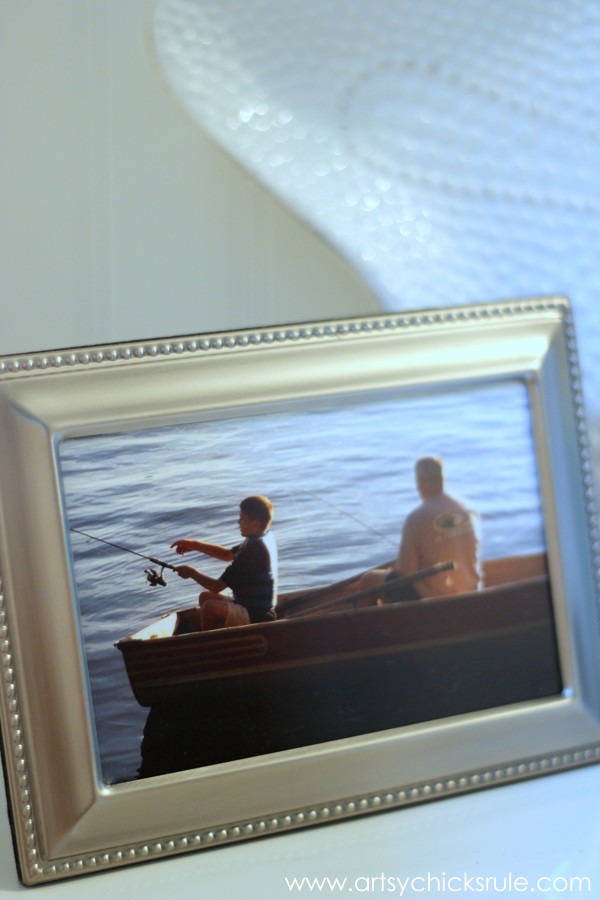
Another thrift store frame holds a photo of my son and husband fishing.
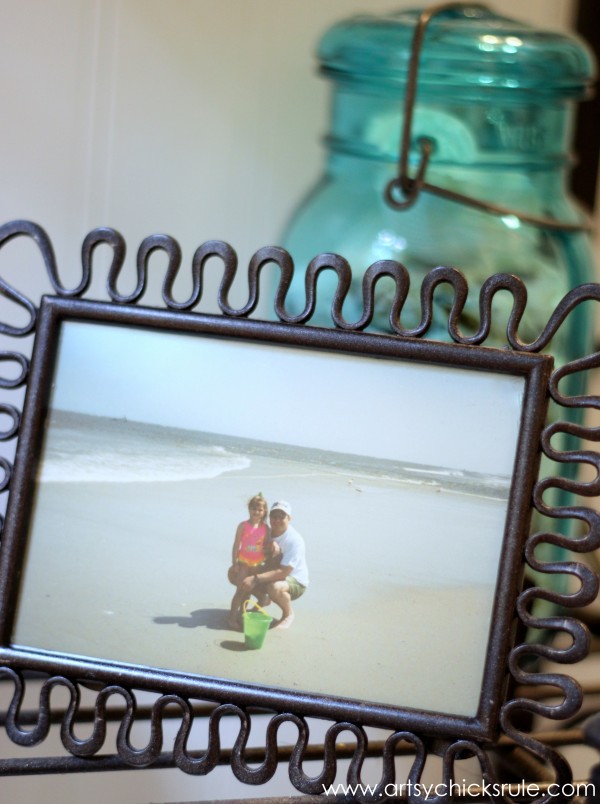
…and another (that I also sprayed with Oil Rubbed Bronze) with my daughter and her uncle on the beach.
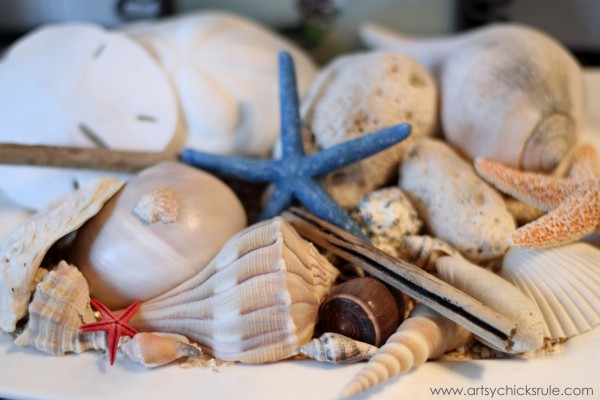
A dish full of pretty shells, coral, driftwood and starfish….
Bright & cheery now… updated & decorated on a major budget.
Quite the transformation….
UPDATE: We have since updated this bathroom…again. ;) See the new “Coastal/Farmhouse Bath” –> here.
I recently shared our Foyer before and after. If you missed that, you can see it—> here.
I can not tell you how SO very glad am that I thought to take the before photos I did. I certainly was not writing a blog nor did I have any intention to at the time!
BUT I did know that my husband and I had just “signed on” to do some major DIY in this house and wanted to have documentation for ourselves.
Who knew? ;)
If I did…I’d have taken better photos and more! There are so many in between makeovers that I have no photos to show. Mostly I was interested in what it looked like before…and what it looks like now.
I didn’t think I’d need to document us doing all the “grunt” work in between.
Anyway, there you have it. One more room of our home, before/after. I will continue to share them as we progress.
The Family Room will be next…it’s a major “doozy”.
Remember, that was the one we called “the cave” when we moved in. ;)
Be sure to stop back by on Thursday for a fun new post on “repurposed” makeovers.
One of my favorite things…taking something and using it for anything other than it’s original intended use/purpose….and I will be sharing 20 of them!
See you then!


")


")
")

Hi Nancy-
What a difference.
I love viewing your posts – you make everything look so pretty.
Have a great day
Rose
Aw thank you so much Rose! :)
Hope you have a great day too!
Nancy
You have the “Magic Touch’. I simple love the new feel of it. Light and cheerful. Beautiful. I love it!
Aw thanks Susan!! You made my day! :)
xo
Nancy
What a difference! I’m so like you in that I always took before photos too even long before blogging, just to see the difference! This bathroom is so much brighter and more inviting, and it has fun things to look at when you’re locked inside. :)
Thanks Christy!! Haha…once locked inside! Love that. ;)
xo
Nancy
I love seeing transformations like this, it’s so inspiring. Avocado tiles yummy!! It does look gorgeous now and I’m glad the bathroom moved through its dark phase
Thanks Sacha!
I know…aren’t those great! ;) Yes, I am glad I moved through that phase in my entire house too. (I went from 1970’s dark to a different kind of dark…but I came to my senses!)
Nancy
Hi, I was wondering about The door and baseboards. It looks like you changed out the woodwork from wood stain to white. Are all your doors and woodwork white now? I would like to do this in my bath but the woodwork is wood stain throughout the house. How do you work through that?
Hi there!
Yes, we completely removed all the flat doors and replaced them with 6 paneled doors throughout our entire home. We replaced most baseboard and much of the trim also. The rest of the trim (that was stained dark) was painted white. You can paint your trim white. It’s a little tedious but very do-able! :)
Nancy
What a gorgeous makeover! I love the dark blue walls with the white beadboard. Your coastal decorations complete the look.
Thank you Paula! :) It’s always subject to change around here…but anything is better than that before!
Nancy
Love it! That was a major transformation. I love the blue walls, wainscoting, blue walls and beach theme. That vanity is lovely! Beautiful job, Nancy. :D
I guess I really like the blue walls since I wrote it twice. lol ;)
That’s ok…I kinda really like those blue walls too!! They totally deserved a second mention! ;)
Nancy
Thanks so much Julie! It’s a happy room now. :)
Nancy
wow girl is their anything you can’t do i love this and to show you i was really looking hard at the pics did you change the handle on the toilet too? xx
hahah!!! I did!!! Good eye Chris! ;)
Thank you! xoxo
Nancy
I am sad to see the avocado sink go- :) But you did an amazing job- Stunning!!
haha…when I read that first sentence, I was like “wha???” Really? Then I saw who it was that commented and knew you were messing with me! ;)
Thank you friend!! xo
Nancy
Love it, love it, love it!
Thank you Zena!! :)
Nancy
Nancy, a beautiful elegant bathroom. I too have come full circle back to the blues and hope never to return to the dark burgundy and greens. Looking forward to Thursdays post. Xo
Hi Vicki :)
Thank you so much! Isn’t that so funny about the blues? I haven’t decorated with blues since the early 90’s! ;)
Hope your week is a great one so far. xo
Nancy
Quite the difference Nancy – the room looks bigger now too! I like the style of your vanity/sink – the details stand out so much better now that it’s white. Enjoyed the preblogging pics too…aren’t they a fun gauge for how far we’ve come!
Hi Marie!
It’s amazing how different a room can look I tell ya! :)
Thanks a bunch!!
xo
Nancy
OK, the makeover is beautiful, and yeah so it might have been a bit dated – twice – with the maroon and Tuscan, but really, you tell me when exactly does wine go out of style? No wait, don’t tell me I don’t wanna know!
Oh, lol!!! Never!! Wine never goes out of style and I hope it never does!
Nancy
I love the sink. I love how it turned out!
Thanks Pauline!!!!
Nancy
We bought a 1950’s home a couple years ago, we also have the tile clear up the walls in our bathrooms. I am just wondering if you put the bead board up because tearing down the tile caused damage or if you just liked the look. We are getting ready to update our master bath and are wondering if taking down the tile will leave damage behind with an extra cost at repair etc. Love your remodel job, makes me excited to start ours.
Hi Anna!
Yep! That is one of the reasons we did that back then. The tile does leave a mess behind so we just decided to cover it up instead of messing with it. We’ve done it in both baths and are also doing some sort of board and batten in our master bath renovation too. I love bead board and board and batten anyway, so it was a win-win! :)
Nancy
LOVE your bathroom makeover!! We are in the midst of our own bathroom remodel, I hope it turns out as nice as yours! Love the blue walls also…
Aw thanks Dawn!! I will bet it definitely will!! :)
Nancy
Hahaha…your “dark, dramatic, maroon, gold, palm tree, wine, tuscan theme.” So complex! :) I love how it turned out!
-andi
Oh my yes….sure does sound complex …or something!! ;) Thank you!!
Nancy
did you have to use green board or anything like that? some forums i read talk about the importance of that….?????
No, we didn’t for this one. I think the green board is more important in the bathrooms with showers/baths, etc.
This is just a guest half bath so no need for the moisture resistant type board.
Nancy
So awesome Nancy! I love how you put the newspaper rack in the bathroom. So thoughtful! I have never thought to do it with my family bathroom. I will try to do this with my bathroom and also guest bathroom. Thanks for sharing your ideas Nancy!
Thanks Edward! This little bath is in the works on a new makeover! ;)
Great! I’m so excited, can’t wait to see it :)