Christmas Trays with Decoupage Fibers
These thrifted trays got a brand new holiday look with decoupage fibers and paint, of course!
Hello, sweet friends!
It’s Trashy Treasure Tuesday, and I’m here to share a few of mine, Christmas style. I found two trays and thought I’d turn them into something fun for the holidays. Because gosh, you know, they are right around the corner!
But first, are you new here? If so, let me tell you a little about TTT. A few of my friends and I get together on the second Tuesday of every month and share our latest “trashy” finds.

I’ll have their “before” photos and links down below, so be sure to scroll down so you don’t miss them.
Before we get going on this makeover today, I wanted to mention a fun thing I’m doing for the holidays. Over the 14+ years of blogging here, I have done countless giveaways. I love giving back, and it truly makes me happy to put something together for you. But unfortunately, I could only gift one and sometimes up to three at a time, depending on what I was giving away. I wanted to gift you all! But how?
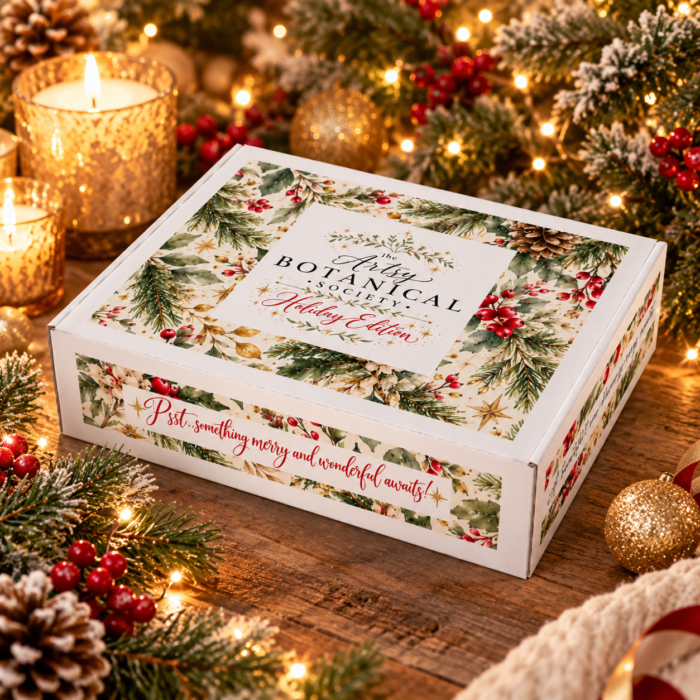
If you’ve been around a while, you know natural products, soap making, and essential oils have a special place in my heart. And I’ve decided to follow it. My newest venture, “The Artsy Botanical” (FB here, Shop here, Instagram here…would love a follow if you are so inclined)
You can read more about my history with it here, if interested.
Anyway, all that to say, I decided to create a “HOLIDAY BOX” for you all! It’s filled with handmade goodies (soap, of course, plus a few others), some “gifty” goodies, a tasty something, something (or things to wear), and more! Yes, it’s a surprise; I mean, duh, it’s Christmas. haha!
It’s the perfect gift to pamper YOU or a close (girl-it’s geared towards the ladies) friend, sister, mother, etc.
I’ll have a link at the bottom if you’d like to check it out. I’d love it if you did! (This is the exact box, filled with all the things you/they will receive)
Christmas Trays with Decoupage Fiber
MATERIALS SOURCE LIST
RED CHRISTMAS TRUCK PROJECT
BEFORE
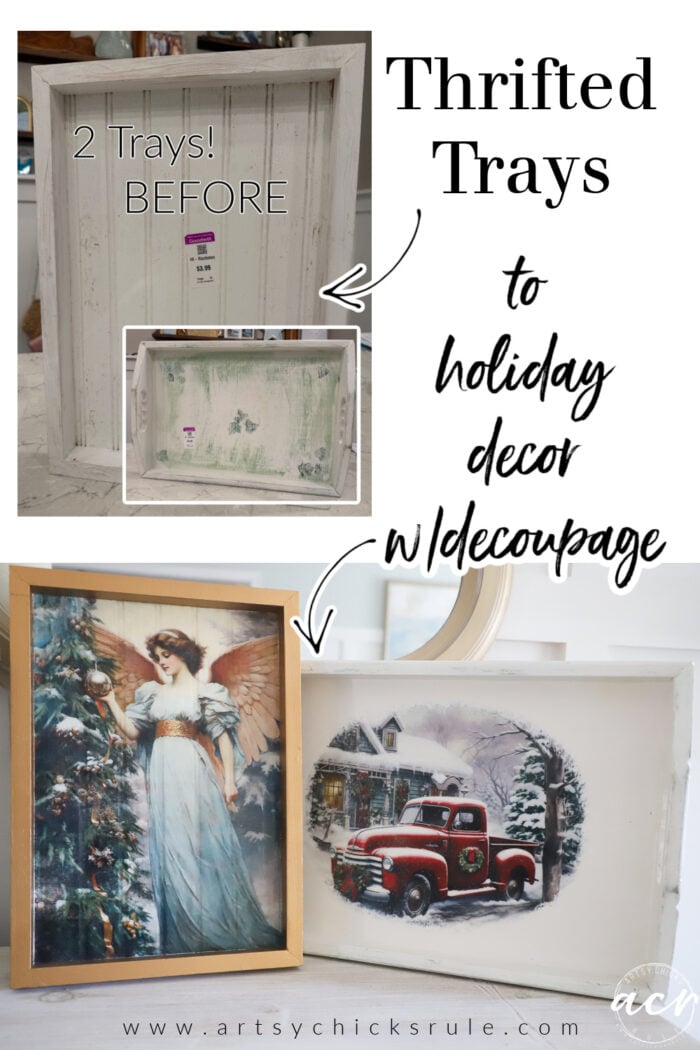
Here is how my two trays looked when I found them. (Goodwill)
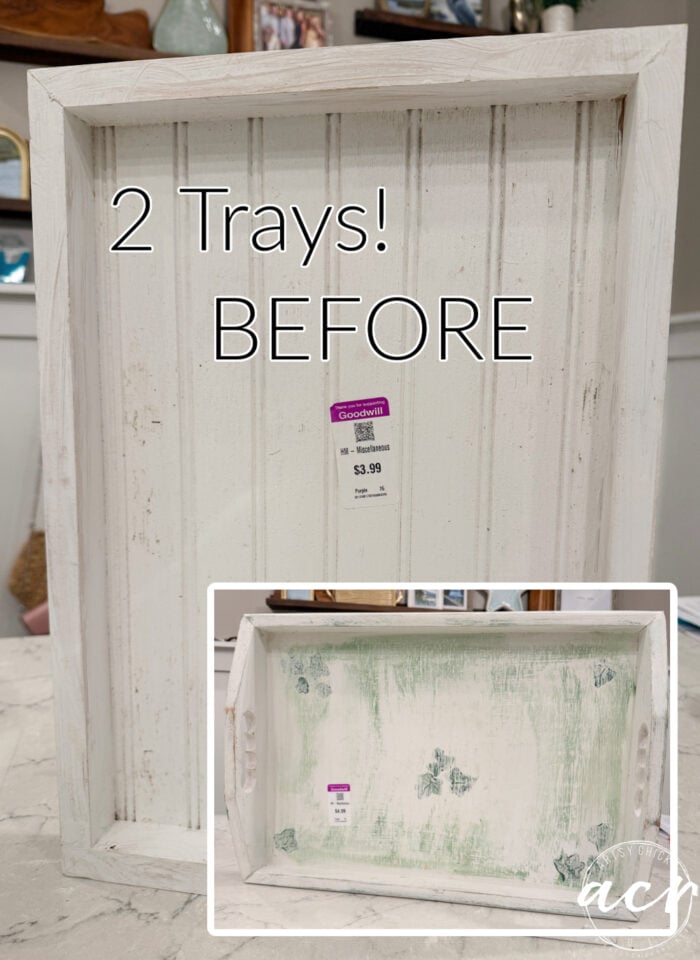
Both pretty sad. And the green one looked like someone had tried to give it a makeover but didn’t finish.
PAINT
I cleaned them up and pulled out my Victorian Lace and Snowdrop paint.
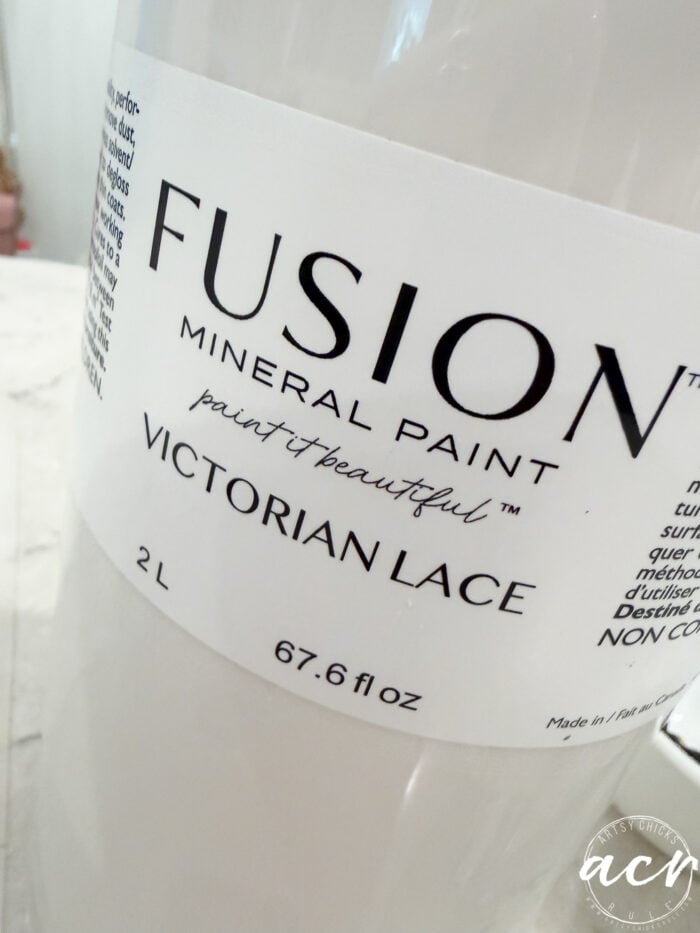
I put Snowdrop on the one on the left. The one on the right got Victorian Lace.
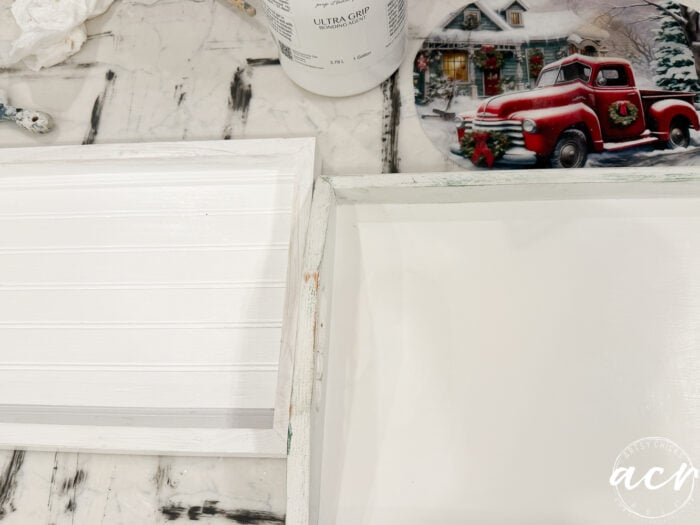
Whites are so funny! Victorian Lace looks very white to me until you put it next to Snowdrop.
It took a couple of coats to cover the green fully. I decided to leave the distressed green/white everywhere else on the tray.
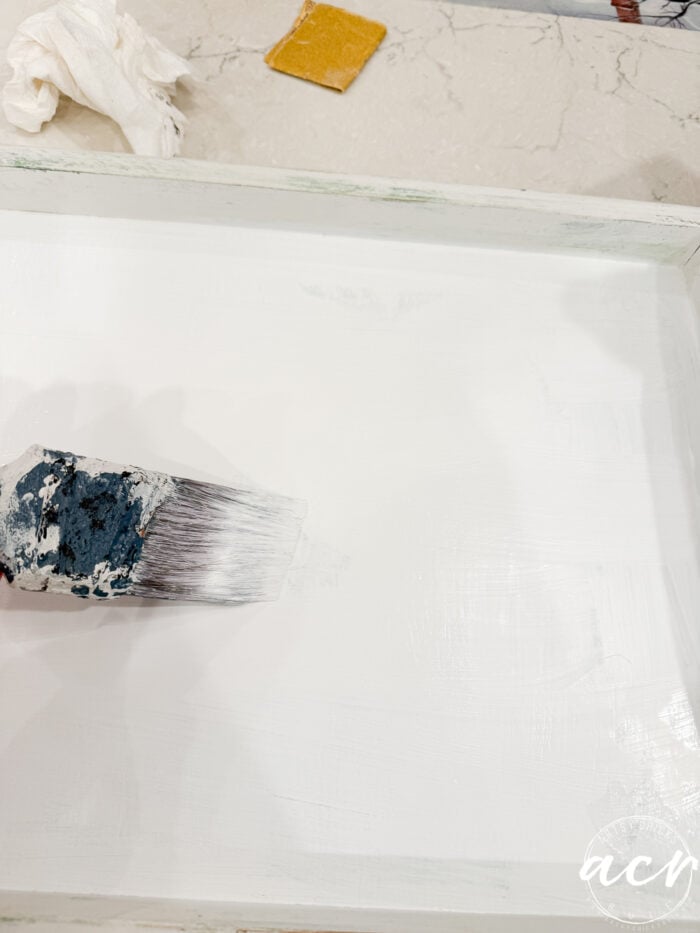
That’s one reason I went with Victorian Lace for this tray. I wanted to match the sides since they were more of an off white/soft white.
ADD DECOUPAGE FIBER
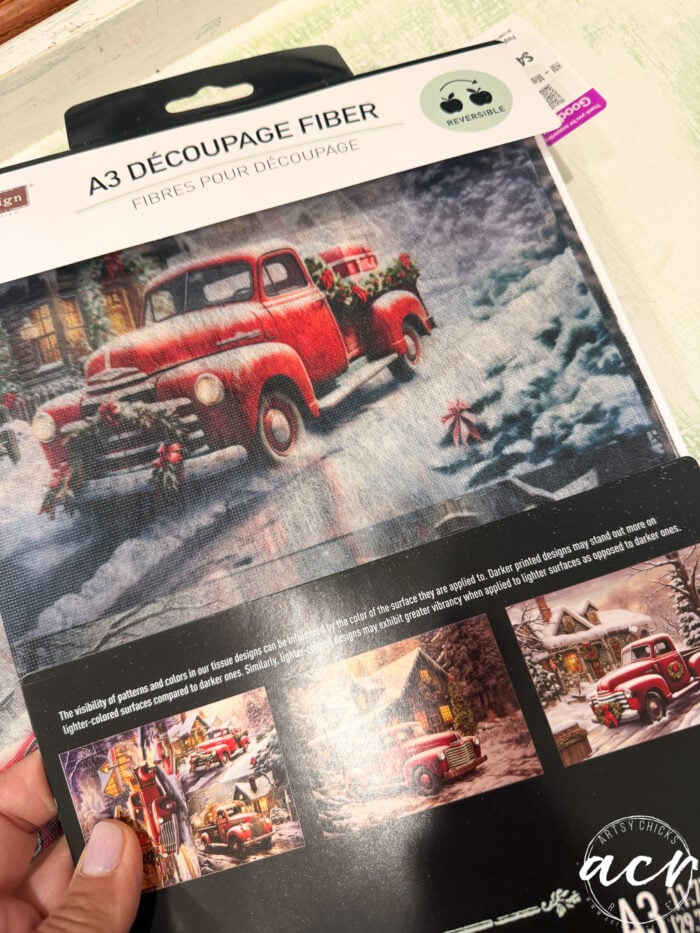
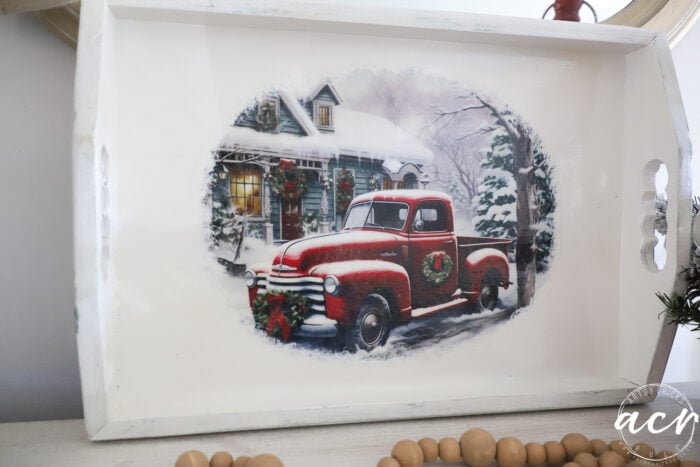
This is the decoupage fiber I chose for the big tray. I love that red truck!
This dog toy basket was just about the perfect size, so I used it to draw around an oval on the decoupage fiber.
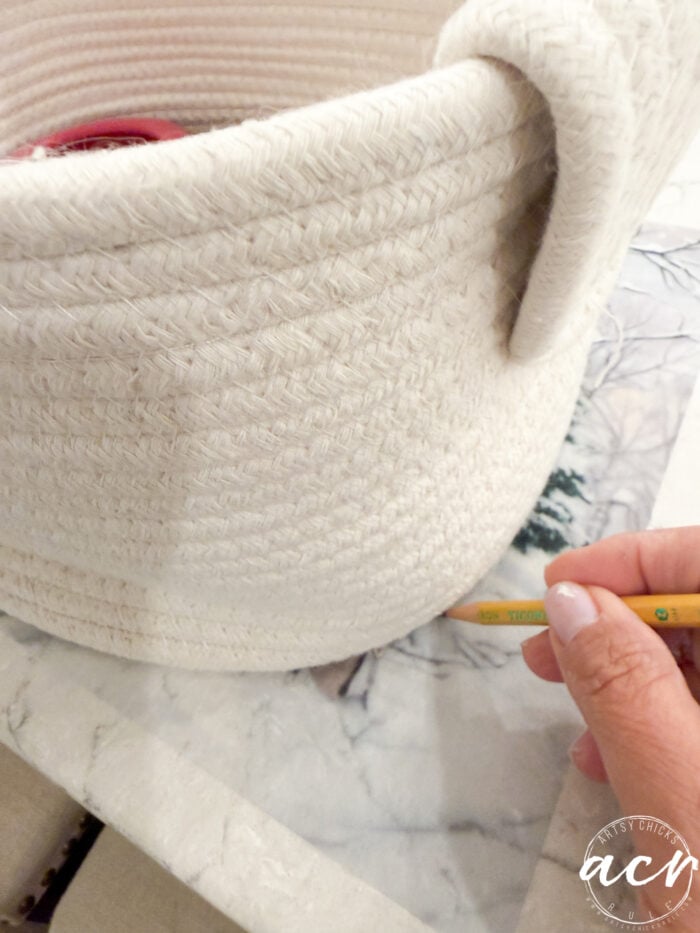
See the pencil marking?

I cut that out and decoupaged it to the tray. (Once the tray was fully dry from painting)
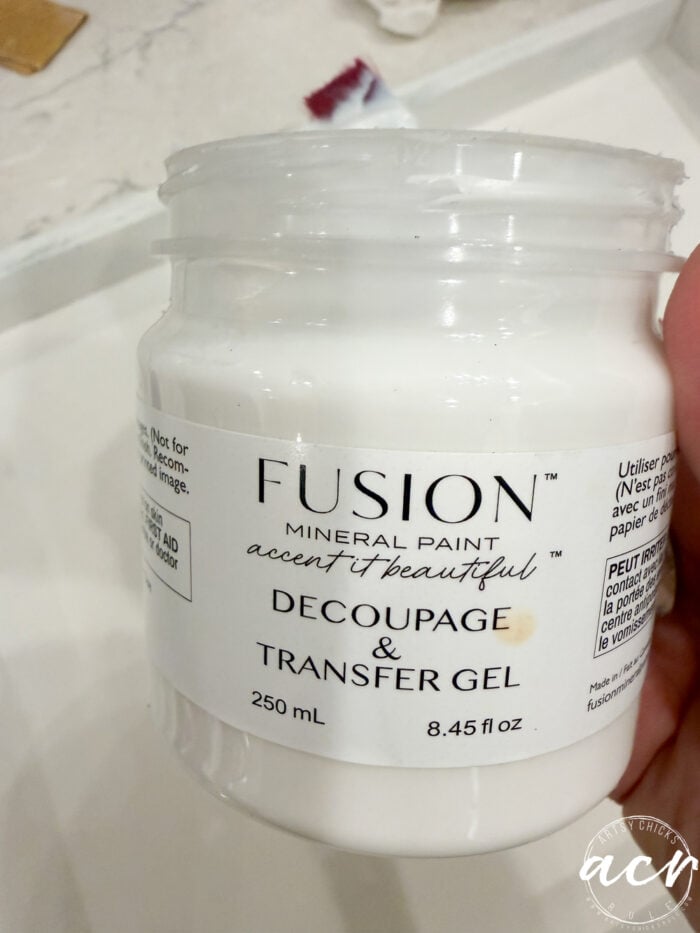
This is what I used for that.
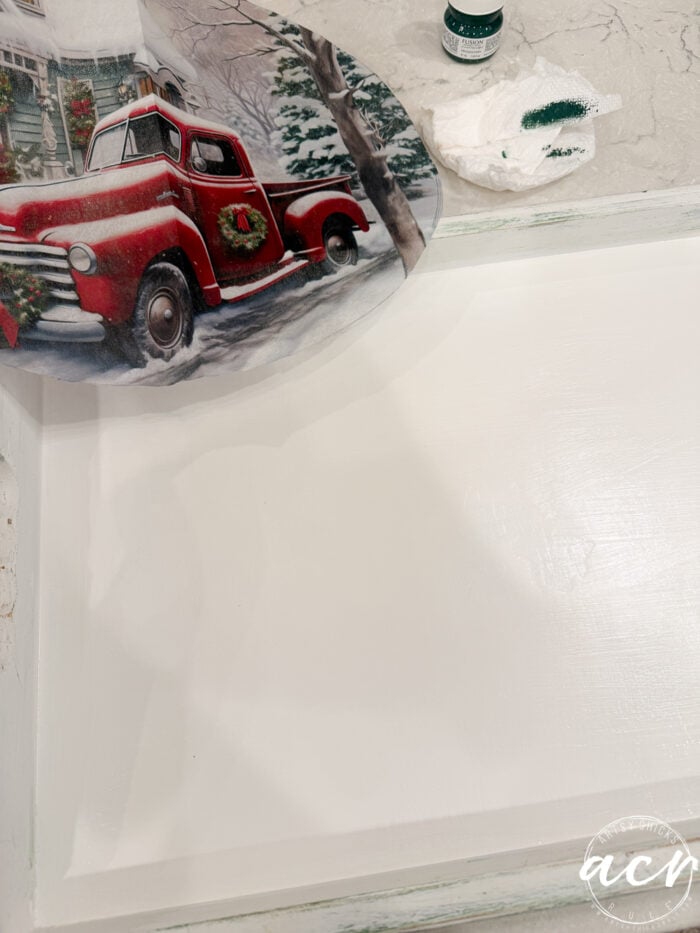
The edges will get painted over, so they don’t have to be perfect.
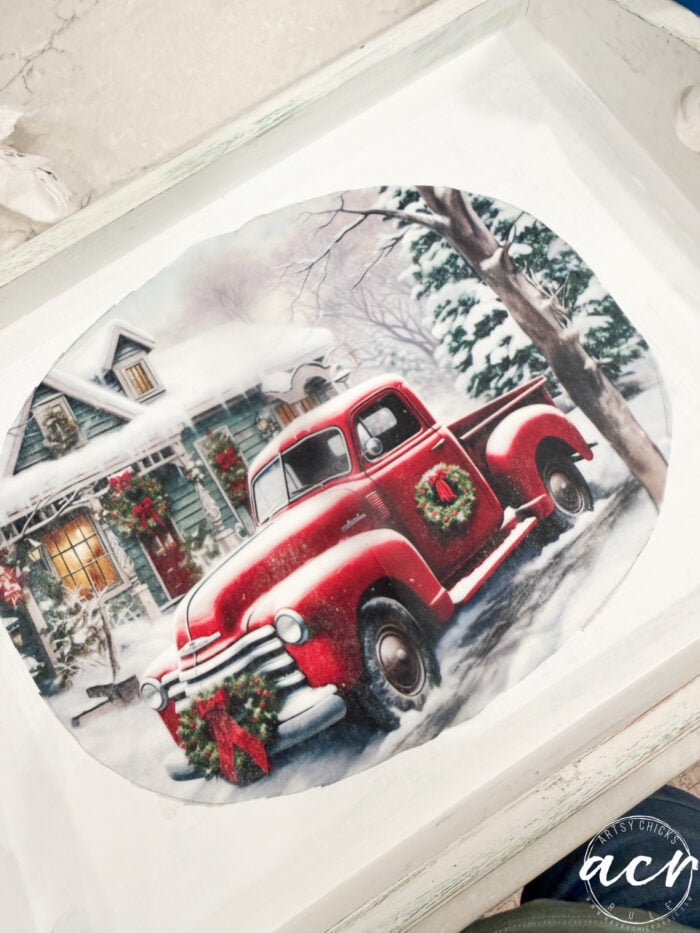
I thought green would be pretty and give it a full Christmas look (red/green).
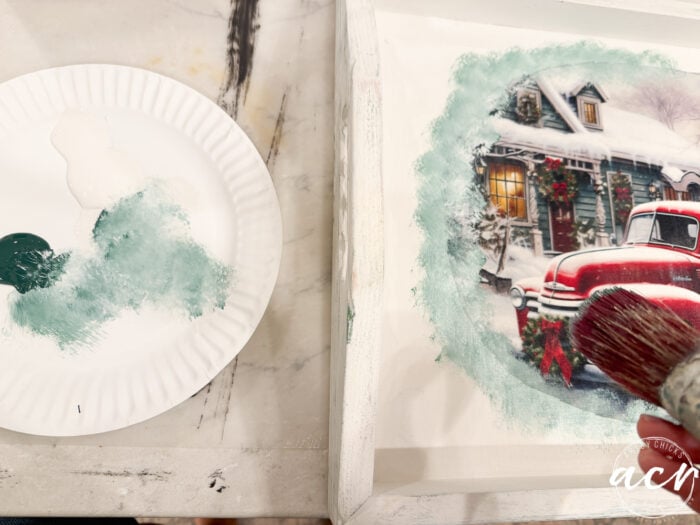
I carefully painted over the edge to begin. (tapping the brush in the paint lightly and tapping lightly on the fiber edge)
I used some white and some green. (and didn’t tape the insides, but decided to paint over it because I got messier than planned)
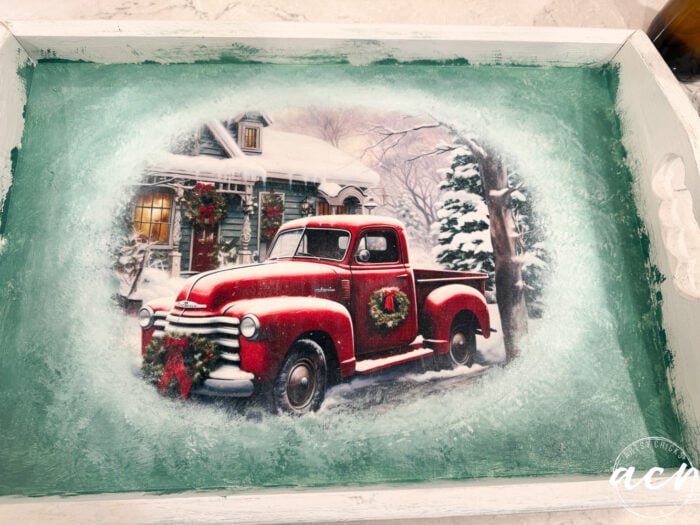
However…I didn’t love it!!
So, I peeled off the decoupage fiber…(Thankfully, I was able to do this fairly easily since I had just placed it there)
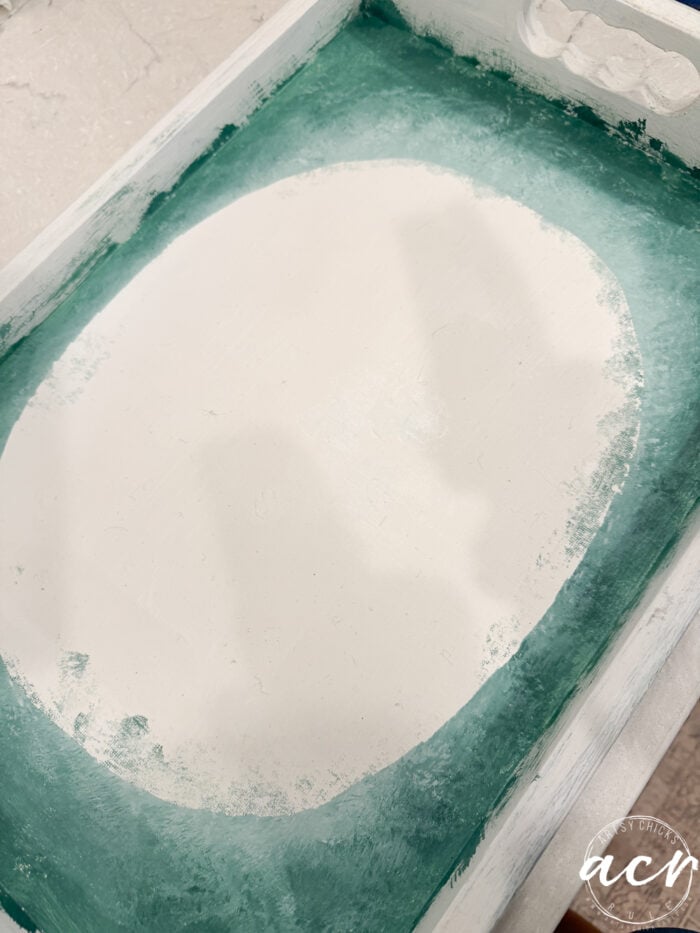
…..and repainted the bottom. (and the sides)
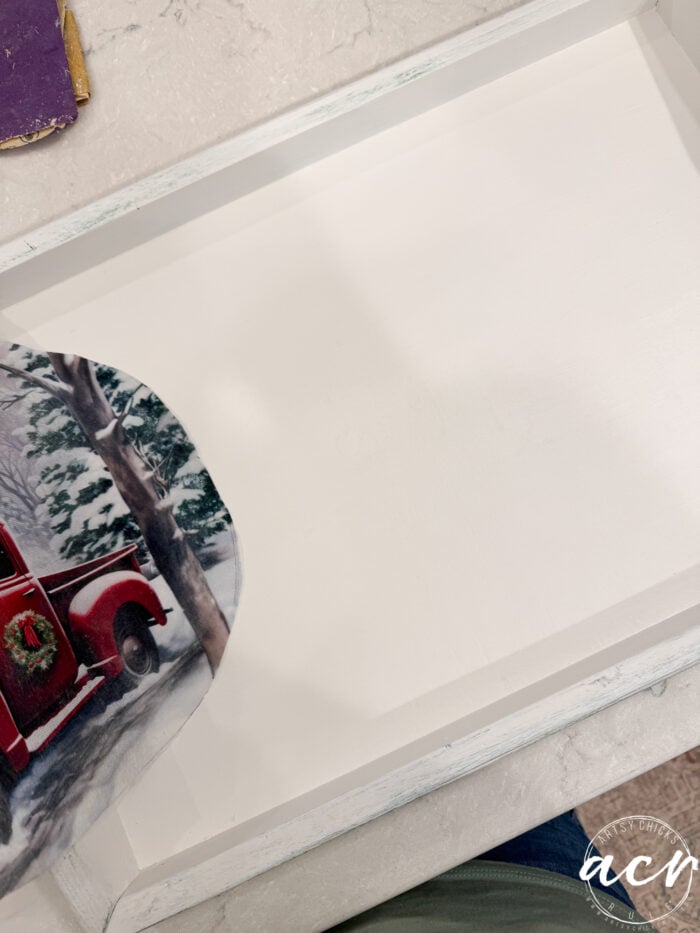
Okay, let’s begin again.
I re-decoupage it back into place and began stippling paint around the edges in Victorian Lace.
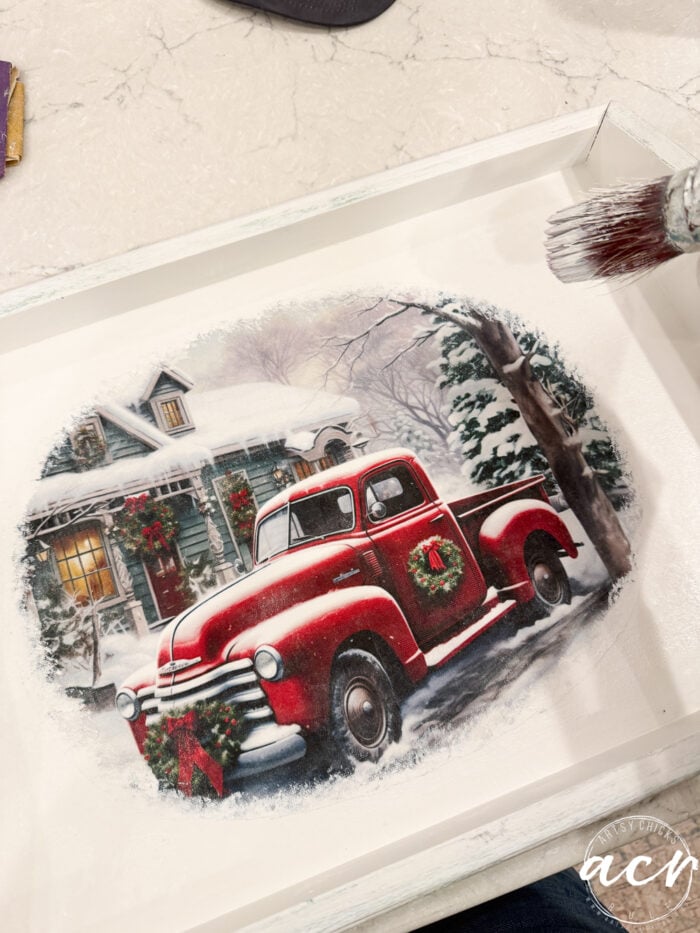
Isn’t that SO much better? It looks like a snowy picture instead.
“FRAMED” ANGEL PROJECT
This is the Decoupage Fiber I chose for the second one. This pack has so many pretty images.
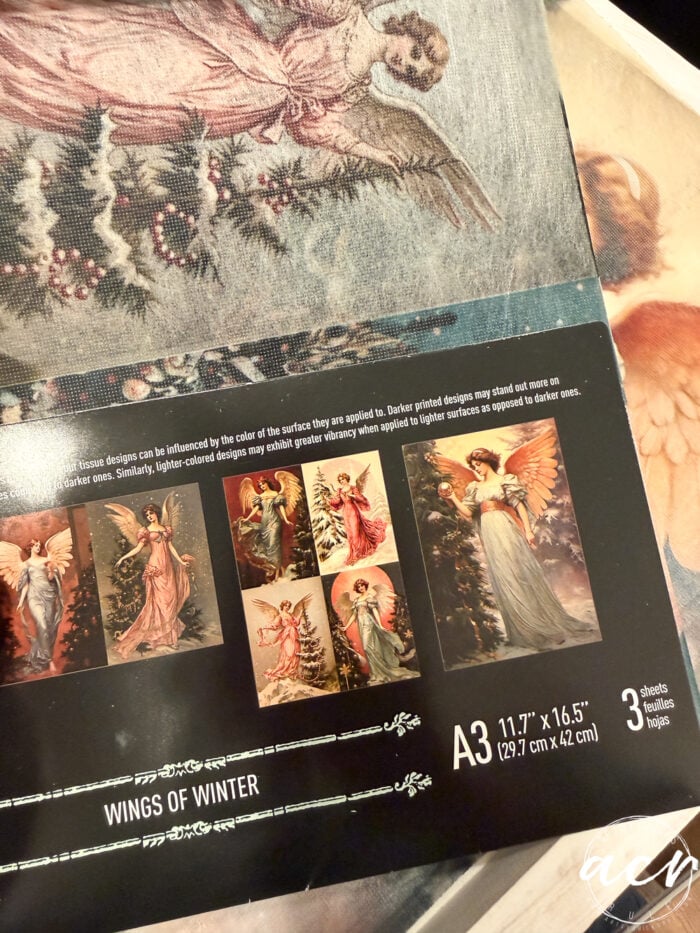
I chose this one…
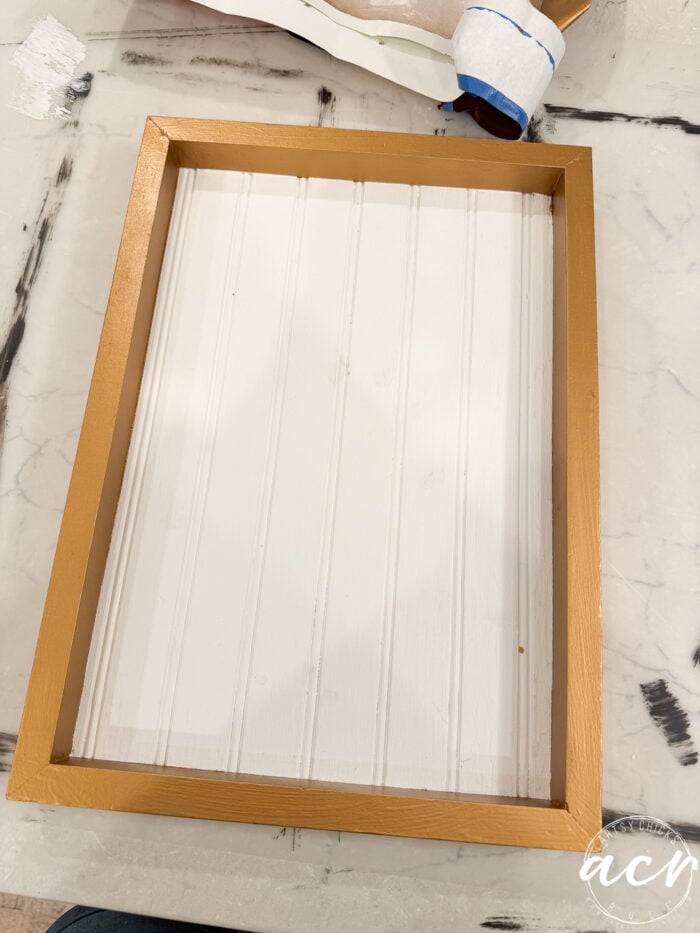
Since I had already painted the inside bottom, I taped it up well so I could spray-paint the sides/”frame”
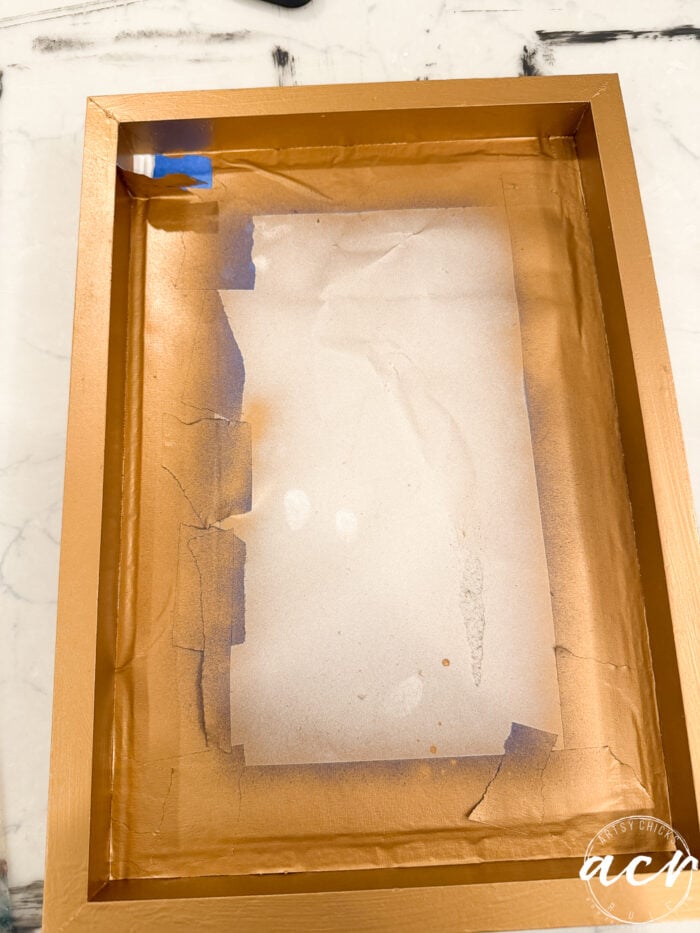
Perfect! This one was so much easier than the first one above. (no do-overs on this one, lol)
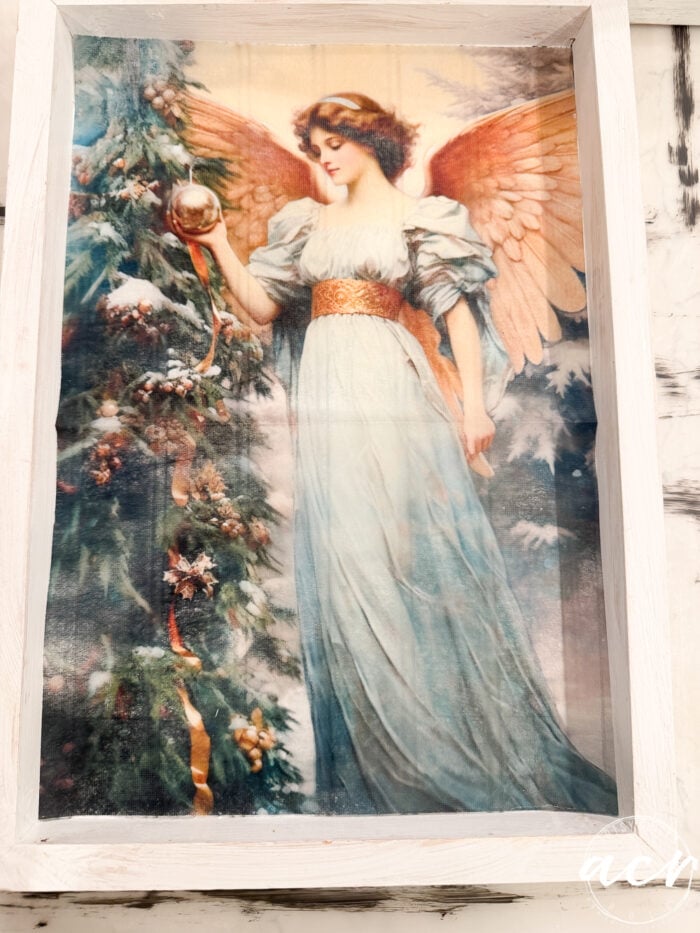
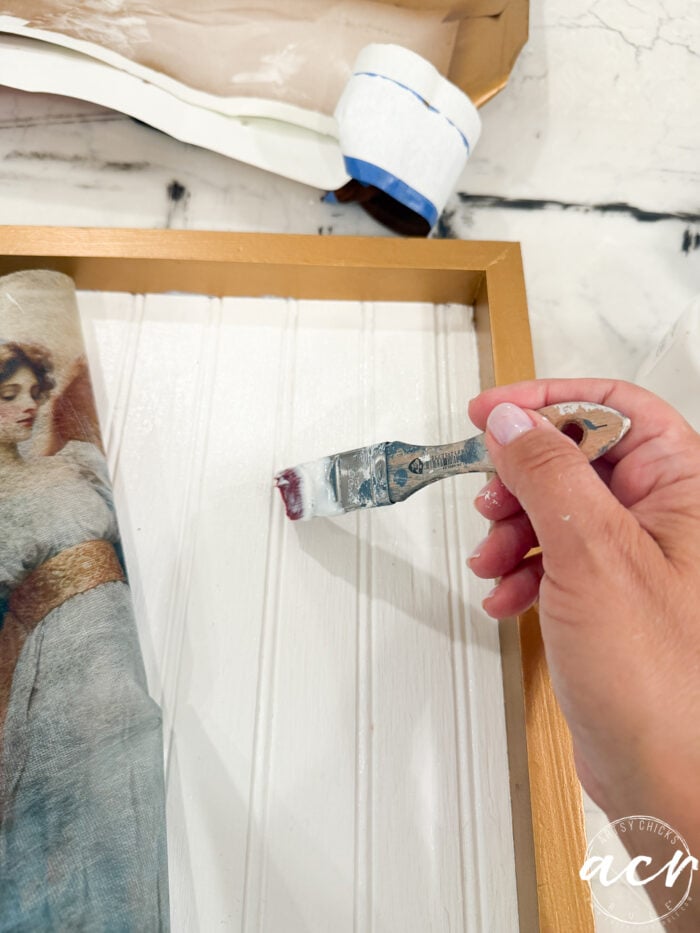
Next, I applied the decoupage gel…
Once that was dry on both trays, I sealed them both with this.
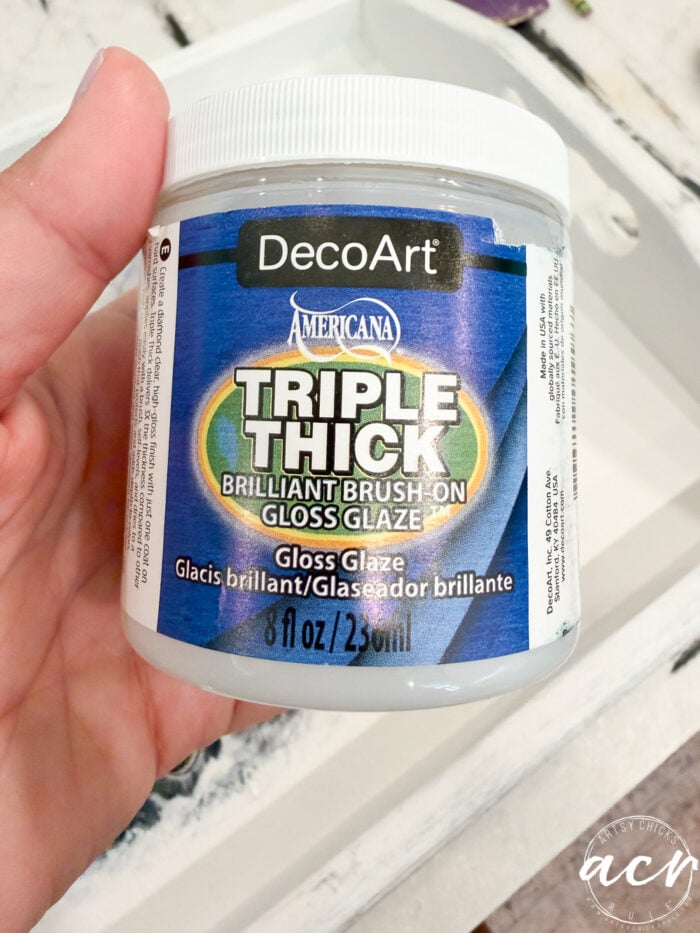
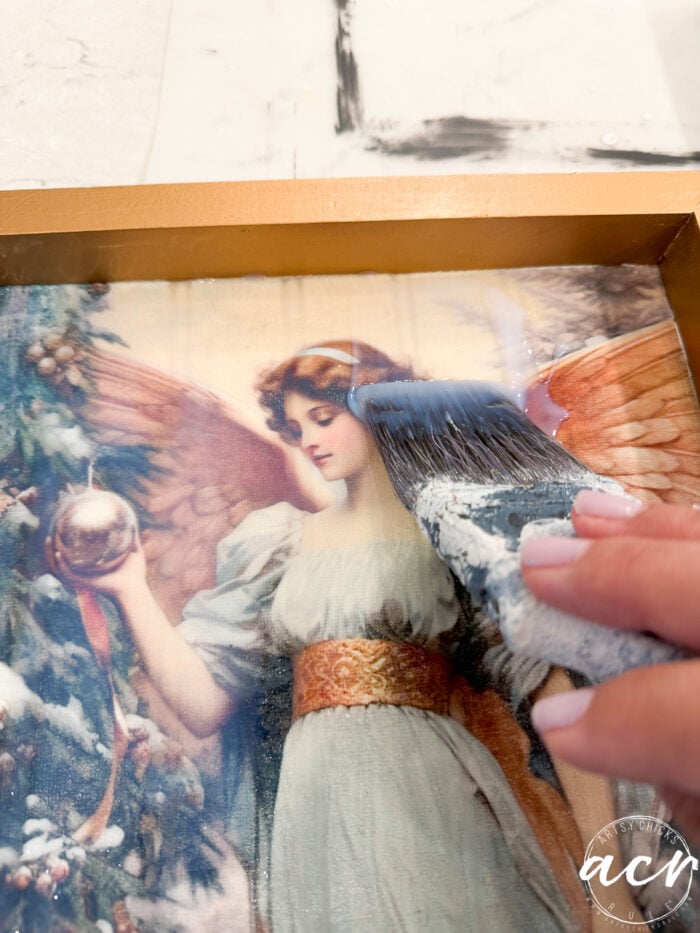
It’s a very high gloss finish. Sometimes I like a nice matte finish, but for the holidays, I think glitz, glam, and shiny is best.
EASY TO MAKE HOLIDAY ART
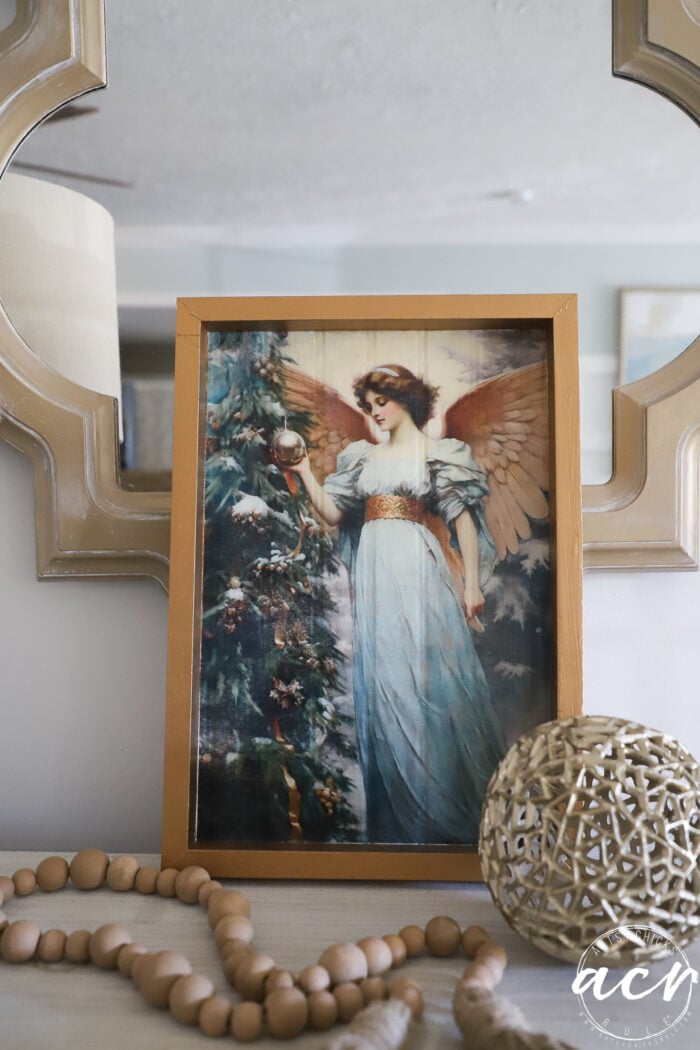
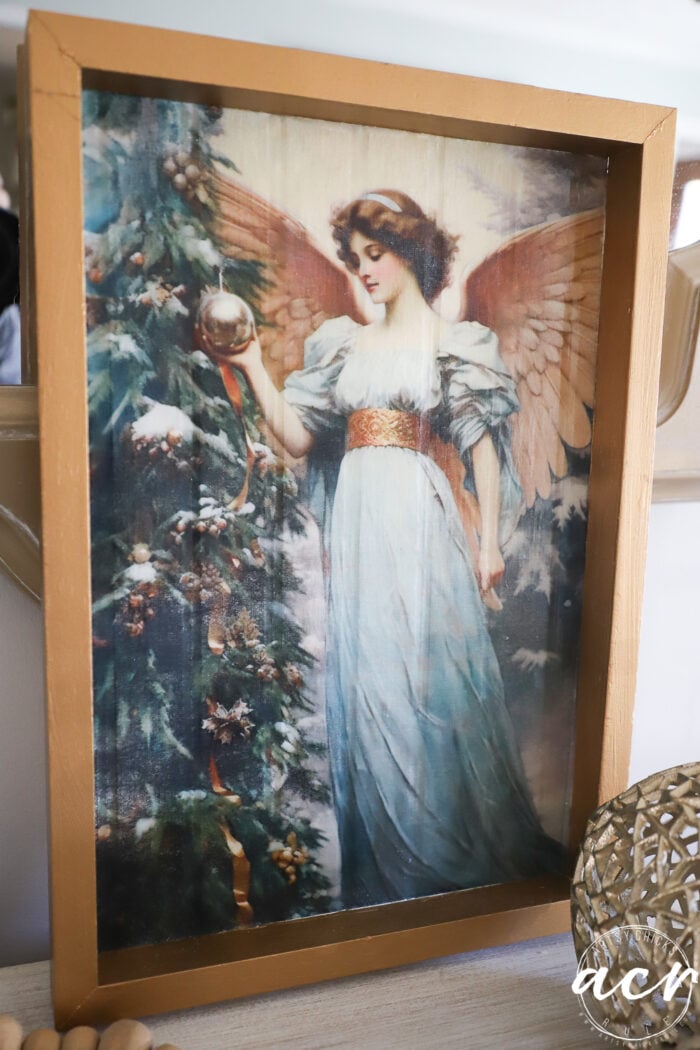
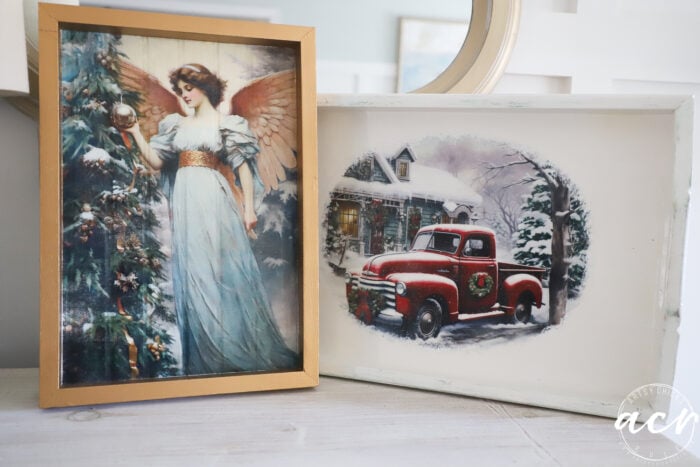
Isn’t she so pretty? I love the gold frame around this one.
This one is so, so much better. The red truck stands out beautifully, and the edges are so soft now. That green was just wrong. Ugh!
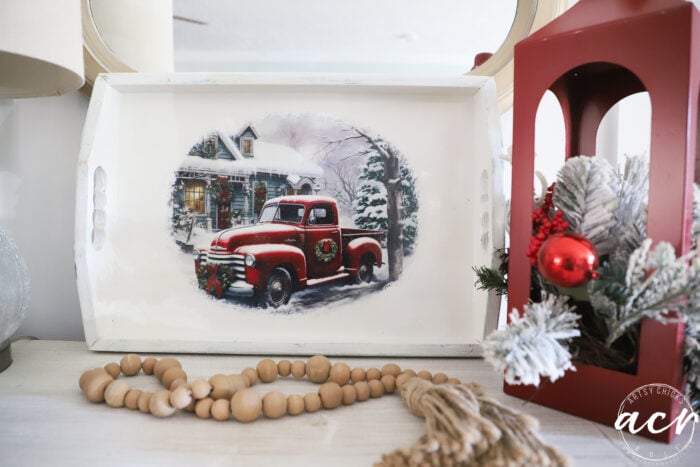
Looks like a snowy winterland.
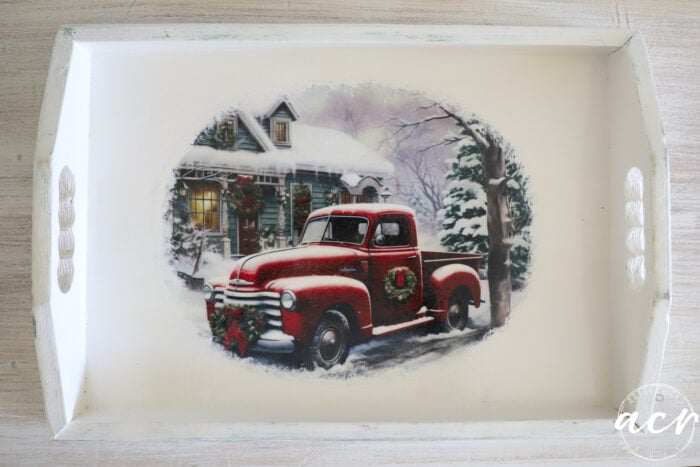
And it still has a touch of green from those distressed sides, remember?
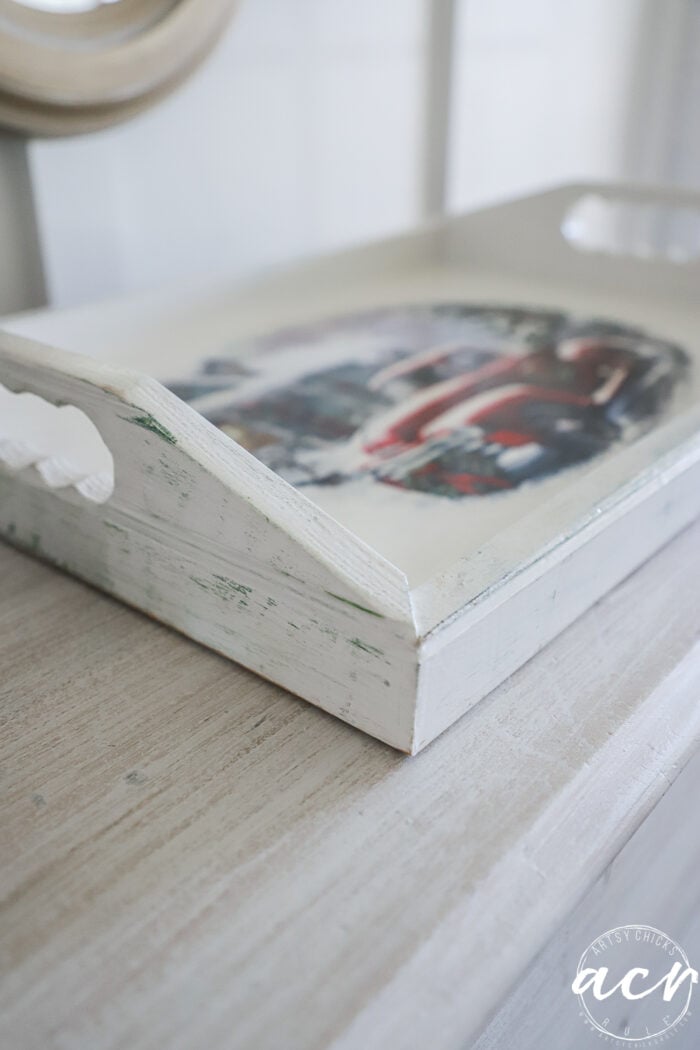
That is all the green it needed, lol!!
Have you decorated for the holidays yet?? I haven’t, but I plan to this week. We have a very busy month, well, 2 months, who am I kidding? Everyone is busy, for sure. But I’d love to get decorated so we can actually sit back and enjoy it a bit, hopefully not feeling so rushed putting it up, etc.
Anyway, if you come across some trays at the thrift store, pick ’em up, bring ’em home, and make something pretty for the holidays.
PIN it to save it!
Hop over and visit my friends’ makeovers below:
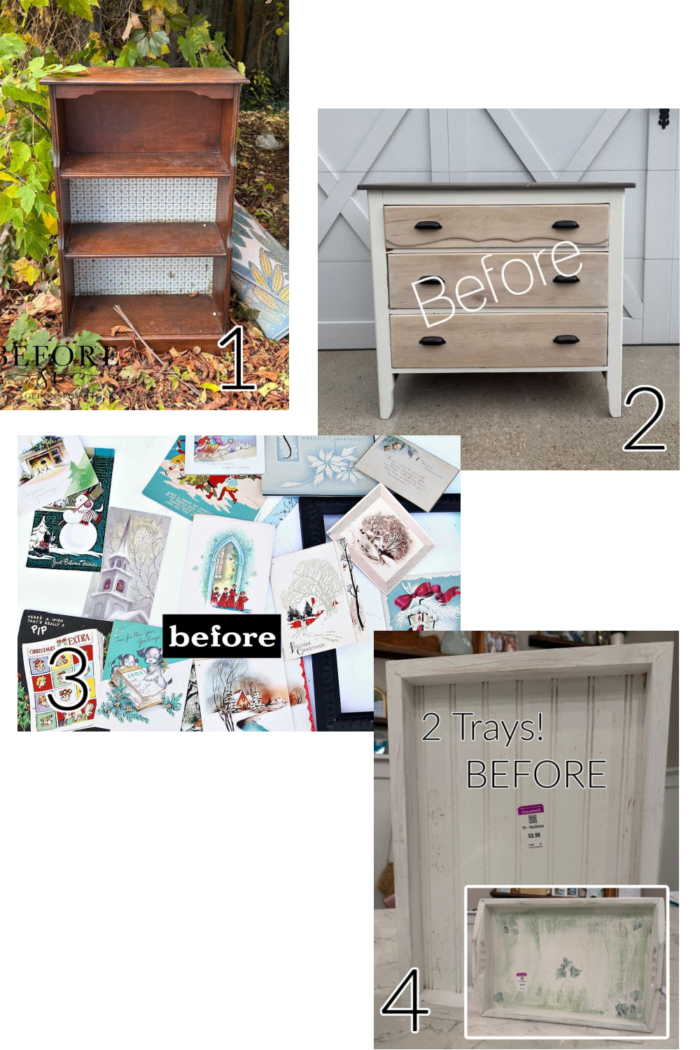
Do you want to see more trashy treasures? Check them out here.
Want to check out the HOLIDAY BOX? You can read all about it right here–>”The Artsy Botanical Society Box- Holiday Edition“