
Flipping Smalls #4
Flipping those smalls again today!! I’ve got 3 brand new cuties for ya!
Hello friends!
How about a round of smalls?? I’ve got three to share with you today.
Gold and silver might be today’s theme. Not at all planned that way, but that’s the way it worked out. Smalls are fun to play around with. Making them over is a great way to try new techniques on something small before committing to a big project. And perfect for learning.
Or just having fun!
Check out these 3 “flipping smalls”…
Here is what they looked like when I picked them up from the thrift store.
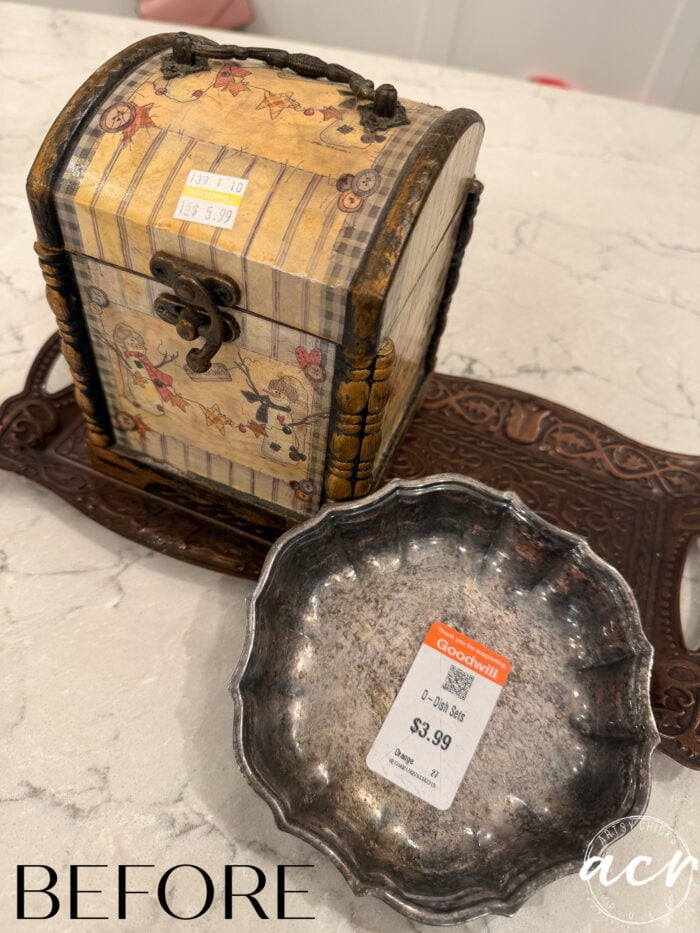
All three need a makeover, don’t you think?
I had plans for this little silver dish, so I started by cleaning it up with this.
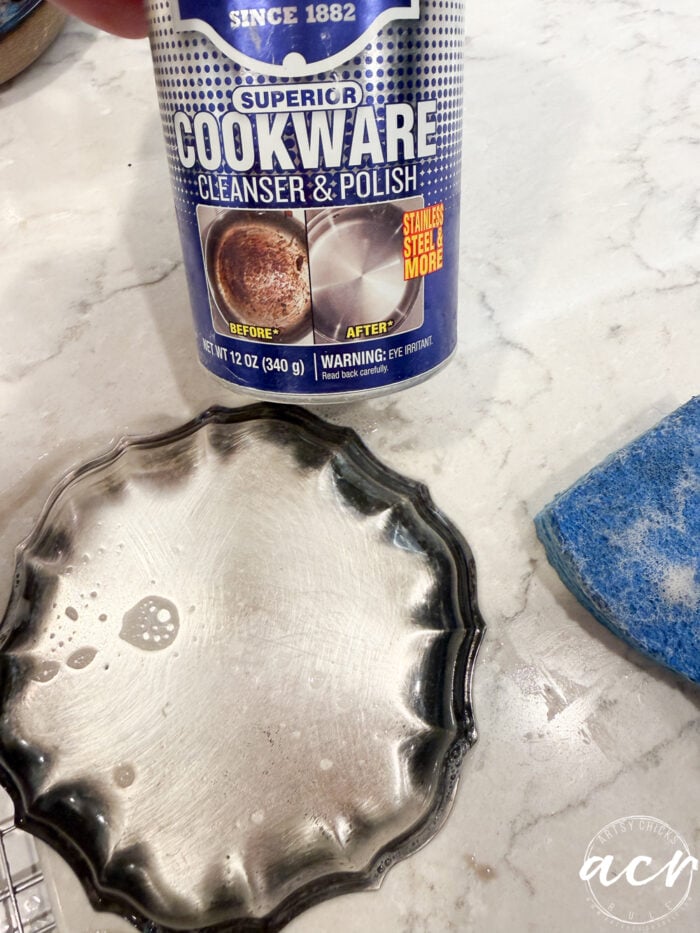
However, once I saw how pretty it was becoming, my original plans went out the window.
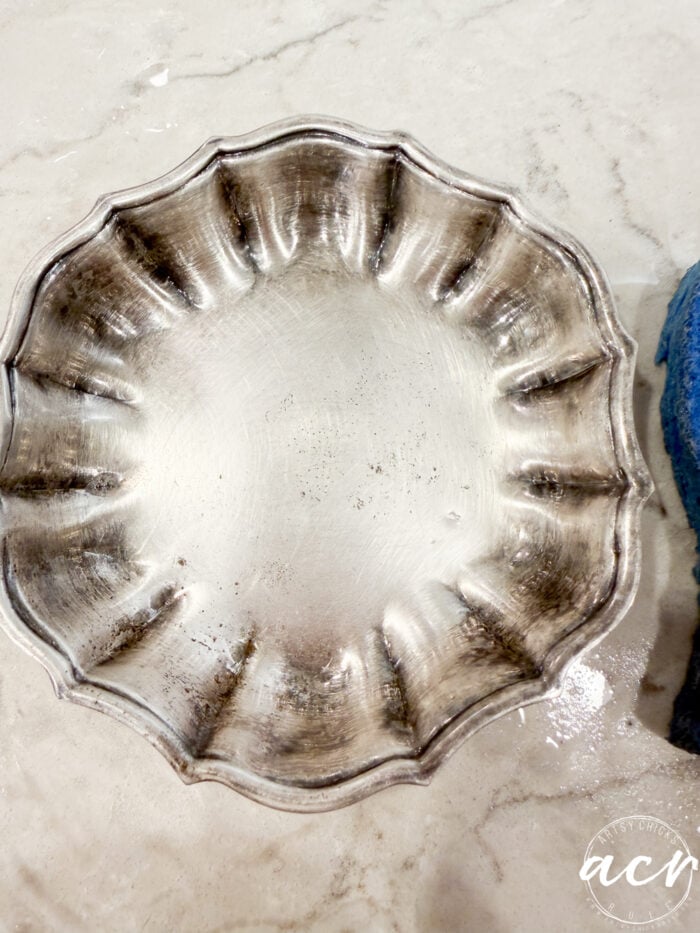
I’m not going to lie, it took some time…and elbow grease!! haha!
But it was worth it in the end.
Next up, this sweet little keepsake box.
This one is getting napkin decoupage and new gold paint.
But first, I carefully removed all the hardware.
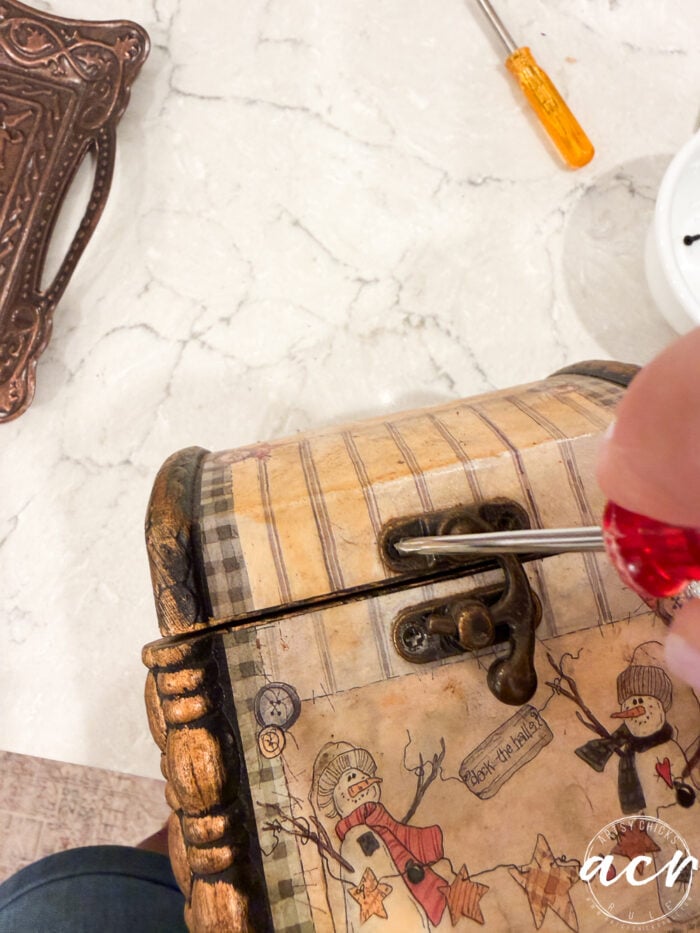
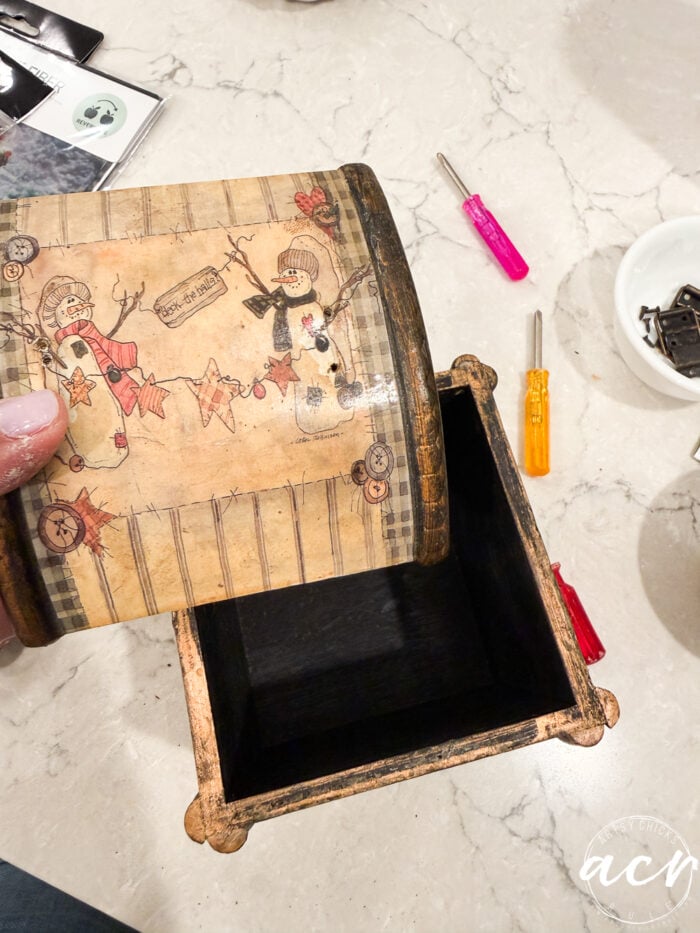
There are lots of teeny-tiny screws, so keep them in a small bowl so they don’t get lost.
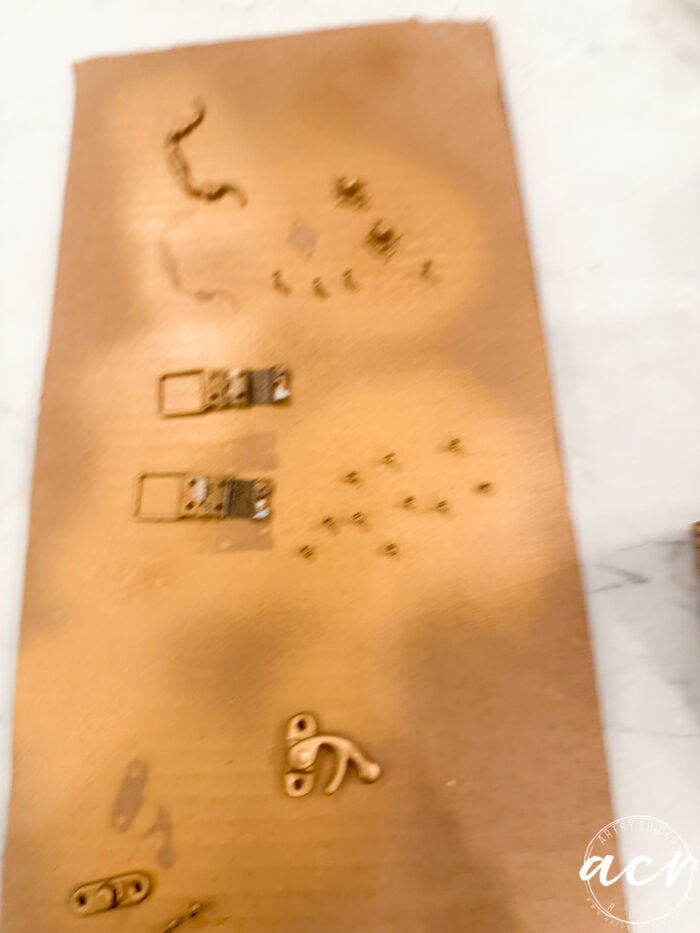
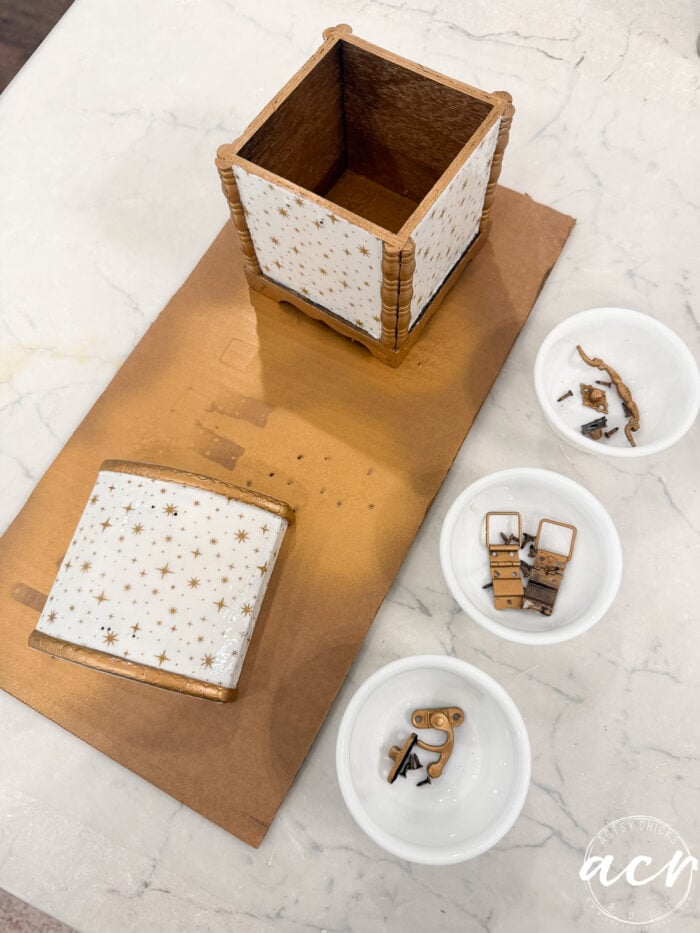
Once I had it apart, I sprayed it with a prettier gold. This one. And the hardware, too. I like to use cardboard to stick the screws into so I can easily get the tops. (Sorry for the blurred photo)
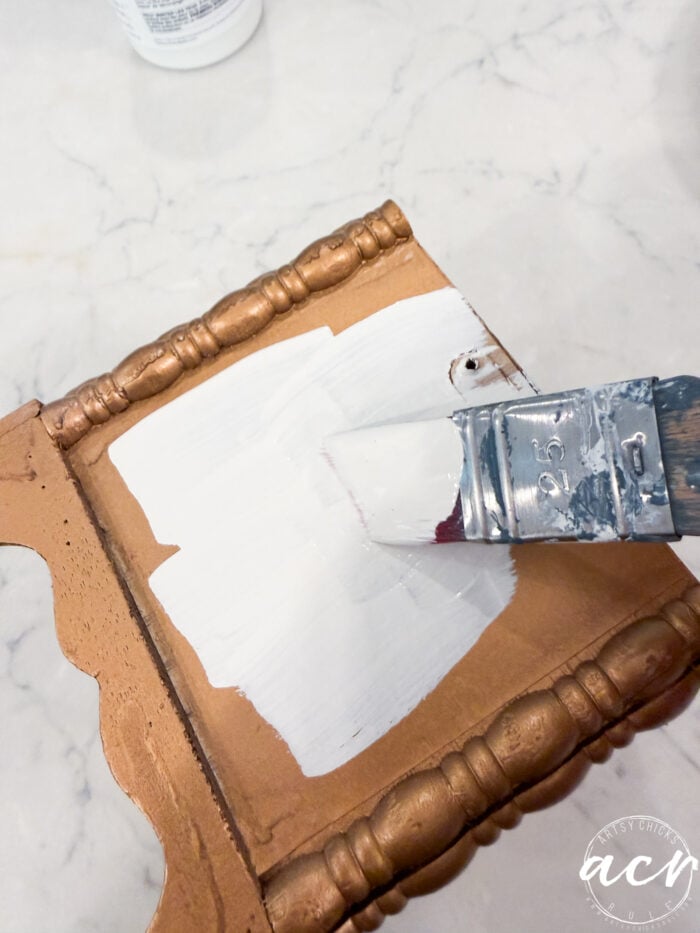
To create an even (and lighter) colored background for the napkin decoupage, I painted those areas with two coats of Victorian Lace.
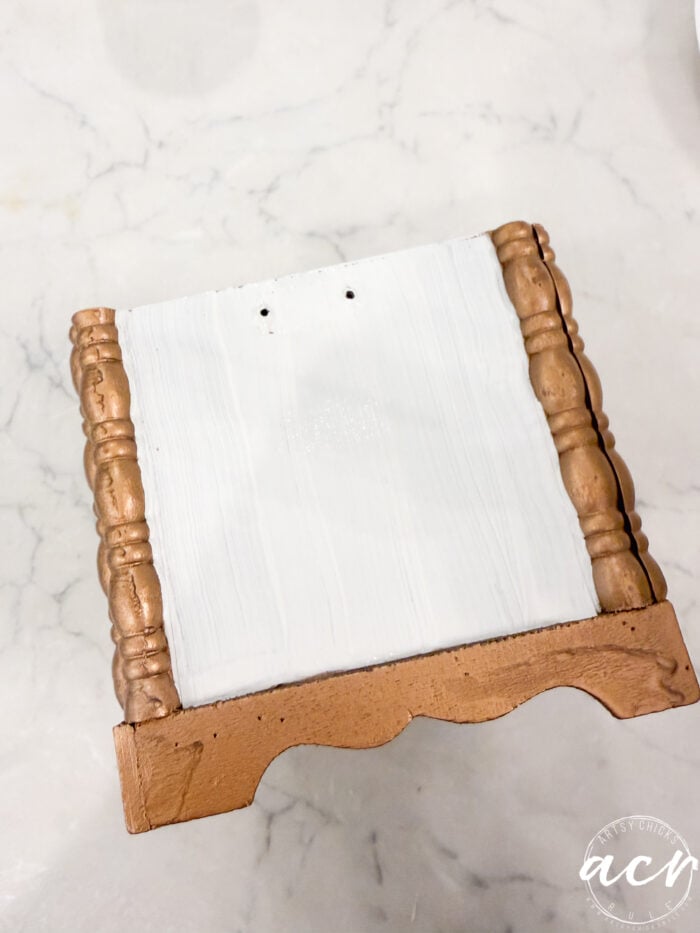
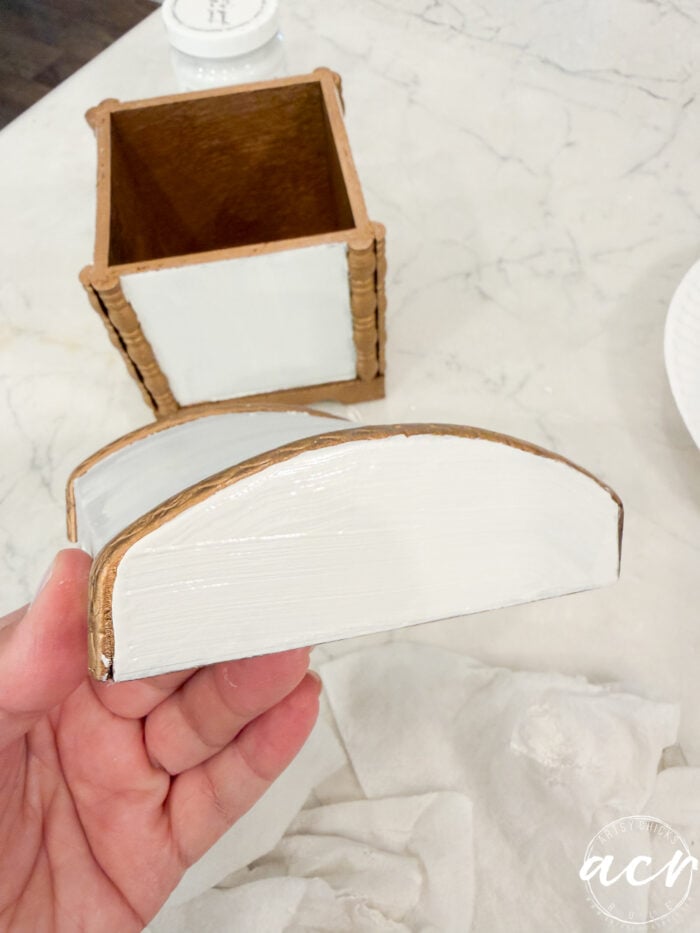
Once it was completely dry, I began the decoupage. Isn’t the napkin perfect??
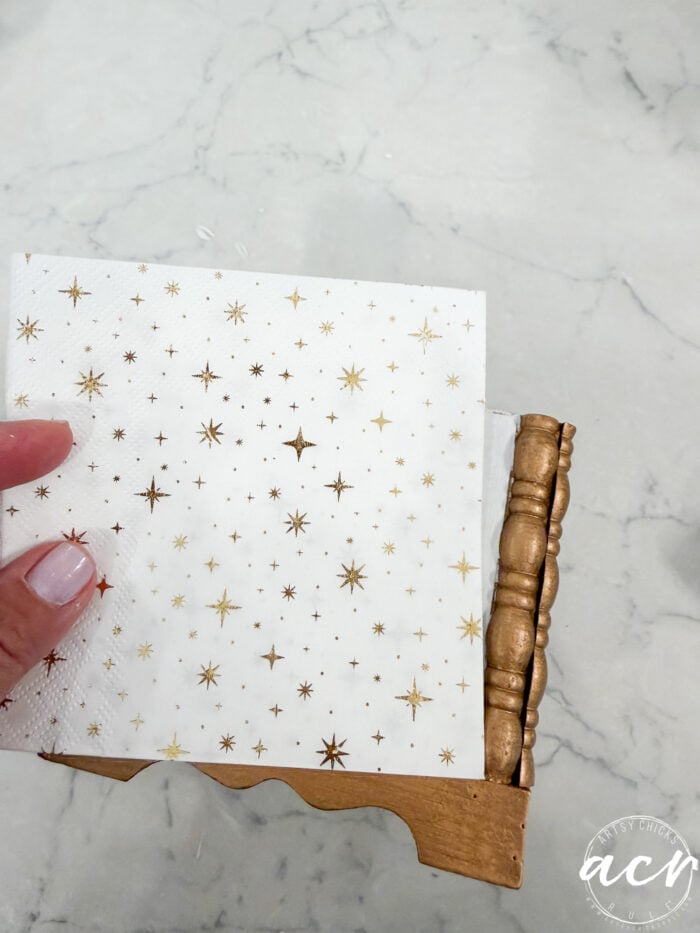
I thought the whole thing had reflective, shiny stars.
But nope! Just the front piece corner. So I decided to use the flat matte ones instead.
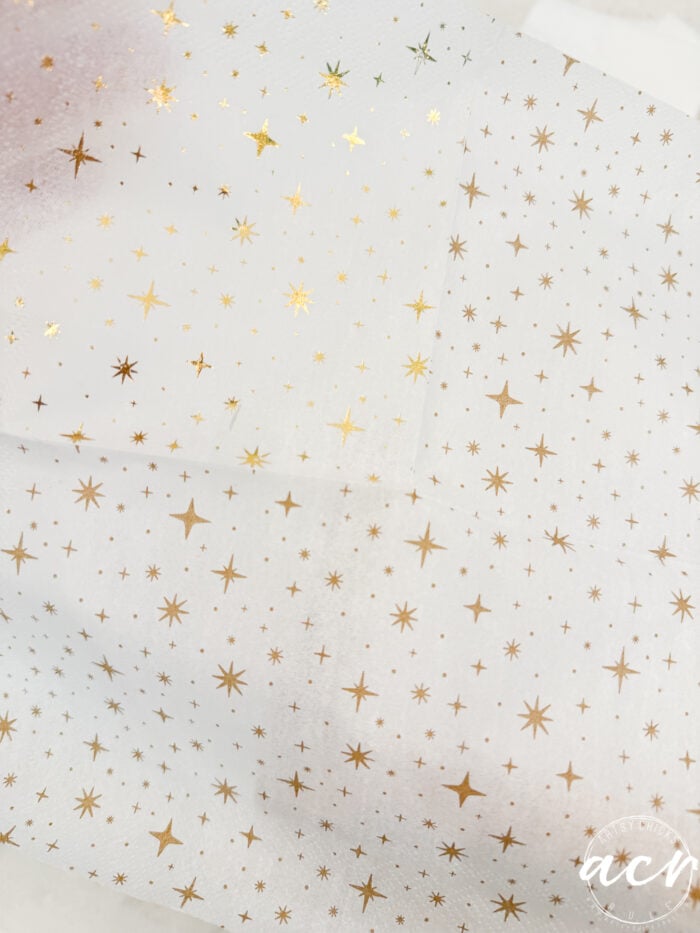
I actually thought the shade of gold of those went better with the gold I sprayed on the box.
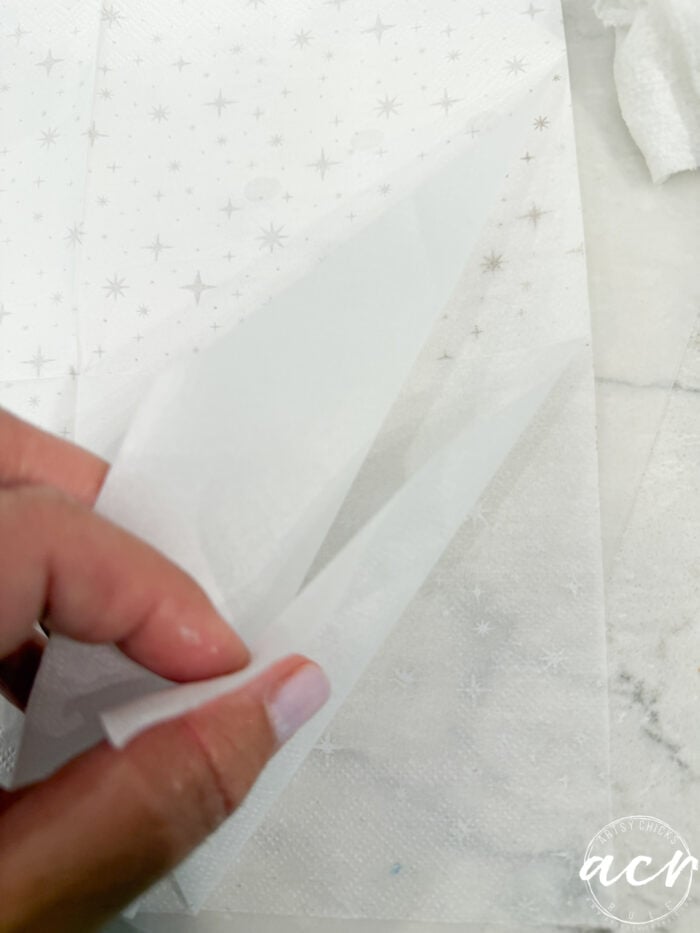
Be sure to pull all 3 layers apart before you begin decoupaging.
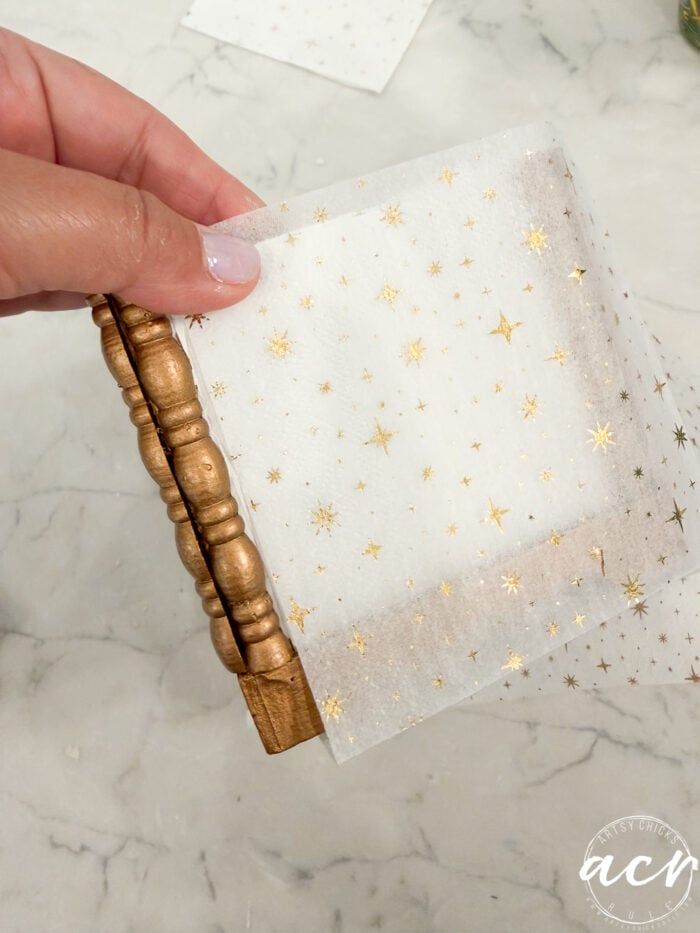
To cut, I simply pressed and made a fold where the cut belongs.
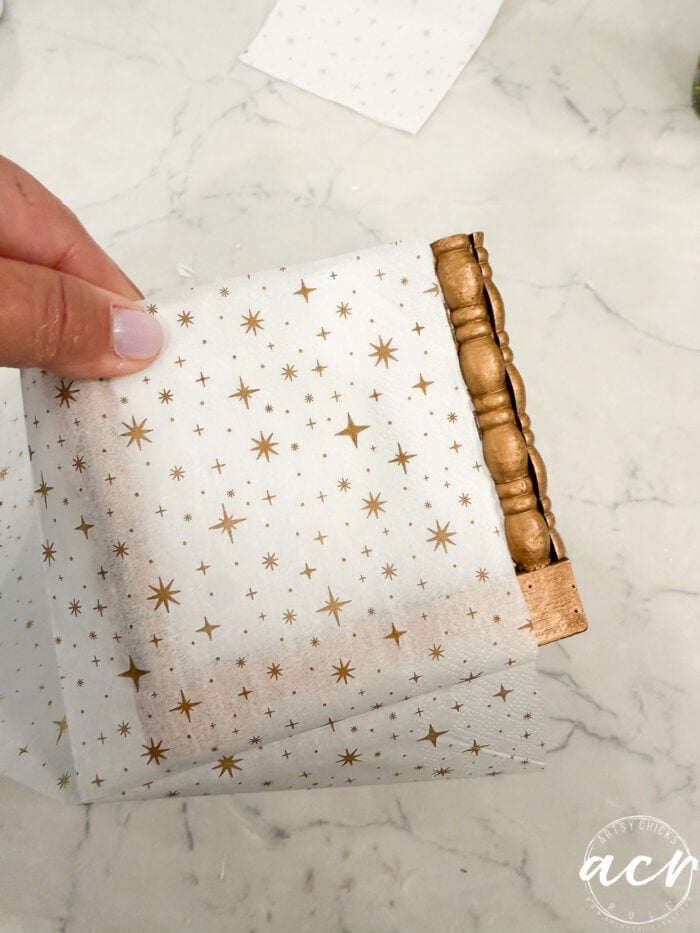
Using my Decoupage and Transfer Gel to attach the tissue to the box.
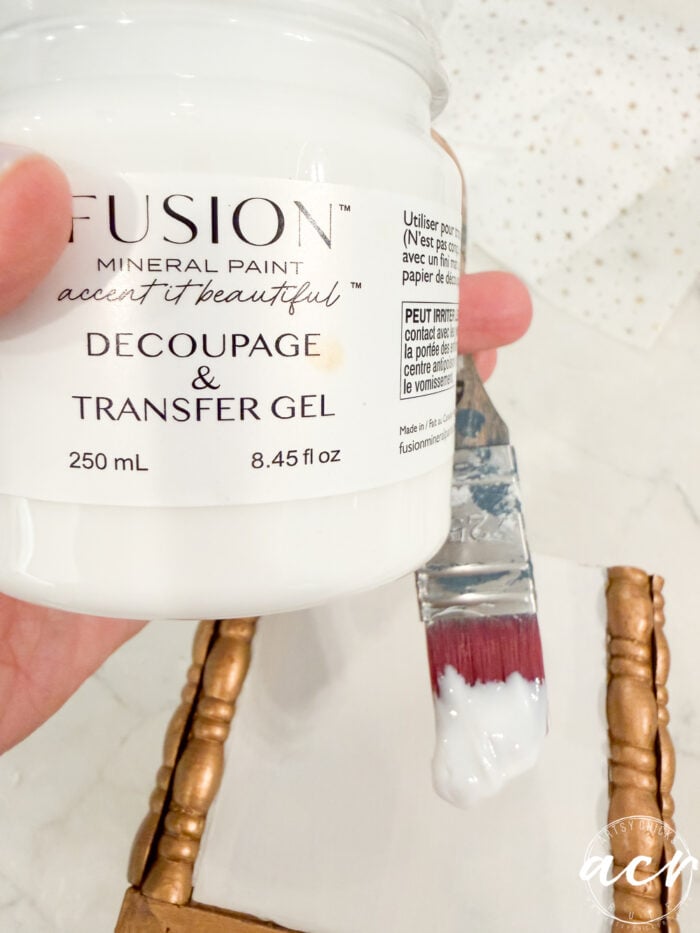
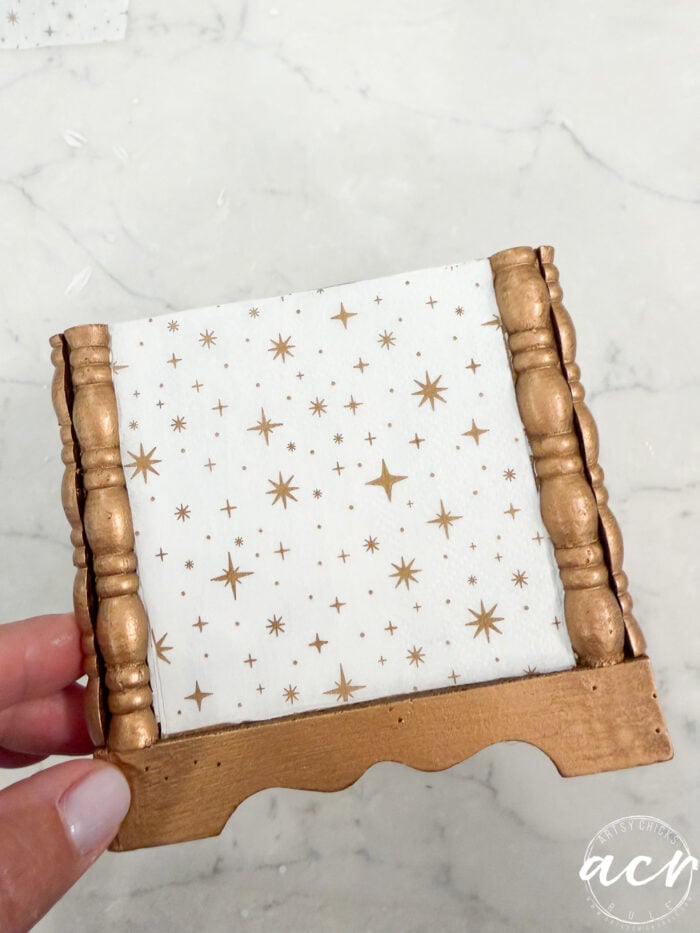
I repeated those steps on each side and the top of the box.
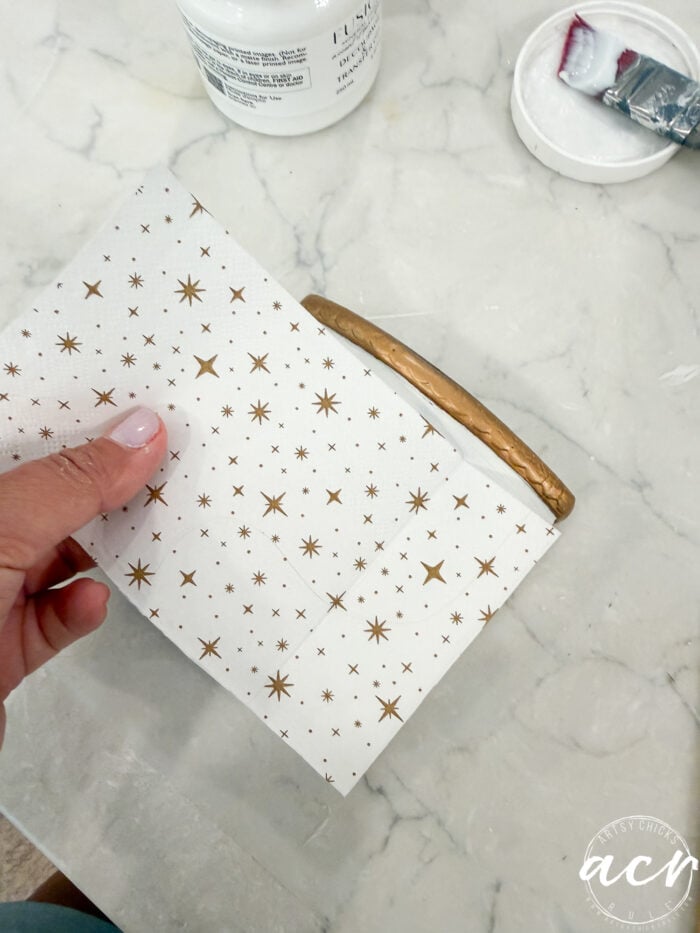
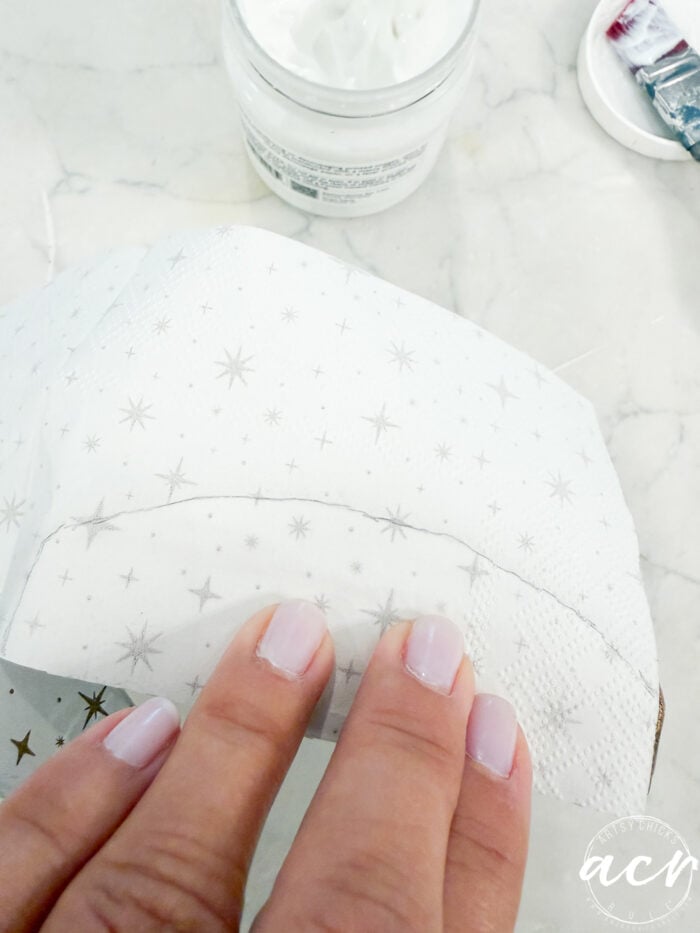
For the top curved area, I turned the paper over and traced the edge where I needed to cut. Then cut it out and flipped it over.
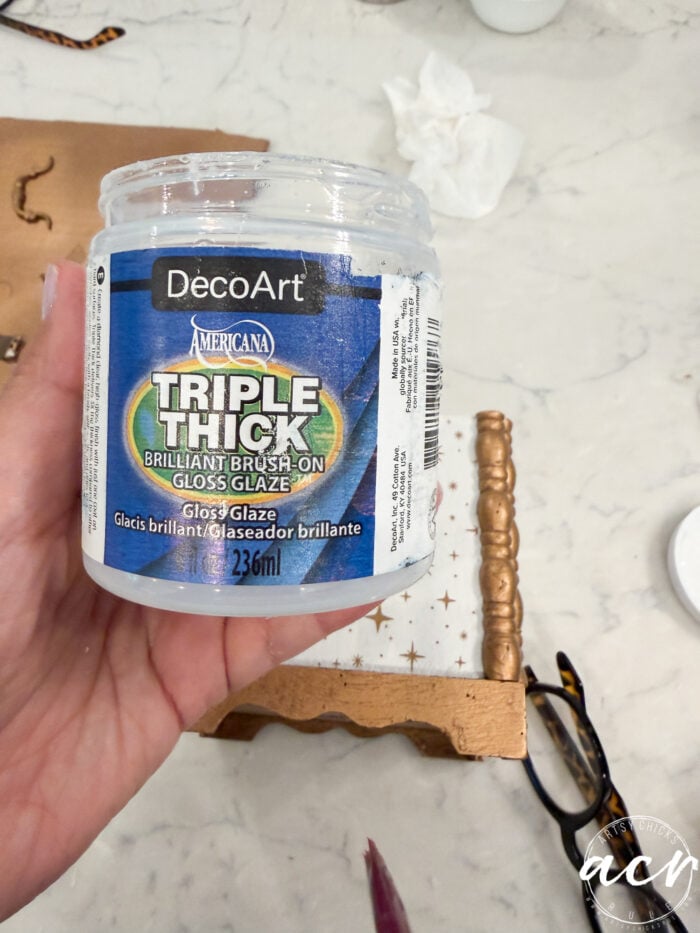
Once it was fully dry, I added a coat of this Triple Thick Glaze to give it a heavy-duty, shiny finish.
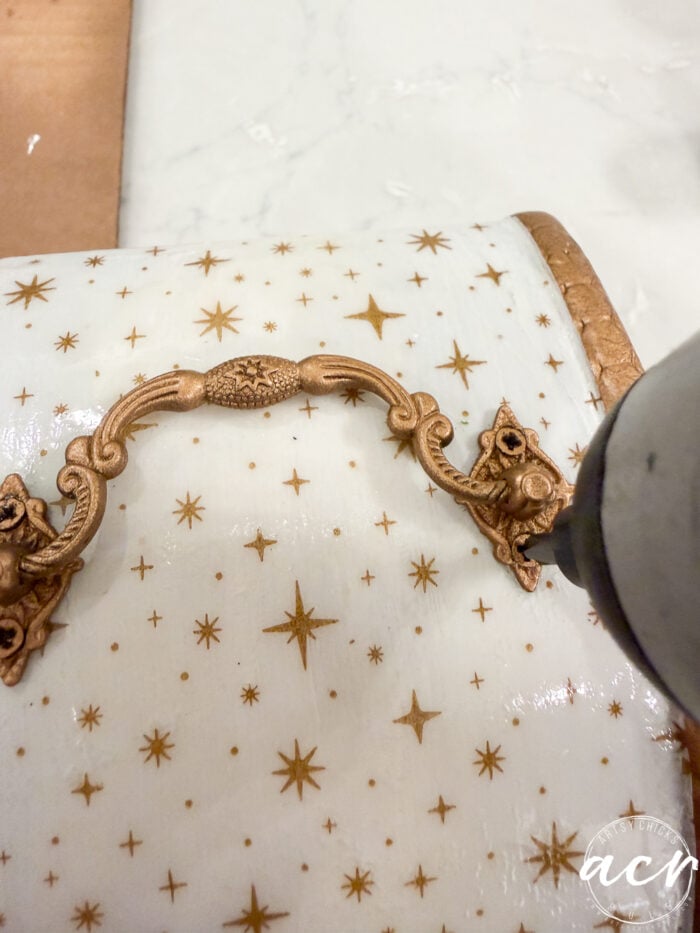
And then reattached the hardware.
Next up, the metal decorative tray…
I began by spraying it white with white primer.
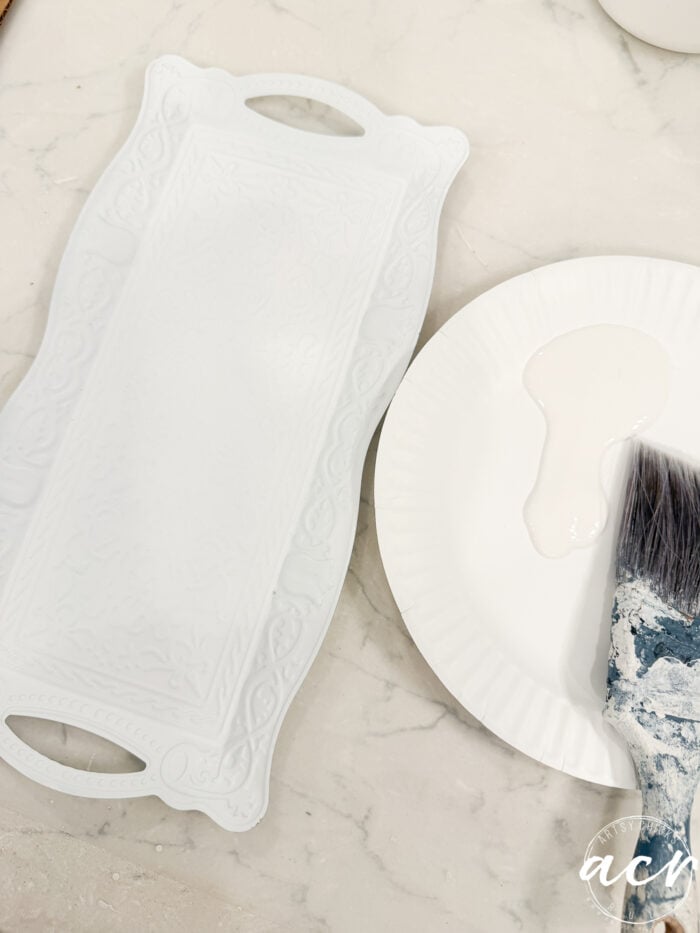
Then I used the same Victorian Lace paint over that.
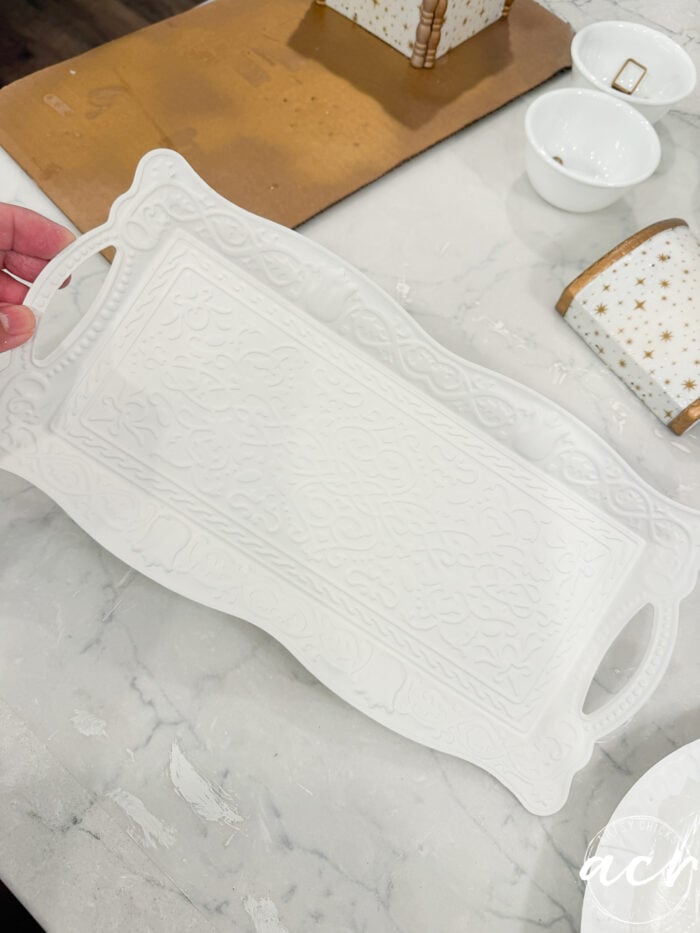
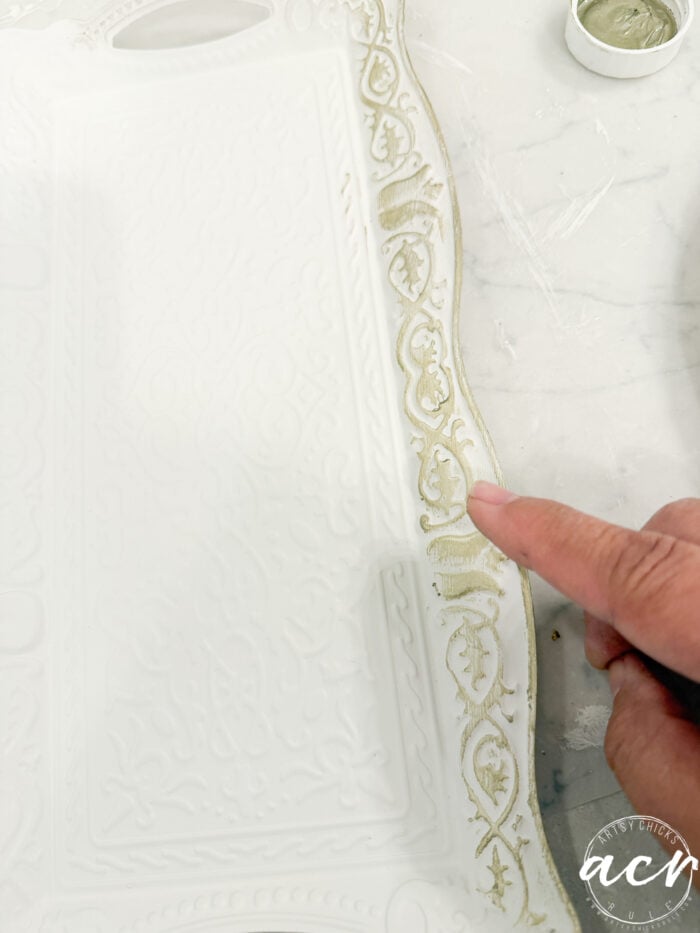
Once fully dry, I used this gold paint to bring out all those raised design elements.
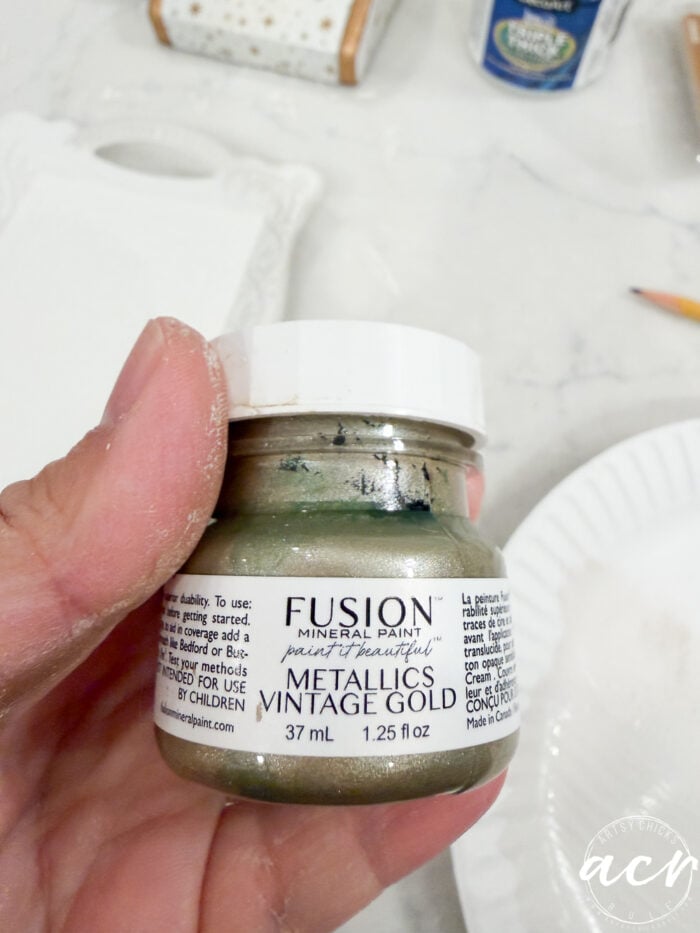
You’ll need only to lightly rub over the raised areas…
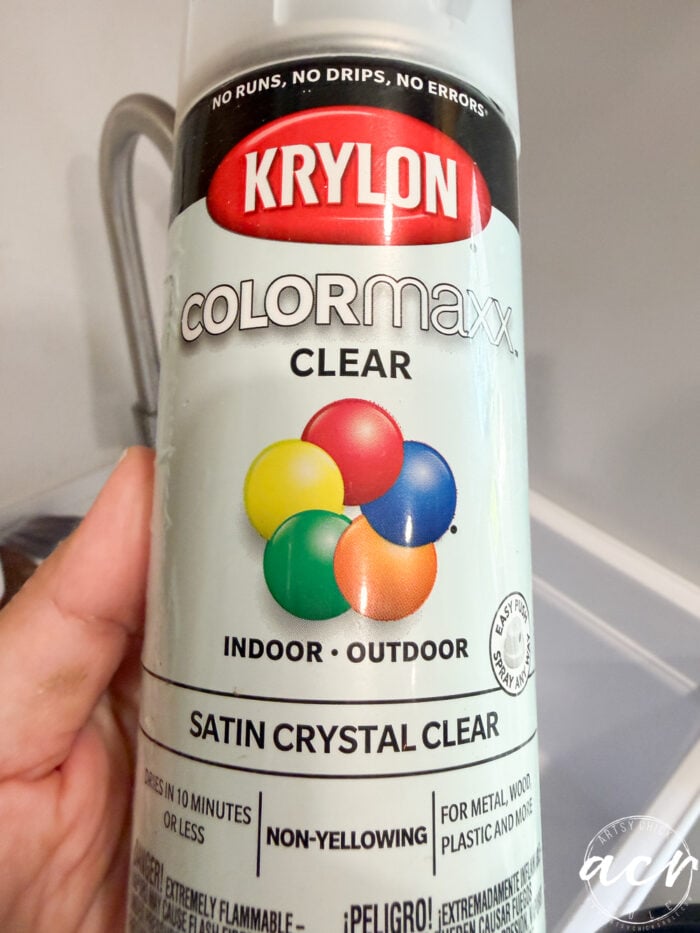
Once I’d done the whole tray, I sprayed it with this sealant to protect it. (the link is for gloss, I used Satin but gloss would be pretty, too)
That’s it! All three get a brand new life in silver and gold.
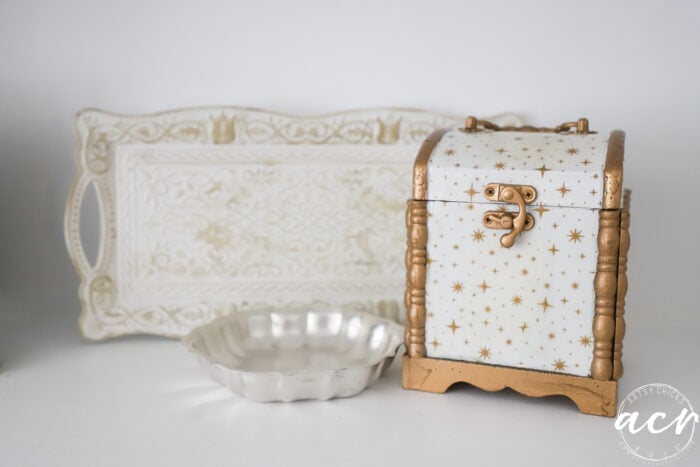
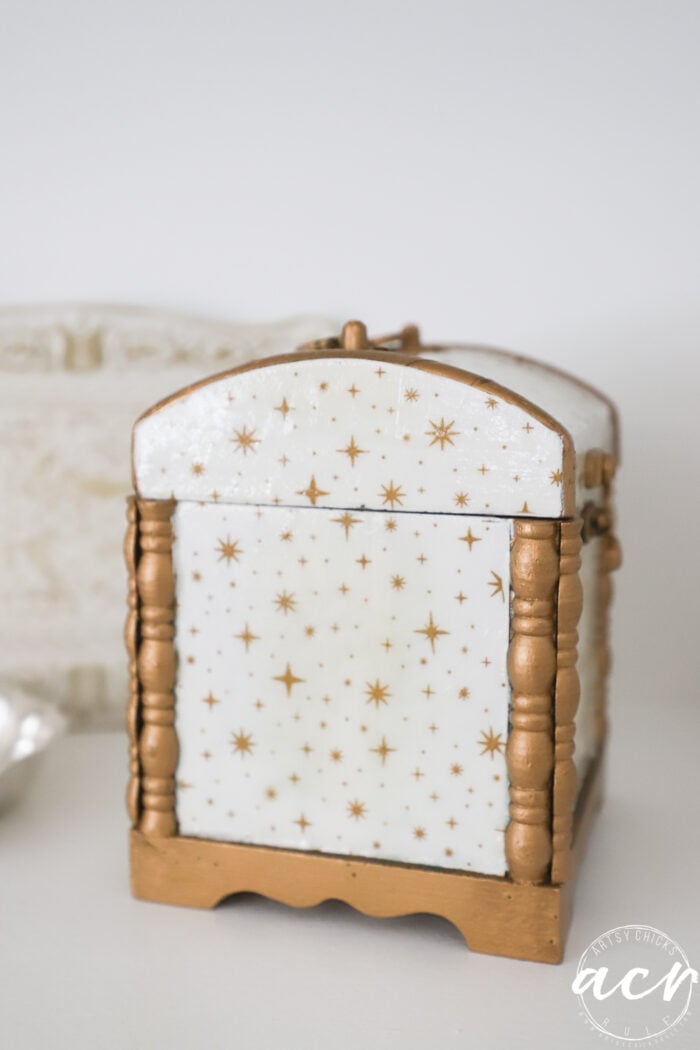
Didn’t the little trinket/keepsake box turn out so cute?? I love that star napkin.
Here’s the inside, also sprayed with the same gold.
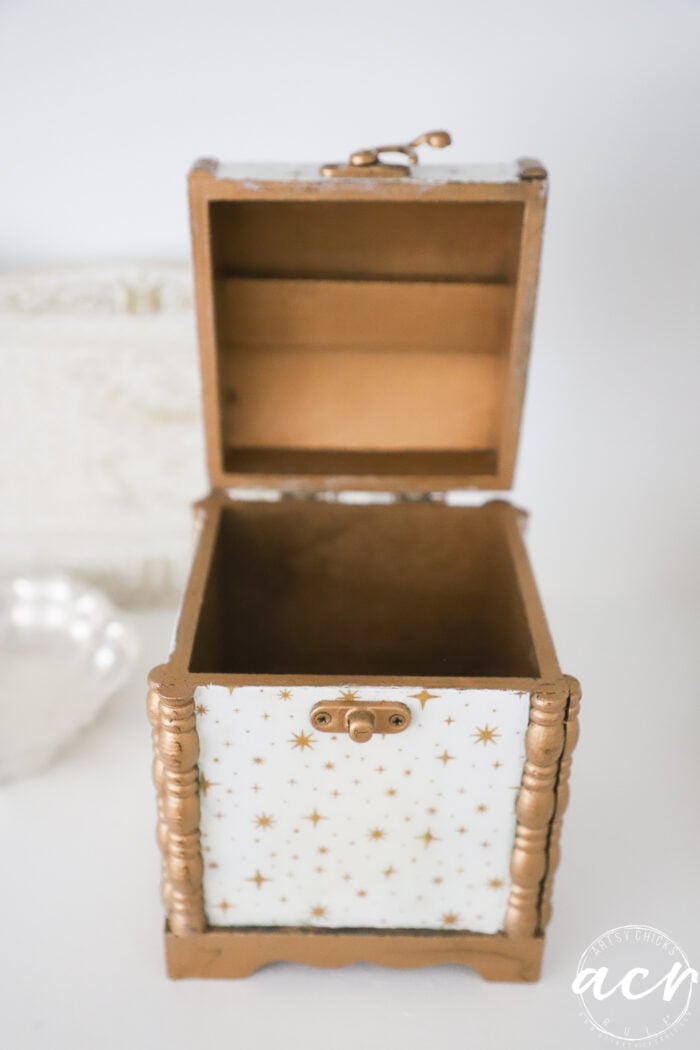
The other side…
The silver dish.
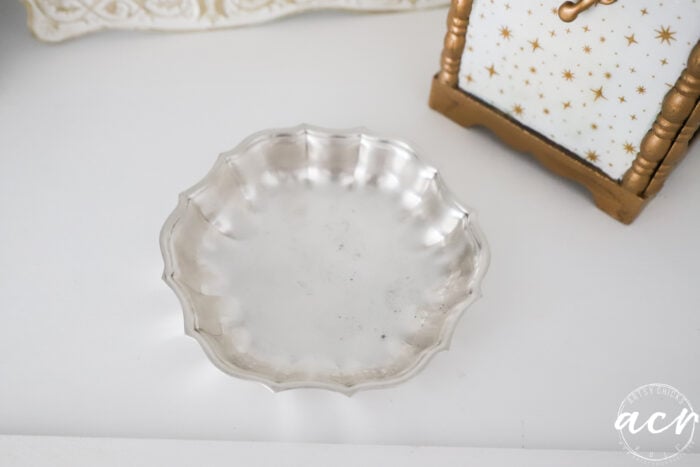
Simply perfect, as-is.
And lastly, the metal tray.
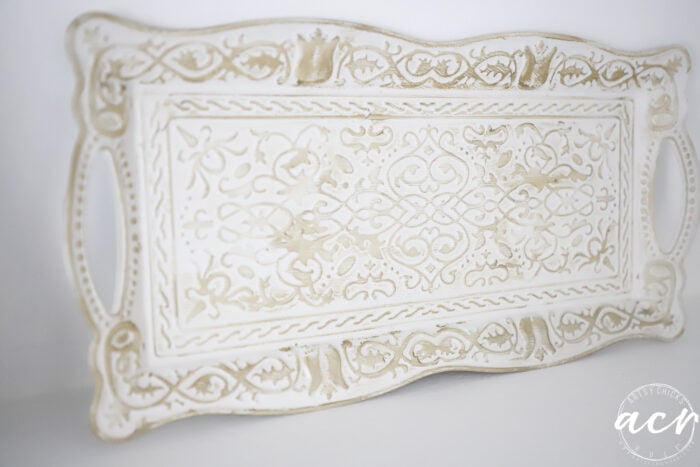
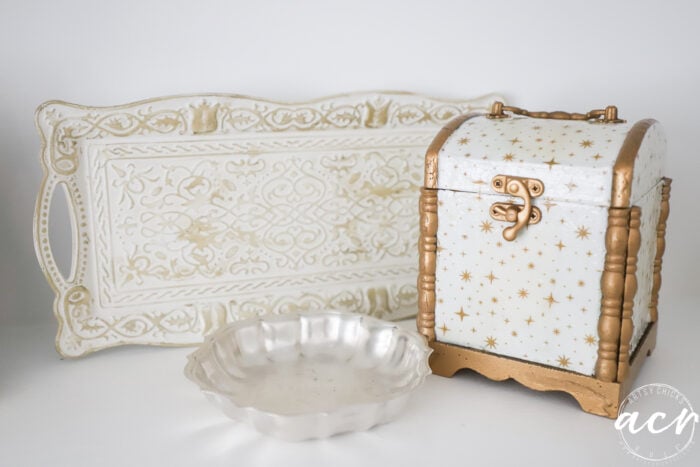
Hope you enjoyed today’s flipping smalls!! They turned out so cute, I think.
Have a wonderful weekend!! The weather got HOT again this week, but is supposed to cool back down this weekend. You know, like mid-to-high 80s, lol. Anything is better than mid to high 90’s though, right?!
xoxo

Love the outcome of the chest! The tray is lovely and now gives me some thought on redoing a few of my mother’s silver plated, serving tray and other items that have tarnished beyond Repair. I put them away, not intending to use them, but saving them for memory sake. Now I have to dig them out and find them. Great job!
Thanks, Dawn!! That’s my favorite one. Oh yes, they are pretty, painted with transfers too!! xoxo
All turned out so great. You’re so brave. When I see silver plate I just can’t cover it up but now with a little inspiration…not so scary. I think the tray is perfect and that box is so cute. Have a good weekend.
Thanks, Kathy!! Hope you have a wonderful long weekend! It’s been so hot here again but it’s supposed to cool off a bit, thank goodness!! xoxo
What is the brand of silver cleaner? Thanks!
It’s Bar Keeper’s Friend. Worked great!!
Such cutties ! The ‘smalls’ add so much to cozy and personalize a space. They all look so renewed and fresh now.
The deco box is my fav. I’ve seen them thrifting a lot – but hesitate to update. Now… maybe I’ll try. :)
Thanks, p! They sure are. :) That one is my fave too!! So cute. And, yes do!! xoxo
These are all so pretty! All ready for an elegant holiday display!
Thank you, Jewels!! Yes, they sure are – perfect for that!! xoxo
I like all three, but the box is a work of art. So much inspiration in this post. Thanks for sharing :)