Are y’all ready to follow along on a little renovation? It’s about to get really real around here.
Yep, behind the scenes real life living and all. ;)
We are finally, f i n a l l y, tackling our Master Closet Renovation (and bath…but this is phase 1)
Yes, I’m embarrassed to say, it’s been last on the list for forever. I mean who sees it but us? Right?
Why not remodel everything else first, once, twice and maybe even 3 times already! haha
Oh well, it is what it is.
But it’s finally getting done and I couldn’t be more excited to have a wonderful, workable, usable, smart (and beautiful!) space!
I’m going to share a few “before” photos (cringe).
They are actually not the actual “before” photos, however, as we did do a few small things here and there over the years to make it more “livable”.
For some reason, I didn’t really take any “before” photos of the upstairs of this house when we moved in. Sure wish I did!
But since I didn’t, let me paint you a picture……1978, still. As a reminder of what I mean, here is our downstairs guest bath “before and after”, our kitchen “before and after” , our family room “before and after” and our foyer “before and after”. (and the outside of our house before and after)
The walls in the master bedroom, bath and closet were painted purple and the trim painted lavender.
The walls in the dressing area and master bath had large, very colorful floral wallpaper.
And the original gold swag light fixture was still hanging over the mirror.
Can you just see it?
I’ll try to explain as I go along with the photos.
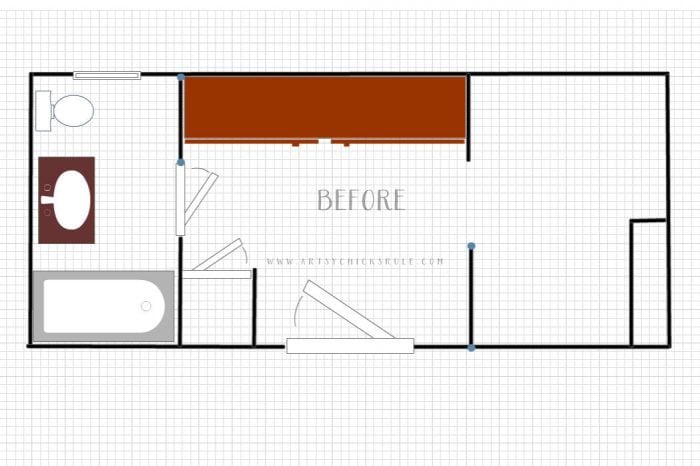
Let’s start with the master closet renovation floor plans…
This is where we are starting.
The large door in the middle is entering from the master bedroom.
That was originally just an opening without a door.
We framed it out and added the door some years back.
Directly to the left is a small linen closet.
Straight ahead was a cabinet with countertop and large mirror.
VERY nice for getting ready. I loved it but it was such a waste of space.
To the right is the “walk-in” closet. Not very large.
To the left is the bathroom. Also, not very large.
Very tiny, to be exact. The “tub” in the floor plan is actually a shower.
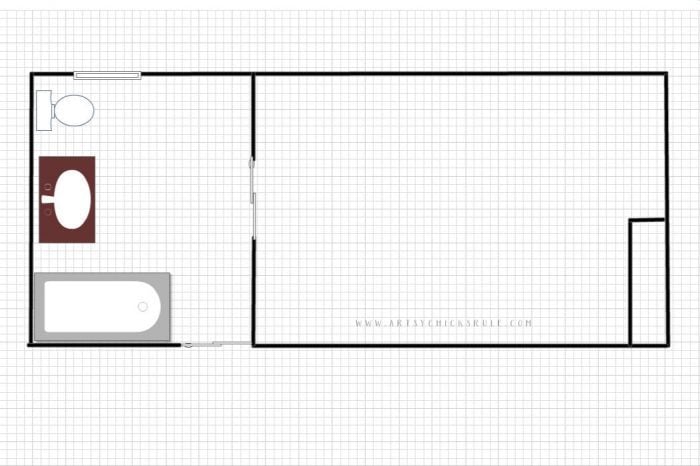
Here’s the updated master bath renovation plan…
We’ll be removing the large center door and adding one to the left where the linen closet was.
A few walls removed to open the space and a new wall added to give more space in the bath.
The layout in there will basically stay the same but we are completely redoing the cave, I mean shower. ;)
It’s a completely tiled in a little box, on all sides, that feels ultra-creepy to stand and shower in. Not kidding one bit.
I have always hated showering in there. Eek.
We plan to raise the ceiling in the shower (it’s lower than the rest of the ceiling) and open it up, plus add glass doors on all sides.
No more dark cave there…yay!
But as I mentioned in the opening paragraph, that will come later.
We are doing this makeover in stages.
We’ll add that new wall, doors, etc and re-do the closet. Then we’ll tackle the bath. :)
For the closet, we are planning to use IKEA.
My husband has already been playing around with the PAX Planner for layout ideas.
You’ll have to stay tuned because we haven’t pinned anything down just yet.
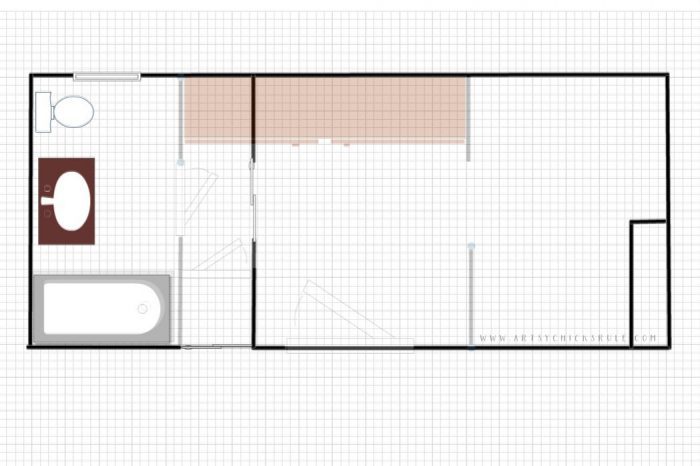
Here’s a little layover I created to show the “before” and what’s planned for the “after” all in one floor plan…
The faded areas are going away.
We’re putting in pocket doors to save space. But just look at how much closet we are able to add!
And even add some much needed “elbow room” in the bath.
I’m so excited.
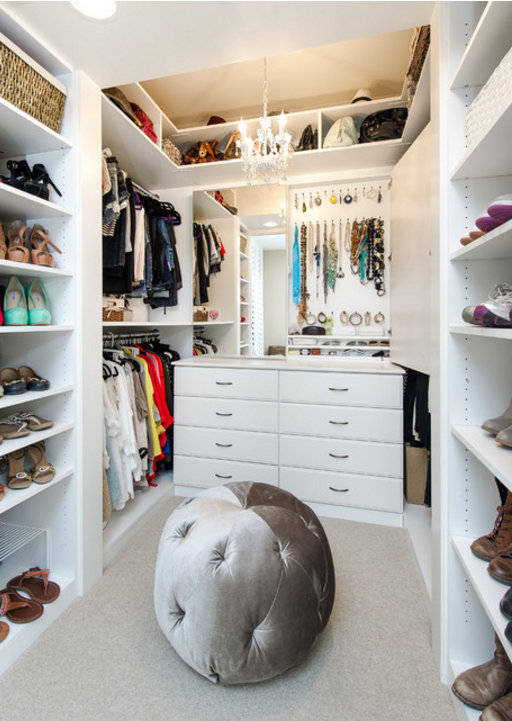
I’m sort of thinking along these lines…(just a rough idea here) Source
Bright and white, open and airy, everything easily accessible.
And enough space for everything too. :)
Okay, here goes nothing, “before” photos…..(don’t judge me, lol)
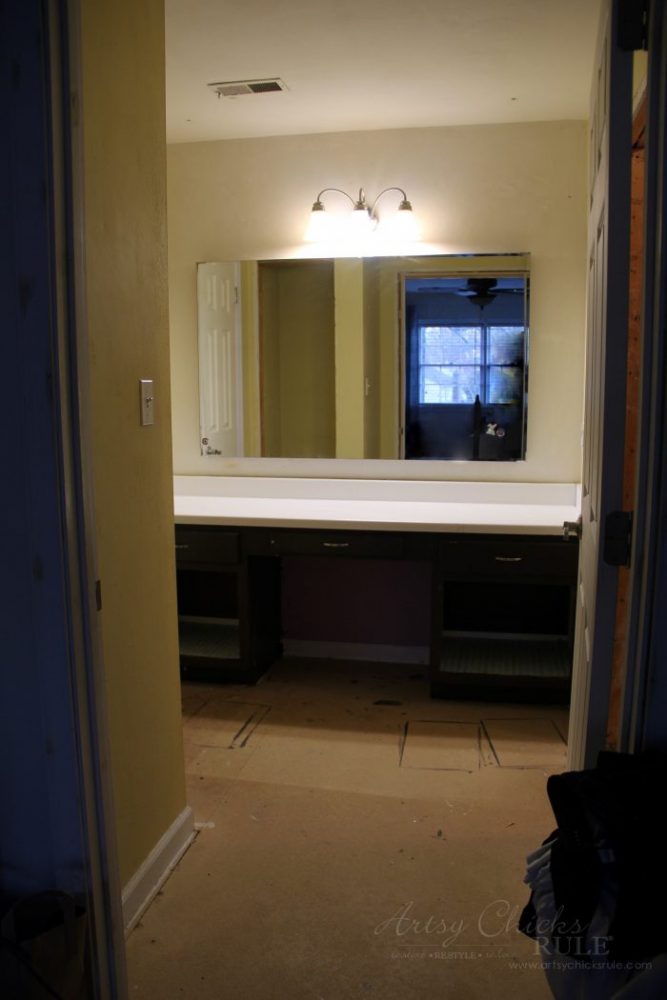
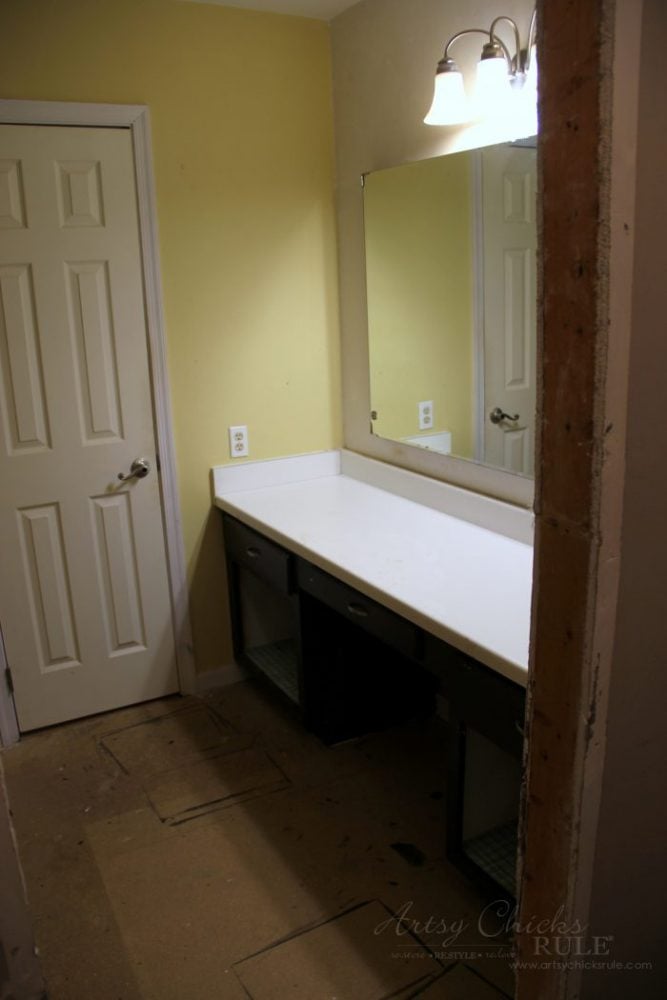
Looking in from the master bedroom. (that wall behind the mirror had that very bright, very large, floral wallpaper I mentioned)
Keep in mind that we had already started “taking down”, doors, trim, etc., when I snapped these photos.
As you’ll be able to see, there are varying degrees of “updates” here and there.
For example, the carpet has been up for awhile, we replaced the old flat panel doors, I painted the walls yellow, painted the cabinet brown, added new hardware and added a new light fixture, etc. All years ago now. (oh, see the purple and lavender in that little cubby!!)
You can also see the linen closet to the left in the reflection of the mirror.
It did have a door on it.
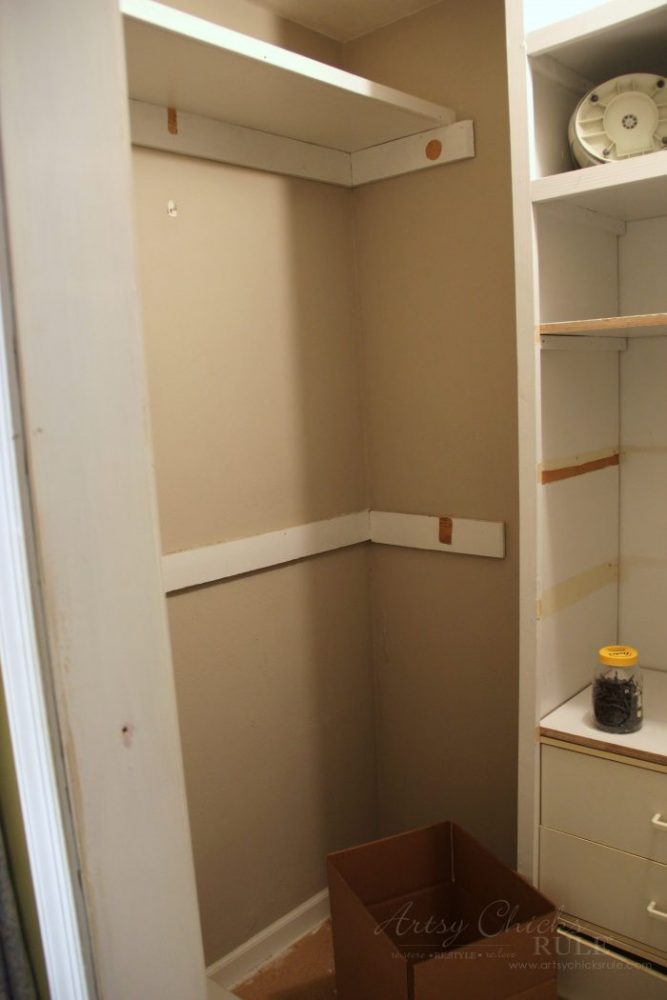
To the right…
….looking into the “walk in”.
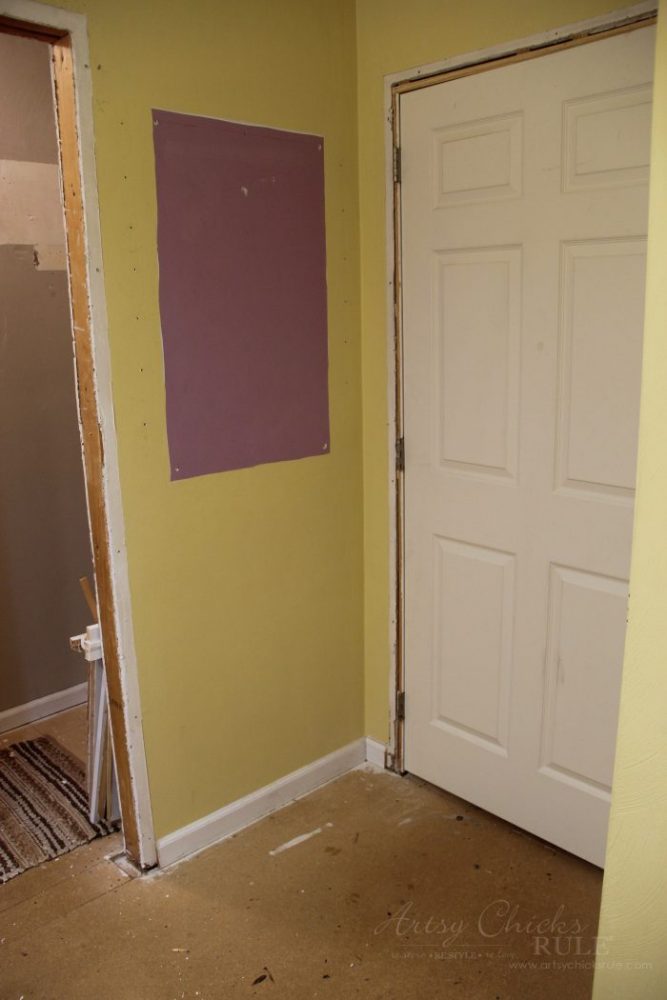
Behind the door….
Yep, I painted around my cork board that held my jewelry. ;) (you can see the new one here, Jewelry Organizer)
Anyway, check out that purple.
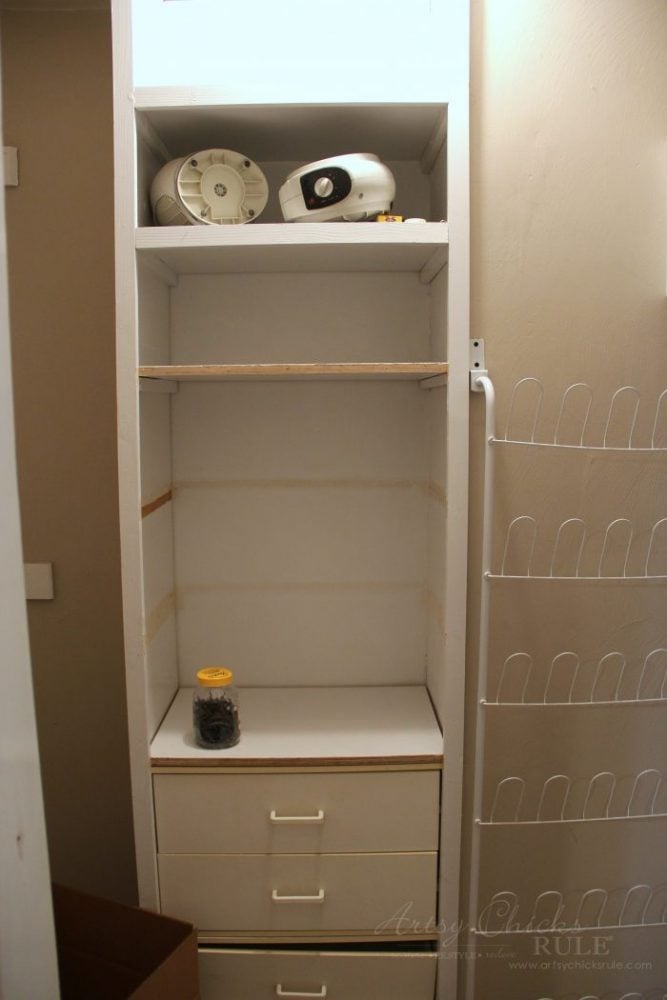
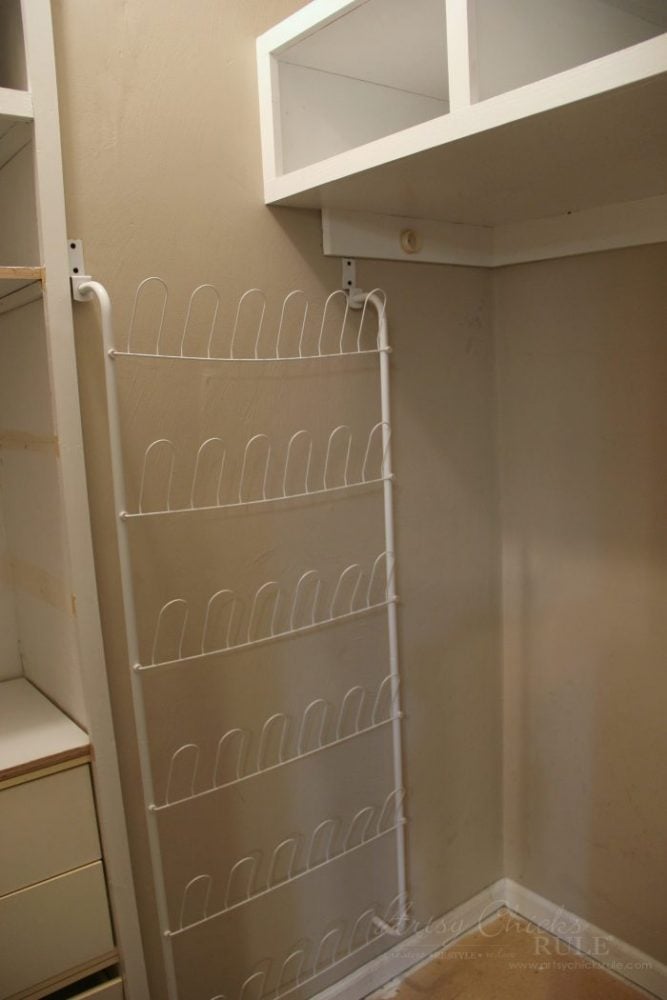
Looking straight into the “walk in”.
My husband built me this middle section many years back. (which he had already started tearing apart before I could snap a photo…men and demo!! haha)
All the spaces were trimmed out just like that top box.
It was very nice and much needed in here.
Directly to the right….
….he built that overhead box too.
Left side…(he built that top shelf too). As you can see, desperately trying to add storage from day one.
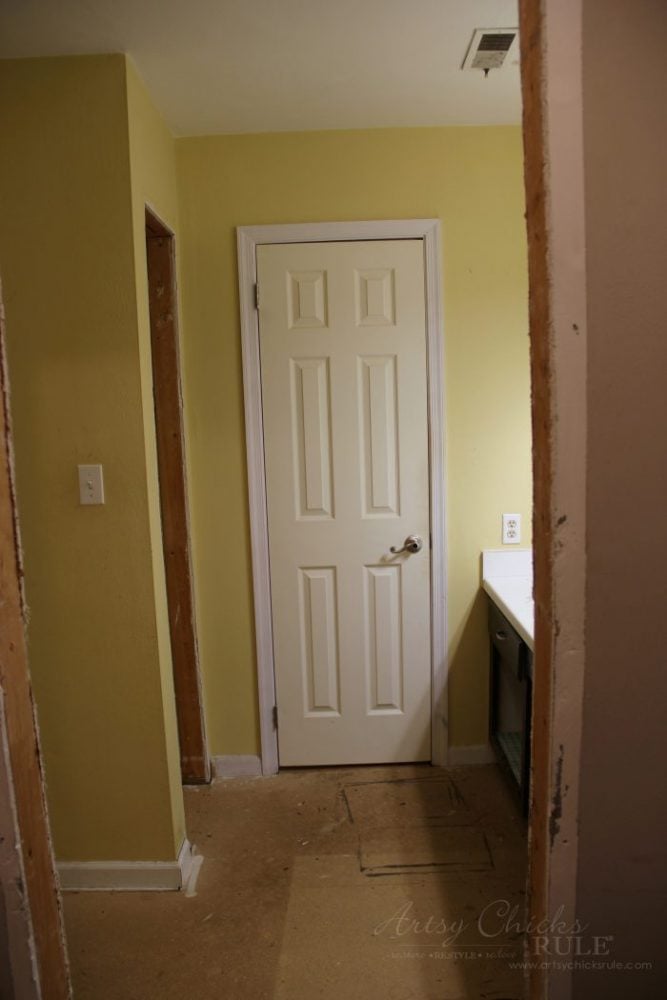
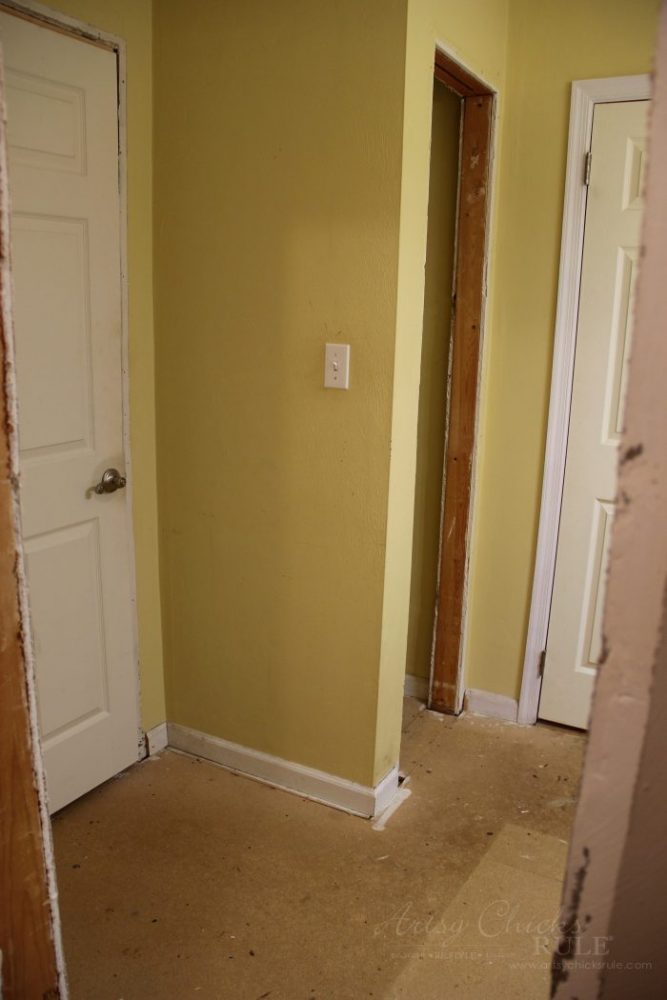
Looking out of the “walk in” and into the dressing area and bath door…..
Dressing area and mirror…. (cabinet was painted purple originally, not by me ;))
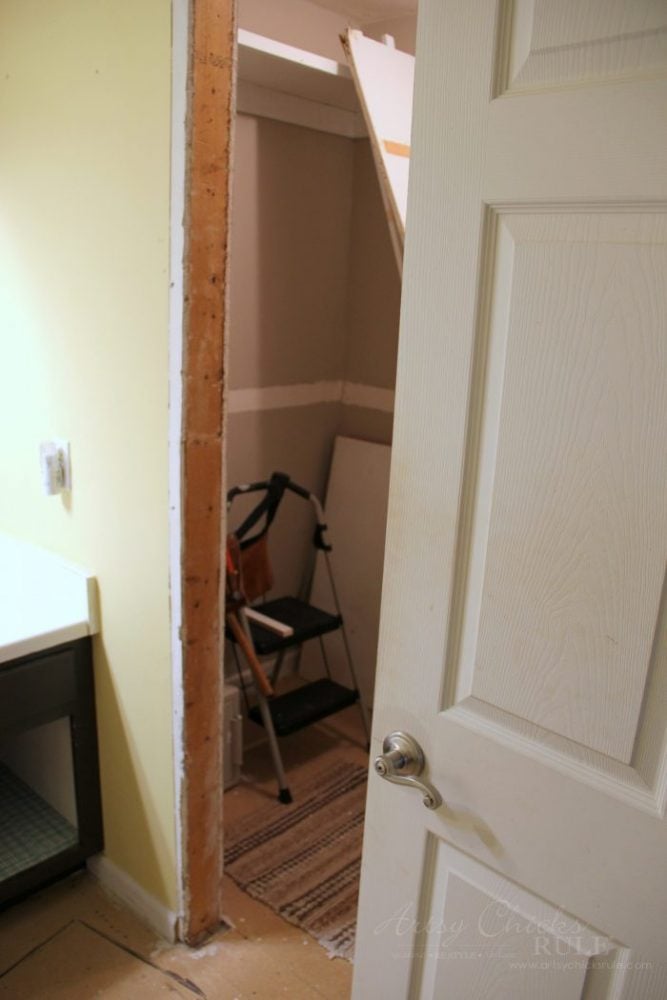
Looking to the linen closet… (and entry door and bath door)
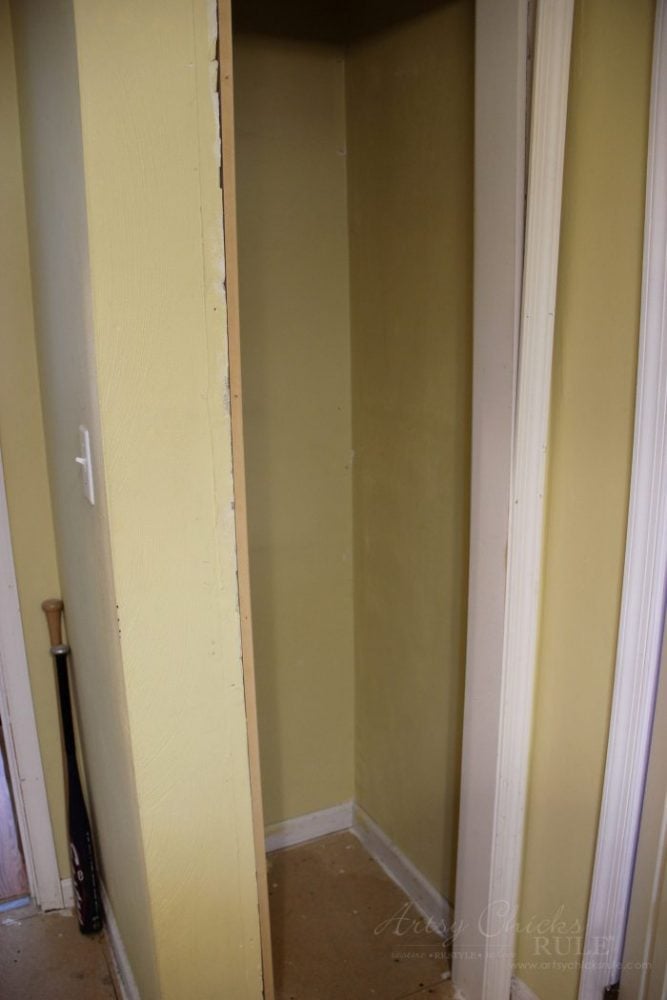
By the way, the trim and doors were on this whole time. My husband only just removed those. (as you can see in the next photo)
Inside the linen closet.
It used to have shelves but my hubby actually took those out and added rods so he could hang his suits here.
We obviously need more space.
UPDATE — We have since changed the floor plan of this makeover.
See >>> this post here for the updates (and the master bath reno too)
It’s hard sharing all these awful “before” photos without having any amazing “after” photos to share too.
But I did say it was going to get real today…and this is real. :)
And so, let me explain a bit about this space and it’s varying degrees of makeovers.
It’s mainly because we really wanted to tear it apart and create something completely different (like we are doing now) but we just weren’t sure what. And we are tired, lol. ;) So many renos and makeovers in this house over the years. This poor room (and the bath) just kept getting looked over.
We had so many other renovations going on that at some points we just thought, what the heck, let’s just keep it “as is” and just update.
That would be so much easier.
So we would do a bit and then say, no, this really isn’t going to work. We did that several times. Haha…can you imagine?
Anyway, after a while, it just sat in mid-makeover status…and we just lived with it.
But not anymore, the time (and determination) has come.
I’m ready for an awesome space here. I can … not … wait.
I hope you will follow along on this adventure. It surely has been a long time coming. And….. if that’s not enough, I have a fun little announcement coming up on Thursday. (I must be crazy! ;) )
Pop back over then to find out what else I’ve got going on over here!
If you aren’t already subscribed, be sure to click here so you won’t miss any updates on this or any other room and furniture makeovers I have going on around here. :)
Good luck on the bathroom renovation. Looks like you have your work cut out for you but bet it will be beautiful. Looking forward to the finished rooms.
It’s going to be so nice when you have this renovation complete. I’d love to have a large closet but our 1950’s home has tiny, tiny ones. I am looking forward to seeing progress updates as you post them.
Thanks Paula! I think it will be! I just can’t wait to get it done. And yep, we were lucky to even have a tiny walk in here but so looking forward to the extra space we are now creating! :) xo
We re-did our master bathroom last year. Best renovation to date! My walk in closet is still on my to do list. Looking forward to seeing your completed renovation!
It looks like you are really going to town this time. You will be so happy when finished. I am curious,..(what’s new)?…have you and your husband done the things we see in the current pictures such as removing carpeting, removing woodwork, removing shelves, etc., etc. as a way to save $$ when the “real demolition/carpenter” people come in, or is the plan to do all the labor yourselves to complete this stage? I am very interested to watch your progress, and so appreciate you sharing all the “real” stages you are going through. Best of luck!
Hi Linda!
Yes, we really are!! And yes, I can’t wait until it’s done. It’s been such a long time coming.
Yep, my husband and I have done every single renovation/makeover in this house ourselves. We have saved a ton of money doing it ourselves. My husband has done some electrical but we did call in my cousin (who owns an electrical company) to come in and move/add a couple things for us over the years. Everything else, even plumbing, we’ve tackled ourselves.:)
Stay tuned for another makeover challenge we are joining in on. It will be on the blog tomorrow! (I know, we must be crazy ;) )
Thank you!
xoxo
Nancy
When you decide to get things done you go at it…. Love starting and FINISHING PROJECTS… I have pinned many ideas of yours — Thanks you….
i am looking for a online designer program that I can use for remodeling… That isn’t expensive. Free would be just perfect…i noticed that you use one. Can you give me some ideas on a program that I can actually drop furniture and move walls with???
Hi Pattie!
Yes, might be good, or not! ;) Lots of projects going at one time.
I used one I found from Google. You might like this one with the furniture, etc…. http://planner.roomsketcher.com/
Here’s another one, http://www.planyourroom.com/ (I can’t find the one I used, I wish I had saved the URL) I think those are both free. :)
The one I used was too but these seem to have better furniture options.
Hope that helps! :)
Nancy
I love where you are going with this. I definitely agree that adding more room to the bathroom is essential, and you have shown that you can make up the room on the other side.
I don’t personally have an en-suite, so I am jealous of you for sure! especially now that you are making it perfect for yourself :)
Want to be inspired, learn new skills, discover all the tricks to furniture makeovers, creating new out of the old and more? You'll also receive my FREE ebook "Creating Fabulous Finishes" PLUS access to my private Printables Resource Library, too!
Sign up to get the Weekly Newsletter! Our emails include an unsubscribe link and you may opt-out at any time. Your information will *never* be shared or sold to a 3rd party.

")

")
")
")
")
")

")


Good luck on the bathroom renovation. Looks like you have your work cut out for you but bet it will be beautiful. Looking forward to the finished rooms.
Thanks Janice! :) Yep, we sure do!! xoxo
It’s going to be so nice when you have this renovation complete. I’d love to have a large closet but our 1950’s home has tiny, tiny ones. I am looking forward to seeing progress updates as you post them.
Thanks Paula! I think it will be! I just can’t wait to get it done. And yep, we were lucky to even have a tiny walk in here but so looking forward to the extra space we are now creating! :) xo
We re-did our master bathroom last year. Best renovation to date! My walk in closet is still on my to do list. Looking forward to seeing your completed renovation!
Oh yes, I bet! :) I’ll be so glad when it’s behind me! And when I can finally enjoy it…it’s been a long time coming! :)
It looks like you are really going to town this time. You will be so happy when finished. I am curious,..(what’s new)?…have you and your husband done the things we see in the current pictures such as removing carpeting, removing woodwork, removing shelves, etc., etc. as a way to save $$ when the “real demolition/carpenter” people come in, or is the plan to do all the labor yourselves to complete this stage? I am very interested to watch your progress, and so appreciate you sharing all the “real” stages you are going through. Best of luck!
Hi Linda!
Yes, we really are!! And yes, I can’t wait until it’s done. It’s been such a long time coming.
Yep, my husband and I have done every single renovation/makeover in this house ourselves. We have saved a ton of money doing it ourselves. My husband has done some electrical but we did call in my cousin (who owns an electrical company) to come in and move/add a couple things for us over the years. Everything else, even plumbing, we’ve tackled ourselves.:)
Stay tuned for another makeover challenge we are joining in on. It will be on the blog tomorrow! (I know, we must be crazy ;) )
Thank you!
xoxo
Nancy
Oh wow…that’s real life ha ha! You wont want to sell after you get it all done…I know it is going to be gorgeous and so much more functional!! XOXO
Haha! yes it is, and I posted about it! ;) But I didn’t share the bathroom yet. That’s really real life. One baby step at a time. xoxo
When you decide to get things done you go at it…. Love starting and FINISHING PROJECTS… I have pinned many ideas of yours — Thanks you….
i am looking for a online designer program that I can use for remodeling… That isn’t expensive. Free would be just perfect…i noticed that you use one. Can you give me some ideas on a program that I can actually drop furniture and move walls with???
Hi Pattie!
Yes, might be good, or not! ;) Lots of projects going at one time.
I used one I found from Google. You might like this one with the furniture, etc…. http://planner.roomsketcher.com/
Here’s another one, http://www.planyourroom.com/ (I can’t find the one I used, I wish I had saved the URL) I think those are both free. :)
The one I used was too but these seem to have better furniture options.
Hope that helps! :)
Nancy
Hey Nancy,
I love where you are going with this. I definitely agree that adding more room to the bathroom is essential, and you have shown that you can make up the room on the other side.
I don’t personally have an en-suite, so I am jealous of you for sure! especially now that you are making it perfect for yourself :)
Thanks for sharing this,
Jessica
Thanks Jessica!! I’m so excited (and ready! ;) ) to get this done! It’s hard living out of boxes! :)