Thrifty Bottle Makeovers (Decoupage and Chalk Paint)
I have a really fun new crafty craft for you all today.
A little fun with some old bottles, decoupage and Chalk Paint.
Being the thrifty girl that I am, I can never throw anything away.
Almost anything anyway.
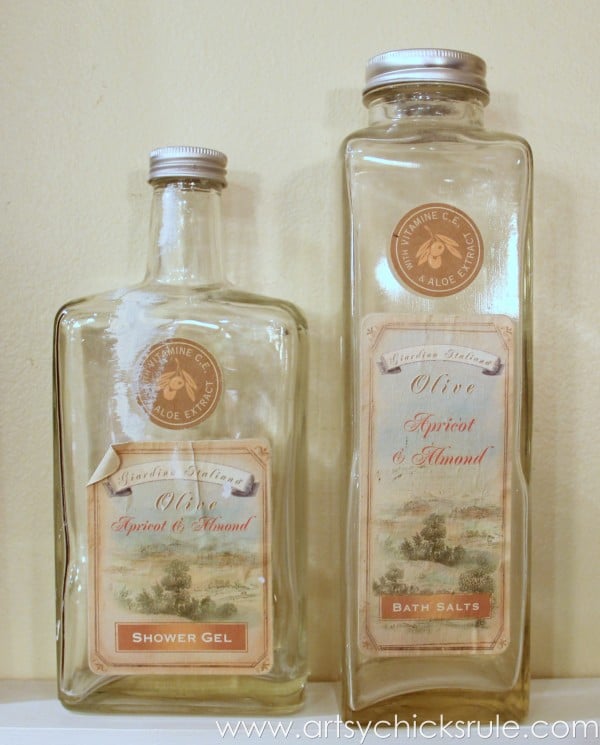
Like these old bottles I came across the other day while cleaning out underneath my bathroom vanity.
…and by “old”, I mean old as in 15 years or so. Not old like the pretty blue bottles I collect. ;)
I almost tossed these but decided I really loved the shape of them and the pretty aluminum lids.
One of which I ended up not using but oh well!
I have used Chalk Paint® to paint bottles before….
and this one…
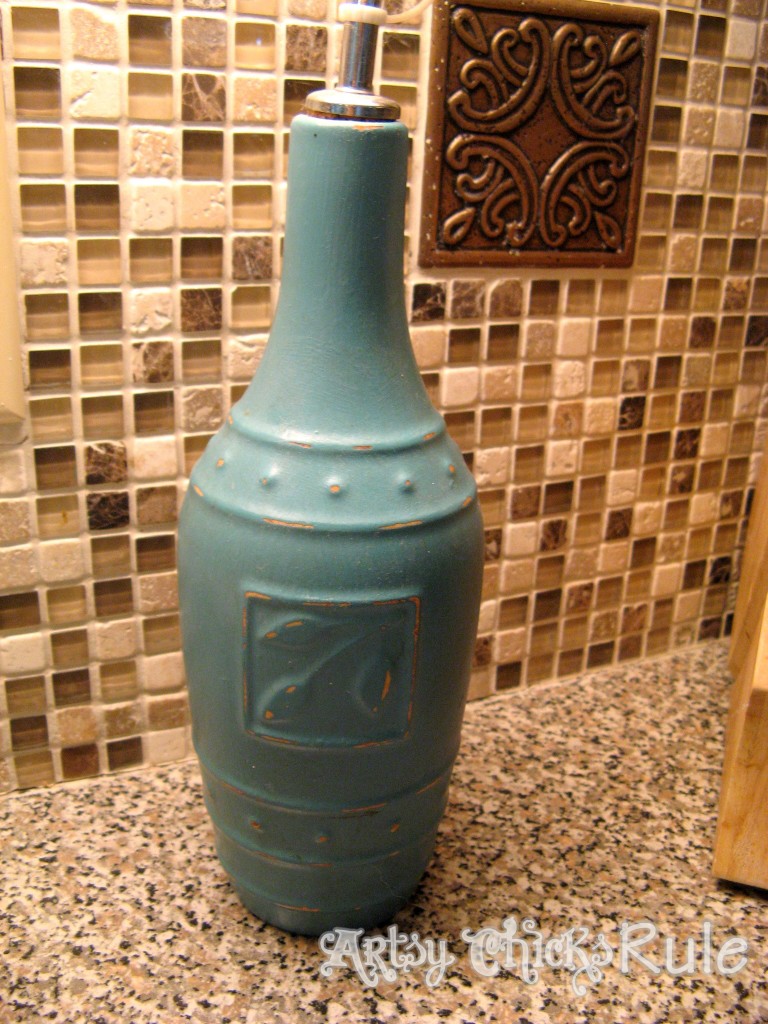
(this one was a gold colored ceramic before)
You can read about both of those bottles, and a few other things, here–> “Chalk Paint – It’s Not Just For Furniture”.
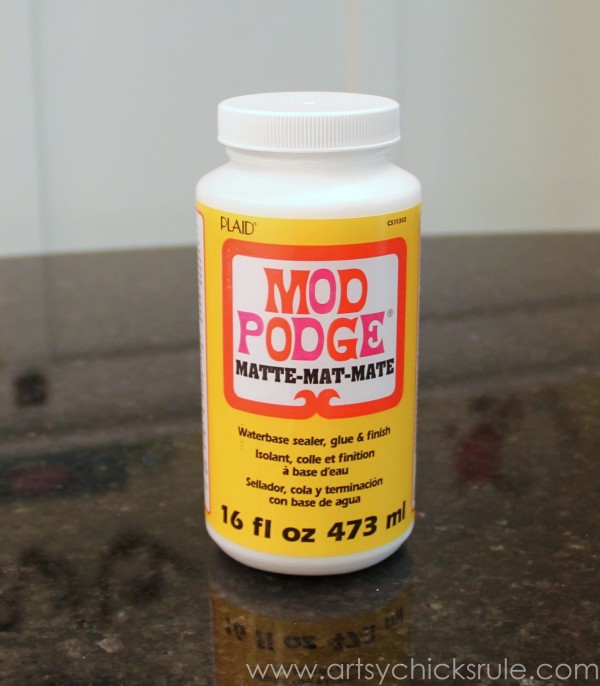
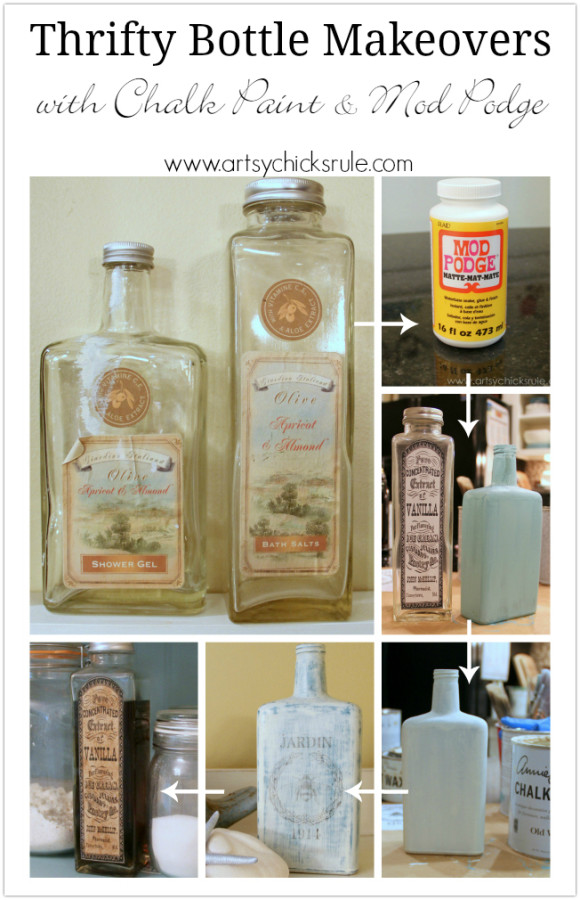
So…one of these bottles got Chalk Paint and the other got decoupage with Mod Podge.
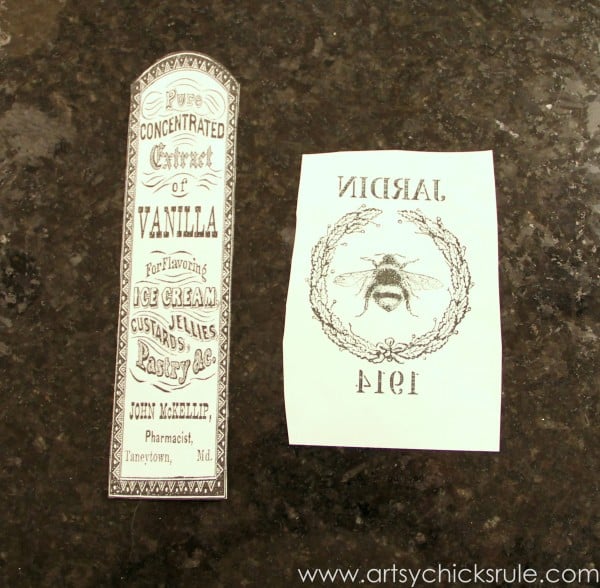
I started by finding and printing out the labels I was going to use.
I found them at The Graphics Fairy (I love and use her images quite a lot).
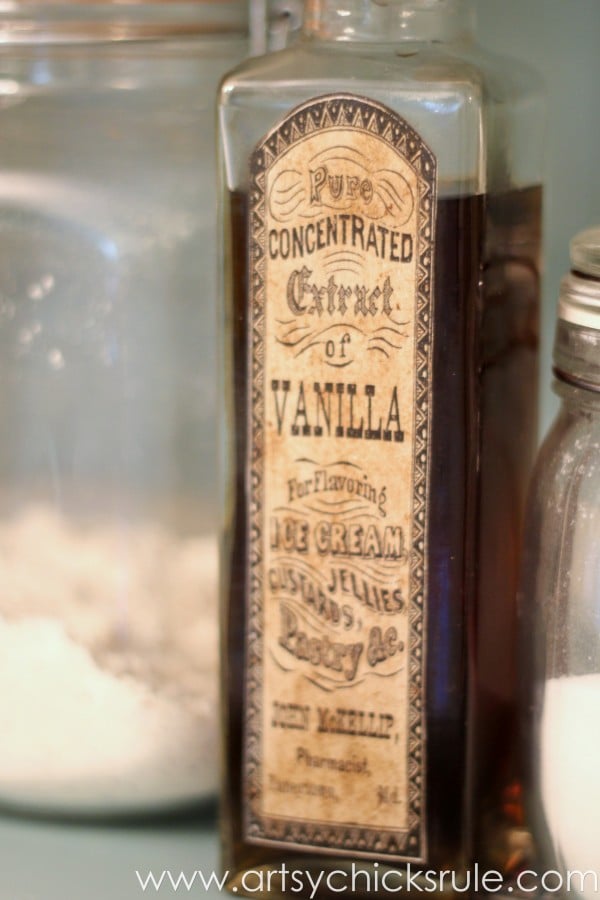
The Vanilla Extract label was not long enough for my very tall bottle so I “stretched” it out before printing it.
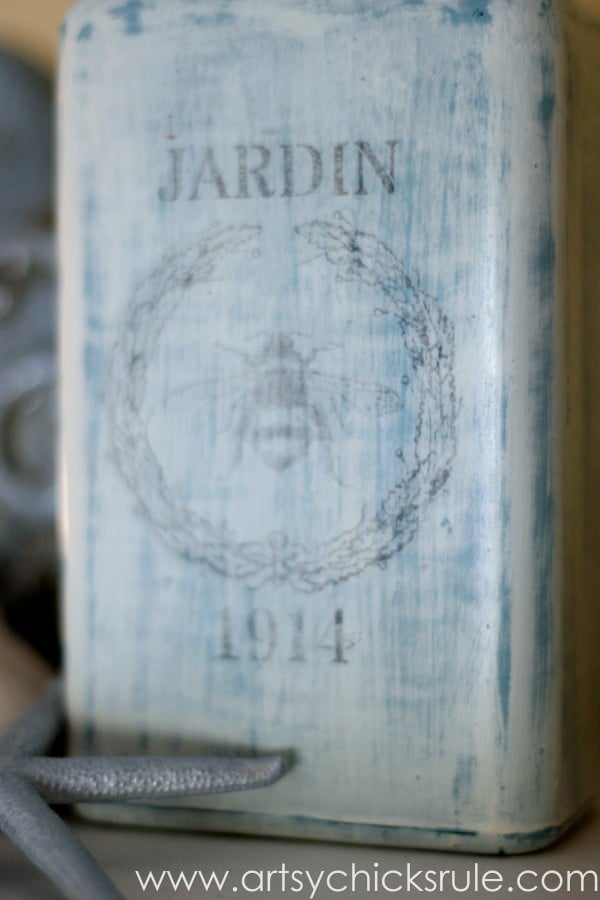
The Jardin label, I printed in reverse so that I could rub the image onto the Chalk Painted bottle.
I applied Mod Podge onto the back of the “Vanilla” label….
Then attached it to the bottle.
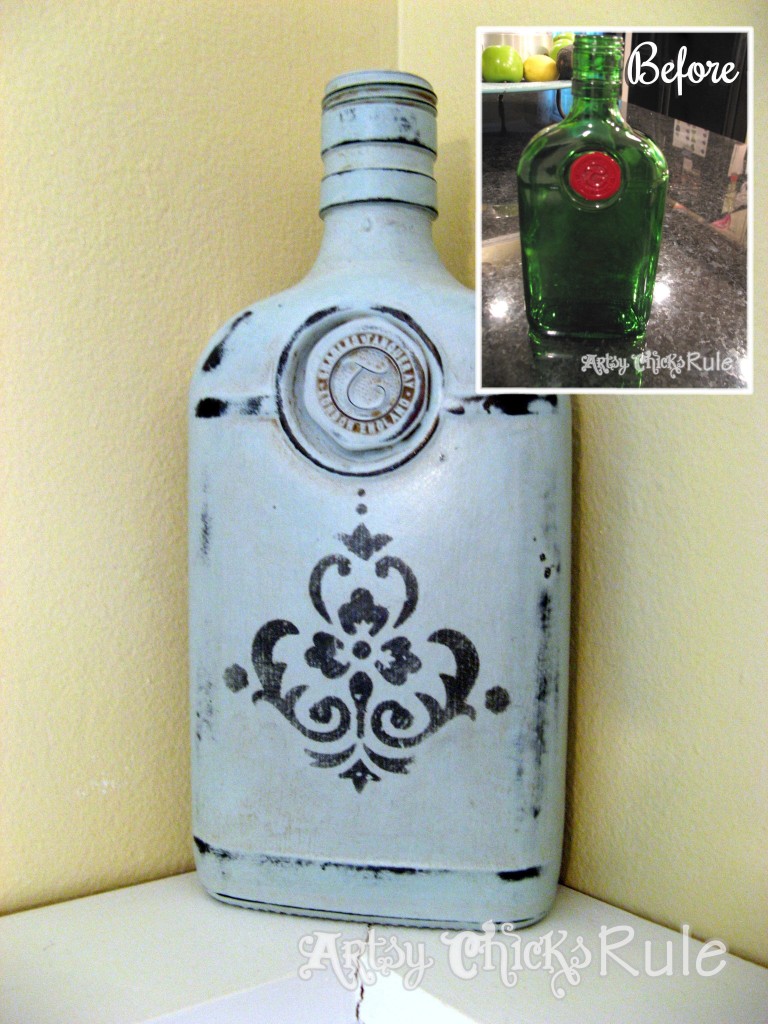
Next I painted the first coat (the underneath coat I wanted to show through) of Chalk Paint onto the other bottle.
Provence is the color…. (LOVE Provence!)
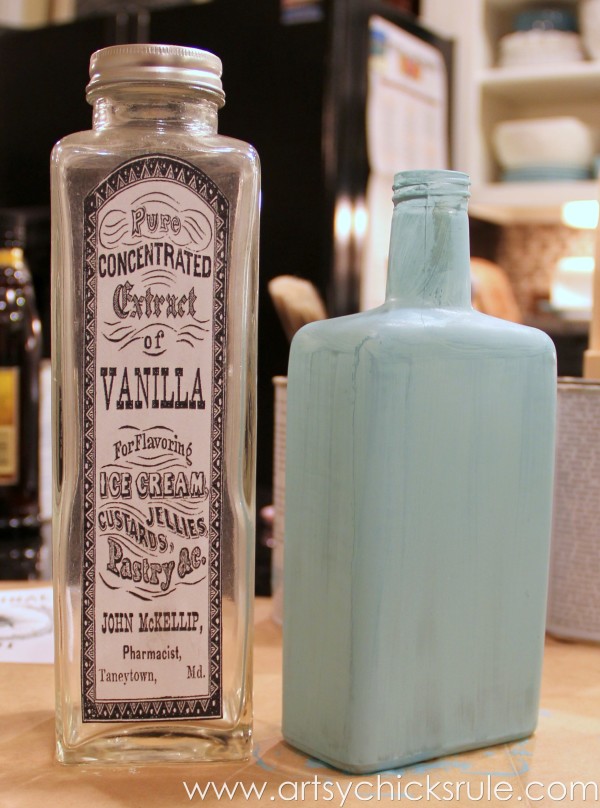
The label looks just “ehh” right now…but just wait.
I applied 2 coats of Provence. Then once that was dry I applied ONE top coat of Old White….
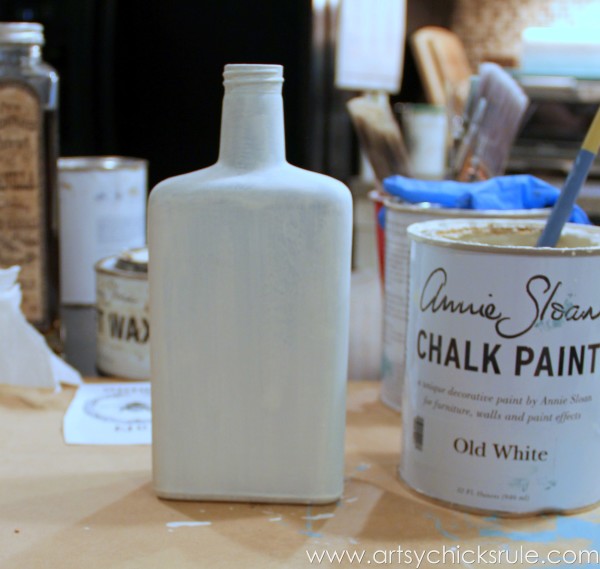
I wanted it to look as if it was worn a bit….or “washed”.
Do you spy something in the background there?
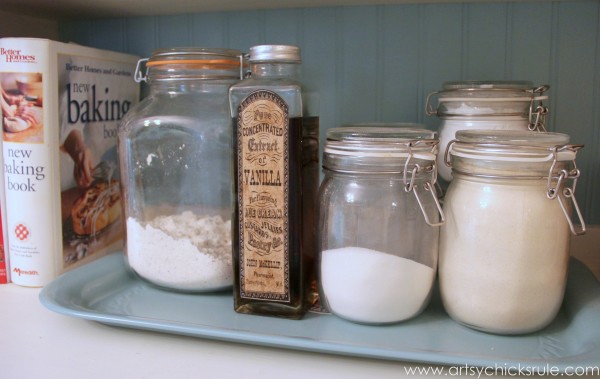
Yes…it’s the “antique” Vanilla Extract bottle. Looks a little different now. :)
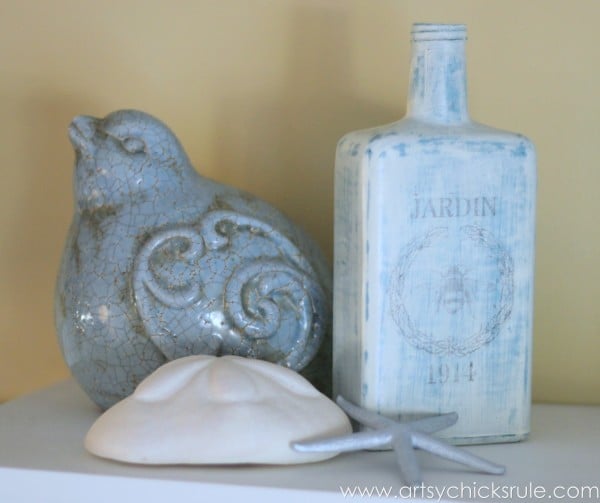
I lightly distressed the Chalk Painted bottle once the final coat of paint was dry.
So easy. (but be sure to keep a very light hand so you don’t go all the way to the glass…here and there is okay but you don’t want to go through all over)
Then I took the reversed print and positioned it onto the front of the bottle….and rubbed over it with a pencil.
This is what I ended up with……
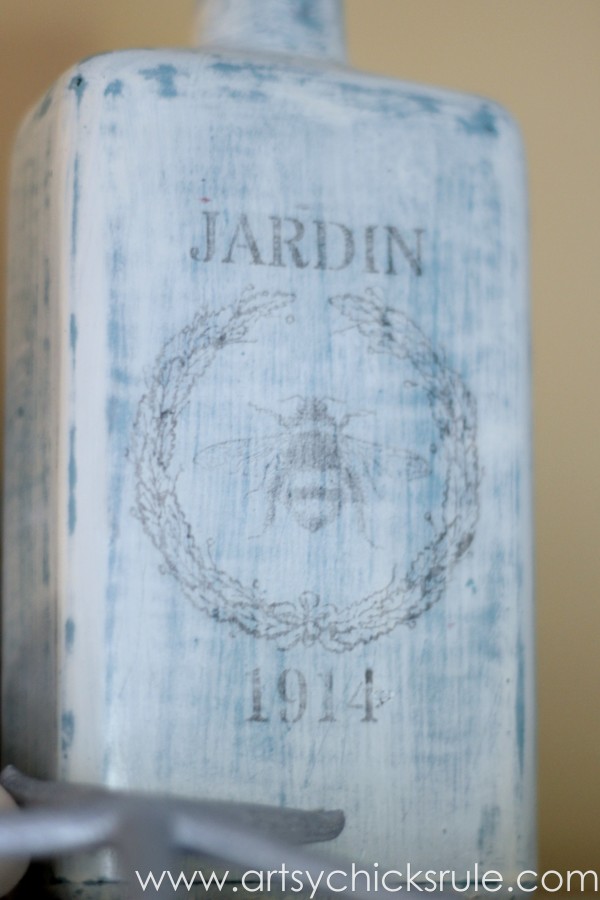
An “old worn looking graphic…on an “old” worn looking bottle.
Exactly the look I was after.
And, wow, how easy is that?? VERY.
I applied one coat of Annie Sloan Clear Wax to seal it all. I was very careful applying over the transferred area so I wouldn’t smear it.
It was fine. Wax dried and buffed up to a beautiful sheen.
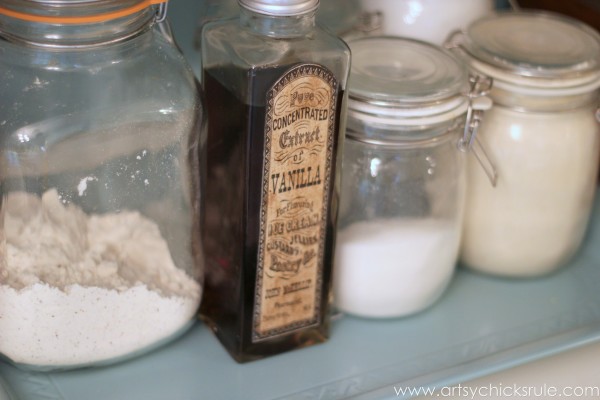
The “antique” Vanilla Extract bottle….even easier.
After the Mod Podge was dry all I did was add a layer of Annie Sloan Clear Wax over the label.
Directly over that I applied a bit of Annie Sloan Dark Wax.
I dabbed it here and there to give it a blotchy, aged look.
I really like the effect.
Both of these were ridiculously easy to do.
And quick too!
(if you don’t include the time it took to remove the original labels…grrr…they were a bear but I got em!)
EASY, FAST….and INEXPENSIVE DIY home decor with a little decoupage and Chalk Paint.
Love it…and right up my thrifty little alley. :)
This is the bottle I decided to display without the lid.
I just liked the look better without.
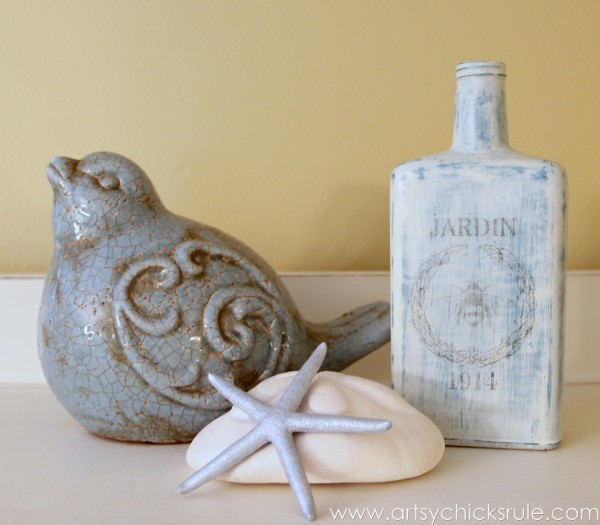
Love that Provence peeking through….
…and the way the “old” bottle of Vanilla looks on my “Baker’s Hutch” with the rest of my baking supplies.
For the “vanilla”….I mixed water with food coloring. (red, yellow and blue)
So much fun.
You can use any old bottles for this.
Plus, they make a really pretty vase for flowers too.
Can’t you just envision a single, pretty pink flower popping up out of that Jardin bottle?
So simple!
Hope you’ll look at those old “throw aways” a little differently next time you come across them.
Recycle….re.store, re.style and re.love! :)
I’ve got a few more bottles “up my sleeve”…I’ll be sharing what I did with those soon.
They and these both make great hand made gifts!
Happy Weekend to you all!!

Be sure to follow me on Instagram and Facebook if you don’t already!
I always post projects and things I’m working on
long before it hits the blog…..
….plus lots of fun random daily things too. ![]()

![]()
Related Posts:
")

")


Very Nice! and I’ve been putting some bottles aside for just this kind of thing! But how do you manage to keep your other baking jars straight? In lieu of mistaking baking soda for powder, don’t they need labels too? ;-)
haha!! Thank you and yes, Gabrielle, that was the plan when I put that together. (the labels for those jars) I still need to do it but just haven’t gotten around to it yet!
So far, I am remembering what I have in there but I can see how it could be an issue down the road! I’ve been known to put things in a container or similar and thinking no way I’ll forget….and I forget. ;)
Nancy
Well, just a coupla days ago I reached into the jar of peanuts, and up with cat kibble. Yeah. I’ll leave it to you to imagine how far I got before I realized my error! :-P
Oh no!!! lol
Hey, Nancy! Is there a specific reason u used chalk paint other than the look? Would other paints work just the same? Acrylic, latex, etc… Would a print transfer on those types of paint? Thanks!!! Love ur blog!
Hi Michelle,
Chalk Paint has great adhesion properties and will still well to glass and metal. Acrylic and latex won’t hold up the same, in my opinion. So yep, that is the reason I use the CP on them. :)
I think the print would still transfer onto those types of paints though. BUT I am thinking you would want to use a spray sealer since they would most likely smear otherwise.
The CP is porous and I think that is one reason the print didn’t smear when I applied wax. (in comparison, the latex and acrylic are slick once finished)
Oh…and thank you a bunch!!! :)
Nancy
awesome nancy….cute and easy..but knowing me i would have sterilized the vanilla bottle and put vanilla in it because i am a ditz and would put that stuff in the baked goods yum lol xx
Thanks Chris! :) Yes, that is actually a really good idea!! It never even occurred to me to add real vanilla to it!! lol In my mind it was “decorative” only.
Haha and it’s something I would probably do too!!! Maybe I better add the real thing. ;)
xo
Have a great weekend!!
Nancy
Lov’n these Nancy! I’ve never tried simply rubbing a printed graphic with a pencil on the back side – how easy is that! Are you using a laser or inkjet printer?
Thanks Marie!! They were fun to do! I just use a regular printer for that. I also will transfer with chalk or pencil lead rubbed on the backside.
This time I wanted the image without me having to paint it in though!! ;)
Have a great weekend Marie!!
Nancy
I don’t understand how this particular process worked, would you mind step by step. Beautiful by the way!
Thank you! :) Just paint the bottle with Chalk Paint, let it dry, paint it again with another color over top of that. Let it dry. Lightly sand with very fine sandpaper to bring the underneath color out.
It’s truly easy!
Hope that helps!
Nancy
Hi. Love the finished furniture piece you listed on Pinterest (white bottom and stained top) I noticed you have a beautiful gloss on the top. I just did my first Annie Sloan project. (A white chest with stenciled French lettering.) Added one coat of clear wax – but no gloss. How did you do that? Thanks.
Hi there!
The top was stained so had a Satin finish poly top. But in my experience, the wax can have a similar luster/sheen as a stain poly finish.
Maybe you didn’t apply enough wax or maybe it’s not buffed enough. Hard to tell without seeing it. I would try buffing it more with a soft cloth/tshirt material or a wax buffing brush.
I bought one of those online. Either will shine it up with some good ole elbow grease! ;)
Hope that helps! :)
Nancy
Love these!!
-andi
Thanks Andi!
They are fun little crafty crafts! ;)
Nancy
Nancy, these look great! I love your bottles!
Thanks for sharing! xo
Thank you Karen! :)
They are fun to do!!
xo
Nancy
Hi, I know this sounds like. Dumb question, but how do you print something on reverse, like you said you did for one of your bottles. Thank you
Hi Sandra,
Not dumb at all! :) You change it in programs on your computer (like Photoshop, etc) Most programs will do that for you. Picmonkey (a free online program) will do it for you too. Just upload your graphic/photo and click the “rotate” icon, and flip or reverse.
Hope that helps!
Nancy
Thank you!
I loved reading your tut!! And how your bottles both came out….BUT, I need to know if you have ever put CLEAR CHALK WAX over Mod Podge, and if so, how did it look? AND, were you still able to buff the wax?
Hi!
Yep, I’ve used it over dried Mod Podge before. :) You can use dark wax too and yes, it will buff up the same.
I can’t thank you enough for your prompt reply to question!!! LOVE YOUR BLOG!!!
Thank YOU Mare!! :)