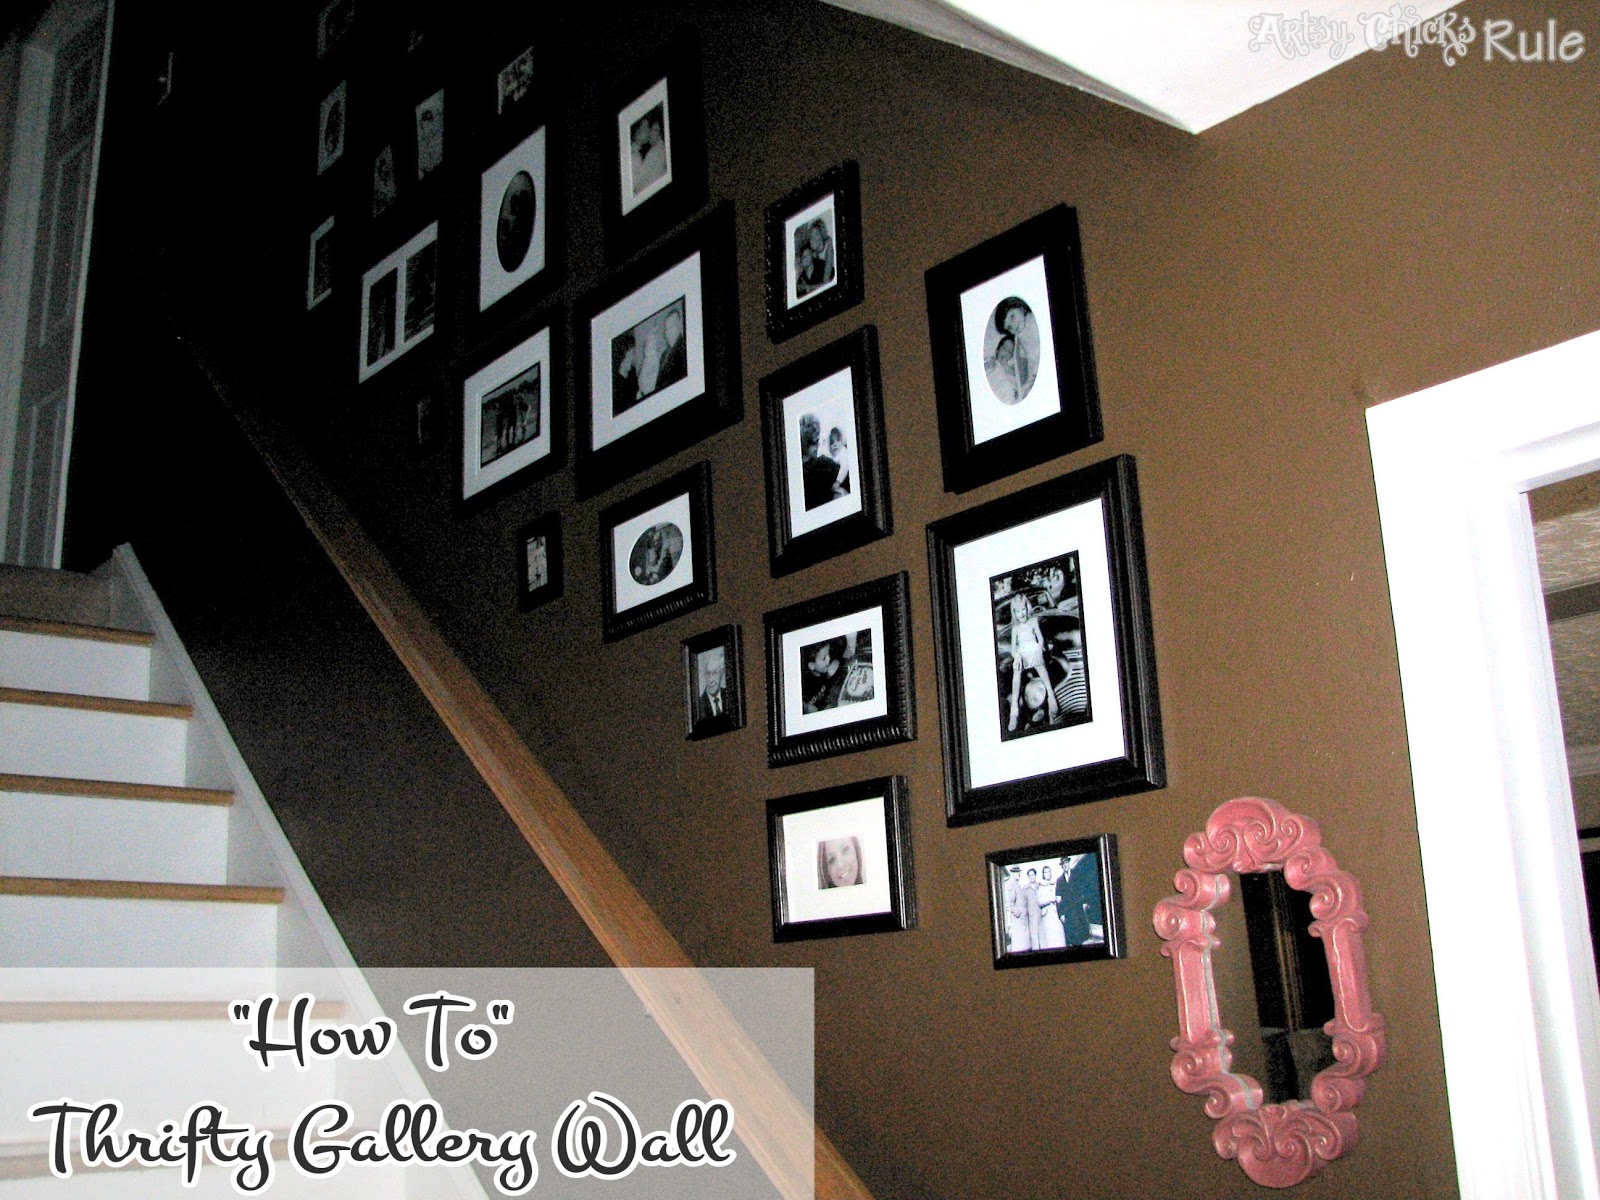
A Gallery Wall…the “Thrifty” Way
Easy, inexpensive way to do a gallery wall.
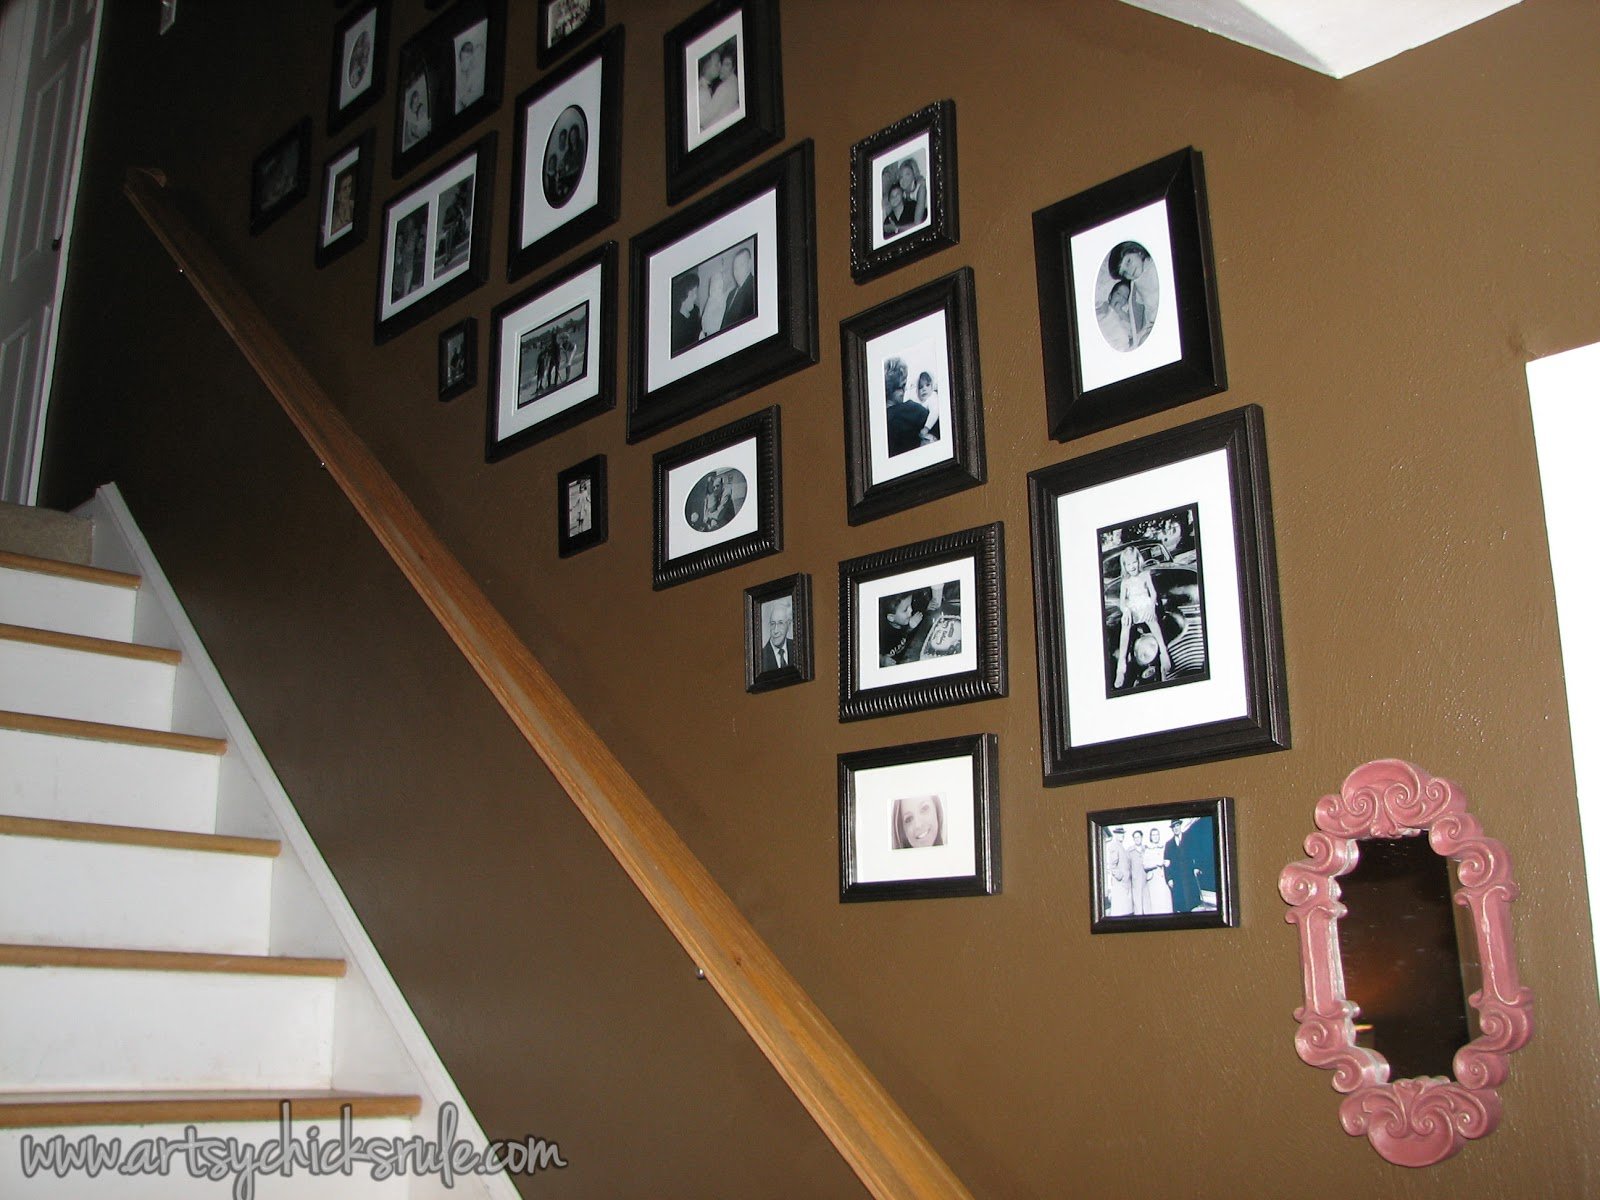
I wanted to put pictures up the stairs in our house. And change the paint color.
That makes 3 times in 8 years for this room alone. The changing of the paint.
Clearly I like change.
 Ok, picture gallery wall…..here’s how to do it really inexpensively….
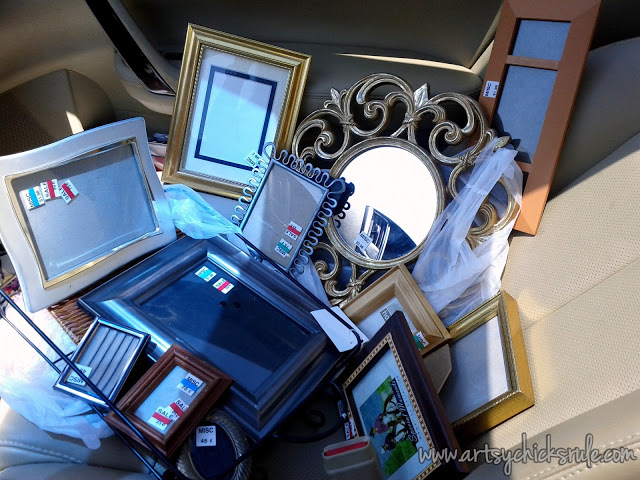
First, buy a bunch of frames from the thrift store…or garage sales.
I got most of these for .75cents or less.
(See the $2.00 mirror below?)
That got a makeover too and now resides in my dining room…you can see it here.)
For my project, it didn’t matter if the frames matched, or what they looked like really, because I wanted them to somewhat blend into the wall. I wanted people to focus on the picture, not the frame. So since my walls in the foyer were going to be “Chocolate”….Kaffee from Sherwin Williams to be exact, I painted them with my all time favorite spray-Oil Rubbed Bronze.
I traced each frame onto craft paper to make a template of each.
They are up on the wall with blue painter’s tape.
This is a great way to arrange them and get them just how you want them….
….before putting holes in the wall.
Or even better than putting holes in the wall….3m Command Strips.
Love those things!
You can find them right here (affiliate link) >>>3m Adhesive Strips
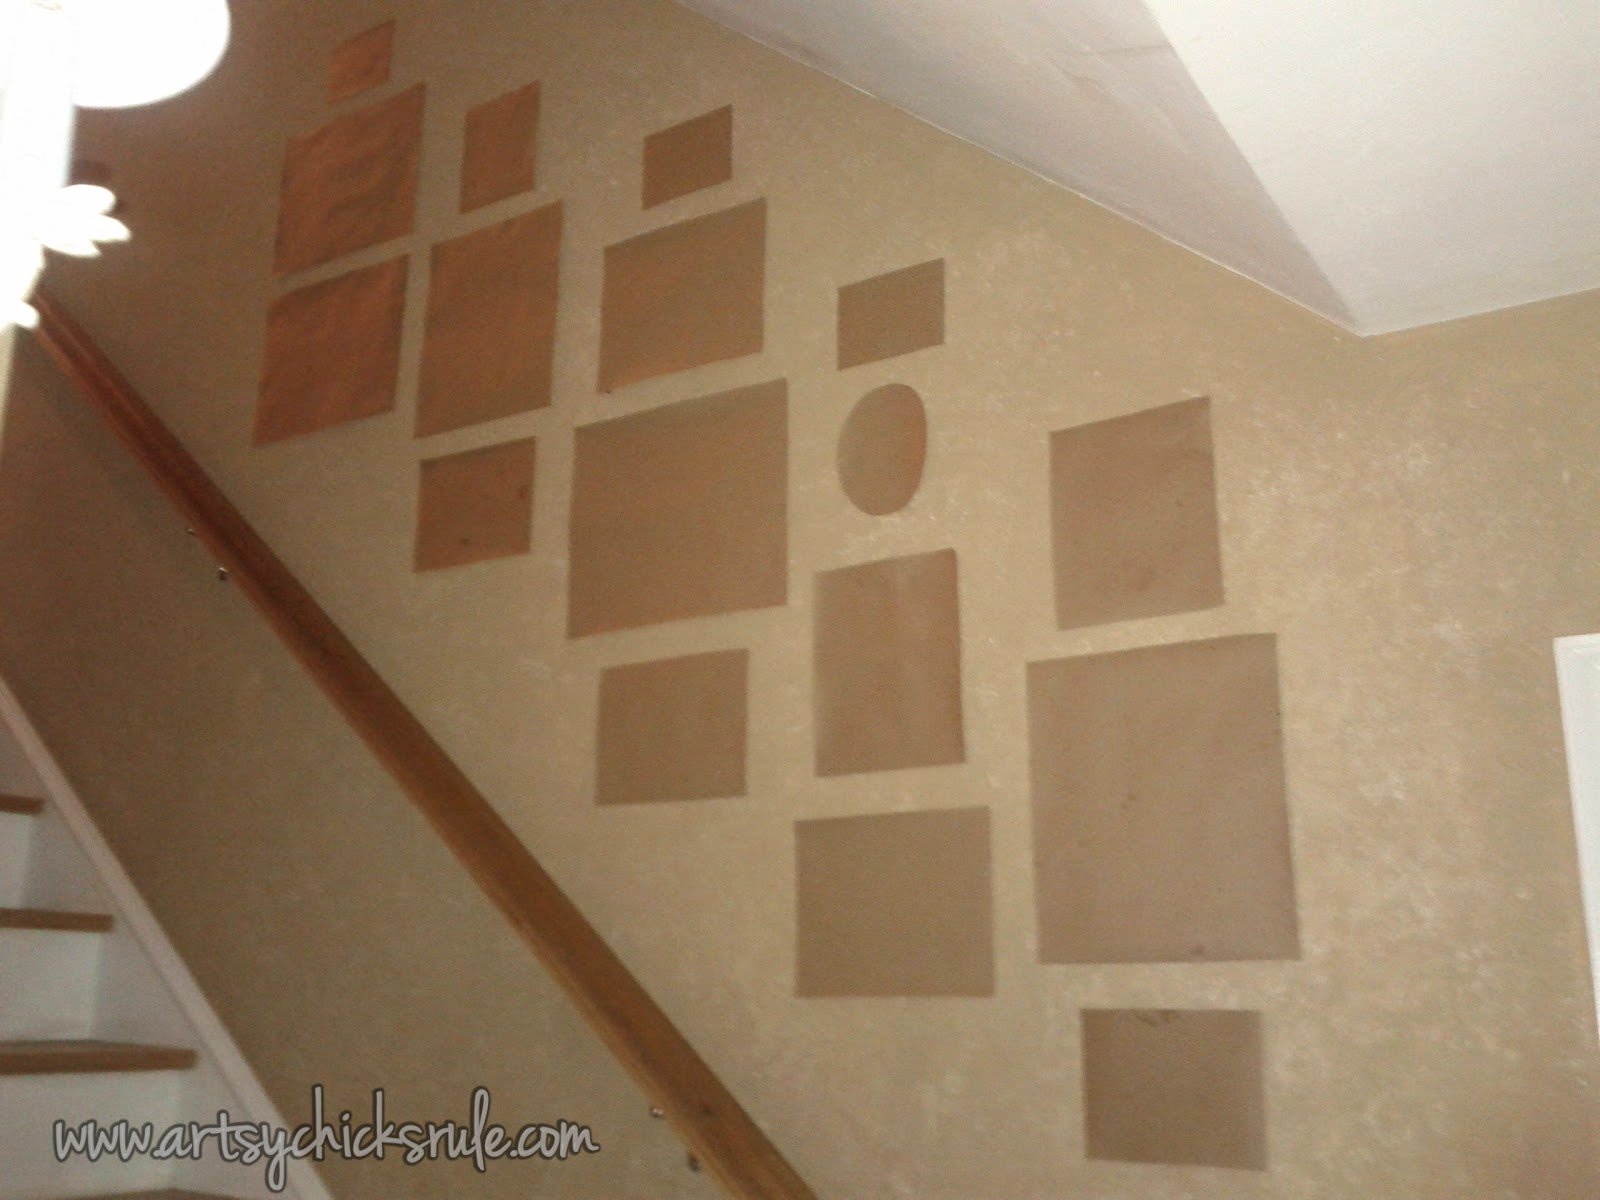
Wall color at this point was still the “sponged” technique I did some years back.
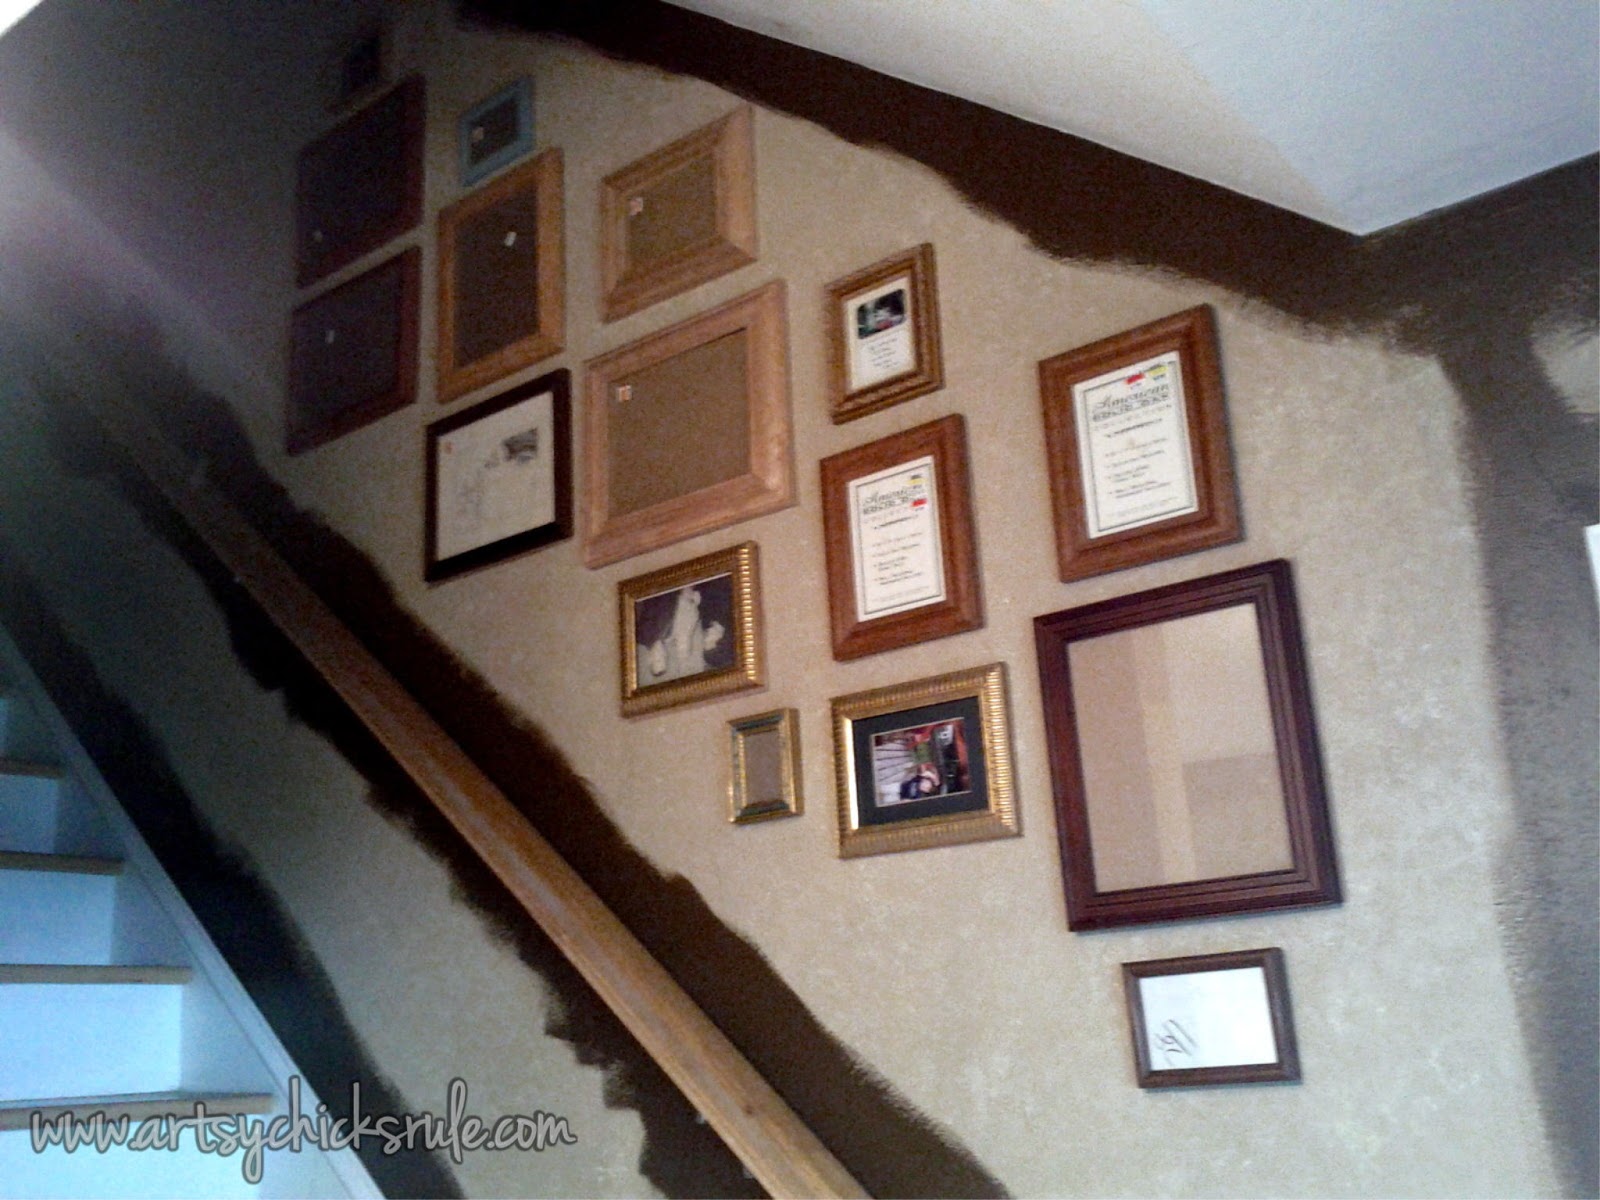
If you study my finished picture you will see they didn’t end up quite like I have them here. But that’s the beauty of doing it this way. Easy to move around to get it just right before putting anything up.
Ignore the cutting in of the paint.
I always have 2 (or 20!) projects going at once.
All. The. Time.
See all the different, mismatched frames???
No matter!
They are going to get paint. And match.
I actually numbered each on the back so I would know what went where once I took them down to paint.
I also found most of the mattes used here at a garage sale, a bag lot, believe it or not. I think I paid 3.00 for about 15 or so mattes!!
But they were multicolored mattes.
The ones that were the wrong color were just sprayed white to match the rest.
Easy and cheap!
Thrifty gallery wall…..very much so.
Mattes and frames…less than 20.00 dollars for everything.
Mirror….another thrifty find for 2.00 at a local thrift store.
It was a really pukey, pasty, gross putty color.
Can’t you just picture it from my oh-so-descriptive sentence?
~U G L Y~
But I painted it with a blend of Scandinavian Pink/Primer Red Chalk Paint and trimmed it in gold
….whimsical and unique!
I just love it!!
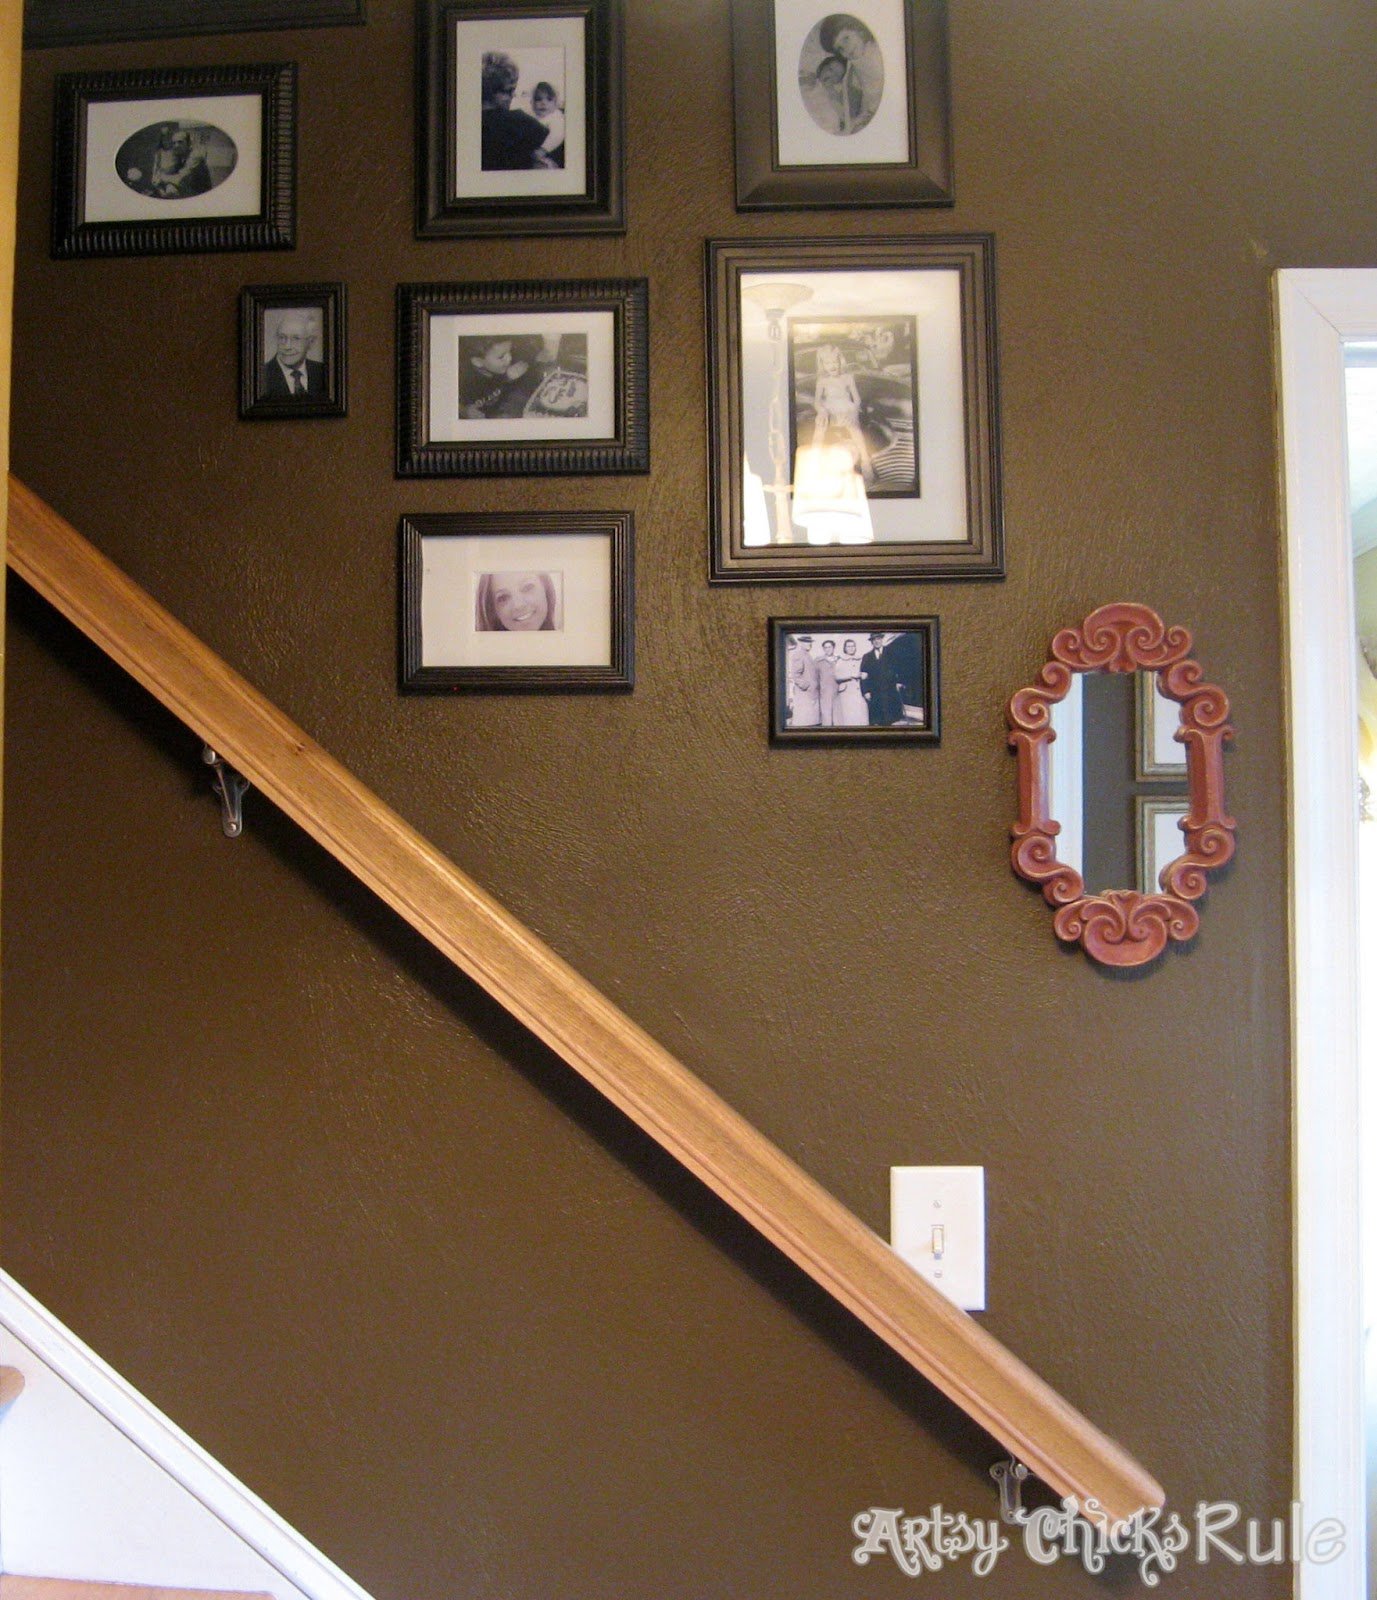
And I love my gallery wall.
It’s amazing the things you can find at the thrift store!!!
Have you done a similar gallery wall with thrift store finds? I’d love to hear about it!
Be sure to check in next week to see what I did with this old thing!
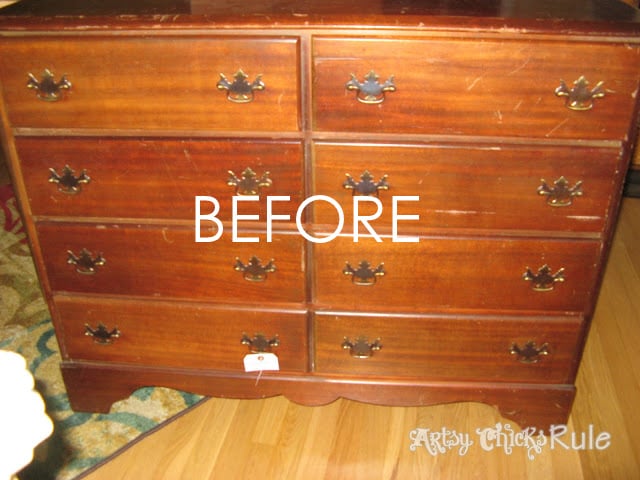
UPDATE!! You can see it now, here!!

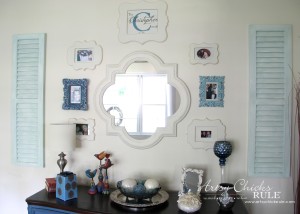
You might also like this gallery wall:
")


")

")

")


Thanks Nancy for the great tips. I know how you feel about having projects going all the time, feels like your juggling bowling balls.
Your wall turned out great. I love oil-rubbed bronze and command strips, too. So many awesome products to beautify our homes :)
Thanks Jeff! Yes, bowling balls…oh so true!
Command Strips & ORB spray, 2 of my very favorite things. ;)
Nancy
This looks fabulous Nancy! Love the template idea, that would make things a whole lot easier!!
Thanks Karen! :) Yes it did make it so much easier! Easy is my motto. ;)
GREAT tips! That is SO the right way to do a gallery wall. Now if I could just find a bag of mats like that for three bucks!
Thanks Kelly, I love to do things on the cheap! ;) But make it not look as if I did. So much fun!
Your wall looks great, and thanks for the tips! I love your blog. Your newest follower from I Gotta Create. :) Happy New Year!
Kathy @ http://www.lifeonlakeshoredrive.com
Hi Kathy! You are welcome!! Thanks so much! I’ll hop over and check out yours too.
Happy New Year to you too!
Nancy
Nancy, I love your wall color! And, the frames came out great.
Thanks Denyse! I love it too….although I was unsure of such a dark color when I first chose it. But it turned out so well. I expect it won’t stay that color forever though. ;)
I love having photos along the wall especially around the stairwell. This is a great post because oh my, it can cost quite a pretty penny to pull it off but yours looks perfect and what a great price!! I can’t believe it!
I hope you’re having a great week and a Happy New Year!
Thank you so much for linking up to last week’s Aloha Friday Blog Hop!! I’m following you.
If you have time, we’d love to have you come and link up to the Aloha Friday Blog Hop if you haven’t already! (Thank you so very much if you’ve already linked up, I truly appreciate it!!)
Come and link up and celebrate the coming weekend with us!
Aloha,
Jean {What Jean Likes}
Oh thanks so much Jean! Hoping you are having a great week yourself.
I haven’t linked up yet but I sure will!
Nancy
Hey there – new follower from the blog hop! Love the blog & can’t wait to read more! Hope you have a great day! :)
Rachel
http://sugar-stripes.blogspot.com/
Thanks for stopping by Rachel! :)
Nancy
My stairwell is white with absolutely no adornment. This would be so much more interesting! Love this idea and love the budget part of it even more! Sharon
Hi Sharon, mine was without adornment for the last 8 years until I finally decided to do this wall! And I’m so glad I took the plunge on the color, I love it now. :)
Nancy
OMG, you have taken a good idea and took it to another level. I love what you’ve done, it looks great. I may have to use some of your tips on our new farmhouse we are purchasing.
Thanks! How exciting! Congrats on the farmhouse. :)
I need something like this up my stairs! Thanks for linking up to my link party! :)
Thanks for hosting! :)
Nancy
Hi, Nancy! Thank you so much for sharing at A Bouquet of Talent this week! I am so thrilled to have you share your awesome gallery wall. Your post will be featured tonight as the most viewed! Congrats. :)
I hope you are having a wonderful weekend.
Kathy
Oh wow, thanks Kathy! :) That’s exciting!!
Hope you are having a fabulous Sunday!
Nancy
Found you through Simplicity in the South and love this idea. ! I have been wanting to do this to my staircase wall for quite awhile but have been to nervous to attempt…now I can, thanks to you! One question, how did you hang the pictures that are higher up on the wall from the stairs? Love your whole website and am so glad to have stumbled across it. Thanks again!
Hi Kathy!
So happy you found me and my blog. :) I love Simplicity in the South too!
I’m so glad I inspired you to tackle it! That’s what it’s all about. :) The pictures really aren’t as high as they look in the photo. I was able to do it from the steps. I think it might just be an illusion from the picture but they just trail up the wall above the rail. I did find using the paper cutouts great for figuring out placement though! Worked very well because it was such a large area. I look forward to having you follow along! :) If you have any other questions I’d be glad to help!
It looks beautiful Nancy, but then, I would expect nothing less from you! I did a gallery wall in my family room a few years ago using the template idea (I just cut up brown paper grocery bags since I had a lot of them) and it sure does take the guess work out of picture placement. I’m just starting a new collection in my stairwell, since the family keeps growing, and love your tip on the oil rubbed bronze spray paint. I’m going to have to try it! Keep the great ideas coming, I love them all!
Thank you Heidi :) Oh yes, that is a fabulous idea! It’s so much easier to get an idea of what it is going to look like that way, isn’t it?!
And yes, absolutely, I have lots planned for this year! ;)
Thank you!!!
xo
Nancy